pinaplebob741
New member
subscribed.

What's it like to be a Badass?
")
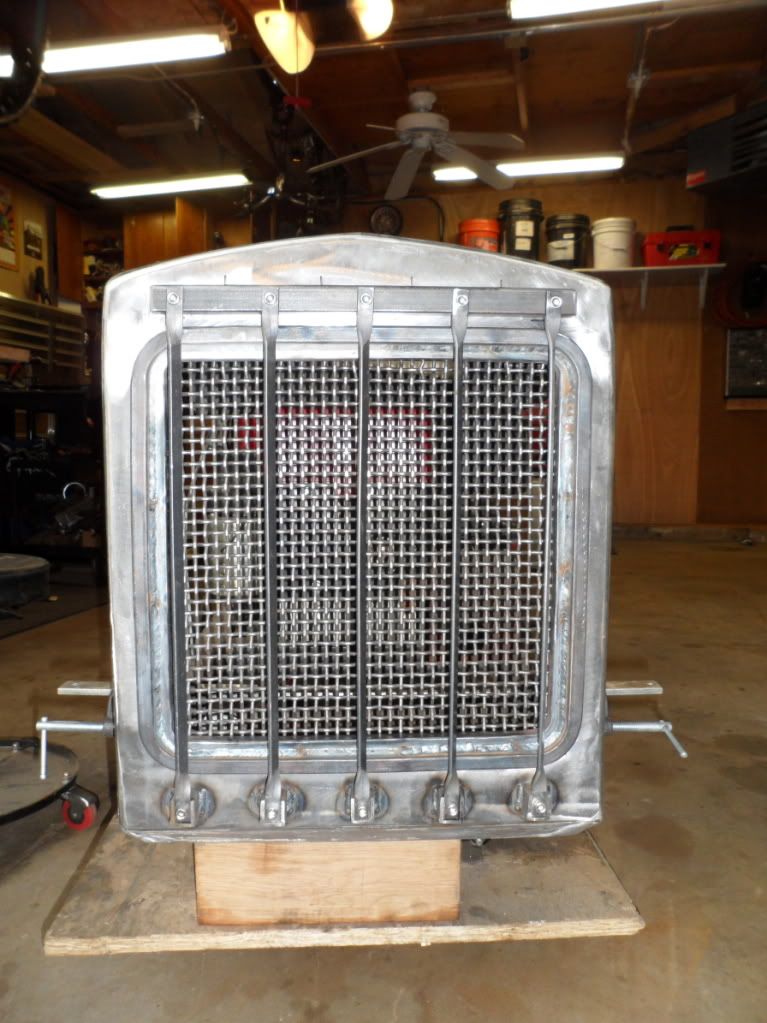
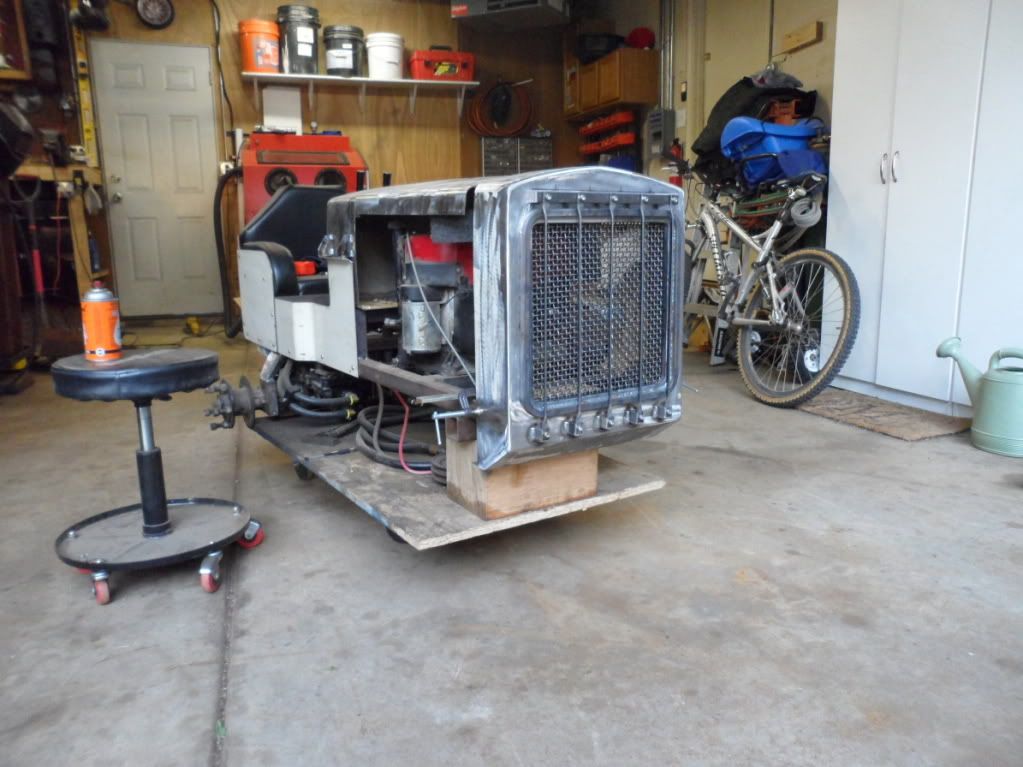
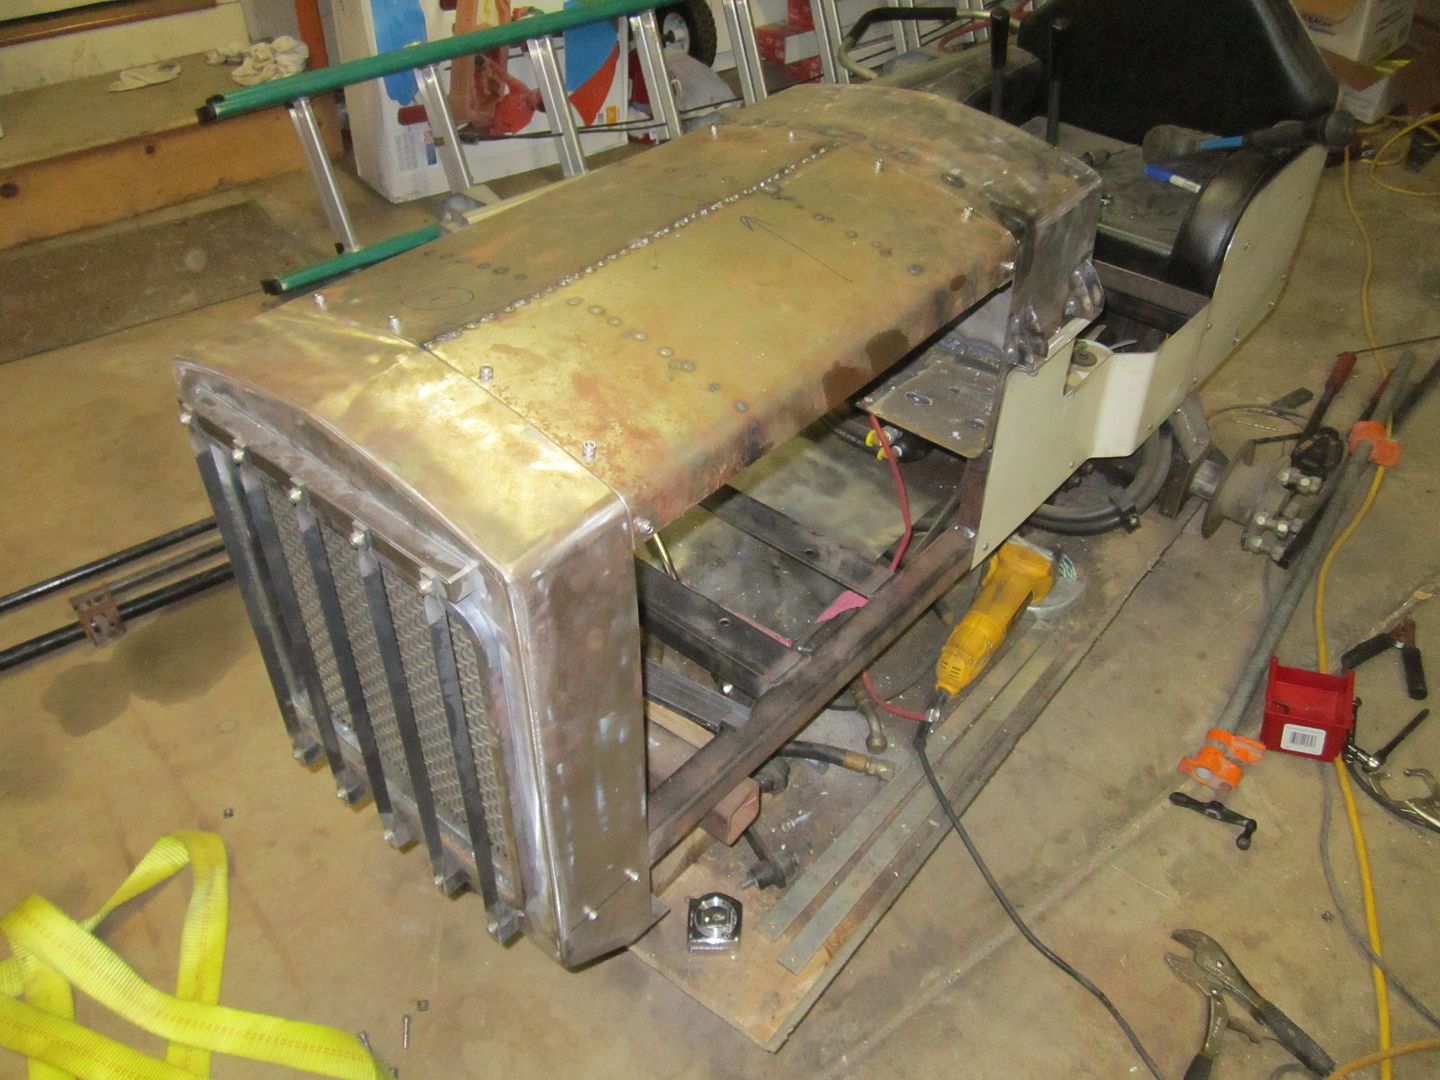
My experience tells me that there's very little that doesn't.... I finished the grill. It took longer than I expected ...

My experience tells me that there's very little that doesn't.
I'm really enjoying your build!
Just found this thread. That is an awesome project and a tremendous amount of work. You have some fabulous fabricating skills and are an excellent welder, in spite of what you say!
One thing I didn't see in the design so far and didn't know if you though about. Do you have any type of clutch mechanism on the drive belt from the engine to the transmissions? I wouldn't bet the starter on that 12.5 hp is going to want to spin those two hydro pumps very well.
You could probably get by with an electric pto off a rider if you wanted to keep the look without a pedal.
Looks Impressive.


That is true. Having done the CAD model first though has made most things go a lot smoother. But the grill wasn't completely modeled.
Thank you. I do projects like this to learn. I've never taken classes and it isn't a part of my daily job. However, my brother is a boilermaker so he teaches me what I need to know. And then practice practice practice.
I do have a clutch from the parts mower. It was for the blades. But I don't think I'll have a problem. When in neutral, the bypass valves should be wide open. Shouldn't be must resistance. I plan to hook up the lines soon and check everything out.
Thank you.
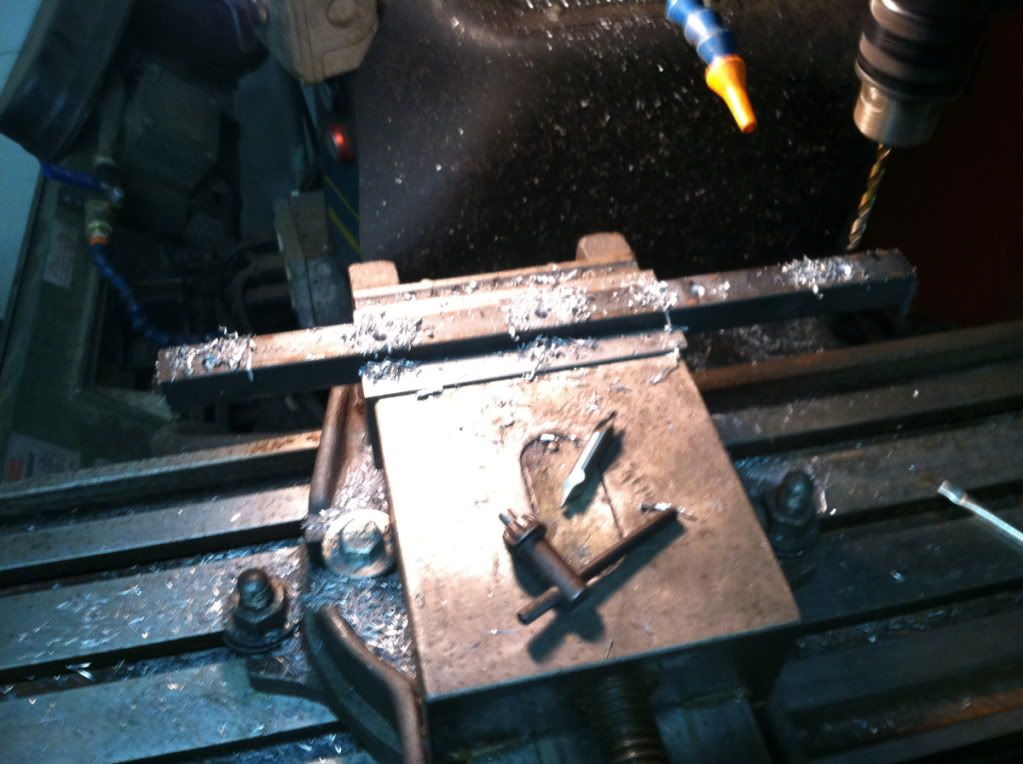
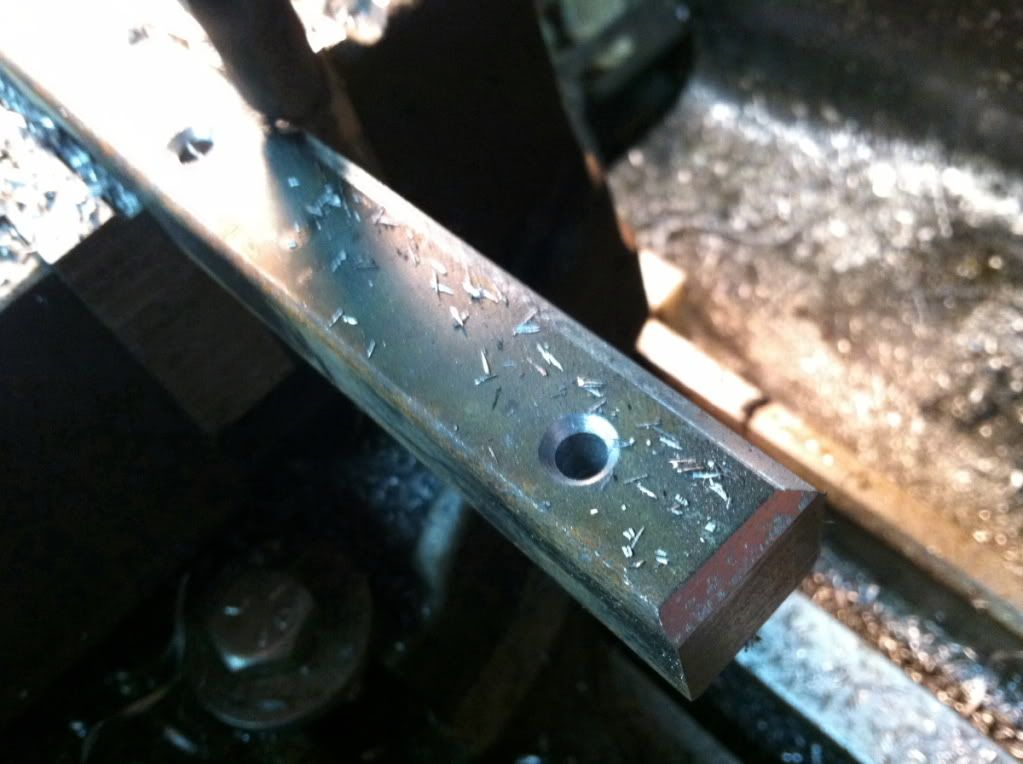
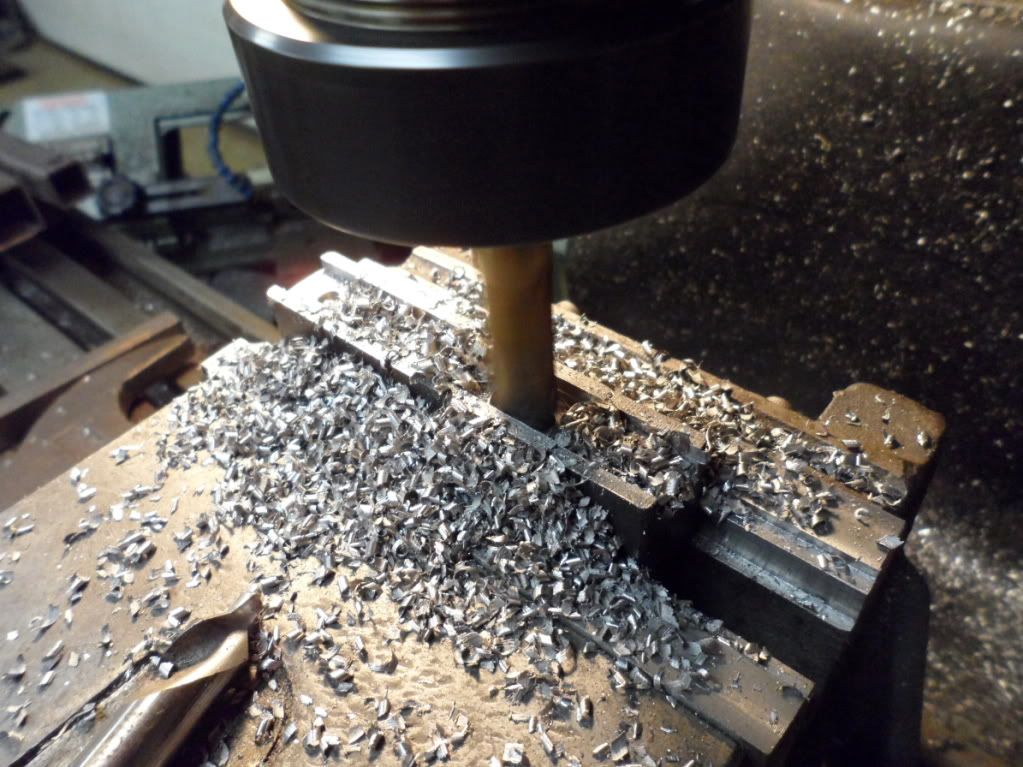
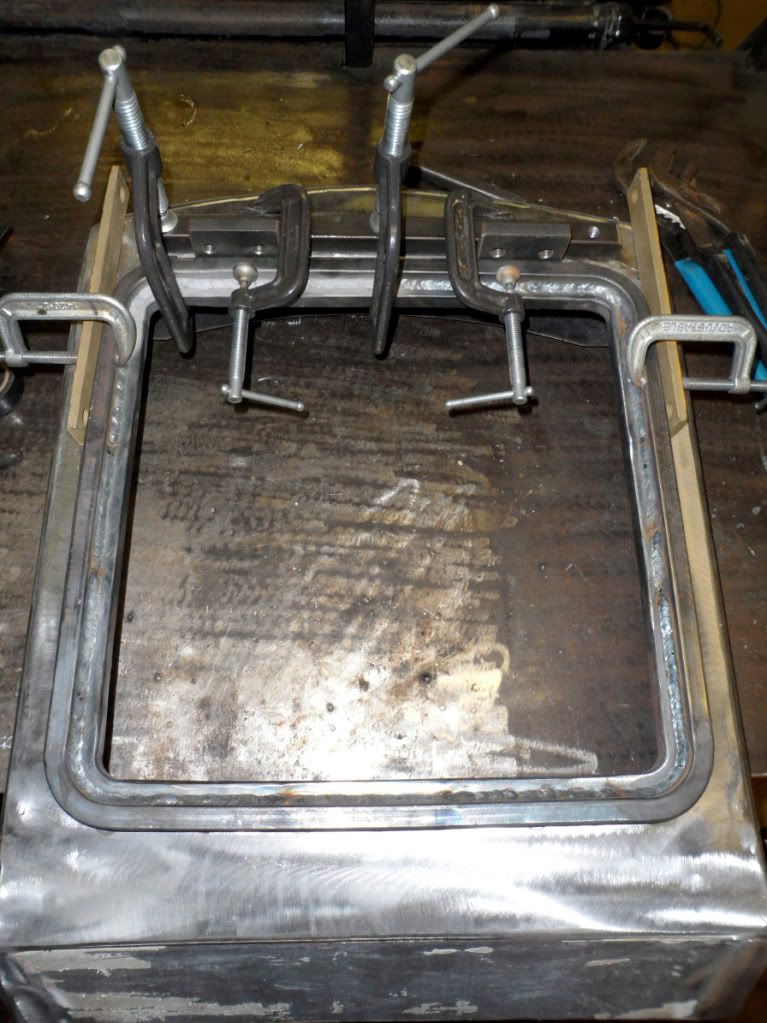
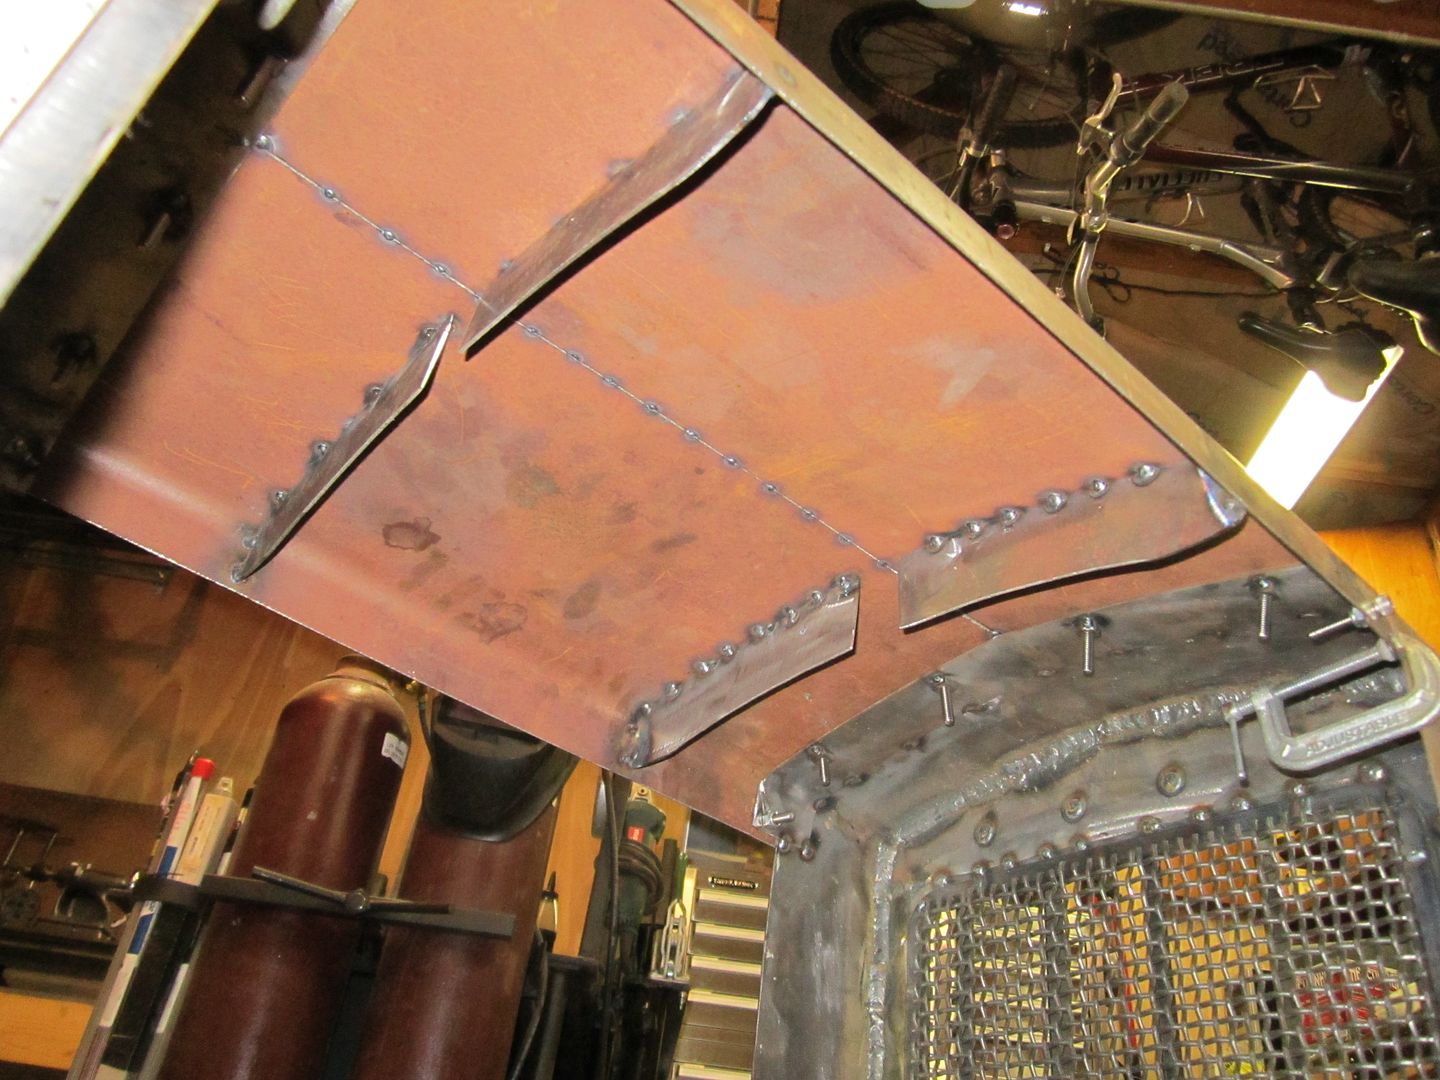
Ok, so I have a question for everyone watching this build. As mentioned, I have a good stash of 14 gauge steel. I've been using to make all of my body panels. I'll be moving on to the step sides soon and I was going to give it a 1" lip like this.
I had planned to cut the pattern 1" bigger then sandwich the sheet between some plywood. Then I'd use a cutoff wheel to give a relief cut on the backside. Then start hitting it with a hammer. The straight sections would probably be fine but I don't think I can shrink the corner enough. I was going with a 1.5 in radius corner. Then I'd put some tack welds on the inside corner once done. I was going to do a test piece but now I have another idea.
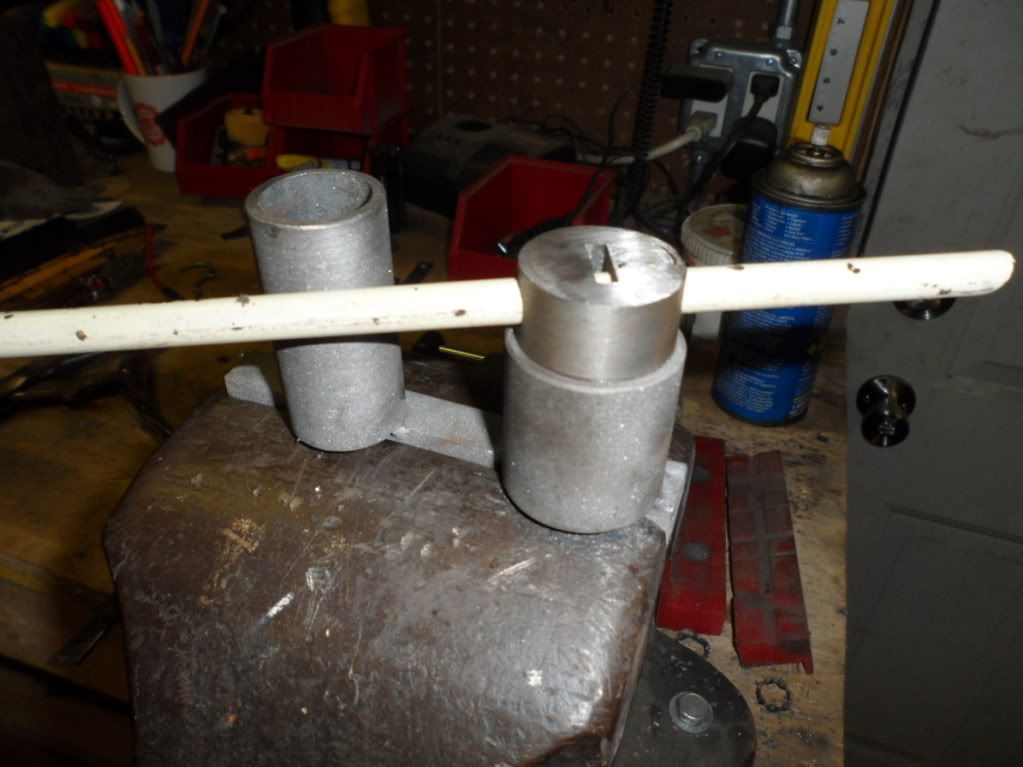
Since I built that really nice 1/2" tubing bender, I thought I could make a frame out of that. Then I'd use rivets to attach the sheet to the tube. Something like this.
What do you think? Little different than the model but I'm not trying to copy it exactly anyways.
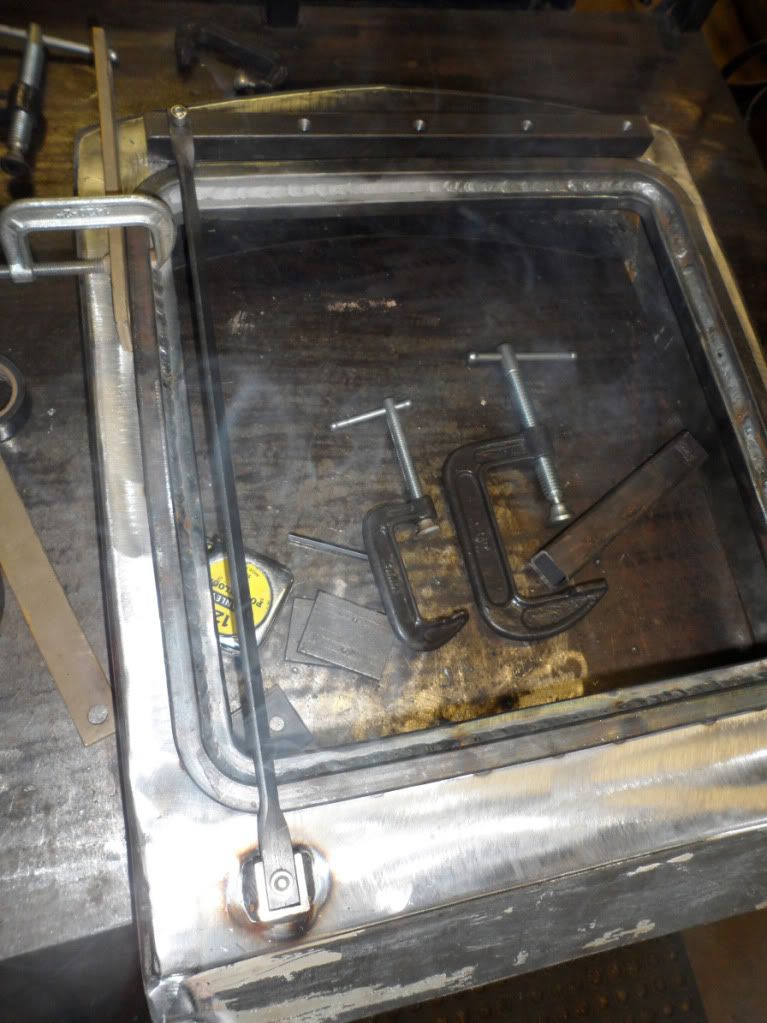
Machine Punk, need your help on this one if you're reading this. I'll be going into a blind hole. I like the look of solid rivets with a smooth dome but I'm guessing I can't get around using blind hole rivets that still show the center stud hole. Maybe I'm just being too picky.

Since I built that really nice 1/2" tubing bender, I thought I could make a frame out of that. Then I'd use rivets to attach the sheet to the tube. Something like this.
What do you think? Little different than the model but I'm not trying to copy it exactly anyways.
Machine Punk, need your help on this one if you're reading this. I'll be going into a blind hole. I like the look of solid rivets with a smooth dome but I'm guessing I can't get around using blind hole rivets that still show the center stud hole. Maybe I'm just being too picky.

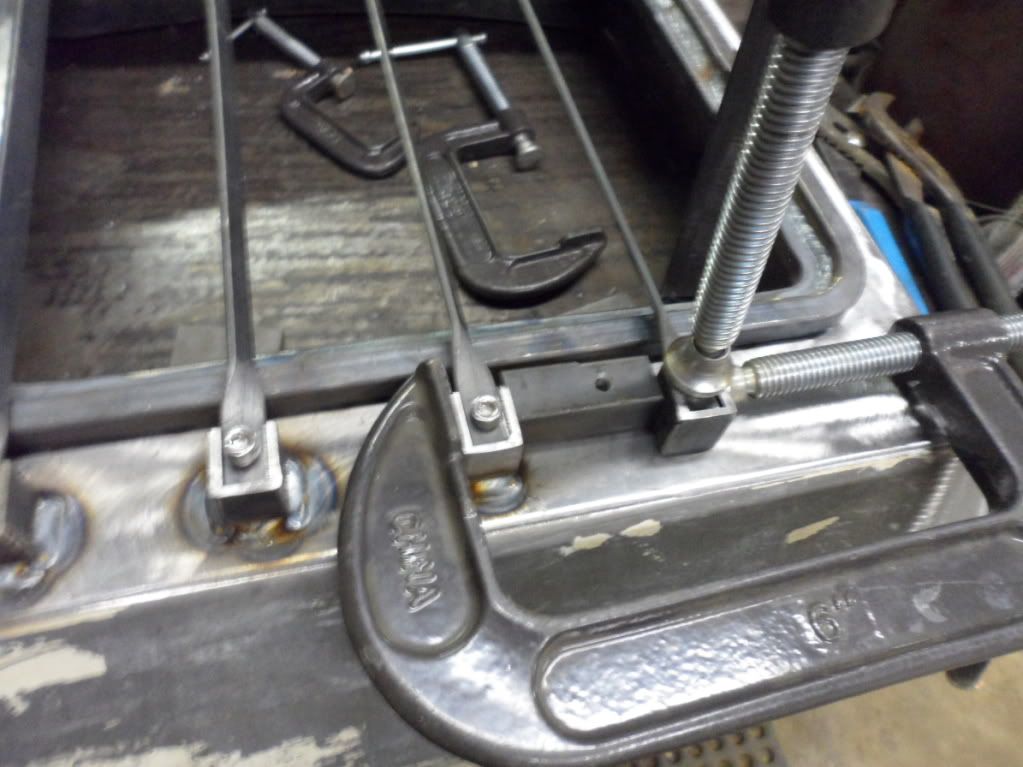
Or use steel pop-rivets and then do a mostly-cosmetic weld over the top to give a solid head. Although I'd probably just do a rosette weld and skip the rivets all together.
Oh well. I'm in it now so there's no turning back.


love the build... you need to upgrade your fire extinguisher collection.. i seem to have missed them in the pictures?
This project really takes me back to my childhood.
My dad built me a small tractor using the drivetrain from an old cement buggy. We painted it Caterpiller yellow and called it My D9


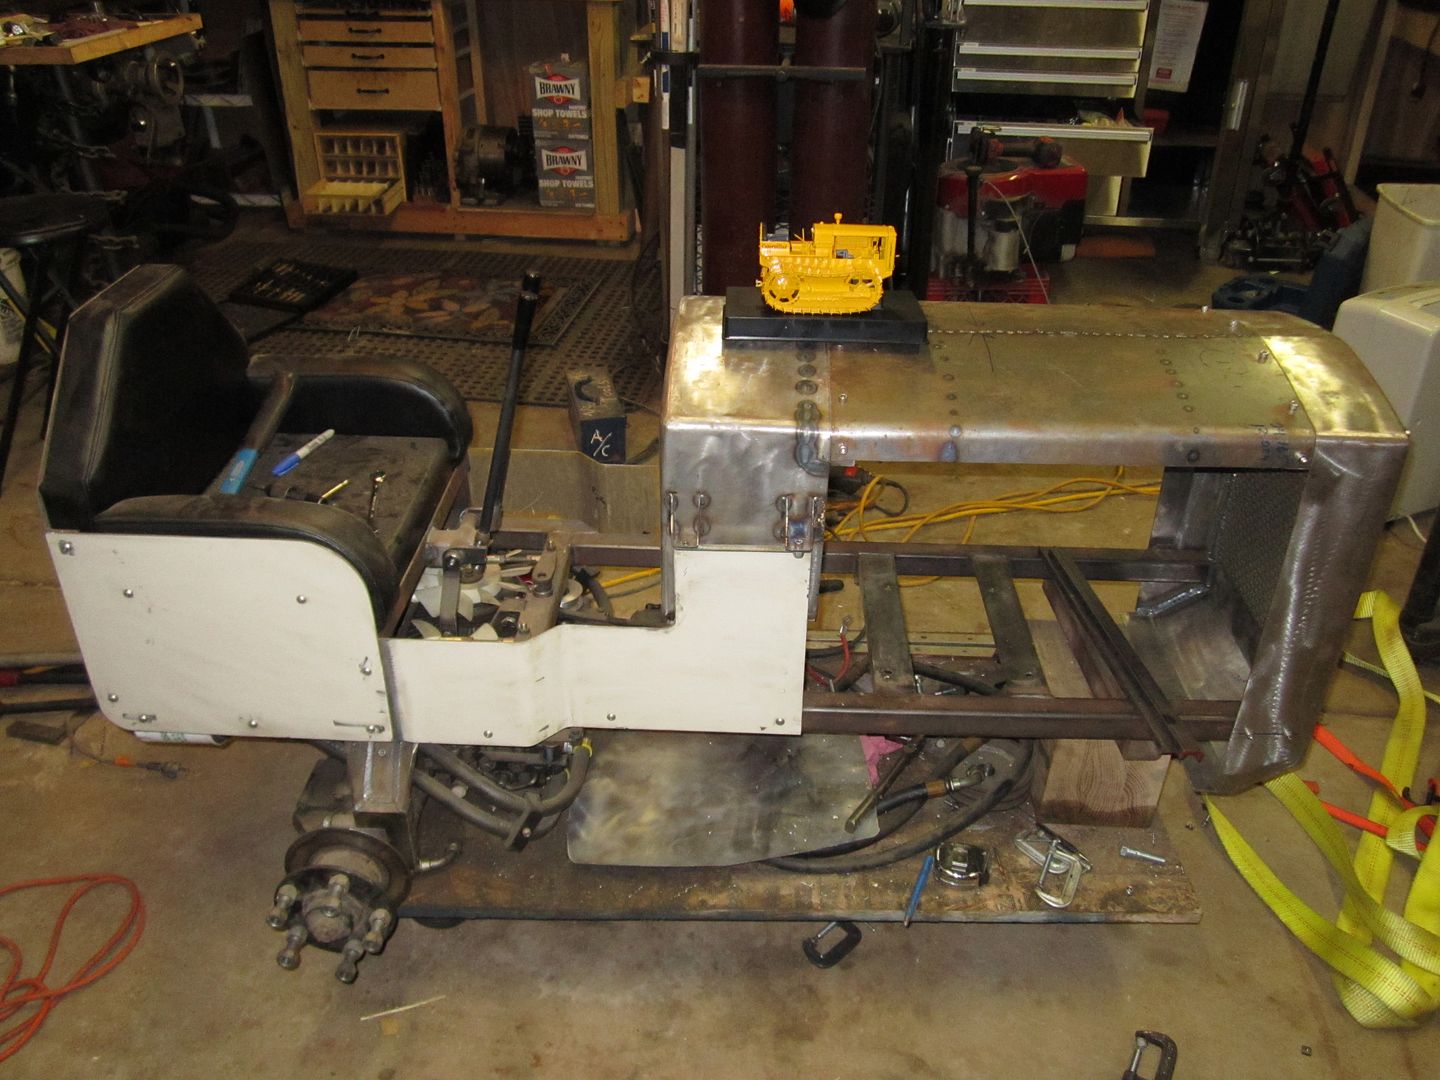
Now that die cast twenty two is just so darn cute! lol
Your decision to re-work the hood shows your dedication to a faithful replica; good on you.
Wouldn't it be cool, when you complete this project, to truck it to the location of a restored big brother for a photo shoot of all three. I guess the simpler method would be to do some Photo Shop magic and place your two into a stock twenty two image; but it'd be a worthy road trip to find its big brother and show off your project at the same time. It deserves to be shown off; looking great!