pamike
Well-known member
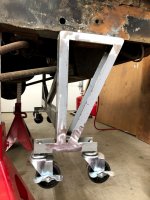
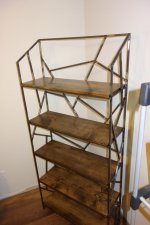
I had some 3/4" pipe left over from running air lines in the shop, and I needed a cart to keep my wood blocking and jackstands on, so I whipped this thing up quick. The shelves are laser cut blanks with notches for the uprights to fit in. I bought weld on pipe caps to close the pipes off on the top and give a finished look. Expanding stem casters slid right into the pipe uprights. Had more money in it than I wanted, but the laser blanks saved a lot of labor.