hunter1151
Well-known member
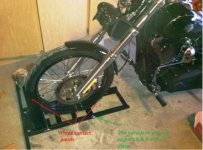
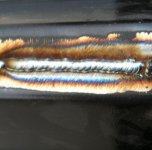
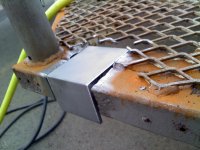
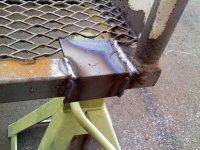
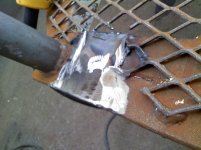
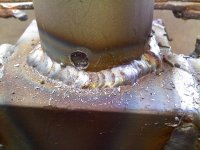
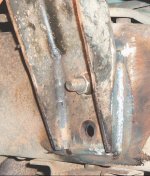
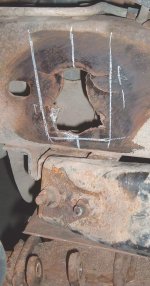
You could make that bracket out of a piece of tubing too couldn't you ZT, by just cutting out a little triangle and bending the portion left back into itself and welding that and adding the bottom piece...........absolutly the way to go and the best looking ZT....nice illustration.

 Glad mine is a jet sled...
")


 .
.