racer-john
Well-known member
mr_magicfingers
Your pictures have errors. According to "imgur".
Your pictures have errors. According to "imgur".

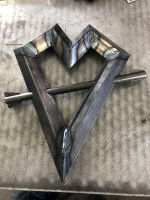
3 years ago I bought a welder with the intention of learning to weld. It sat in the barn unused until recently because, well, life got in the way. I did a short beginner's welding evening class in the autumn and, after the little steel dice I posted recently, this is the first proper project.
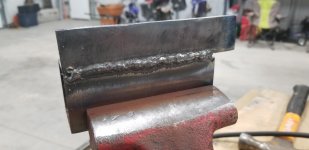
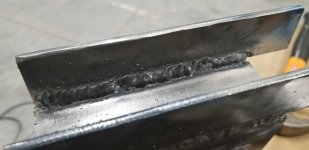
I have an old trailer that had broken, you can see in the first couple of photos that it was a bit sparsely made and the draw bar had rusted through where it had been badly patched previously. I stripped out all the damaged bits, replaced them and beefed it up a bit. Some of the welds look good to me at least, some look like they were laid down by an epileptic pigeon on a bad day but they’ll probably last longer than the rest of the trailer now. All I have to do now is paint it and fit new plastic plywood sheets.
The sparsely build trailer

broken section

First couple of welds were pretty poor but seem solid

Started to get a bit better after that.


beefed up with thicker 5mm main spine and several additional cross pieces


Lessons learned:
When you think you've cleaned up old steel enough, clean it a bit more.
When the weld is going really badly, stop fiddling with the settings that have worked up to now and go check your earth clamp which is probably only hanging on because you've bumped the trailer a few times.
Welding upside down is difficult")
Don't waste your time or money building a Tahoe. To make it work half way decent you're looking at BIG money. You would be money ahead buying a SxS or starting with a Ranger/Tacoma. If going for looks, anything works.
Been putting this together over the winter, built with old polaris spindles and .120 wall 2x2 and 1.25x1.25 square and 1 5/8" round tube. Havent welded much in the last 7 years, been great to burn some wire and put something together.

TT, dude you rock at this metal stuff. Nice job! I'm ok at the straight forward designs. But ask me to make something like that flower and I'm on my face.
But as much as I have to admire your work and bow to your skills.
Sqenzby wins my vote for project of the week. That table is so badass I'm going to be storing that one in the memory banks for a project. That's just too cool.
And jahama, the trailer is very cool. Are you going to do any type of hydraulics for the dump or just watch how you load it
 I appreciate it. My next one will be a little smaller in size and materials will be 1.5 ss tubing.
 My fiancee actually welded and made the smaller one there. I cut them on my plasma and she grinds. Welds. And bends them up. Great side project for her
Lessons learned:
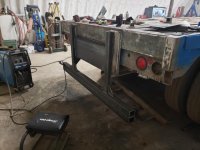
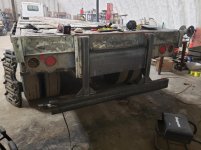
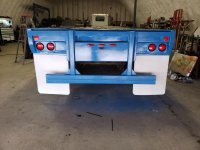
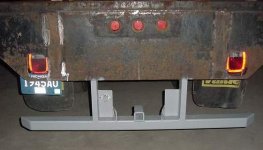
Just finished this junker this morning. Had a ton of welding on it but rear was the most time consuming. Kicking myself for not getting a good before pic.
Built the entire bumper and supports, plated the section in between. Rebuilt both corners, welded in angle underneath for mud flap hangers. And a bunch of other stuff
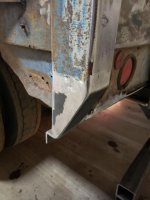
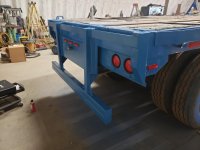
Came out pretty good compared to the rotted out, bent up trailer I began with
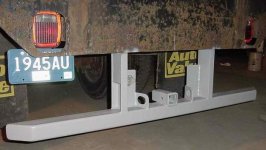
Is there a spec on the DOT bar so it'll lock into docks and such?
Not really for docks. Regulations are for height from ground, distance from trailer, size of bumper
Is there a spec on the DOT bar so it'll lock into docks and such?
Not really for docks. Regulations are for height from ground, distance from trailer, size of bumper
I believe DOT regulations call for a 22" maximum from the ground and no farther inward from the rear of the trailer than 4". I also believe there is a 4" from either side but don't quote me on that one.
When we set up our DOT bars on our trailers we generally shoot for around 20-22 inches above the ground at ride height. Also remember that most trailers these days are air ride so make sure to measure at ride height and not with the air bags deflated.
Some dock restraints do have issues with bars that are too much higher or lower than the DOT spec so they have an over-ride equipped on them. We see this fairly regularly with independents as they will have DOT bars that are too far above the ground and our restraints cannot capture them properly. My opinion is that one they get damage, the owner/operator merely cuts off the damage and has the horizontal bar re-secured to the vertical supports, unfortunately this is usually after they have cut them so therefore the bars are now higher than regulation.
For our fleet we stay at the DOT regulation but it becomes problematic when at least half of your docks are being occupied by independents and they don't follow the spec. We have wheel chocks available for those that won't work with the actual restraints but then we find ourselves constantly replacing wheel chocks as they come up missing.
Sorry, probably much more information than needed.
This was a cool project for tig practice. Still need lots of work.


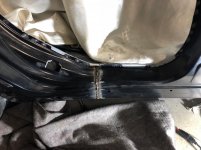
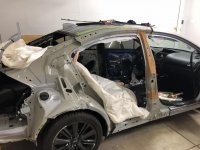
That looks like a pretty extensive job! Good work.Little bit of quarter panel and b pillar r&r on late model wrx


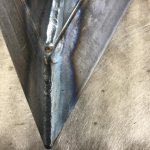
Nice work, what's the reason for overfilling?


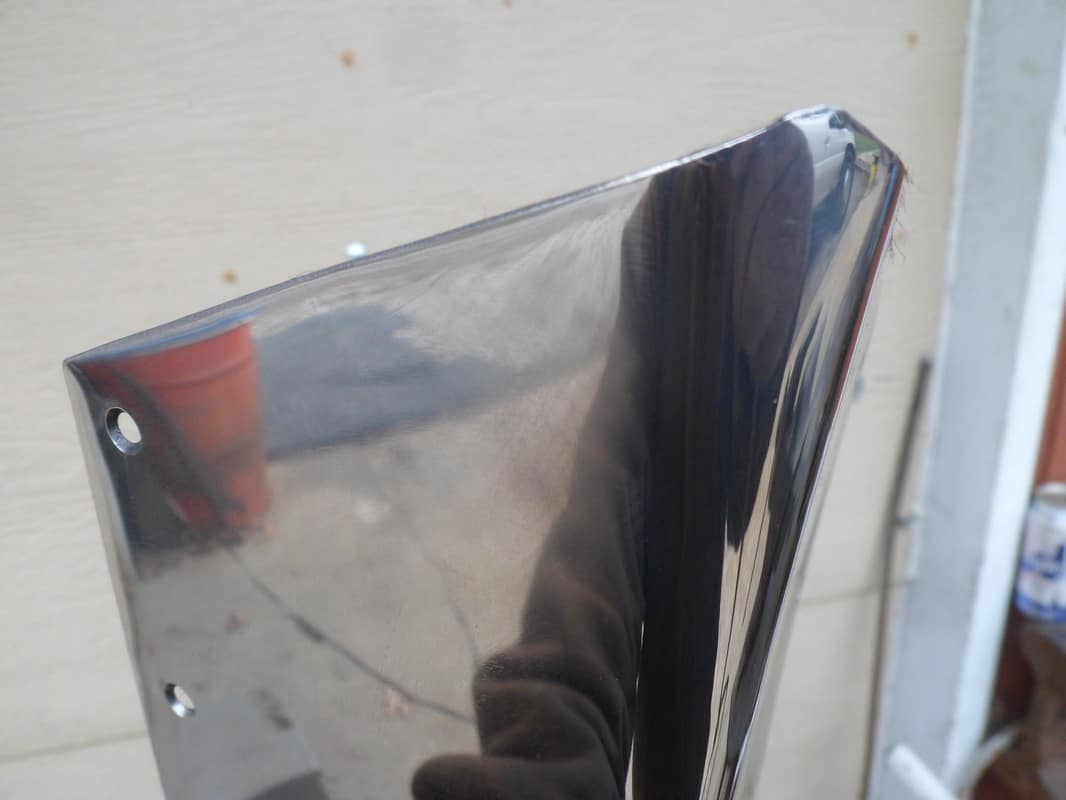
Heres another i'm working on tonite. its a tough 1 because its practically flat at the top but transitions pointed to the bottom. Its fastened to the front a the actual junk bow of the boat it fits.
heres the chris craft this cutwater goes on.

Heres the 1 i pictured last nite. (lower 1) The excess weld taken off/down to base metal using angle grinder then 240 grit sander. The closer 1 pictured has been split to repair damaged areas (deep dents) just aft of the welded point. This 1 is original to customers 1947 chris craft and worth restoring.
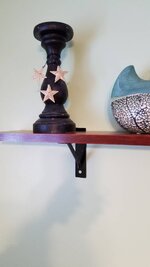
Wife wanted a shelf and I was being cheap.
Sent from my SM-G930P using Tapatalk


Wife wanted a shelf and I was being cheap.
Sent from my SM-G930P using Tapatalk

Thanks bud, it was indeed few long Saturdays worth of work.That looks like a pretty extensive job! Good work.
Looks like you had your purge set up well.
On the ti job that is.