Dan, pretty sure these were the tires I used (flat free with ANYTHING I build that'll see metalworking areas)
Amazing deals on this 13In Flatfree™ Tire, Steel Hub at Harbor Freight. Quality tools & low prices.

www.harborfreight.com
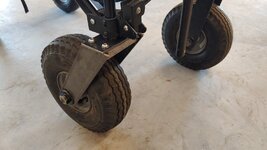
They're 13", IIRC the front casters are 4" - they're double locking, HIGHLY recommended when you ALREADY have enough things irritating you

- I get 'em from Woodcraft. They put 'em on sale about once a year, so I try to replenish my stock then.
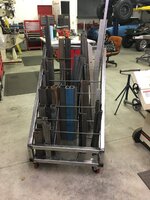
Only ones I use any more are 4" and 5" plate type, altho I've replaced a few of the crappy OEM stem casters with the woodcraft ones too - I have one of those wire rack shelves with milling attachments stored on it, the original gray casters (3/8-16 stem threads) got flat spots (about 600 lbs on the rack) but the woodriver ones have been on it for about 5 years and still no flat spots...
Add mobility and control to your workshop with the WoodRiver 4" Heavy-Duty Double Locking Swivel Caster for sale online or visit your local Woodcraft store today!

www.woodcraft.com
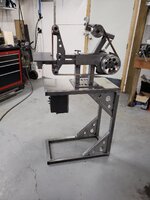
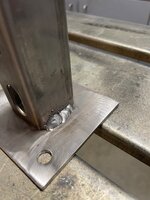
On the rear wheels, I originally just used bolts for individual axles but found that the angle tended to flex with the weight - so I replaced it with 5/8" allthread (see previous pic) -
If you wanted a bit more height, you could go with the 5" casters
Add strength and stability with the WoodRiver 5" Heavy-Duty Double Locking Swivel Caster. Durable steel design and 4-hole mount for sale online or visit your local Woodcraft today!
www.woodcraft.com
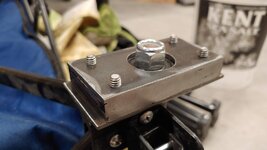
(the ones I linked are only a buck more each for 5") - then the rear axle could be under-slung - this would keep it level and about an inch heigher than mine. If I were to do that I'd use 2 coupler nuts (1 under each side of the frame) - I'd screw the nuts onto the allthread FIRST, get everything lined up BEFORE welding the coupler nuts to the angle with 4 fairly heavy tacks per nut - OR, you could weld the nuts FIRST so you could learn the HARD way like I did a long time ago
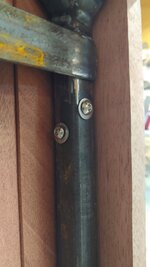
Notice that where the original axles went there are 5/8" nuts welded to the new frame - I screwed short 5/8 bolts in those to retain the saw in the frame. Downside - this made the rear wheels drag, that's why all the washers/nuts, etc, something to be aware of if you copy THAT part...
Coolant - I've never used it, probably never will. Besides the Jet, I have 2 of the little 4x6's, the old one came from Camarillo Ca. when that was
HF's ONLY store - it still runs fine and cuts straighter than the one I bought about 8 years ago (more cast iron, less pot metal)
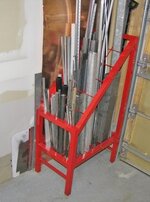
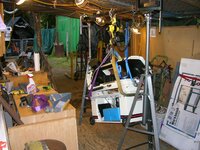
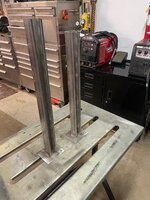
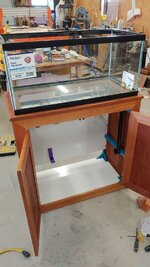
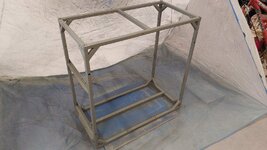
I found a few more pics of the base project, might give you more ideas... Steve
(#13 is how NOT to do it :=)


 Keep yer stick on the ice