PugetDude
ALLIANCE MEMBER
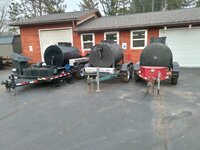
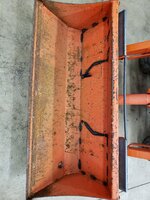
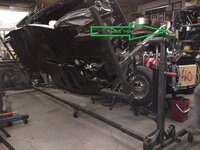
Any baffles in the tank? That's 4300+ # of water sloshing around back there., could be more if the specific gravity of whatever you're hauling is greater than 1.0. When I was in the ag tank business we always tried to put baffle(s) in anything over 500 gallon that was going to be licensed for the road.Ready for wiring/ paint / 4 new tires then state DMV to get a vin # . And thats a 525gal tank on there .