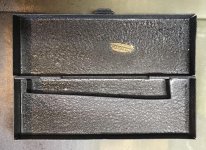
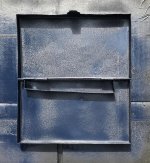
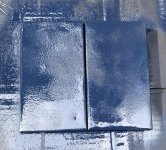
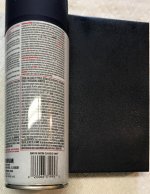
I made some auxiliary gauge pods recently and used VHT Wrinkle Plus paint. The instructions on the can say to put on three heavy coats five minutes apart. I had some thin areas the first time and those places stayed shiny black , without wrinkling.

I used a razor blade to shave the paint off, so I wouldn't need to use much paint stripper.


Then I wiped the stripper residue off with mineral spirits, sanded them and wiped with mineral spirits again, before spraying them for the second time.

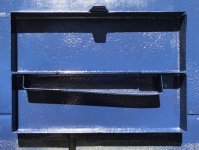
I made little stands for the pods, so I could get easier access while spraying them and they came out much better that time.


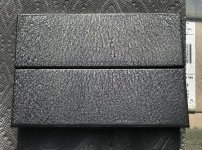
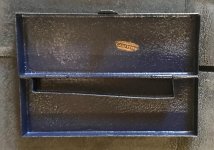
The wrinkles are pretty thick, but fine for this application. I like the look of a finer wrinkle also. The main thing is to get the paint on evenly.
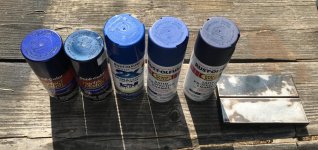
I also baked them in the oven for an hour at 200 degrees. ( according to the instructions on the can ). The paint was still soft after 48 hours, but the baking hardened it nicely. This photo shows the little aluminum stands I made to support them while baking.

It did stink up the house a bit, but the cookies I made the following day tasted just fine. (Peanut butter, oatmeal, chocolate chip, raisin, walnut cookies).
So, not a tool box, but it sort of ties into this discussion... so, I thought I'd share.
Tom