Re: Making my own race-car wing
I took a detour this weekend.
I'm waiting for replacement NiChrome wire, and also realizing that a single-piece wing will probably exceed the capabilities of my simple hot wire setup. So, my new plan is to make a two-piece wing that will actually remain as two pieces -- something I can carry in the car and then assemble at the track like an all-aluminum two-piece one I made a few years back.
At the same time, I got the quote back from the outfit that cut my wings and it was lower than I remembered. So I went ahead and ordered a single-piece core as a kind of insurance for this whole project. It arrived in a few days, so I decided to jump ahead so I would definitely have a wing to test for my June 17 track day.
How fast can I make a wing? Pretty fast, now. Because I just don't make 'em strong enough, apparently.

Here's the thing that got this started. I'd reused an aluminum spar and also put a few holes into it in the construction process, and after several years of use, it snapped.
So, the next spar will be thicker aluminum, without stress-concentrating holes. But in addition to the EPS foam core, I'll need mounting points and end-pieces to attach the end plates to. I traced the airfoil shape out and then drew the feet and piece that would provide support all the way back to the gurney flap.
I cut the shapes out of thin plywood. I recently started using my jigsaw upside-down in a vise. For some jobs, it seems easier.
And once I have a wood version of the shape, I've got a way to make as many copies in aluminum as I want. The trick is to rough cut the aluminum piece -- make it 1/8" to 1/4" too large all around, without having to worry about getting the shape actually right. Then I adhere the correct wood shape to the too-big aluminum version and use a tabletop router to trim the aluminum piece down to the exact shape of the wood model, using a straight-cut bit like you'd use to trim laminate for a countertop.
I hope that makes sense. Here's the router bit with its bearing-type guide following the wood shape and cutting the aluminum to conform.
This shows the conformed shape. My bit is pretty dull. But I'm cheap and don't want to replace it yet.
So, here you see two each of the aluminum parts sitting on top of the wood models.
Ready to go, now. I conform some thin aluminum to the airfoil shape, and then rivet (with L-stock) the leg pieces to the thin aluminum. The weight is there while I wait for the cheap-but-slow-curing foam adhesive.
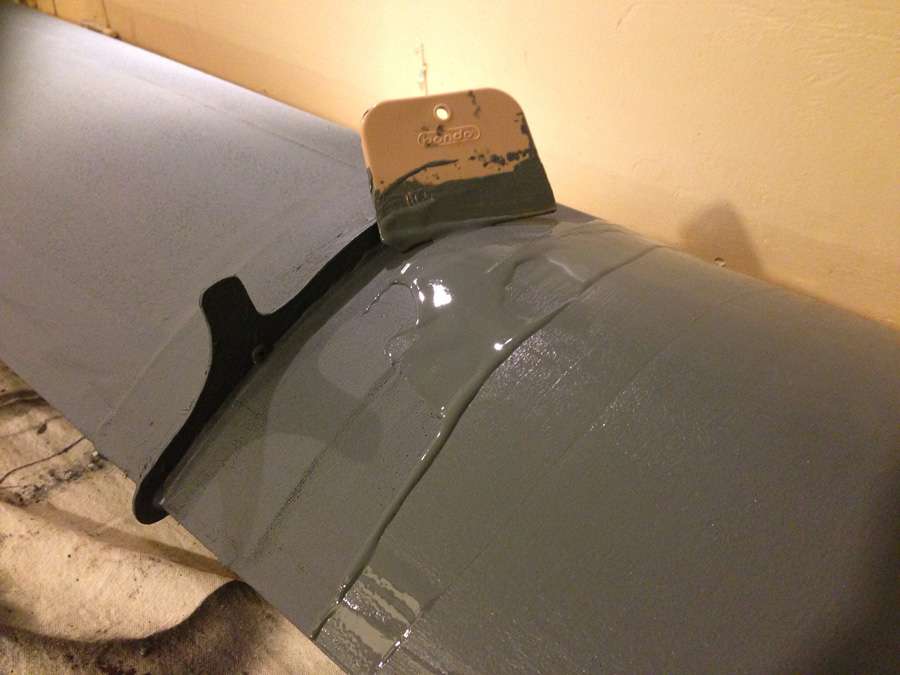
One setback. I damaged the thin trailing edge of the foam. You can see it in this picture where the aluminum gurney flap piece meets the wing near the far end. So I did my best to make up for it with a longer piece of aluminum for the gurney piece -- and later some spackle.
I use 3M structural adhesive to bond the aluminum pieces together where the spar meets the end plates and where the endplates and base pieces meet the gurney flap.