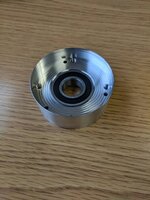
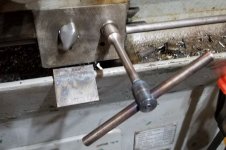
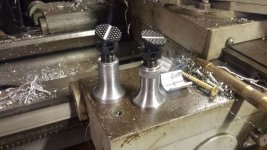
Here's the finished product. I was hoping to get the slot in the screw to line up with the bar, but it didn't work out that way. Still happy, though!
.
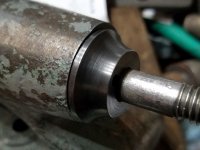
If you want to line up that slot you can figure it out.
Divide the pitch into one to get travel per turn of the fastener. Divide travel per turn / 360 to get travel per degree of turn. Figure the degrees it needs to turn and remove that from the thickness of the handle or from under the screw head.
example if that is a 1/4-20 thread
1/20 = .050"
.050/360 = .000138" per degree
it looks like you need ~120 degrees so
120 x .000138" = .0167"
So remove that amount and your inline. Or you can figure a spacer that will cause the screw to not turn so far.
That is a nice looking handle.
lg
no neat sig line


 Then came woodworking, then machining...and then all the tooling/acquisitions to organize, improve the tools and machines themselves