1/2 Cup
Member Emeritus
There is nothing like having a stock of materials like that, you imagination is the only limit.
Regards
Regards

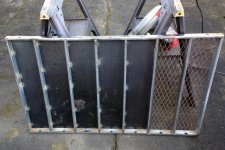
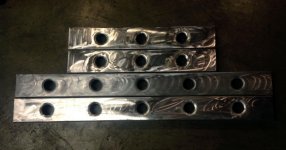
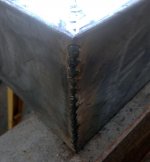
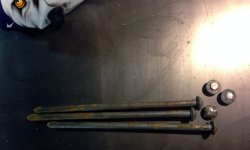
Recycled 1.5" square tube. Still trying to decide what it's going to become.


1/2 cup,
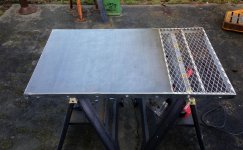
I'm contemplating a welding/work table. Somewhere between yours, and a Harbor Freight welding table.
Sturdy enough for some light welding, miter saw/ table saw stand/ assembly table, and somehow incorporate all of the wonderful aspects of every welding table/workbench/vise stand/ on GJ.
Well, that may be asking a little too much.
Toxic,
I'll work up a shipping quote for ya.
I know that you are more than capable of achieving a great outcome that will suit your needs, looking forward to seeing how it turns out.
Yes.
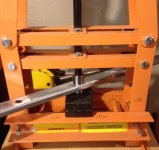
One of my favorite tools.
Sounds like my kind of plan
I work off plans/to spec all day at work. It's kinda nice to come home and just freewheel on a project in the shop.
No plans, no customers, no deadlines. Kinda like therapy.
At least until your rip your new Mechanix gloves on your 12" disc sander.
(Minimal skin loss).
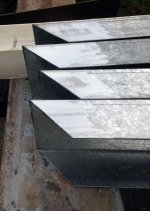
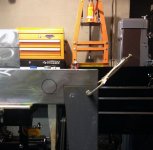
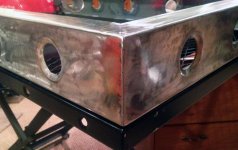
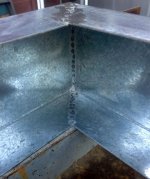
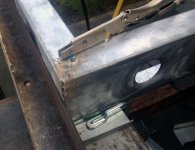
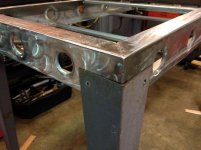
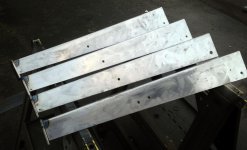
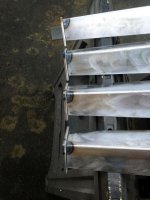
Between football games I did get a little shop time today, and cranked out some feet for the welding table legs and got the receiver hitch tube laid out and cut/fit.
Ready for some more welding tomorrow.

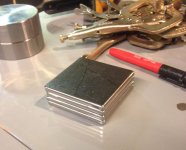
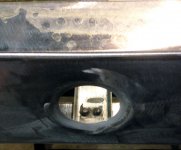
Consider your rivet weld idea STOLEN, fantastic..