OP
RivennHewn
Well-known member
Thanks guys,
Much appreciated.
Much appreciated.


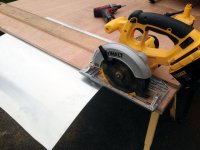
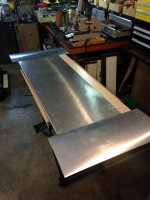
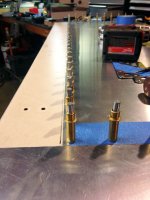
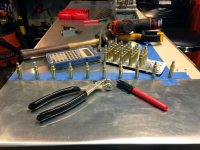
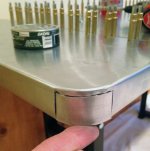
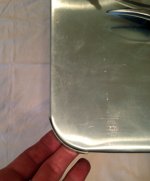
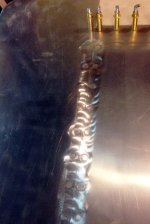
I set the top onto the legs for the first time this evening.
Not sure how I'm feeling about how they go together.
Not bad, just not as cool as I had envisioned.
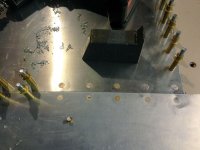
As it sits tonight:


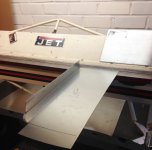
Is that the Jet 12" disc sander?
just read your thread I am going to use some of your ideas thank you
You kind went and did what?
Kinda hard to tell WTF without any info of what you did.
Ok I assumed your WTF was asking why it looks like it does. Not sure what that's all about now.
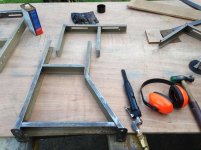
Damn the torpedoes, full speed ahead...
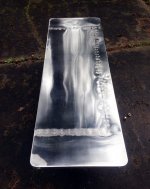
Sometimes less really is more.
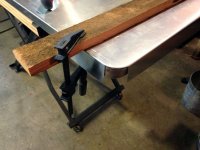
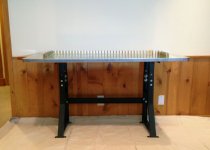
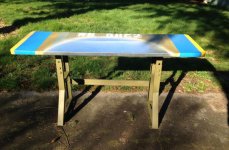
I'm going to call this one done.