Sunbimmer
Well-known member
Re: Starting on sheetrock
Yes these things are an absolute joy to work with and an absolute musthave if you're doing drywall.
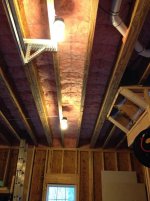
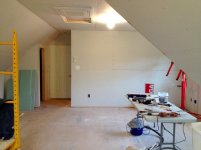
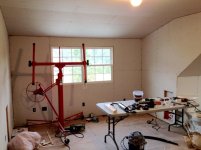
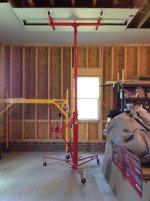
I finally get to use my HF drywall lift that I got on sale more than a year ago. This thing makes installing the ceiling panels a breeze.
Yes these things are an absolute joy to work with and an absolute musthave if you're doing drywall.


 (466x640).jpg")
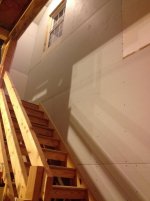


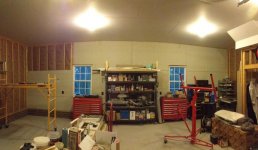
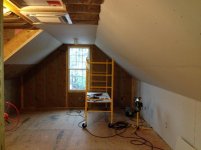
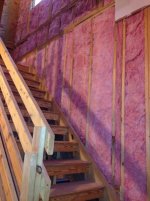
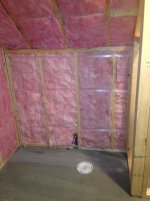
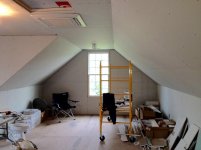
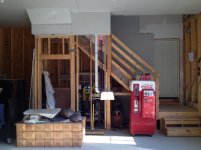
 where it is stepped out for the stairs, can you continue that framing on so you dont have multiple different angles?


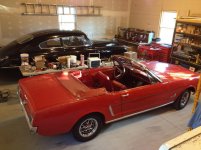
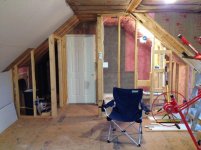
 Very nice place you got there. I'm following your progress with interest