Well all of the pictures went missing so I had to go back and edit all of my previous postings to get them to show back up. How do I keep from having the thumbnails at the bottom of each post with pictures without getting a photobucket account? I won't get photobucket as it doesn't agree with my computer here for some reason.
The next stop on the T^4 (Thanksgiving Treasure Trove Tour) was back in my home town. When I was in 7th grade I was riding the bus home and saw that a door was open to a barn that had never been open that I had seen before or since. All I saw inside was rows of old cars, I didn't know much back then, but I knew they were old. Fast forward 12 years when my first daughter was born I thought it would be a good idea for us to build a car for her that would be 100 years old at some point during the restoration. That would mean I'd have to find a 1927-1929 for her or a 1930-1932 for the younger daughter. I was brought back that day in Jr. High on the school bus so I decided to pay the old farmer a visit. Turns out his father was the one who sold my grandparents the farm my family lives on now. He did in fact have cars in the barn and allowed me to go take a look at them and said they would be for sale for an appropriate price. Not a screaming deal but about what I could expect to find anywhere else. Enough talk on to the pictures.
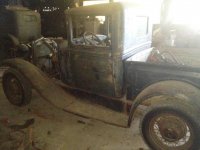
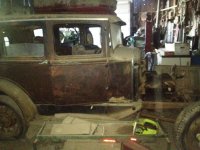
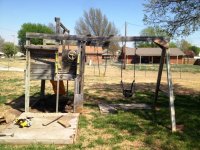
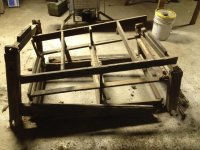
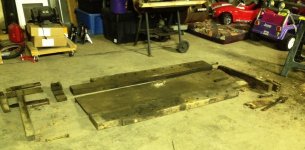
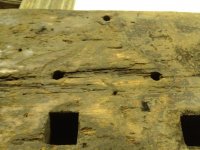
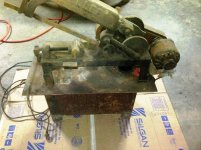
I don't know what this is or the year other than it is/was a ford.


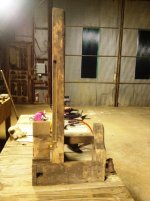
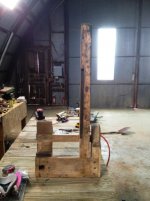
He had these 4 at his shop and 3 more at his fathers old shop, he didn't say what the others ones were, but these 4 are all 1929-1931 Ford Model A's and two of the sedans are 29's. I am thinking about buying all 4 with a friend of mine from college. He wants the truck and I'll take the 3 sedans if we can come to terms on price. I'm really excited about this and will try to get them purchased in the next few months. This is me doing the happy dance.
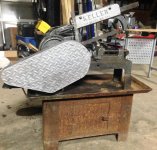
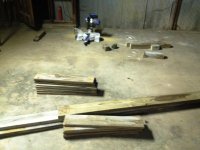
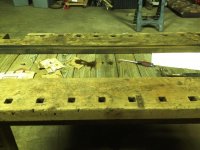
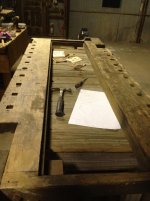
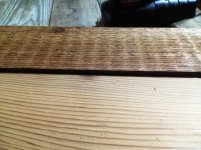
He also has three grill surrounds for what I would presume are also for Model A's.
Just when you think my week of T^4 couldn't possibly get any better there is more on the way...
The next stop on the T^4 (Thanksgiving Treasure Trove Tour) was back in my home town. When I was in 7th grade I was riding the bus home and saw that a door was open to a barn that had never been open that I had seen before or since. All I saw inside was rows of old cars, I didn't know much back then, but I knew they were old. Fast forward 12 years when my first daughter was born I thought it would be a good idea for us to build a car for her that would be 100 years old at some point during the restoration. That would mean I'd have to find a 1927-1929 for her or a 1930-1932 for the younger daughter. I was brought back that day in Jr. High on the school bus so I decided to pay the old farmer a visit. Turns out his father was the one who sold my grandparents the farm my family lives on now. He did in fact have cars in the barn and allowed me to go take a look at them and said they would be for sale for an appropriate price. Not a screaming deal but about what I could expect to find anywhere else. Enough talk on to the pictures.
I don't know what this is or the year other than it is/was a ford.
He had these 4 at his shop and 3 more at his fathers old shop, he didn't say what the others ones were, but these 4 are all 1929-1931 Ford Model A's and two of the sedans are 29's. I am thinking about buying all 4 with a friend of mine from college. He wants the truck and I'll take the 3 sedans if we can come to terms on price. I'm really excited about this and will try to get them purchased in the next few months. This is me doing the happy dance.
He also has three grill surrounds for what I would presume are also for Model A's.
Just when you think my week of T^4 couldn't possibly get any better there is more on the way...


 If you have a garage you are working on make sure to post it and let me know so I can check it out.
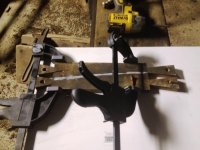


")


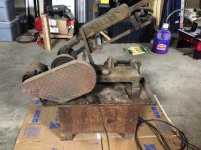
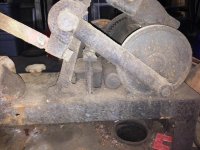
 I'm not sure where to go from here, I could either try to find another old looking motor, or buy a new motor and stuff it into the old case, I'm not sure what to do right now. Some research is in my near future I do believe. Thanks to everyone for reading my ramblings, have a great day and keep moving forward.