It's been some time since I've shared organizational stuff in the garage and there's good reason for it - I've been incredibly busy at work, home remodel, and my first passes at furniture building. I've decided I'm going to set some goals for the thread this year and see if I can get it back on track.
It was all about Garage Organization at first but over the past two years I've realized something significant - my organization needs in my shop are evolving into something other than what they were when I first built the shop and the primary reason is that I don't use my shop the way I used to previously.
7 years ago, I was all about
- Machine Shop
- Small Item Fab
- Few Machine & Setup
- Repeat process
- Workflow
- Lean Manufacturing
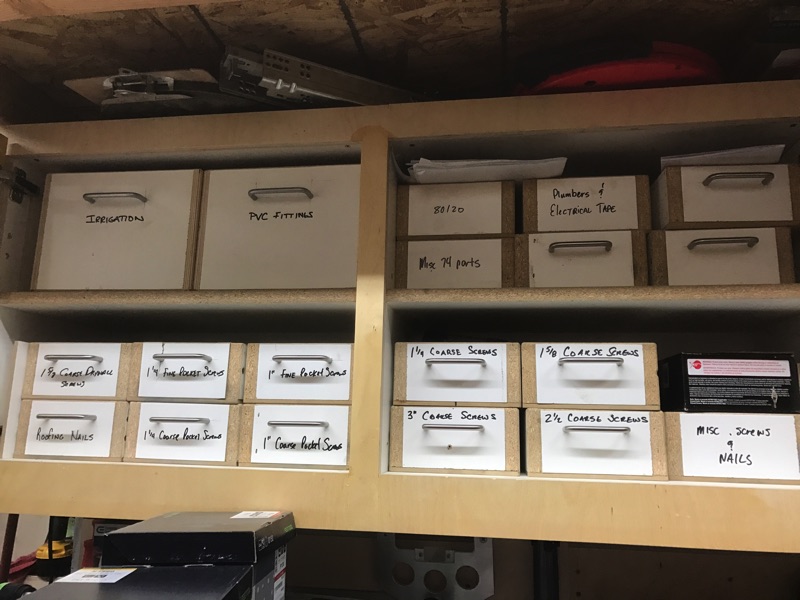
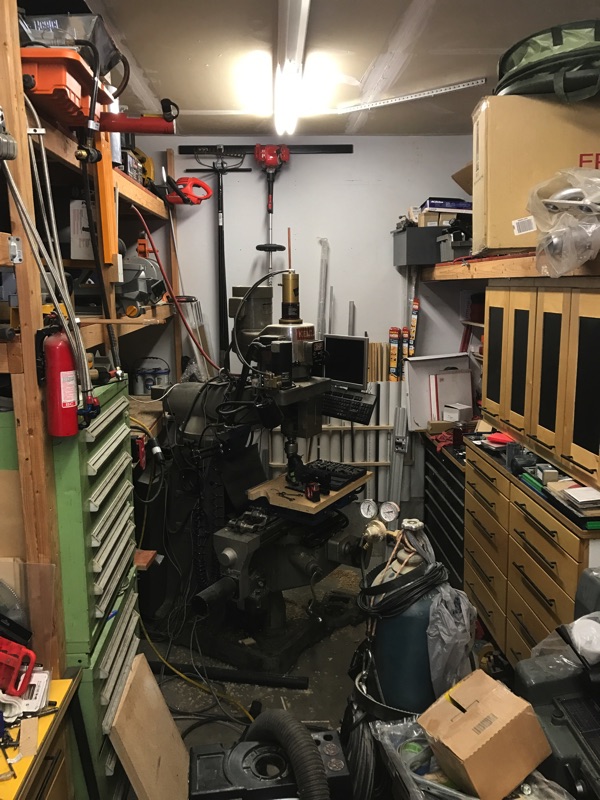
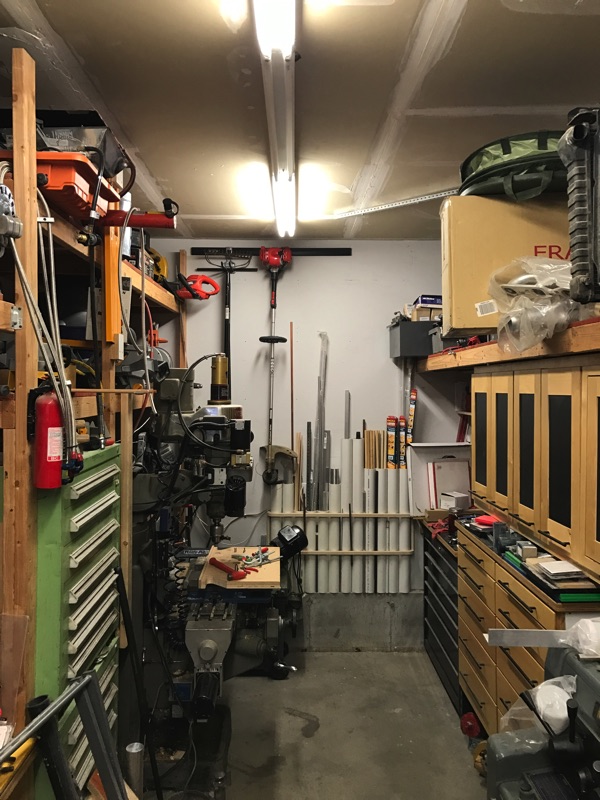
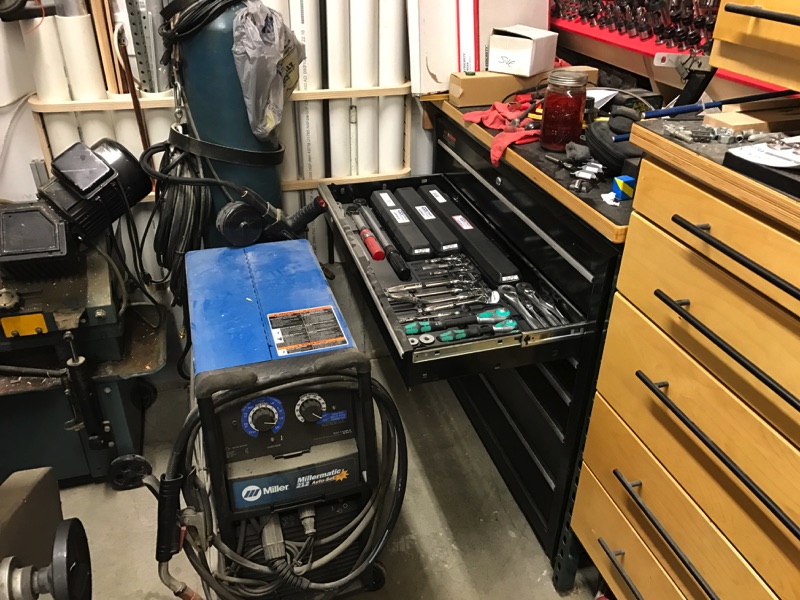
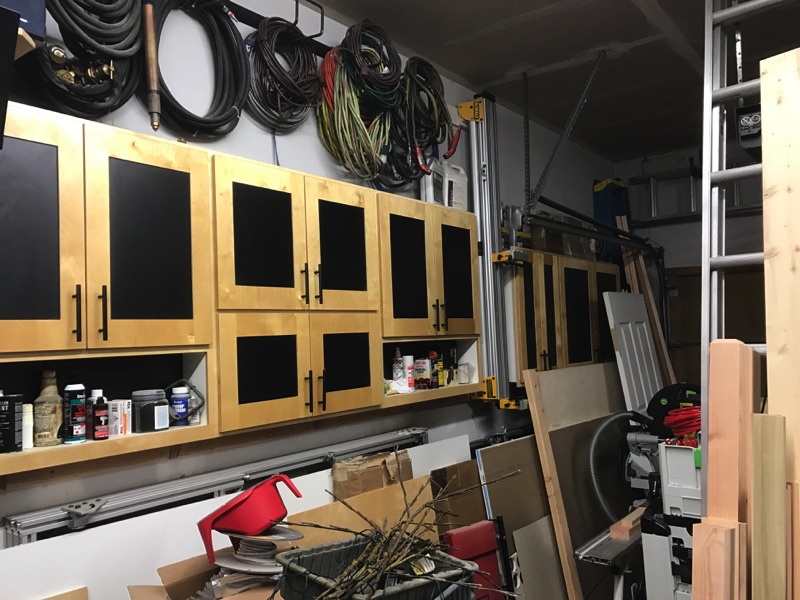
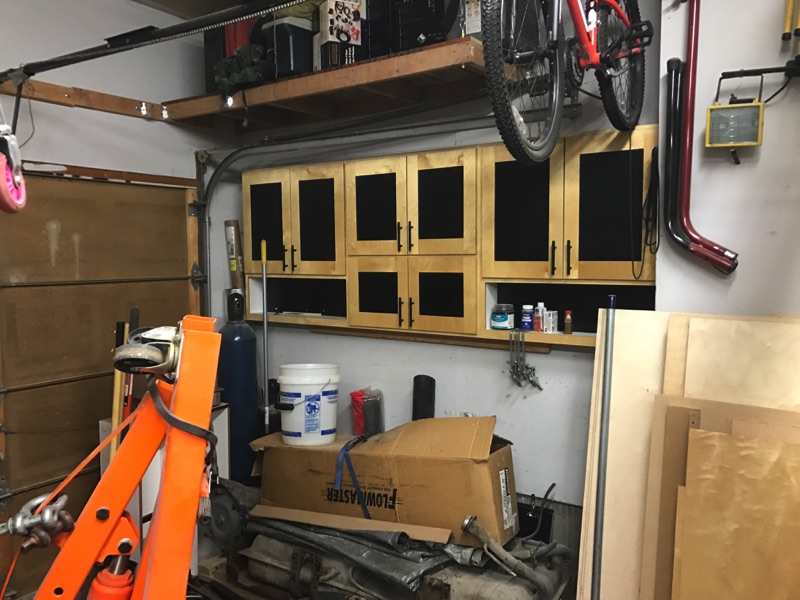
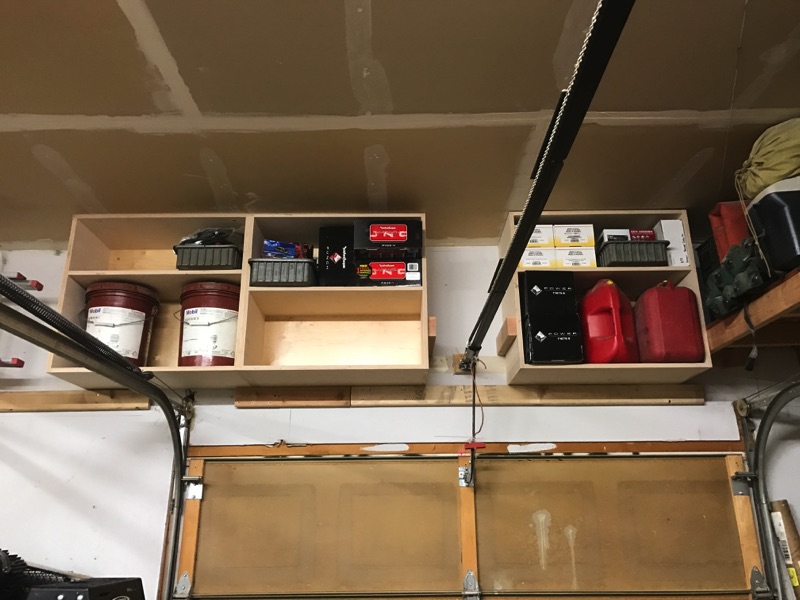
All items generally stayed in the shop, were installed on a vehicle, or were shipped out/sold/whatever. In most cases, the stuff I was doing was working on the shop. All processes fit the mentality of my manufacturing business. Setups like shop carts, benches, and large cabinets with drawers are ideal because all activities are in the shop and never leave.
The way I've been using my garage for the past 7 years is
- Woodworking
- Large Item
- Multi-machine
- Multi-process
- (less) Lean Workflow
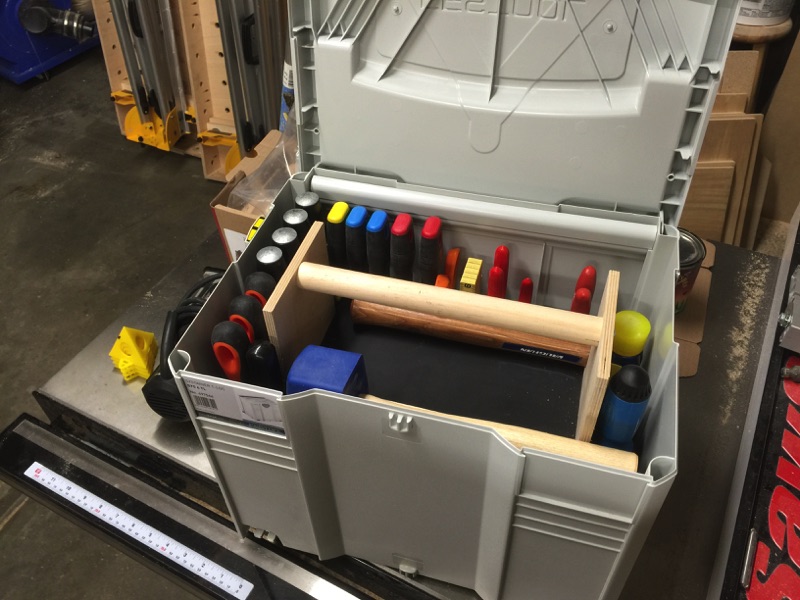
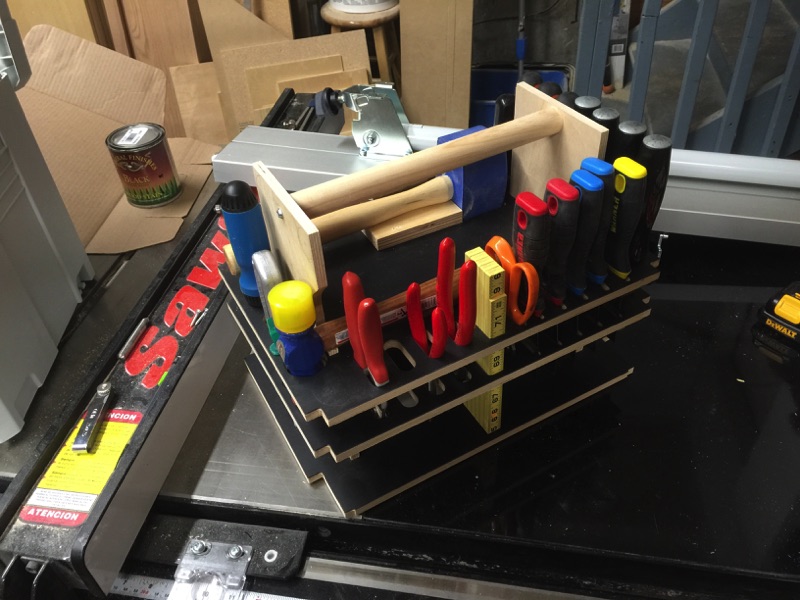
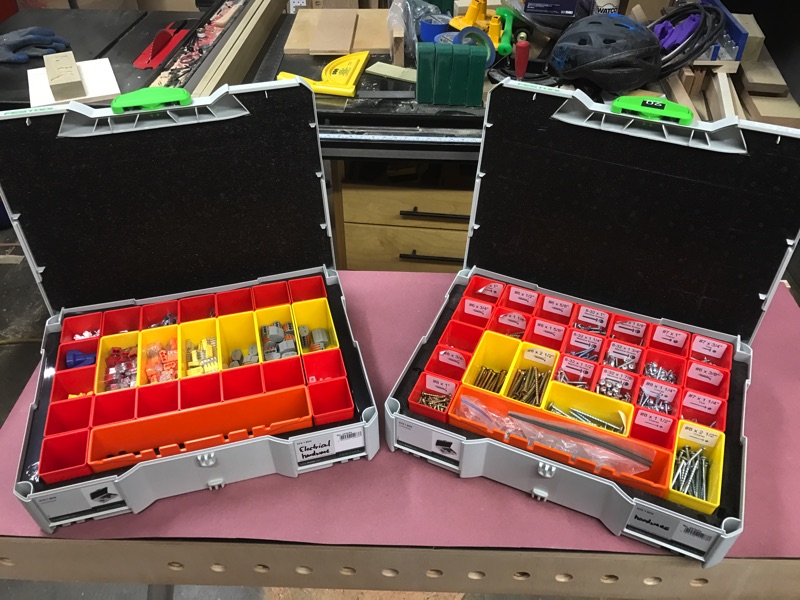
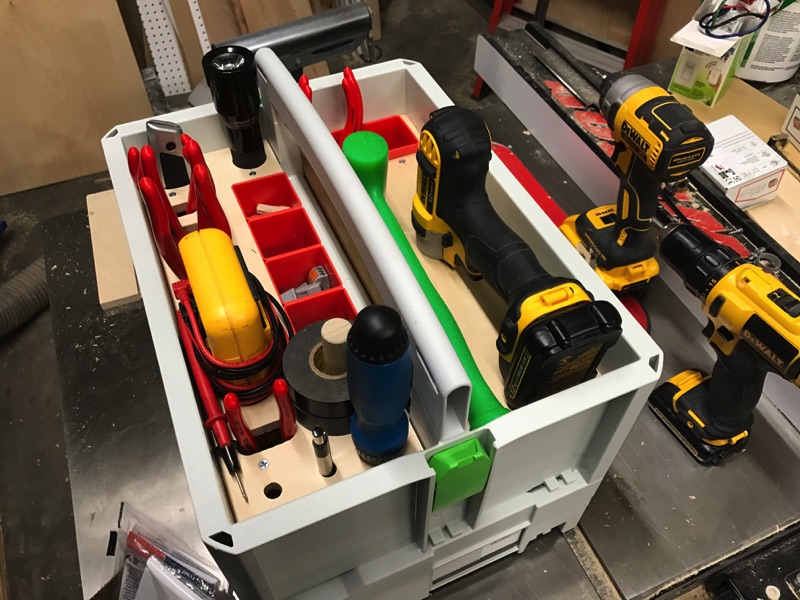
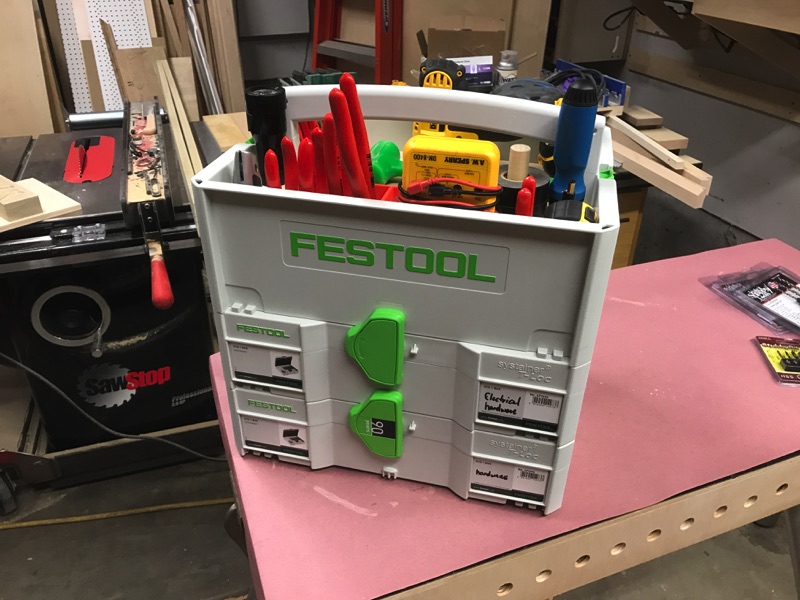
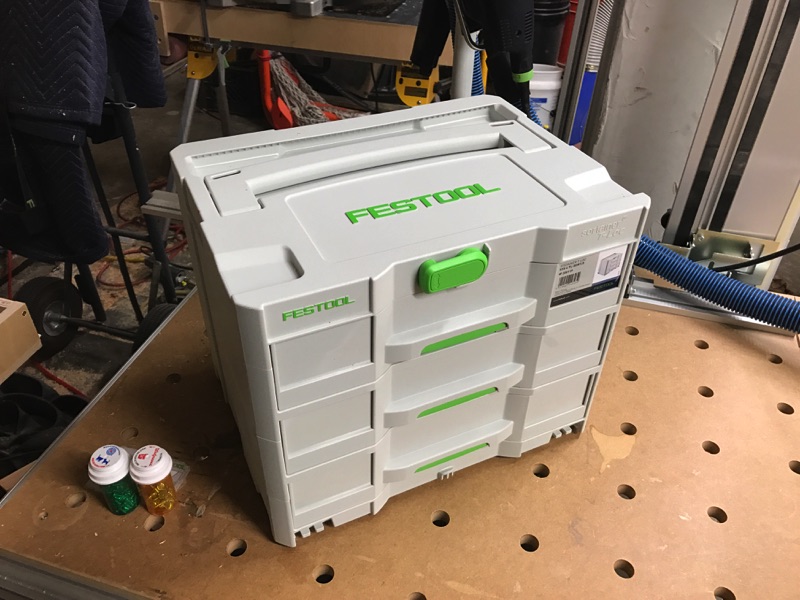
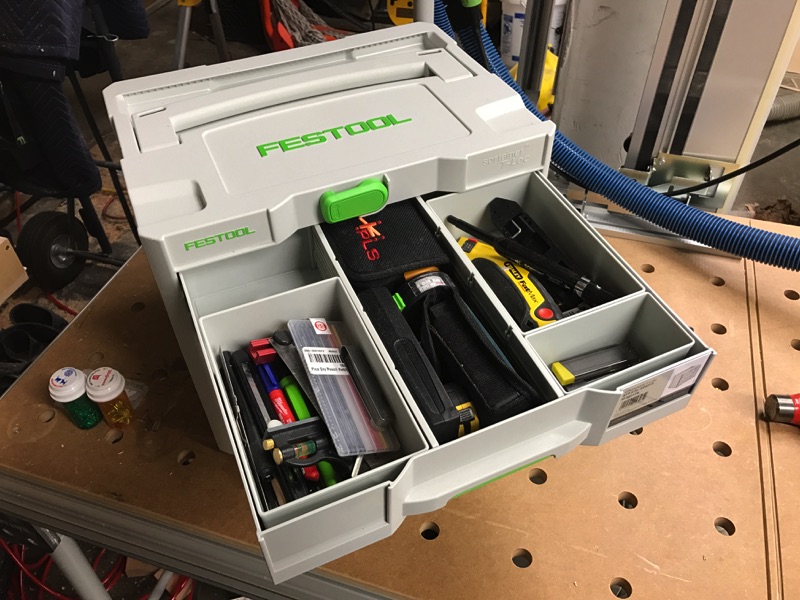
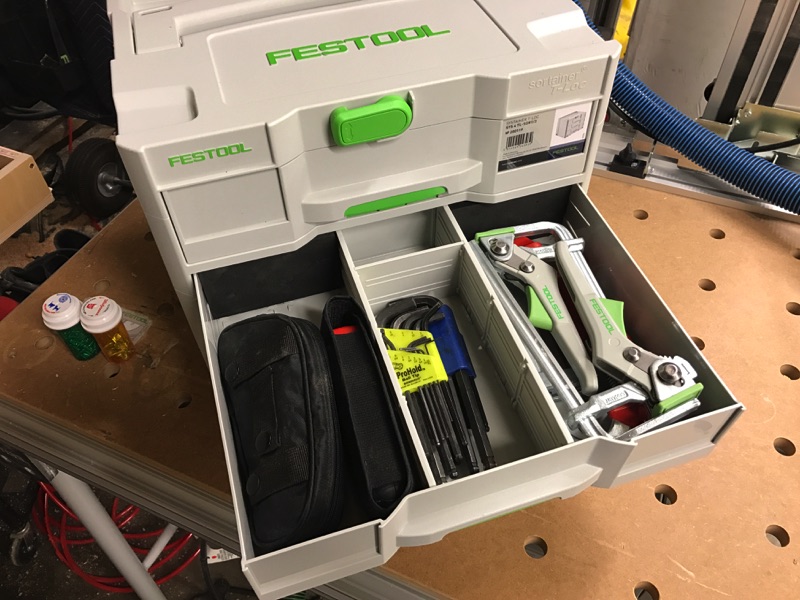
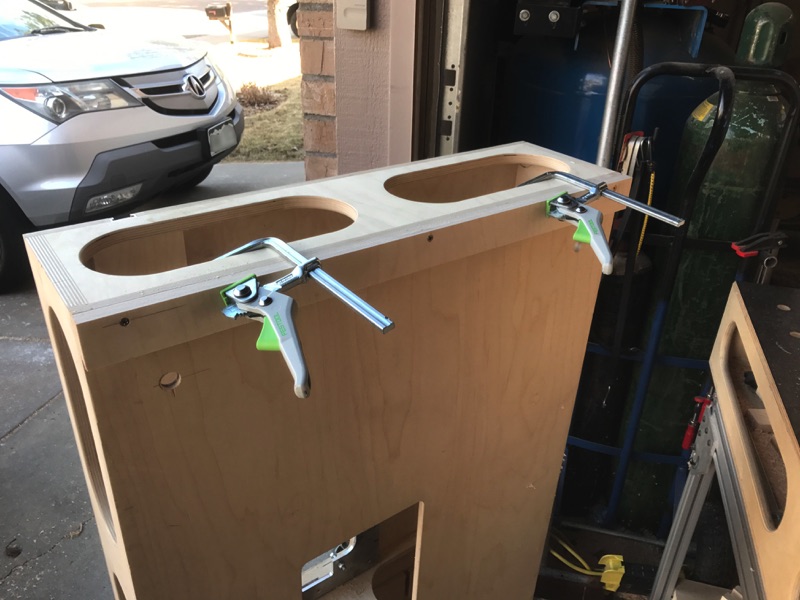
All items never stay in the shop. They go inside the house (or yard) to be installed/fitted/or whatever. Many tools need to be used inside the house, hardware taking inside the house, etc. Mobility becomes important. The shop cart and benches can't come with. Tools must be carried inside and between floors using tool bags or boxes. Hardware and other consumables must be mobile. Trips back and forth to the shop for additional tools and consumables are extremely inefficient.
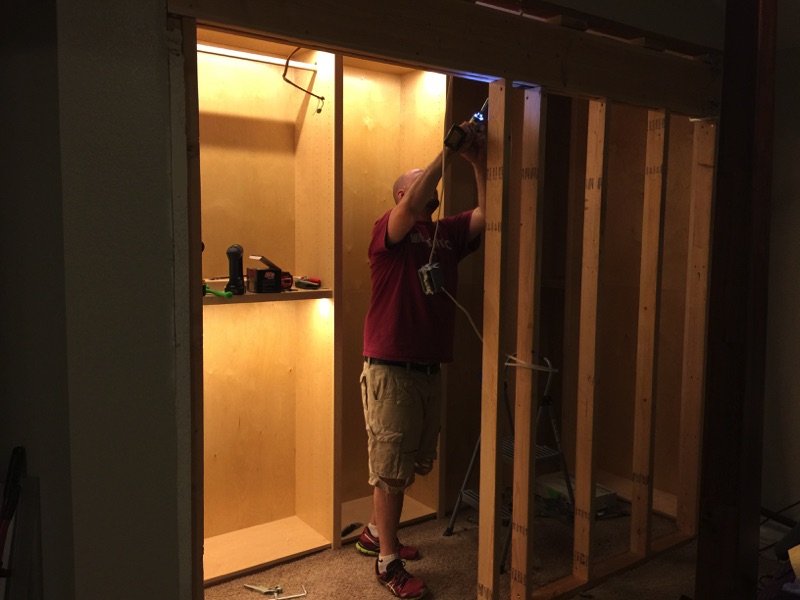
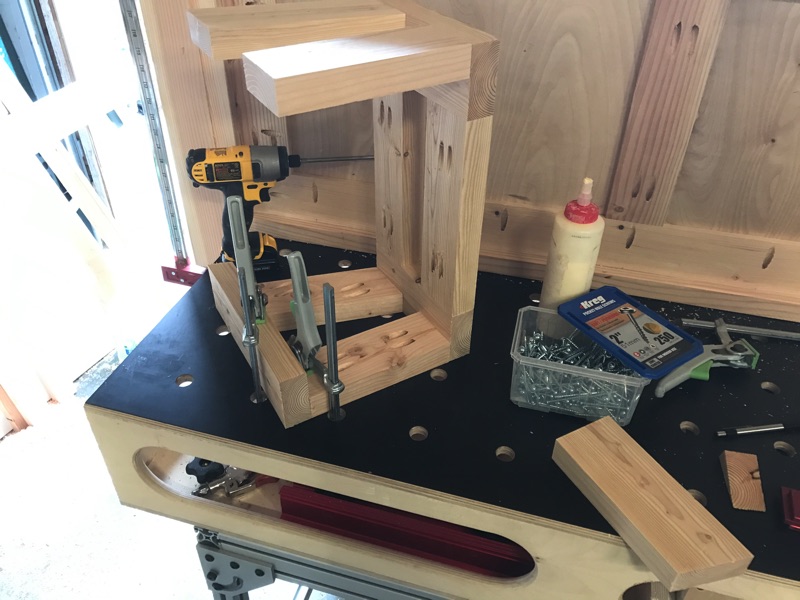
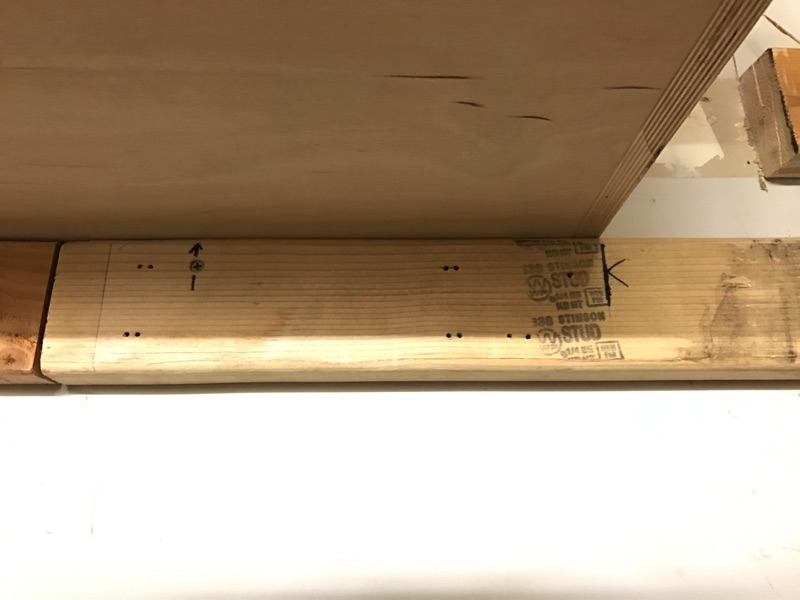
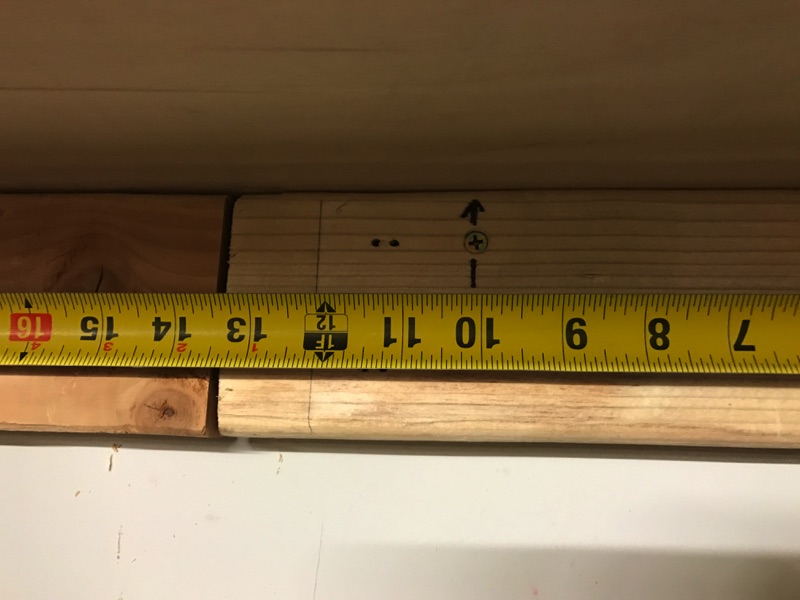
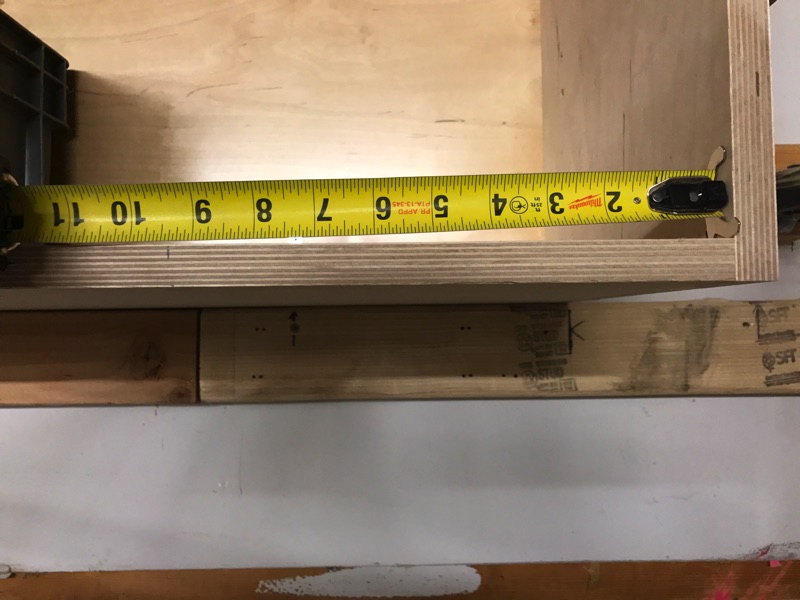
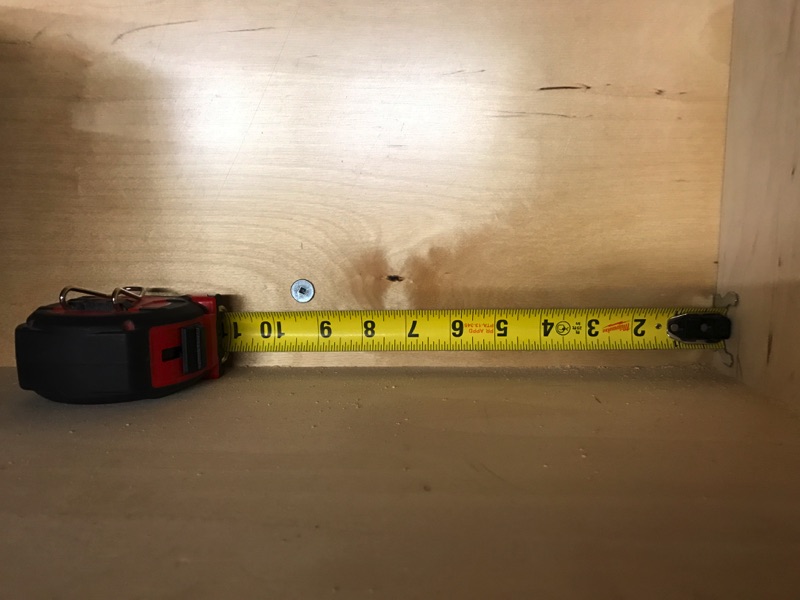
Built some shelling unites in the Master Bedroom. Needed dozens of tools and a variety of consumables over the course of the two months it took me and the wife didn't want piles of tools in the bedroom in between. Every night I'd have to clean up and move the tools into the guest bedroom. After the master closet, we painted nearly the entire interior of the house and re-did the staircase.
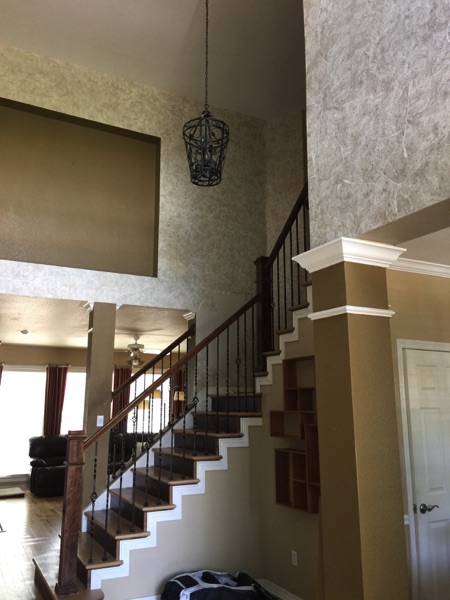
Before:
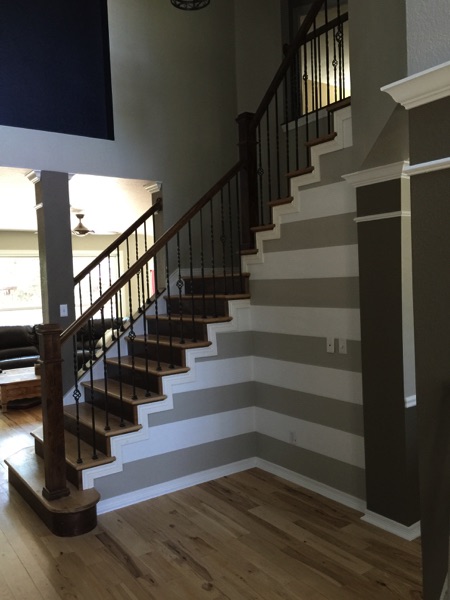
After:
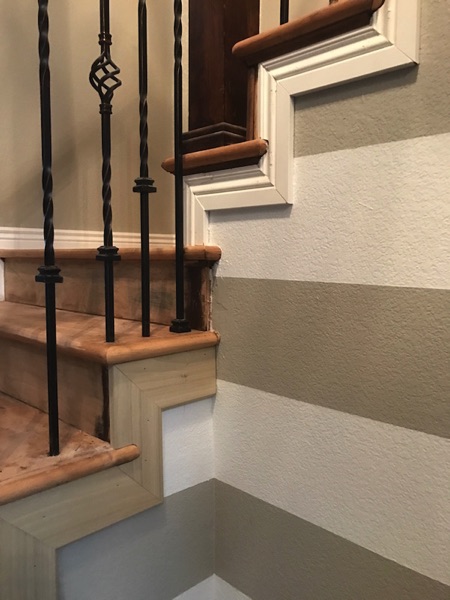
Removed all of the wallpaper and found that there were many drywall repairs, walls without texture, etc where I needed to spend time with a completely different set of tools than what I used the the closet project. The we decided to re-do the staircase. Seems the PO was a seasoned trim guy.
So yet another type of tools come out and now it's sanding and trimming out the staircase.
Followed by taping, filling, and painting
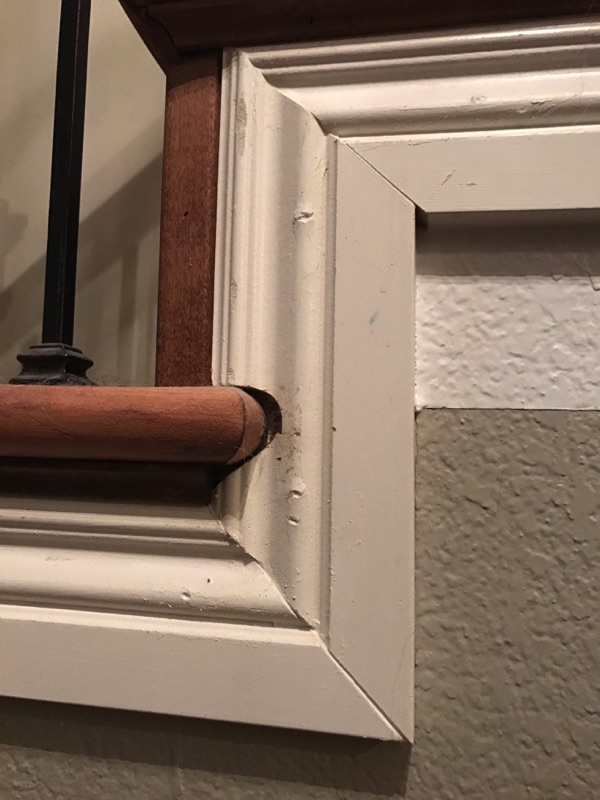
Have to wait until the weather warms up so I can spray the face frames of the cabinets and the railings on the stairs.


")