BoilermakerFan
Well-known member
Subscribed! Looking forward to this evolution...


So you’re saying that if I didn’t buy tools I wouldn’t need them to build things to organize them?! Hell...never looked at it from that angle.
Hmm
I never woulda had to organize in the first place which would have prevented me from needing to re-organize.
Which would mean...
I could technically have a smaller garage AND my wife would easily be able to park in it which would make her happier.
Did my wife put you up to this?!?
Sent from my iPhone using Tapatalk Pro


stioc said:Haha! No, that was about me, where I go thinking "oh with a table saw i could build cabinets for the house" but I end up just building jigs, sleds, tool storage for the table-saw itself and then it gets tucked away because by that time I've found another tool to fixate on...hello mill...hello lathe...hello lift...hello labscope...hello plasma cutter...on and on. It really is a disease
In your case you actually do use your tools to do the house upgrades/remodels etc


I understand the desire to have things match/symmetrical, but that sysport looks good.
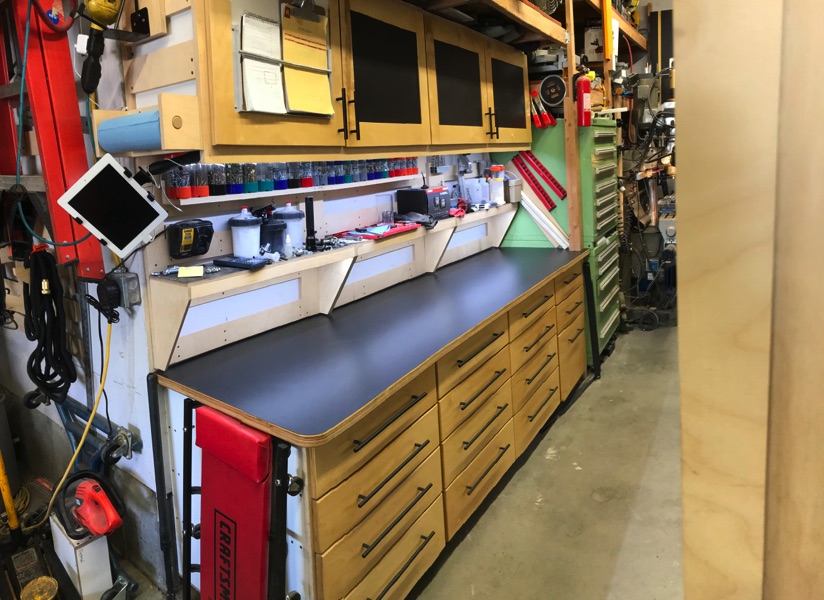
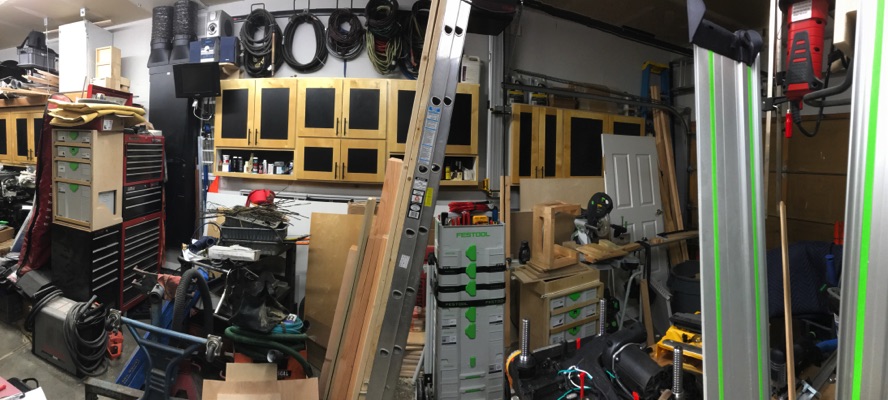
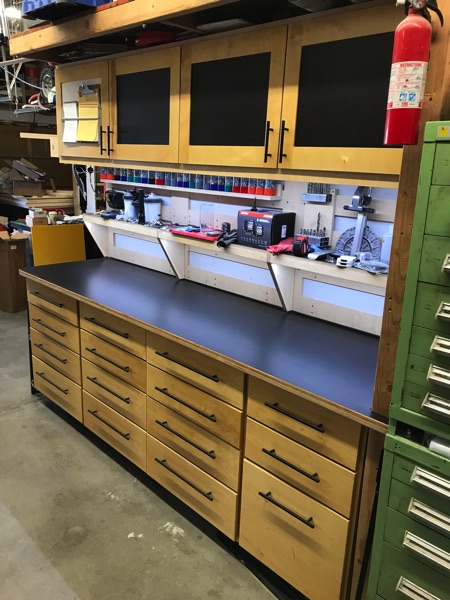
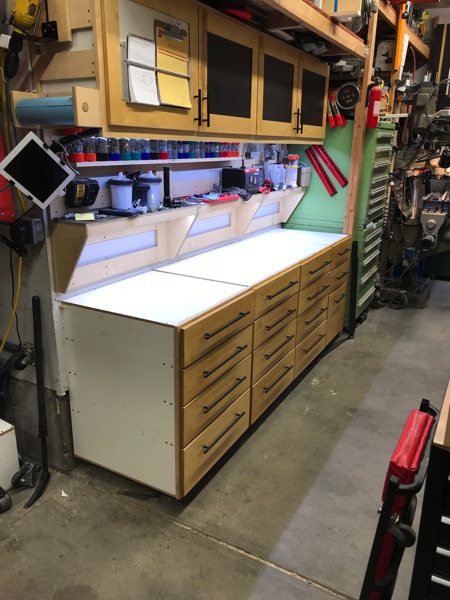
How big is your garage? It looks huge from all the stuff / pics but my best guess is it's one of those "L" shaped 3-car tandem garages?

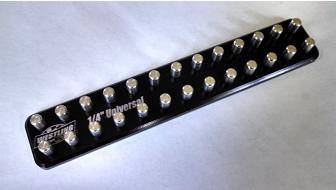
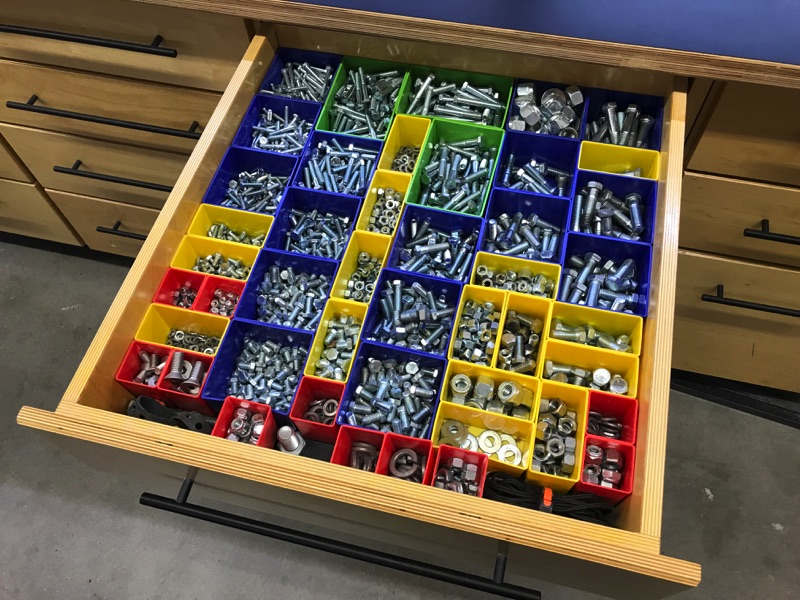
The Westling trays are as perfect as you're going to get in that 'open' style (not set sizes) far as I have ever seen. I use two of them for hex/torx impact sockets, for instance.
bj383ss said:So on the Westling trays that you want to make does the stud have to be metal. I made mine from dowel rod. What if you made your studs from HDPE you turned on the lathe? Then you would have control of diameter and height.
Bret
I made my own version of the Westling trays with scrap plywood and 3/8" dowel rod. It works great and only took 30 minutes with scrap pieces.
Prometheus said:Any way you could do something like the Ernst twist lock rails?
http://www.ernstmfg.com/Twist-Lock-Socket-Organizers.aspx.
You just add you remove clips as needed. One of the best solutions I've seen.
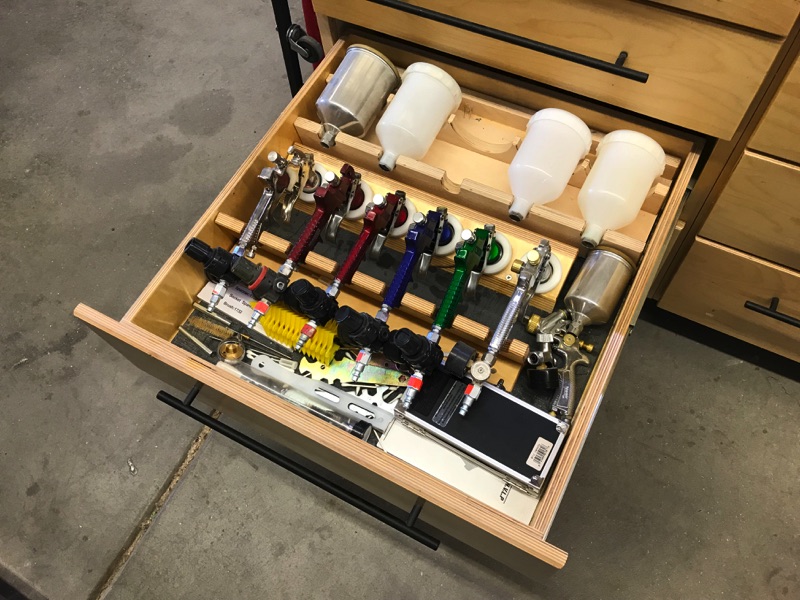
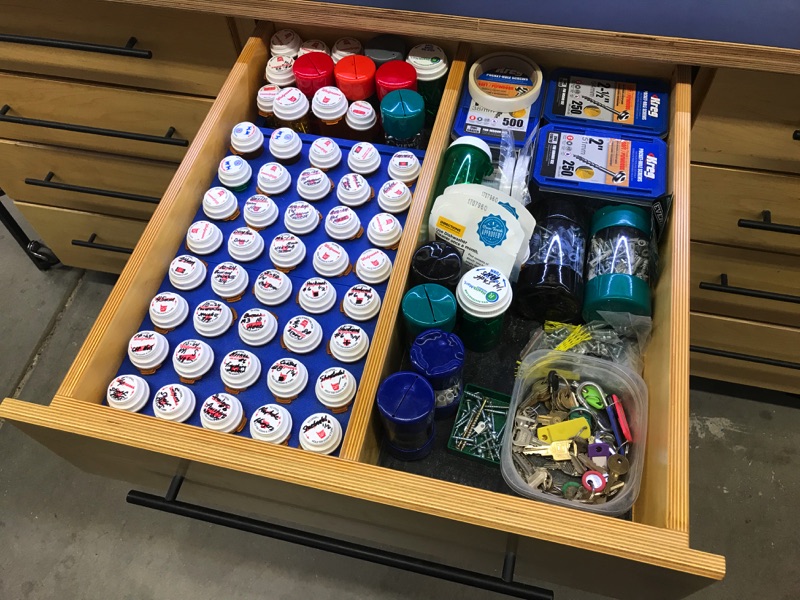
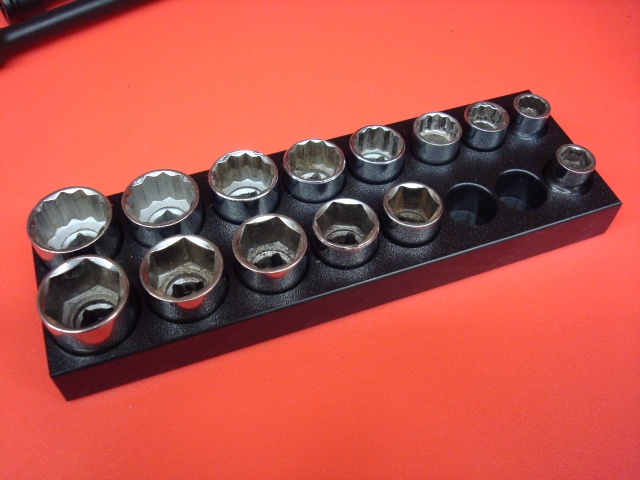
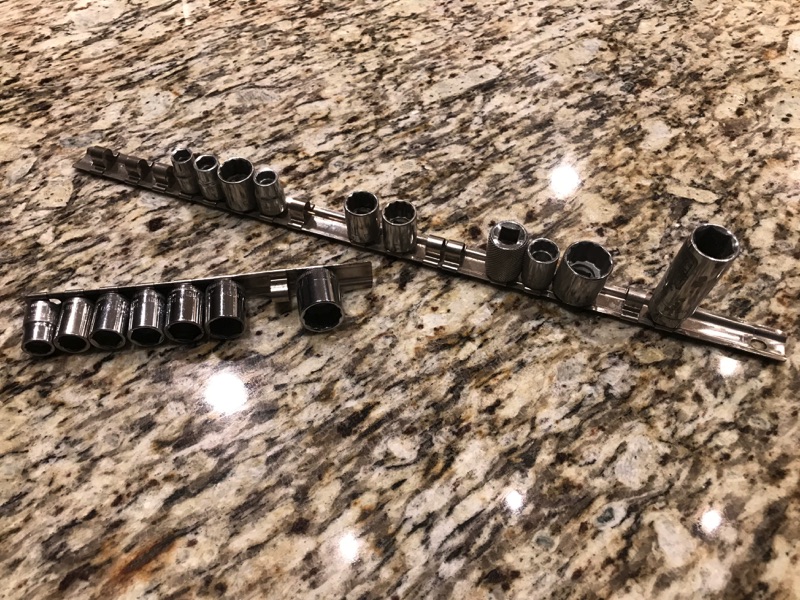
Concept: I know that historically I've stuck to the HDPE socket organizers (similar to the Mechanics Time Savers) however I've realized that they're too tailored to the actual sockets (exact size).
EOC_Jason said:If I were to do this, I would have reversed the 2nd row, that would have allowed more space between socket rows to grab them easier, or you could have made them closer together and used a smaller piece of material. But that's just me...
boiler7904 said:...turns into Toolbox Tetris. They're there but I'm not happy about the results.


You have a lathe... That would be an excuse enough for me to turn some aluminum!
I understand you are trying to make it as easy as possible and cost effective.
I made my own version of the Westling trays with scrap plywood and 3/8" dowel rod. It works great and only took 30 minutes with scrap pieces.
Did anyone mention 3D printing?
No. I presently don’t have a 3D printer and I wouldn’t know how to find a good one. Do you have experience to get me through that learning curve? Printing them would be cool, I’d learnt something new, and I have a new capability in the shop.
I do know the longest tray I’d want to make is 22”. Knowing g my luck it would take a $10k machine to make a part that big...

No. I presently don’t have a 3D printer and I wouldn’t know how to find a good one. Do you have experience to get me through that learning curve? Printing them would be cool, I’d learnt something new, and I have a new capability in the shop.
I do know the longest tray I’d want to make is 22”. Knowing g my luck it would take a $10k machine to make a part that big..
Sent from my iPhone using Tapatalk Pro
zr52002 said:I've taken this on to a degree!
It's not practical to print a whole drawer at a time - common printers are not nearly that big, and each tray would take forever to print. I think it's handier to do this in 6-8 inch modules anyway - none of mine are nearly as big as my printer could do.
I have a Prusa i3mk2 - of course you'd want the mk3 if you got one today https://shop.prusa3d.com/en/3d-printers/180-original-prusa-i3-mk3-kit.html
It doesn't come through great in the pictures here, but everything with a size has that size 3d-printed into the plastic. I would really like to get the multi-material upgrade for my printer so I could print the bottom of the text in a contrasting color so they'd show up better.
zr52002 said:It's been a while - I think those took a couple hours each to print, but I'm not positive now.
I work from home so I draw them up overnight and let them print all day, no big deal.