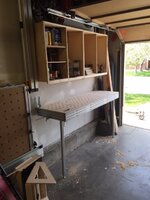
I wasted the first couple hours of the day trying to figure out where I wanted to hang the heater. I had three different locations that I was considering each of which had pros and cons. In the end I decided to put the heater above the Tooling box and the mill where there’s a shelf...which meant the upper shelf would need to come down.

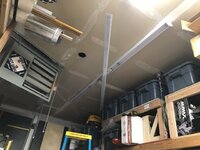
I had some perforated steel tubing that I had used to have the heater in the prior garage and mounted it crossing the studs using the old light box as a reference. For scale, the heater is 28” long, 18.5” wide, studs are 24” on center, and the perforated tubing is 36”.

The heater was up on the top shelf over the bench (what a stupid place to store it). I was able to pull it off on top of the ladder and pivot it over to the shelf below the brackets.

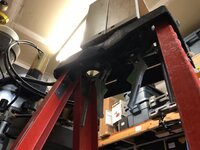
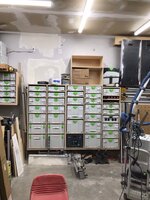
At first I was thinking of figuring out how to get it up on top of the blue ladder but the height difference was significant. Last thing I want to do is drop the damn thing off the ladder. The orange ladder was 10” below the shelf. I found that two of my bins were long enough, when on end, to make up the difference.

I secured them to the ladder using a pair of clamps. So that’s what those big holes in the top are for.

I was planning to hang the heater by all-thread and ratchet it up using nuts.

It occurred to me that it would be a hell of a lot faster to double but the ends and use an impact to spin the thread like a bolt making the nuts fly up the rod.

In less than a minute I had it hanging unsupported from below.

I worked side to side lifting the heater 1 1/2” at a time. Sounds slower than it felt.

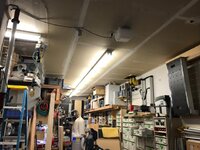
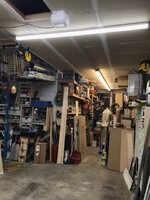
A little tired of working in the dark so I decided to take a break and hang the remaining lights now that I know where they’ll be. A 4’ light goes behind the heater, above the mill.

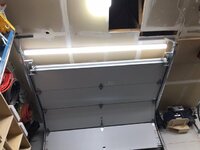
I threw the last 8’ up on the bench. Thought I’d show you guys the dumb-*** design.
With the frosted cover off you can see there’s two 48” long led strips.

They’re attached to a piece of metal that’s screwed to stand-offs. You have to remove this plate to hang and wire it.

To hang it, you need to hold the housing in place while you screw it to the ceiling. During this step that piece of steel-n-lights is dangling by the wires.

I think that’s why they have them zip-tied together. It works but it’s a little ackward and then you have to put the 8 little screws back in place while holding up the flimsy sheet metal led tray in place. Luckily I lost no screws while hanging the 9 lights.

After running back up the ladder to Tga article for a moment of wiring, lit. That’ll do.

Back to the heater. I was planning on just cutting the all-thread off once the heater was in its final position and then I began to wonder how the hell id get it down again if I needed to. It occurred to me I could make some brackets and bolt the upper and lower perforated tube to each other.
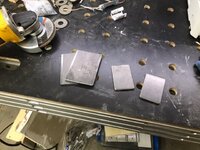
I cut some 1 x 3 x 1/8” steel plate on the bandsaw.

With a 4 1/2 grinder I eased the edges and rounded the corners. Man it’s been a while since I’ve done any sheet metal fabrication. Was kinda fun but short lived.

Quick program on the mill - cut 4 holes per plate at .325”.

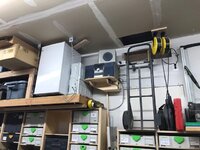
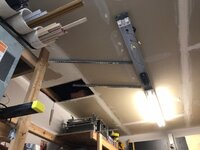
I jacked the heater up until I could bolt on the plates.

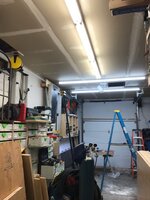
It’s now at one with the ceiling. Looks super industrial too. Now I valued remove the all-thread.

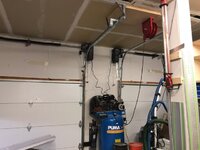
I spent the next few hours running back and forth to the big box store getting gas line fittings. I had to run the gas line up the wall and modify the shelves as I went. Finally almost ready to go.

Next I have to hook up the thermostat and cut in the exhaust duct.


")
