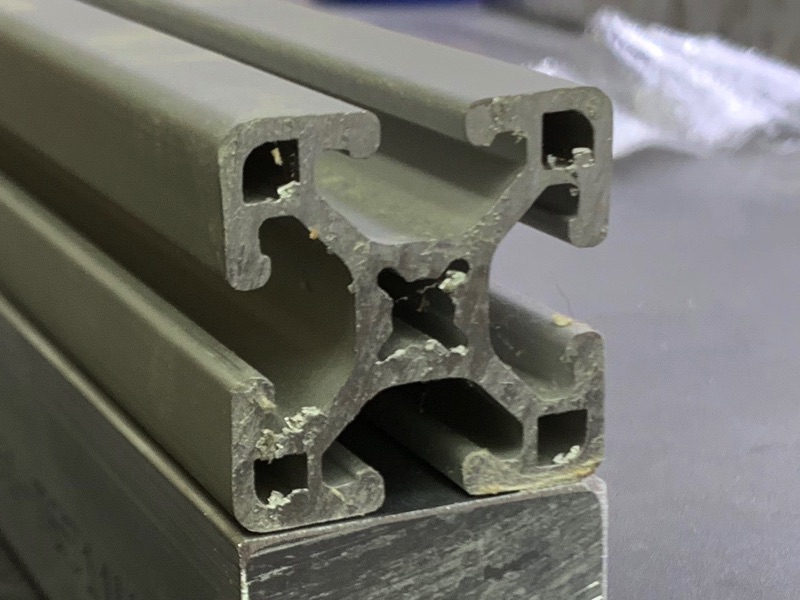
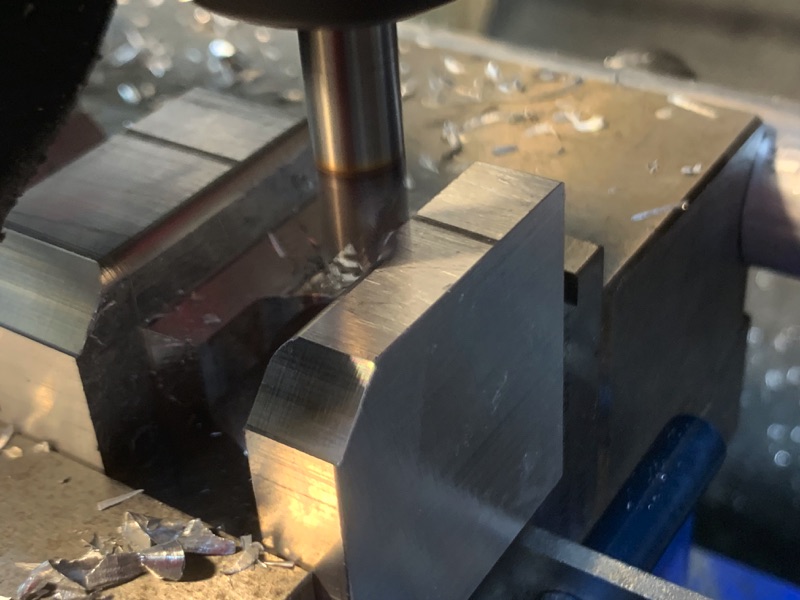
Ok, can’t live with the surface finish issue. I want back to the profile and looked at it again. The root of the slot is square not round like the ball mill. On either side there’s a subtle transition to a 45* angle that matches almost perfectly with a 1/4” ball mill. It then transitions another 45* straight up but square (no radius in transition).
I had a 1/4’ ball mill so I tried to copy the profile exactly. The root of the profile is almost exactly 3/8” so I used a 3/8” end mill to form the bottom. Before cutting the 45* angle, I just barely nicked the walls with the 1/4” ball mill.
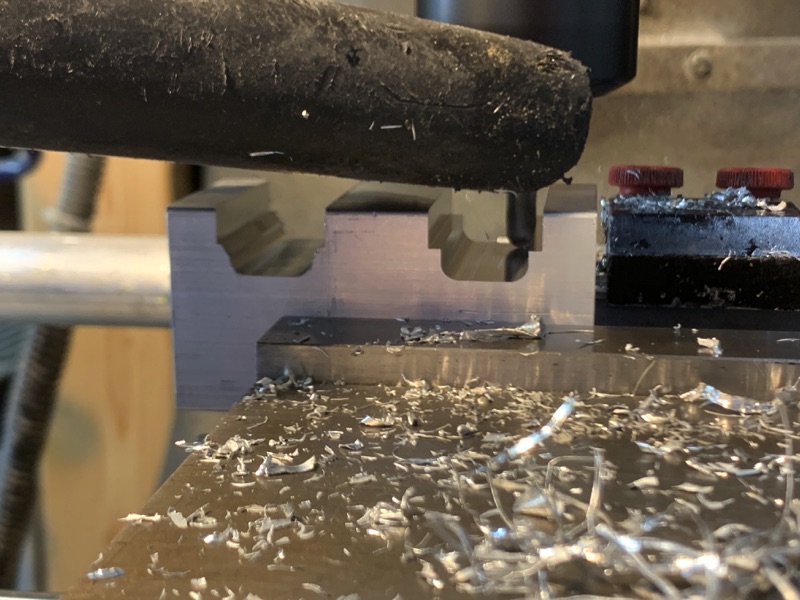
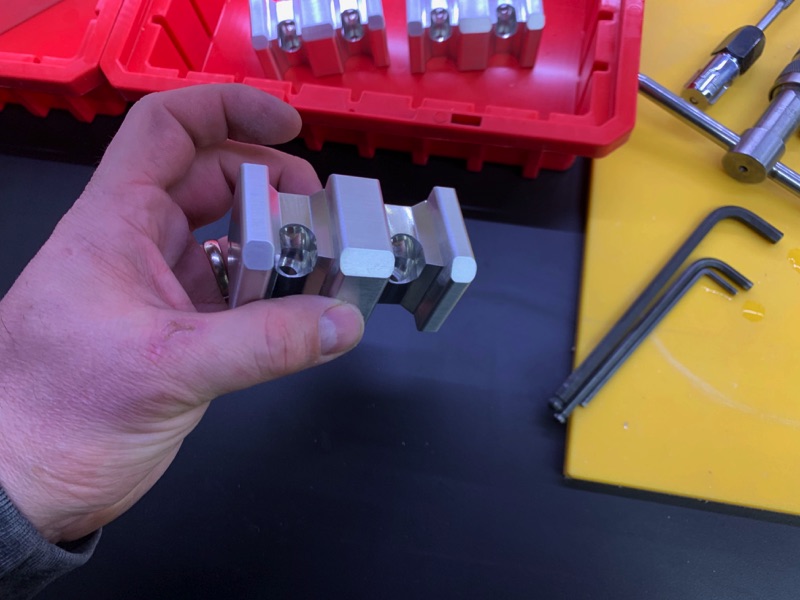
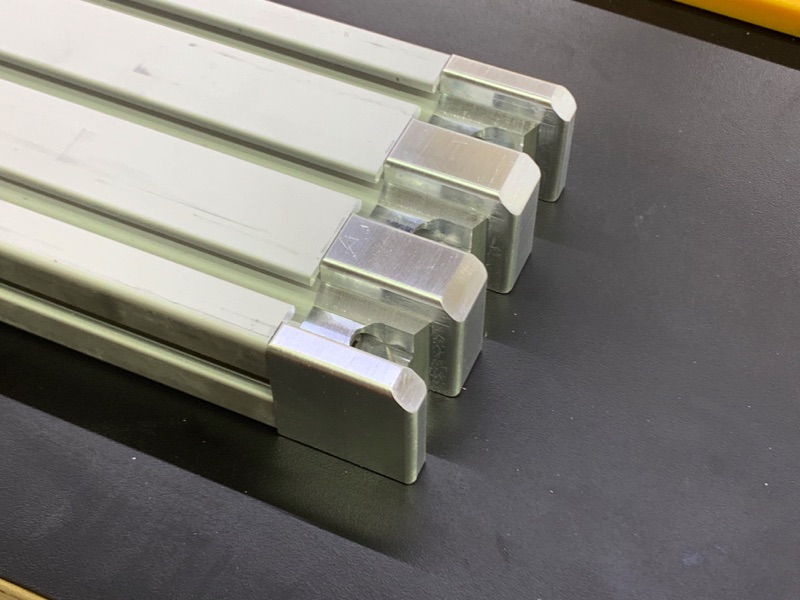
There are moments where I try too hard to be too custom. I probably wasted a handful of hours and really accomplished nothing (except turning a piece of aluminum into junk). The left profile is what would be the completed one. The radius transitions from the root of the profile into the 45* angles are too wide and don’t line up well against the 80/20 profile. The radius transition also needed to start sooner. Though the clamp goes into the profile easily, it does now interfere with the 80/20 piece. So to hell with the 1/4” ball mill. I tried cutting the last one without (3/8” flat root and 45* walls) and wouldn’t you know it, it matches up so close to perfectly to the 80/20 profile it’s done done.
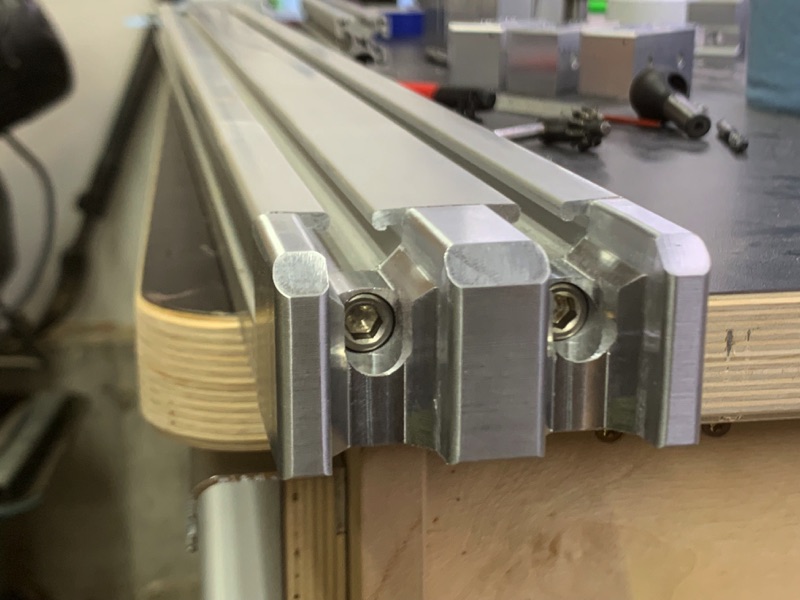
It’s difficult to see in the picture but those faint light spots in between the two pieces is where I used a deburring tool to soften both edges. It actually transitions between the two pieces almost perfectly without mis-alignment or interference in any way.
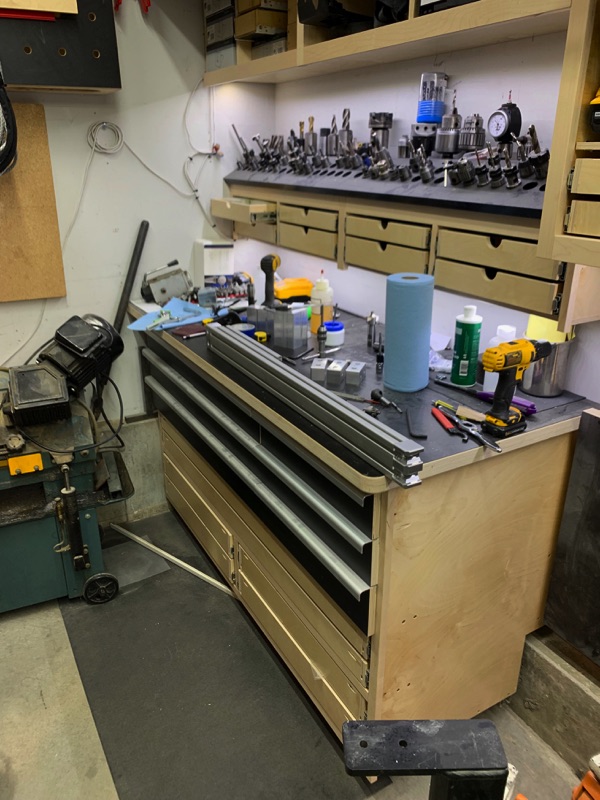
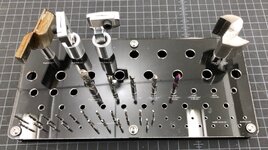
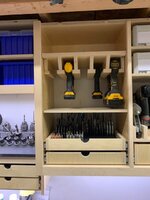
Walked back towards the bench and thought I'd share - in many of my shop pics I show an in progress mess. Here's the bench in usable form.
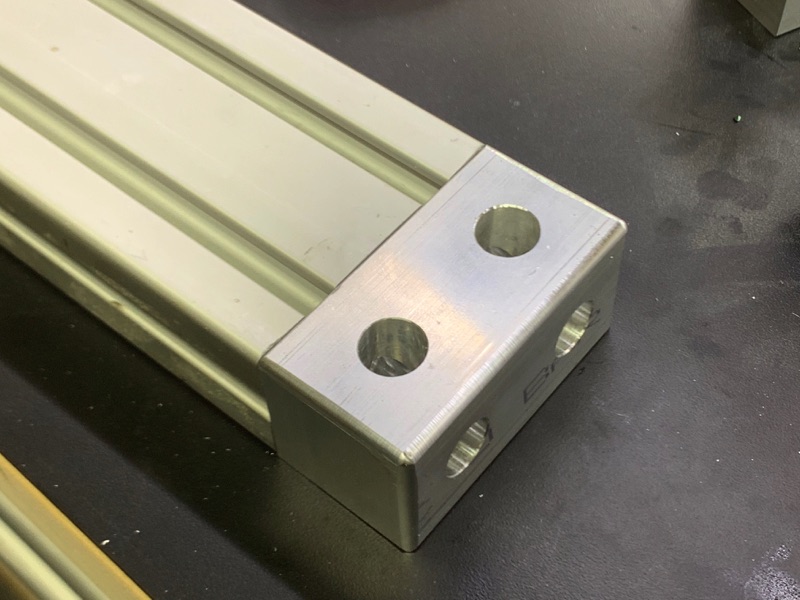
With these benches attaching to the wall, there’s no need for the fancy corner pieces on the back of the benches. These pieces were by far the easiest to make.
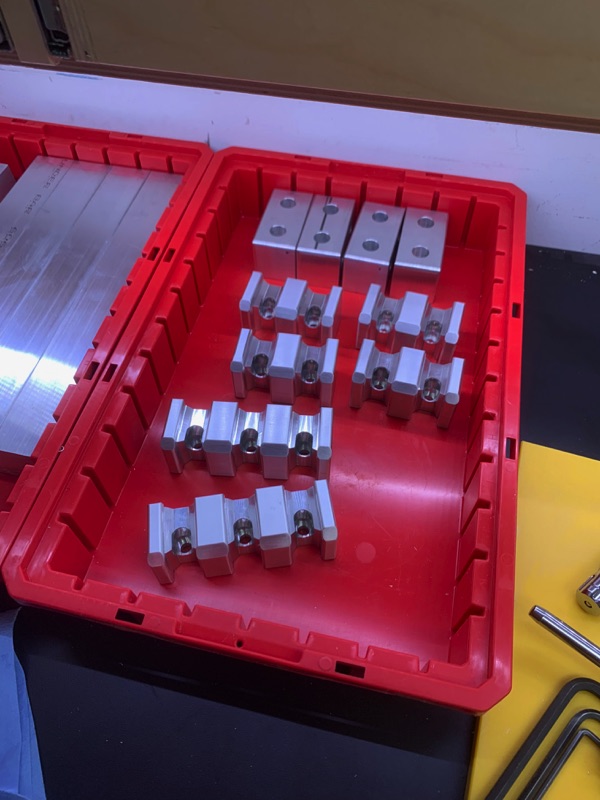
With the part now ready to go, now I just need to run duplicates. I decided I’ll make an extra set for the 1530 extrusions so I’ll have a set on the shelf waiting should I want to build another table in the future.
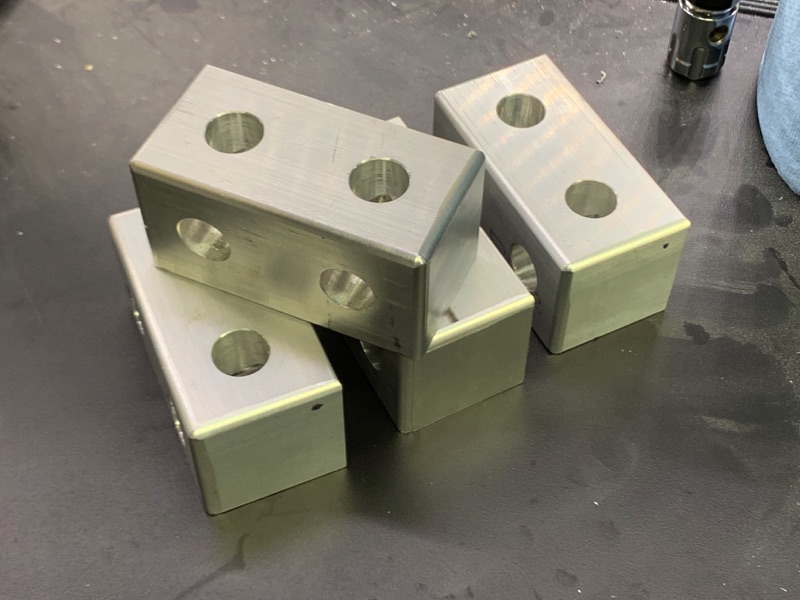
And 3 more of the front corner brackets. After the machining is done, I clean them up in soapy water and a scotchbrite pad. The slight abrasion does a nice job cleaning up the micro-scratches that chips can sometimes leave in the finish. It also every so slightly and subtly breaks the edges that we’re rounded over. On the left is freshly machined, on the right is one I’ve ‘cleaned up’
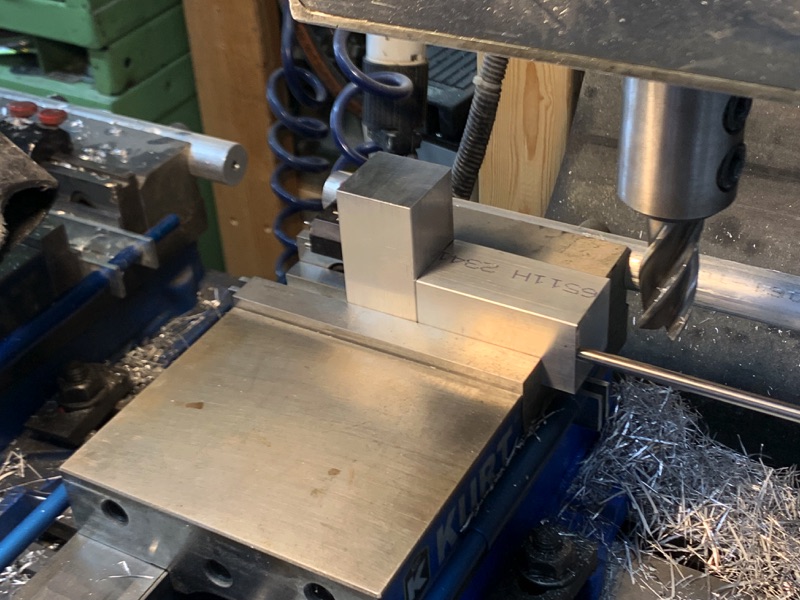
Now to machine the set for my existing 1545 bench. Ever hear of a 1-2-3 block? Well these would be the 1.5-3-4.5 blocks. The stop was previously set for 3” long parts and I need to move it back to fit a 4.5” long part.
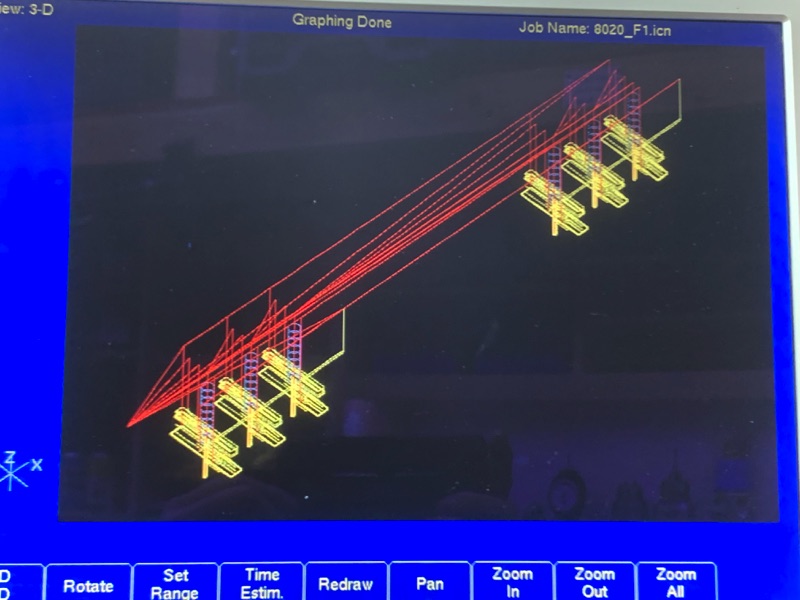
After facing the rest of the bocks, I made a few adjustments to the cad file so I could run multiple parts at once. Measure the distance between the 2 vises - 12.5". Add a "Repeat” function right before every tooling change and enter an X-offset of 12.5”. I always pre-view the program in 3-d when setting up duplicates to make sure that I didn’t miss a step somewhere.
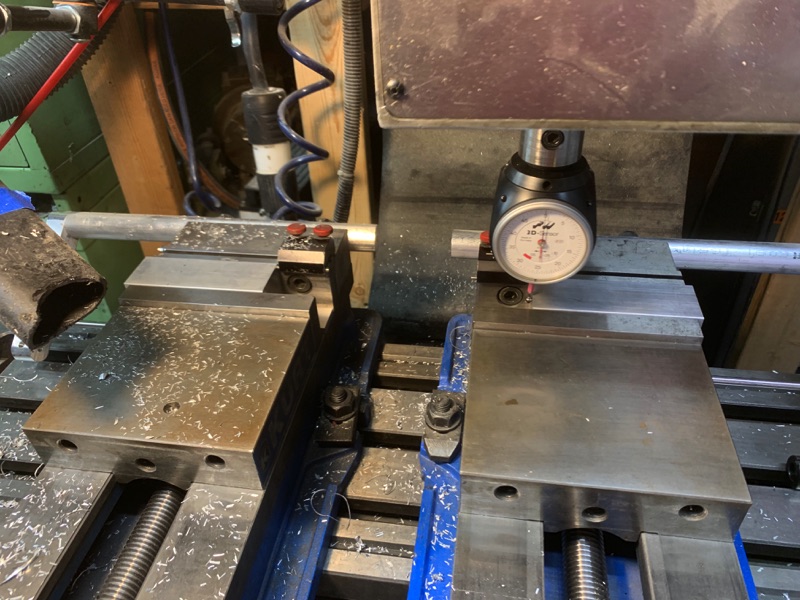
Move to position 0,0 and then x = 12.5. Now I can back the material into the gauge until it's zero, clamp the vise down, and I've got exactly 12.5" between the parts. This would work exactly the same if you had a DRO by the way only you'd move the table to position 12.5,0 by hand.
Now here's where having a CNC really shines. Cycle Start and everything it does on the first vise is repeated on the second.
Second to last op - rounding the edges over with a .125” 2 flute quarter round bit. This is my favorite step. Run the bit at about 2400 RPM and it leaves a very smooth surface finish in a single pass.
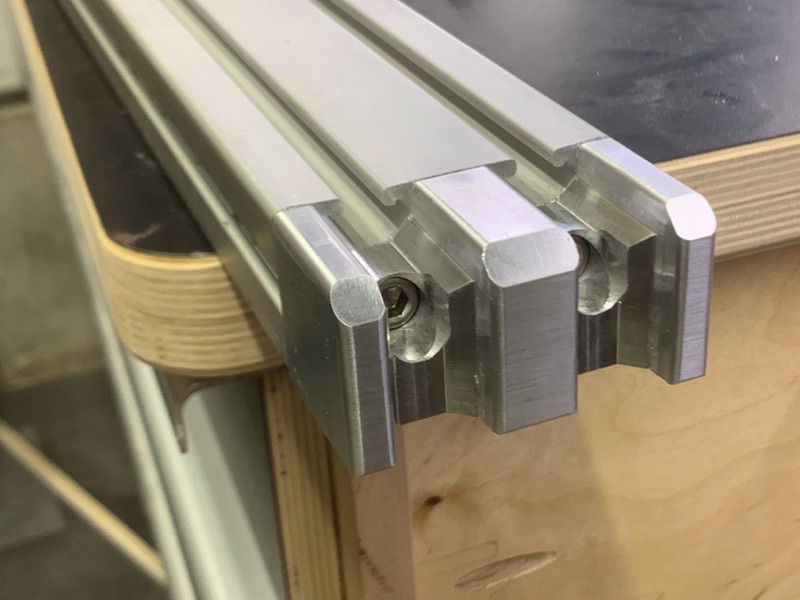
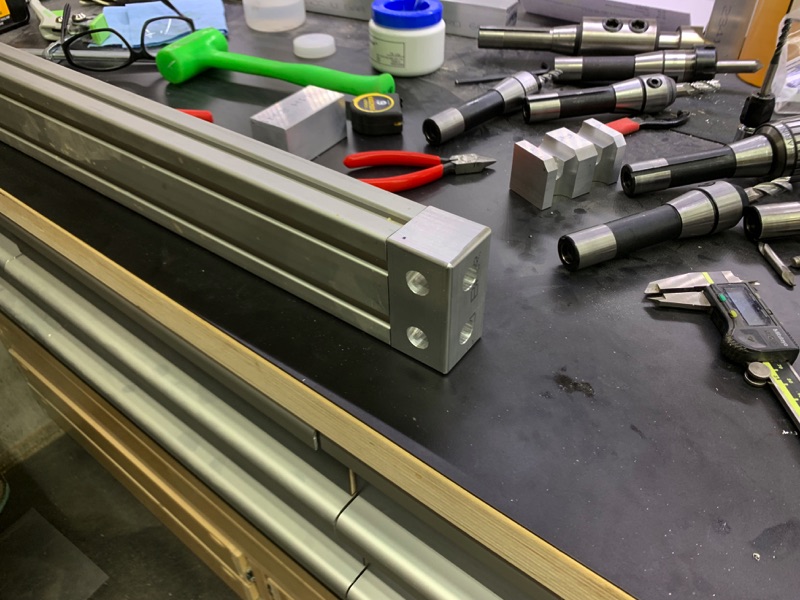
And the finished part - a 1545 corner. I'm liking the profile much more than the way it looked with the ball mill.
Test fit
What I’d really like to do is put together one of the benches BUT I realized that the two bolts I’ve been using are the only two I have. I’ll have to order 60 of them and wait until next weekend. I’ll need to cut the rear two blocks but I’m getting very close to wrapping this one up. Parts go back in the bin, bin on the shelf, and that’s a wrap.


 ] this looks beautiful, but as of right now it remains unverified, but at this price I am Ok with the idea that I purchased a semi finished piece for half of steel cost, if I built one I would have to grind it anyway! Kurt make Quality pieces just 3 to 4 times what I paid for this and I can stand mine on it's side or end as required for some hair brained idea I may [Ya, may have
