To avoid these ads, REGISTER NOW!

Ultimate Barn Find

OP
R

Robert Haas

Well-known member
Joined
Sep 30, 2010
Messages
1,749
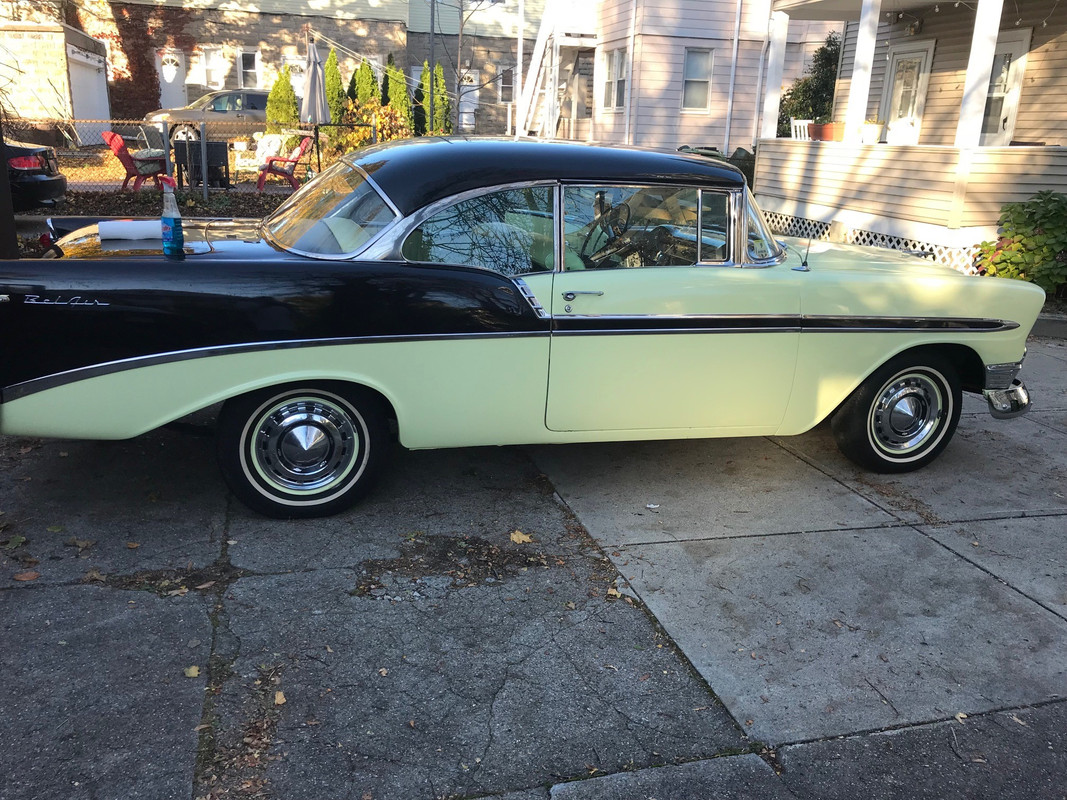
I really enjoy building AN fuel lines, and nobody ever sees it, Thought I would post a few pictures before I wrap it in heat shielding.

20200927_165503.jpg

20200927_165516.jpg

20200927_165525.jpg

20200927_165546.jpg
 
To avoid these ads, REGISTER NOW!

Ohmthis

Well-known member
Joined
Jan 20, 2013
Messages
3,000
Location
Outside of Louisville KY
Great job! Everything looks so nice and clean. I don’t mean not greasy and dirty. I mean the attention to detail is amazing. I like the way you routed the fuel line. It will help make for a very tidy engine compartment.
 

nsula_country

Well-known member
Joined
May 23, 2013
Messages
1,534
Location
Northwestern Louisiana
Robert,

1st, this project is top notch! Following along for this epic build!

2nd, question about your 2 post lift. I noticed in some of the pictures that you have over sized base plates welded to the lift posts.
Did you do this modification?
Was it due to thickness of concrete?
Does it help stabilize lift?

Reason I ask is I am shopping for a lift. I have searched about adding a larger base plate and have came up with mixed responses. Some say it greatly improves stability and increases safety, some say its an unapproved, non-engineered modification. Some say it isn't required.

What is your opinion on the topic?

CT
 
OP
R

Robert Haas

Well-known member
Joined
Sep 30, 2010
Messages
1,749
Robert,

1st, this project is top notch! Following along for this epic build!

2nd, question about your 2 post lift. I noticed in some of the pictures that you have over sized base plates welded to the lift posts.
Did you do this modification?
Was it due to thickness of concrete?
Does it help stabilize lift?

Reason I ask is I am shopping for a lift. I have searched about adding a larger base plate and have came up with mixed responses. Some say it greatly improves stability and increases safety, some say its an unapproved, non-engineered modification. Some say it isn't required.

What is your opinion on the topic?

CT


Interesting story about the BenPac. It was bought new by a friend who homed it on a pad poured outside of his shop. He installed it and when he was drilling the anchors he realized his pad was only 3 inches thick. He bought some 1/2" plates and welded them on to his base plates. I assume his thinking was it would spread the load over a larger surface. Anyway the city wrote him up for having a non permitted structure visible from the street and issued him a remove or face further penalty summons.

He sold the lift to me and I installed it with the base plates still welded on.
 

BlakeTheCarGuy

ALLIANCE MEMBER
Joined
Oct 10, 2018
Messages
9,311
Location
Roanoke Virginia
Nice he had lots of stuff. I like the car. I especially like that convertible beetle in the first post as well lol.


Sent from my iPhone using Garage Journal
 
OP
R

Robert Haas

Well-known member
Joined
Sep 30, 2010
Messages
1,749
Door time,

Now it is time to install new glass, polish all the stainless install the new power window regulators and paint the jambs.

20201012_105436.jpg

20201012_122652.jpg

20201012_122702.jpg
 
OP
R

Robert Haas

Well-known member
Joined
Sep 30, 2010
Messages
1,749
Car is looking great. What's left to do?

uhm :

Dynomat
wiring
interior
plumbing
exhaust
more painting(Under hood, more interior trim pieces)
glass
weather stripping
alignment
insurance
playing hookie from work so I can drive it:rocker:
 
OP
R

Robert Haas

Well-known member
Joined
Sep 30, 2010
Messages
1,749
Looks awesome! Was this bodywork the plan from the beginning or is this more of a "snowball" after the other improvements?
snowball is appropriate. The build jumped the shark when I pulled the body off the frame. Been a downward spiral of time killing, money sucking adventure every since..
I am flat out loving every single minute of it. :bounce:
 
OP
R

Robert Haas

Well-known member
Joined
Sep 30, 2010
Messages
1,749
Today I stripped and prepped then painted all the pieces that are painted in the interior. Geesh there is a ton of painted parts to go along with all the polished stainless steel (That I have just barely started working on) Not to mention the hundred or so pieces of chrome and the hardware that holds it all together. I can not imagine how many man hours went into building these cars 65 years ago on the assembly lines but they sure were tedious. Looks like I need to order a few pounds of polished stainless, button head fasteners to handle final assembly.

20201015_165608.jpg
 
To avoid these ads, REGISTER NOW!
OP
R

Robert Haas

Well-known member
Joined
Sep 30, 2010
Messages
1,749
Dynomat started, but more importantly I did the Vintage air cable conversion on my original heater controller. What a pain in the behind. Got 'er done. and hardly cussed at all. :shocking:

20201016_161526.jpg

20201016_161533.jpg

20201016_161620.jpg

20201016_170353.jpg
 
OP
R

Robert Haas

Well-known member
Joined
Sep 30, 2010
Messages
1,749
Producing some content for our sponsors.


1st of 4


2nd of 4


Any input you folks can give me in regards to what you might want to see in the final 2 videos would be great.

Thanks for checking in.
 

Nitelite

New member
Joined
Nov 15, 2020
Messages
2
Location
Ashland city Tn.
I saw your post over on the tri five forum. good luck with the build. I own a 1955 chevy rotisserie resto mod with a LS1 & 460E set up. I absolutely love it!
 
OP
R

Robert Haas

Well-known member
Joined
Sep 30, 2010
Messages
1,749
Put some timing into it and backed out the mixture a tad. Holy **** does this motor sound like it will kill the universe.
 

StRacerDuke

Well-known member
Joined
Oct 7, 2009
Messages
104
Nice project. Similar to mine, I found a one family owned car in New England that was sub 100K miles, all original, ever seen winter. It's my new project too.

 
To avoid these ads, REGISTER NOW!
Top Bottom