LOTW
Well-known member

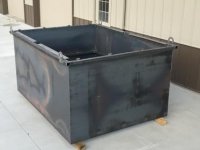
Installing new wood burner, had to fab this up for the pipe.


That turned out pretty good. I like that it has a texture to it, unlike some of the others I've seen. What material is it? Do you have a link for it?
Thanks
Service coach.

Mike.
Service coach.
Mike.
Mike,
I have a CAT in mine, and didn't change the oil before putting into the barn. i think I put 1,500 miles on it this summer. I can't see changing 5 gallons of oil for that. What do you think?
I don't have a picture of it from today but I needed to take my truck outer front fenders to the blaster for stripping so I can drop them off at the painter when they're done.
Here's the day in July I pulled the dog house off. It's been sitting on my patio til today. I broke as many 60 year old bolts as I loosened. Tough job single handed but I'm stubborn and cursed a few of them off!


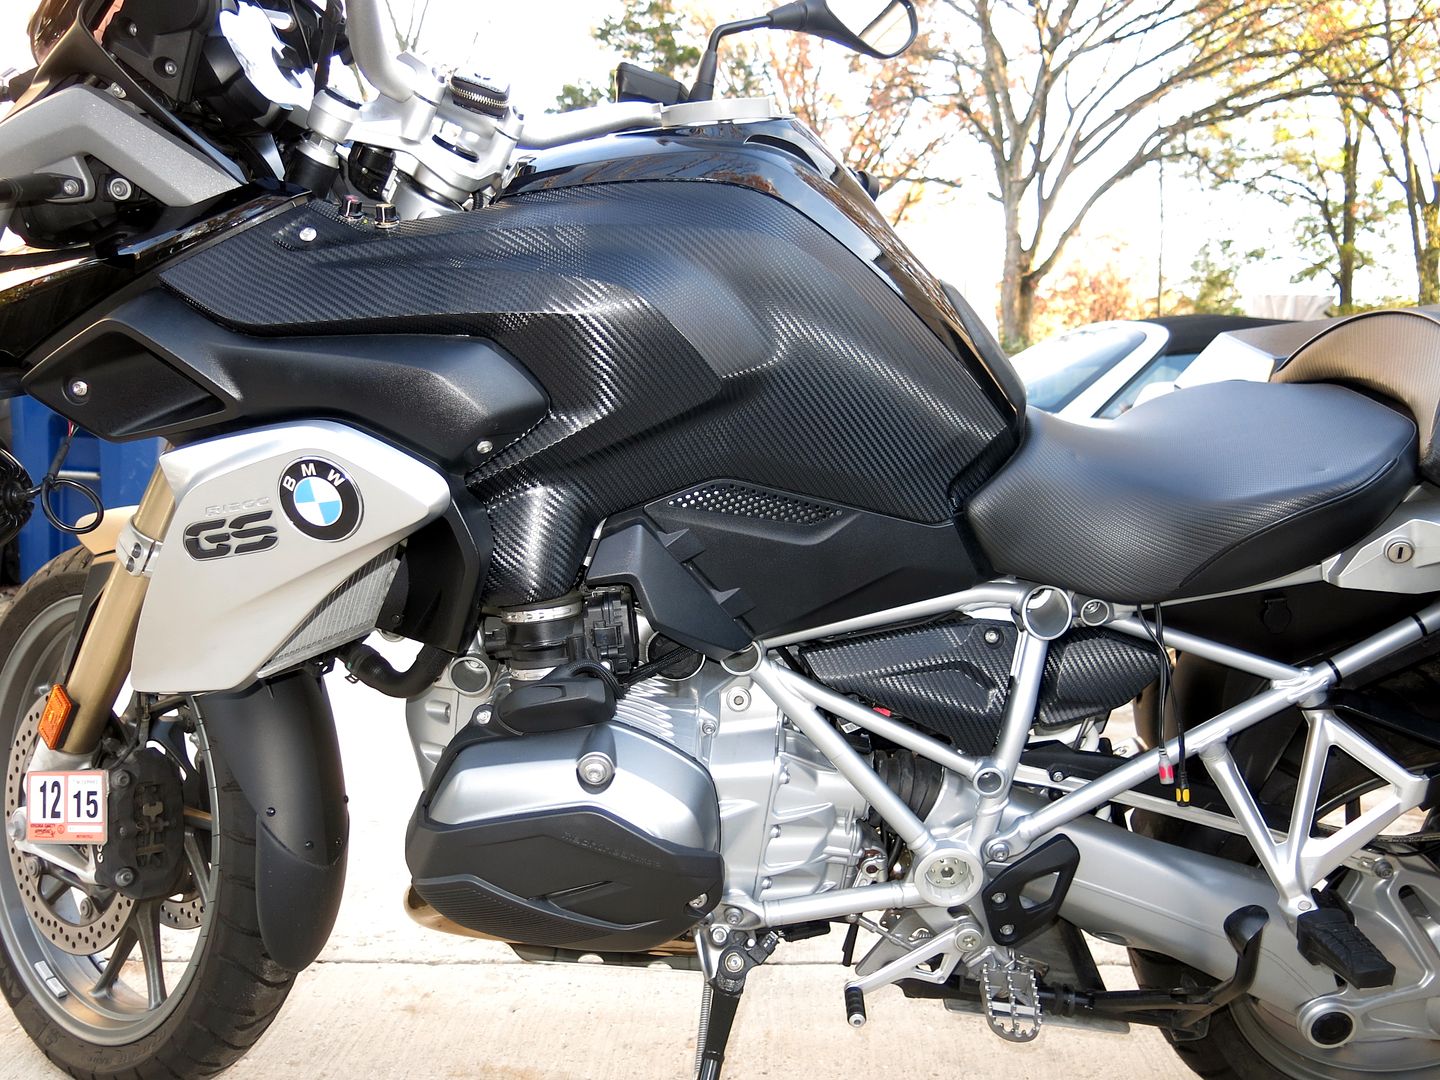
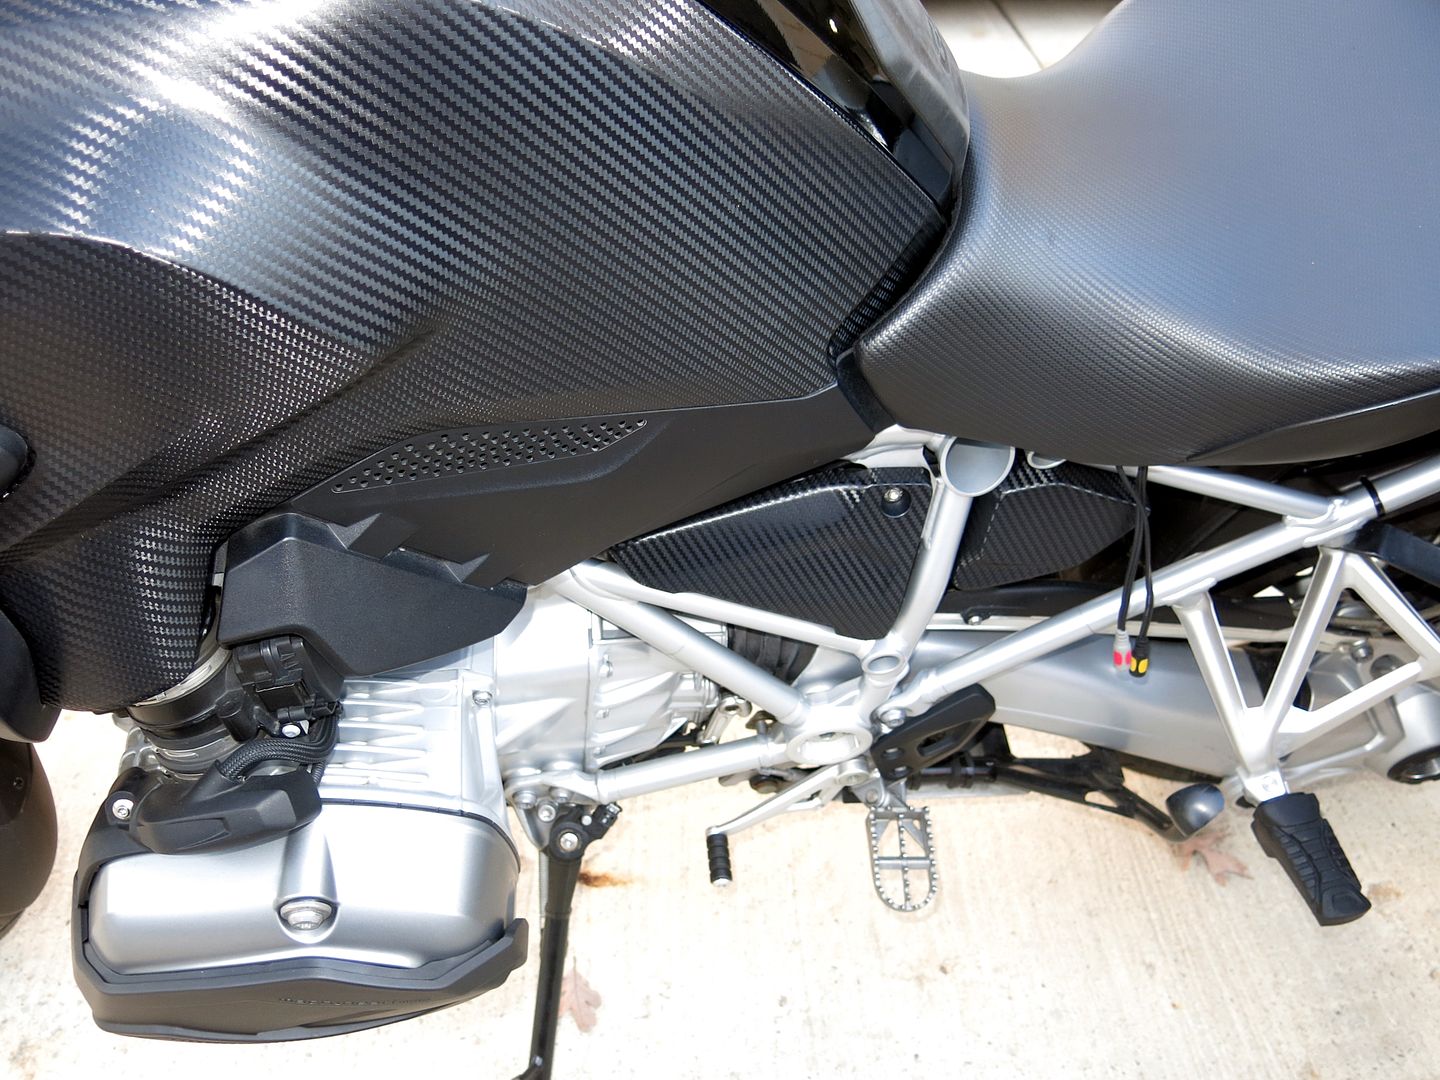
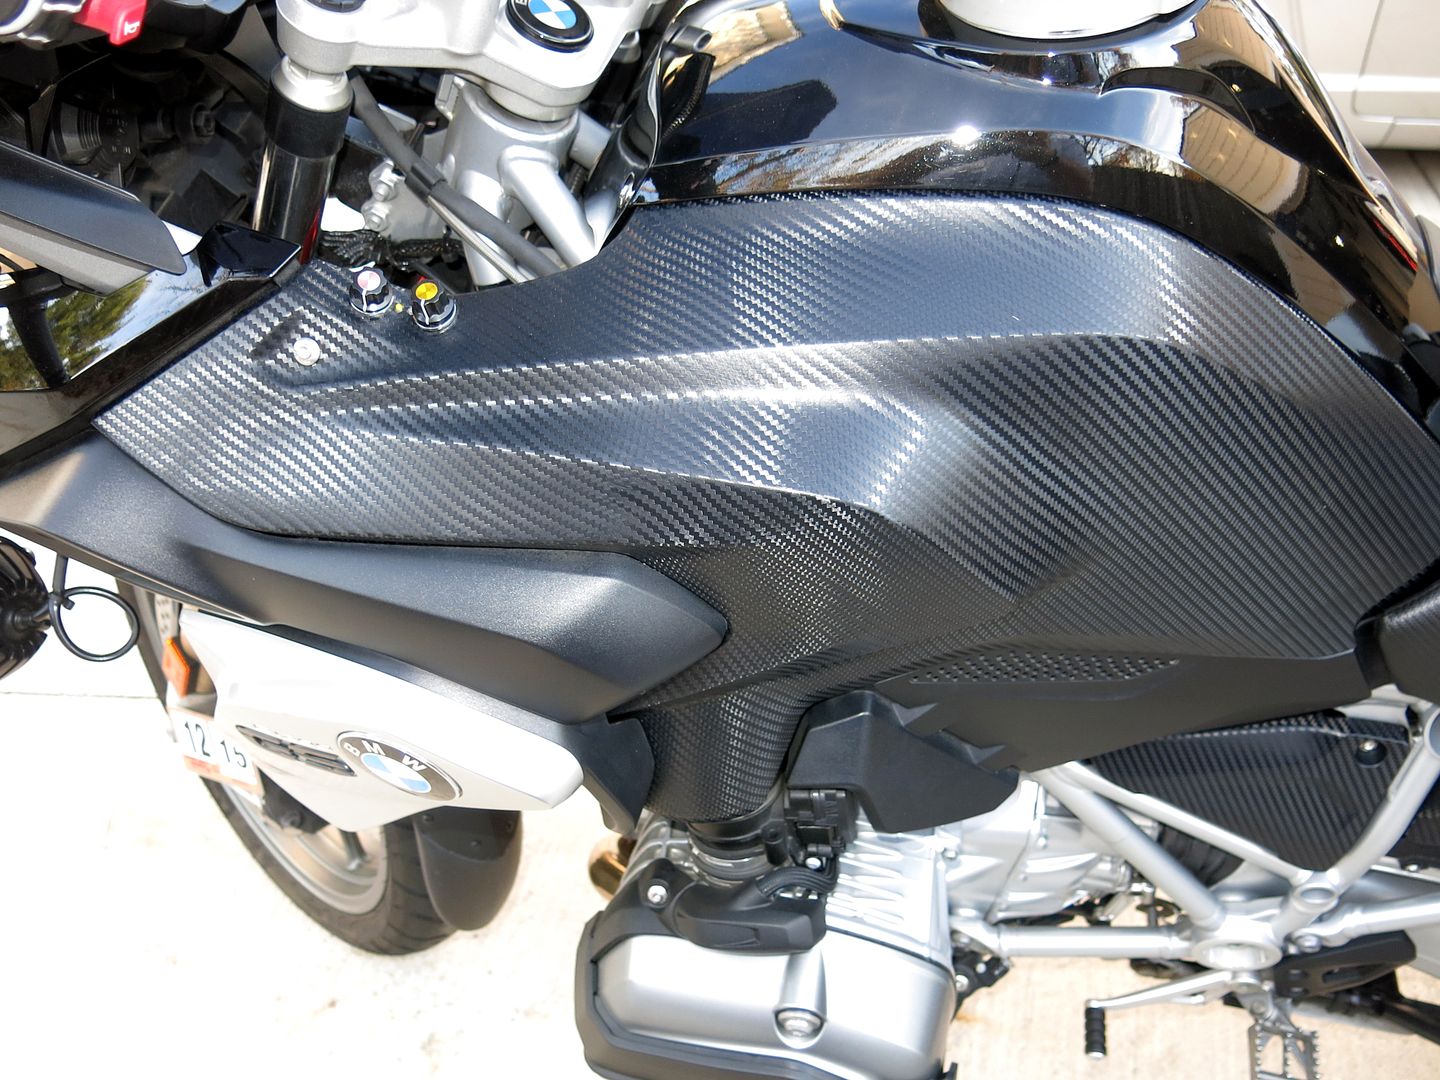
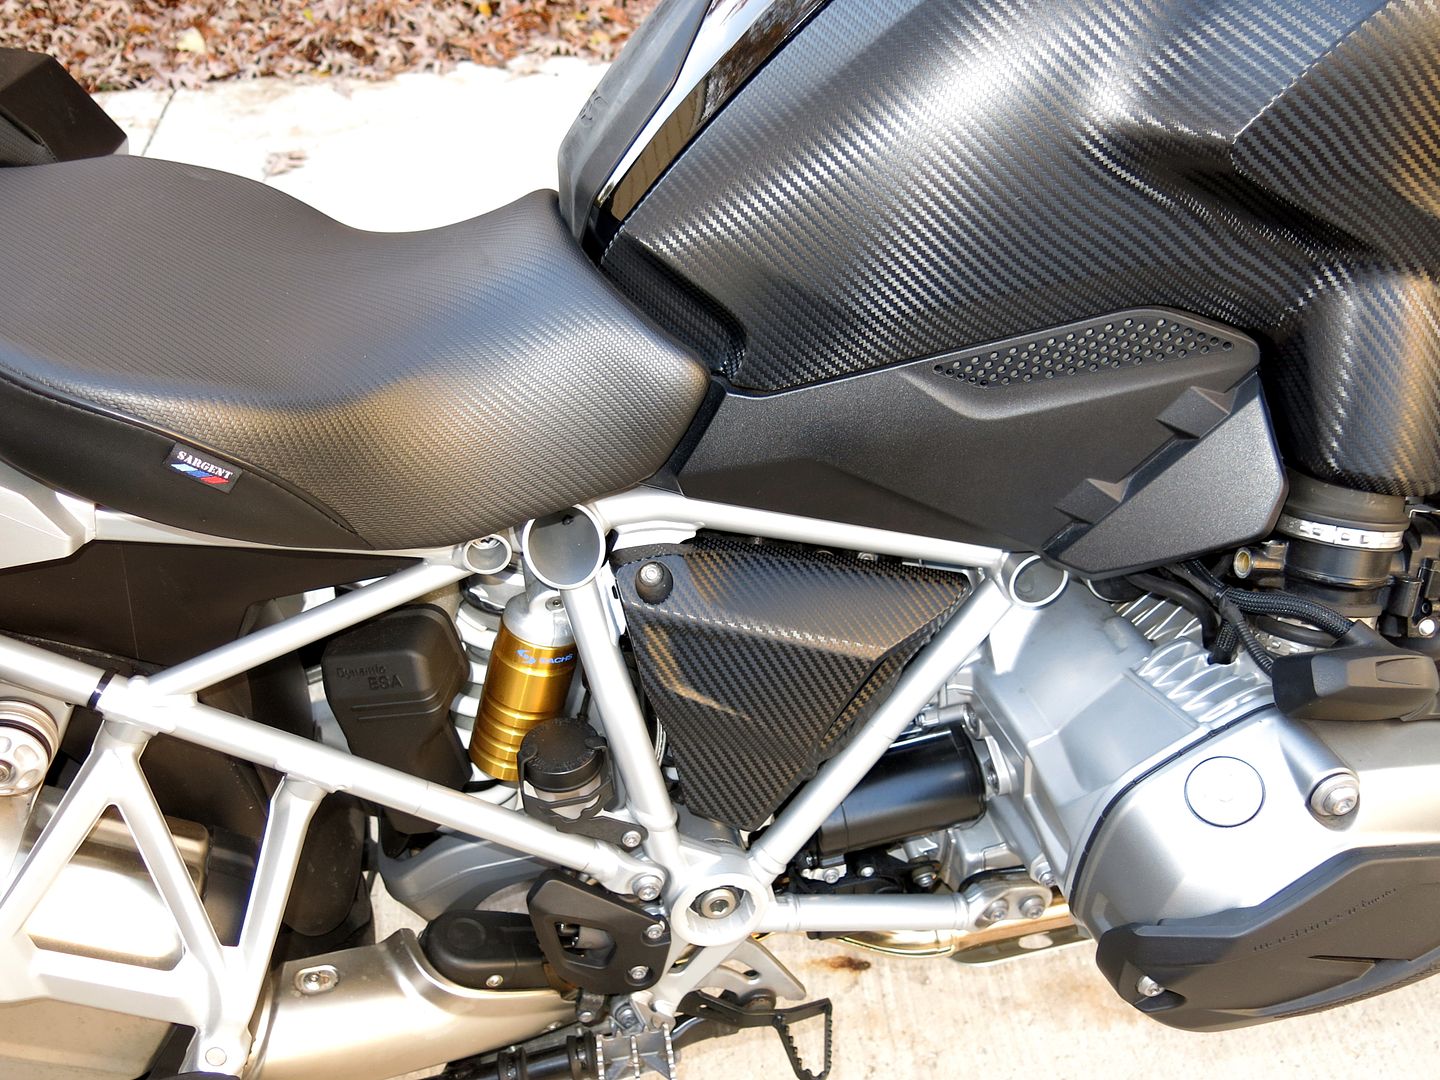
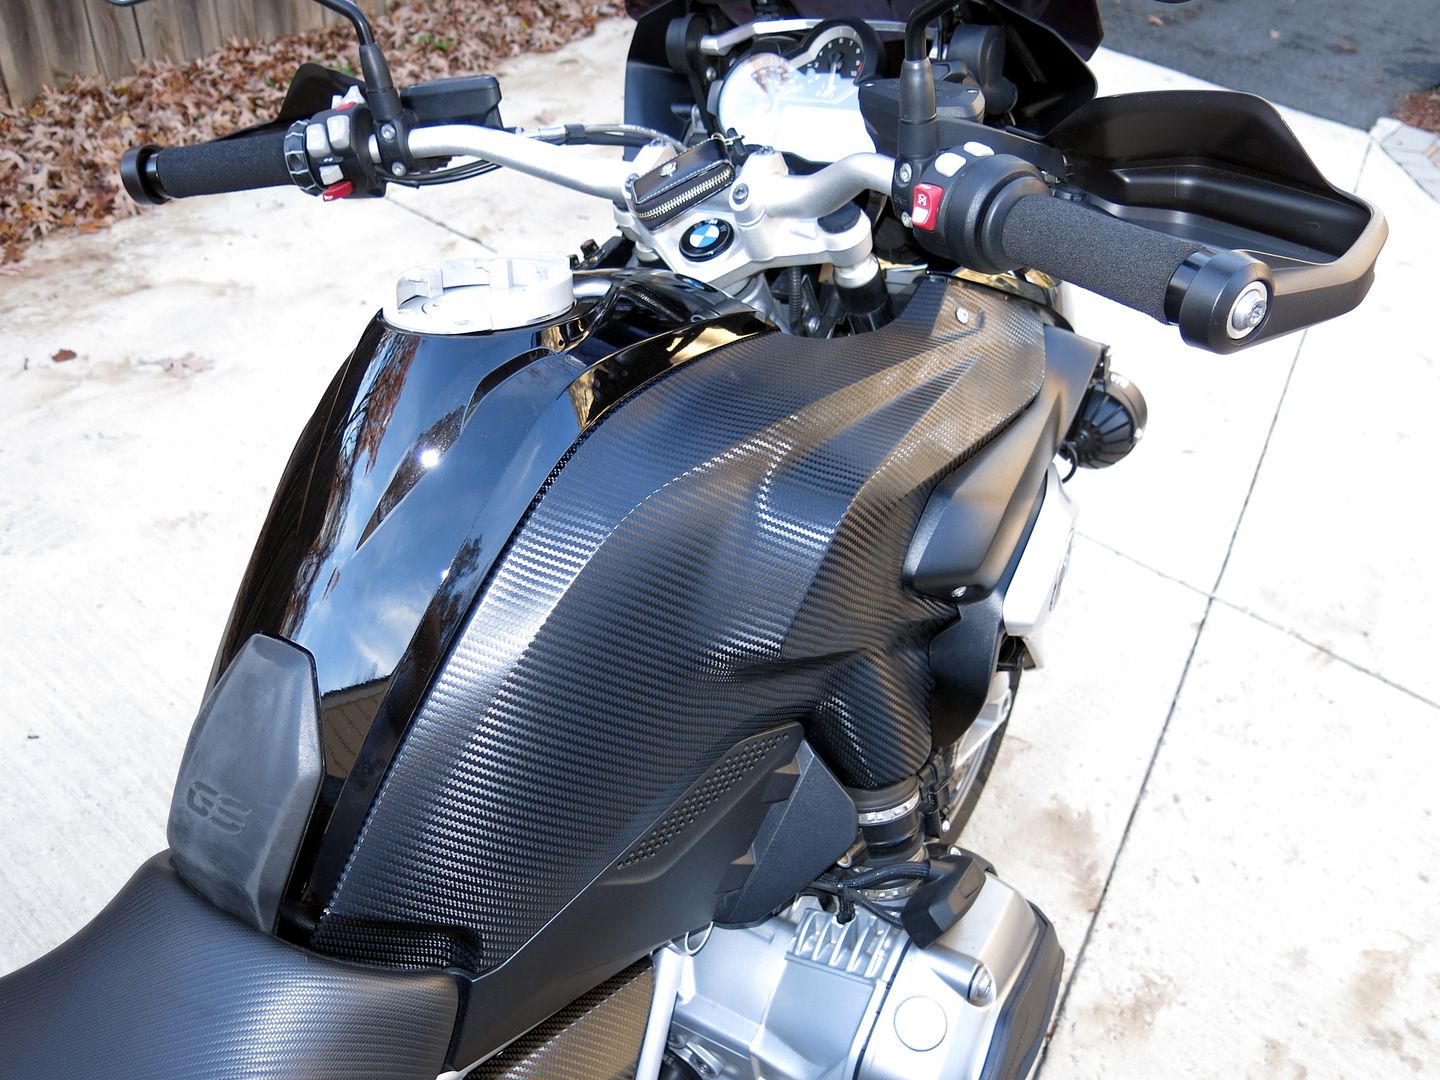
It is carbon fiber wrap with a great texture. Looks real from a few feet away. I got it from e-bay.
http://www.ebay.com/itm/25168721902...49&var=550592074542&ssPageName=STRK:MEBIDX:IT
Very high quality, on par with 3M.


If you cant get them at Fastenal, Amazon has them cheap
http://www.amazon.com/s/ref=nb_sb_s...keywords=6202z+bearing&sprefix=6202z+,aps,173
Spent some time in the garage today turning carbon fiber pen blanks. This is real Carbon Fiber, not some vinyl decal. The carbon fiber tube is bonded to a brass pen body and then encased in clear alumilite resin before being turned on the lathe to final shape.
I will say, this stuff will make a mess! I quickly plugged up my entire 4" dust collection system with a softball sized wad of shavings! Here's the finished products in both "Gearshift" and "30 Caliber Bolt Action" pens:


Cool racks dude. At work we would get the sheet metal guys to bend 90's on whatever scrap they had then drill holes to match the tools. Nice to get the trades working together.
Restored the plastic on my girlfriends Xterra with a heat gun.
Cool Project!


The side panels were a LOT harder, but I think they came out pretty good. The bike, to me, looks a hell of a lot better. I never liked the silver side panels!
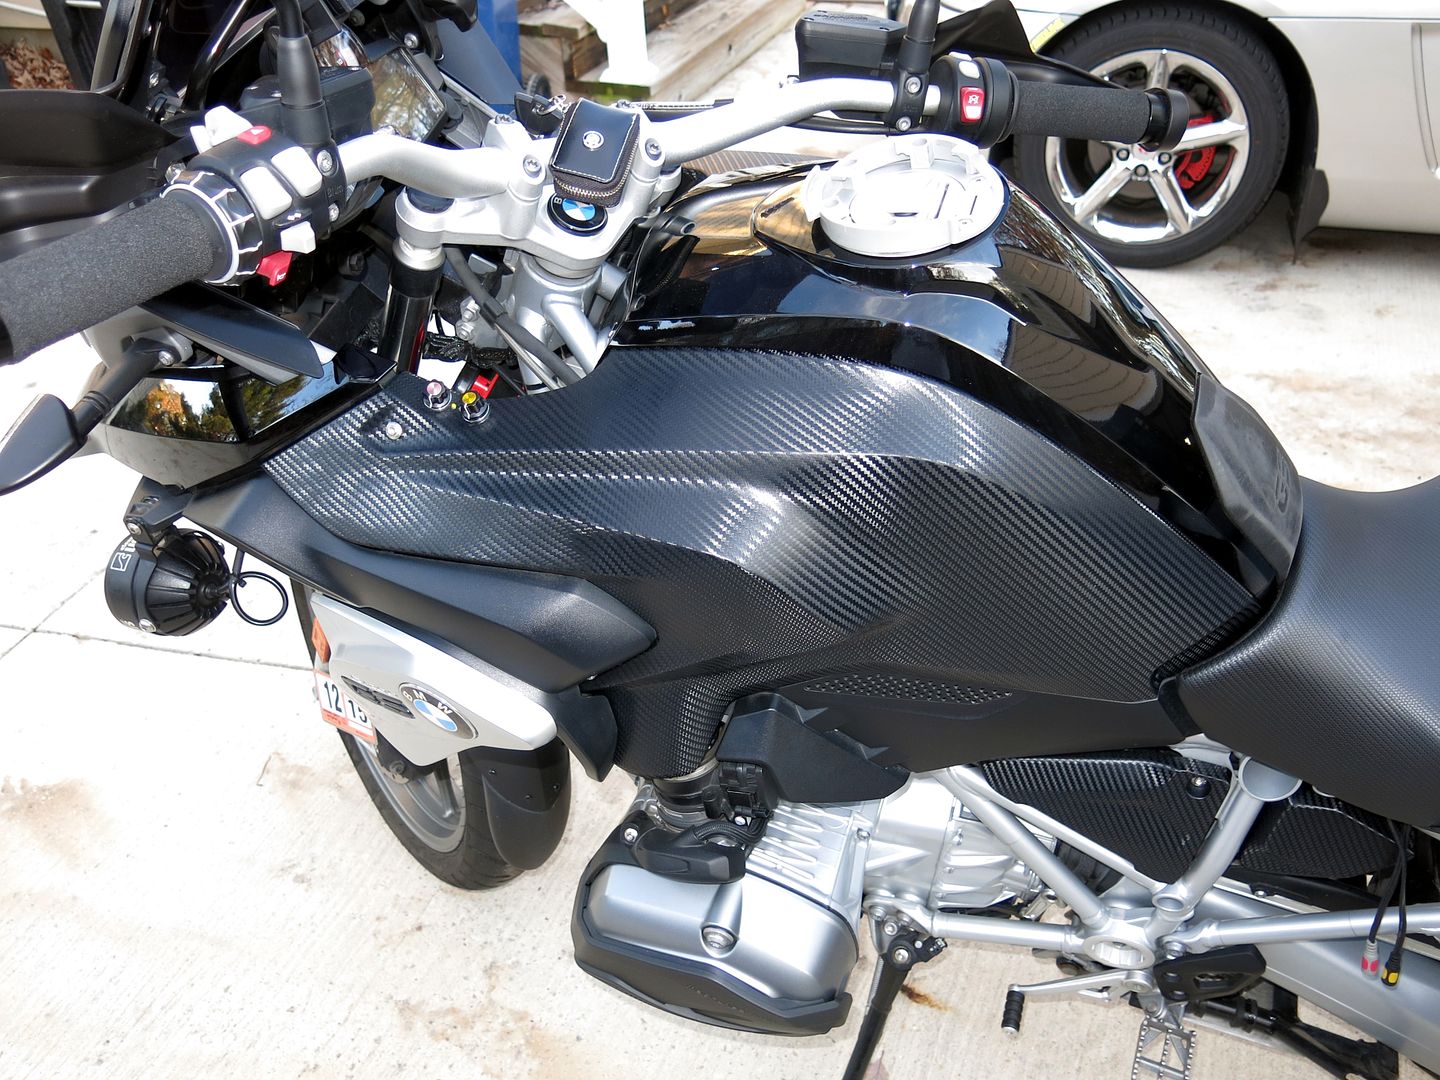
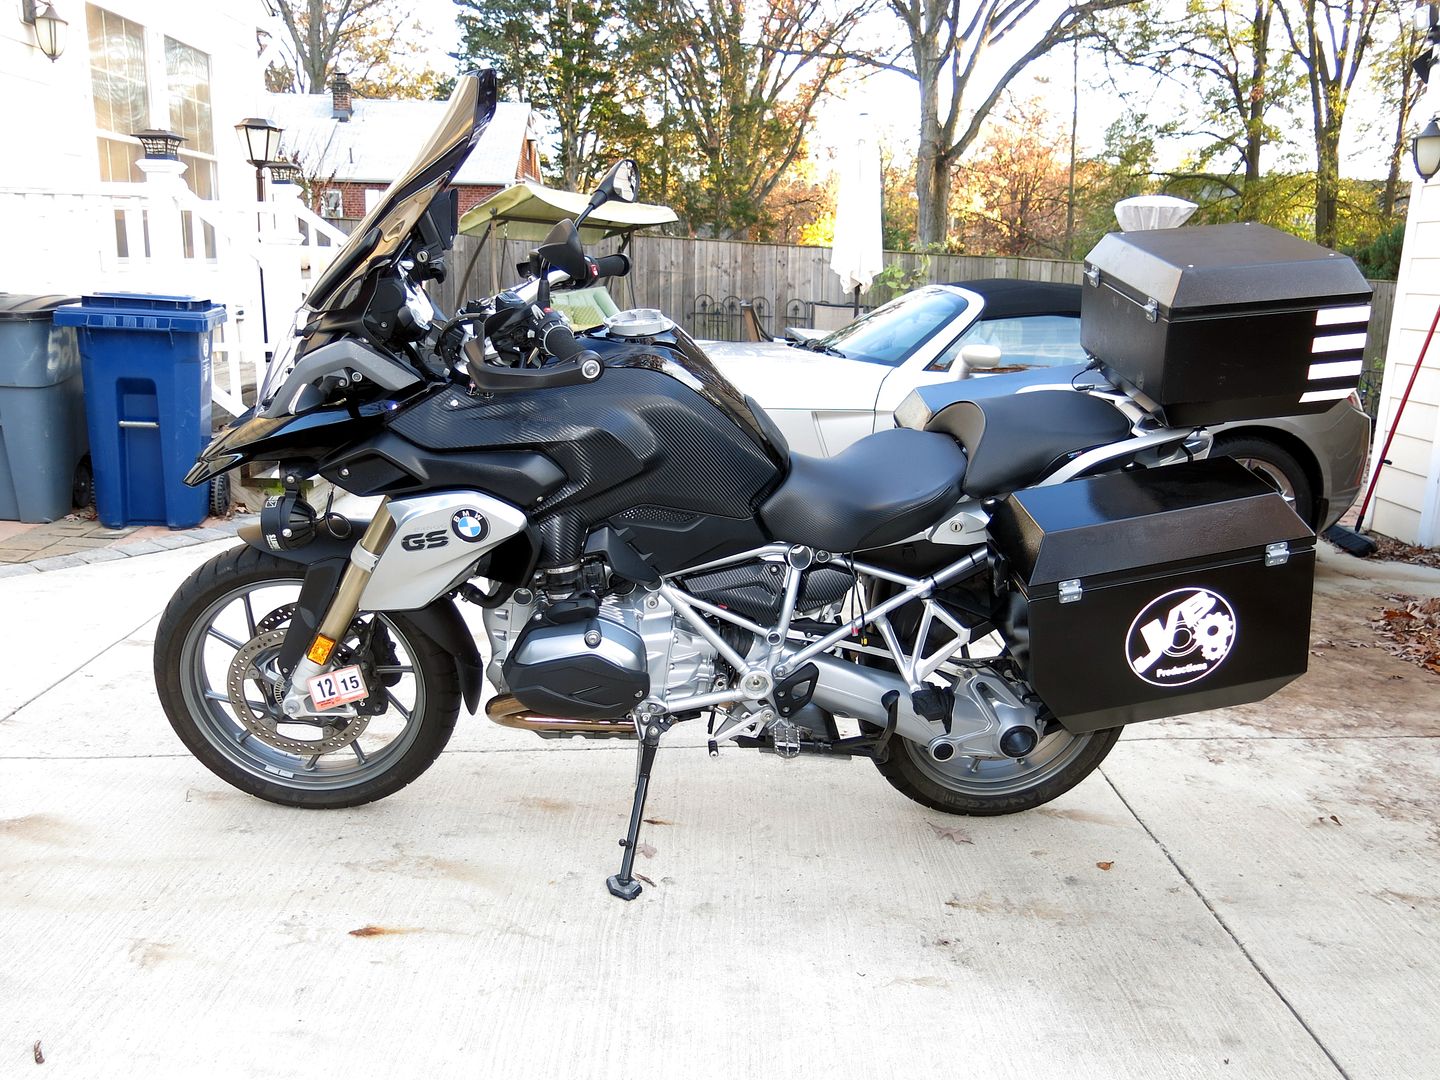
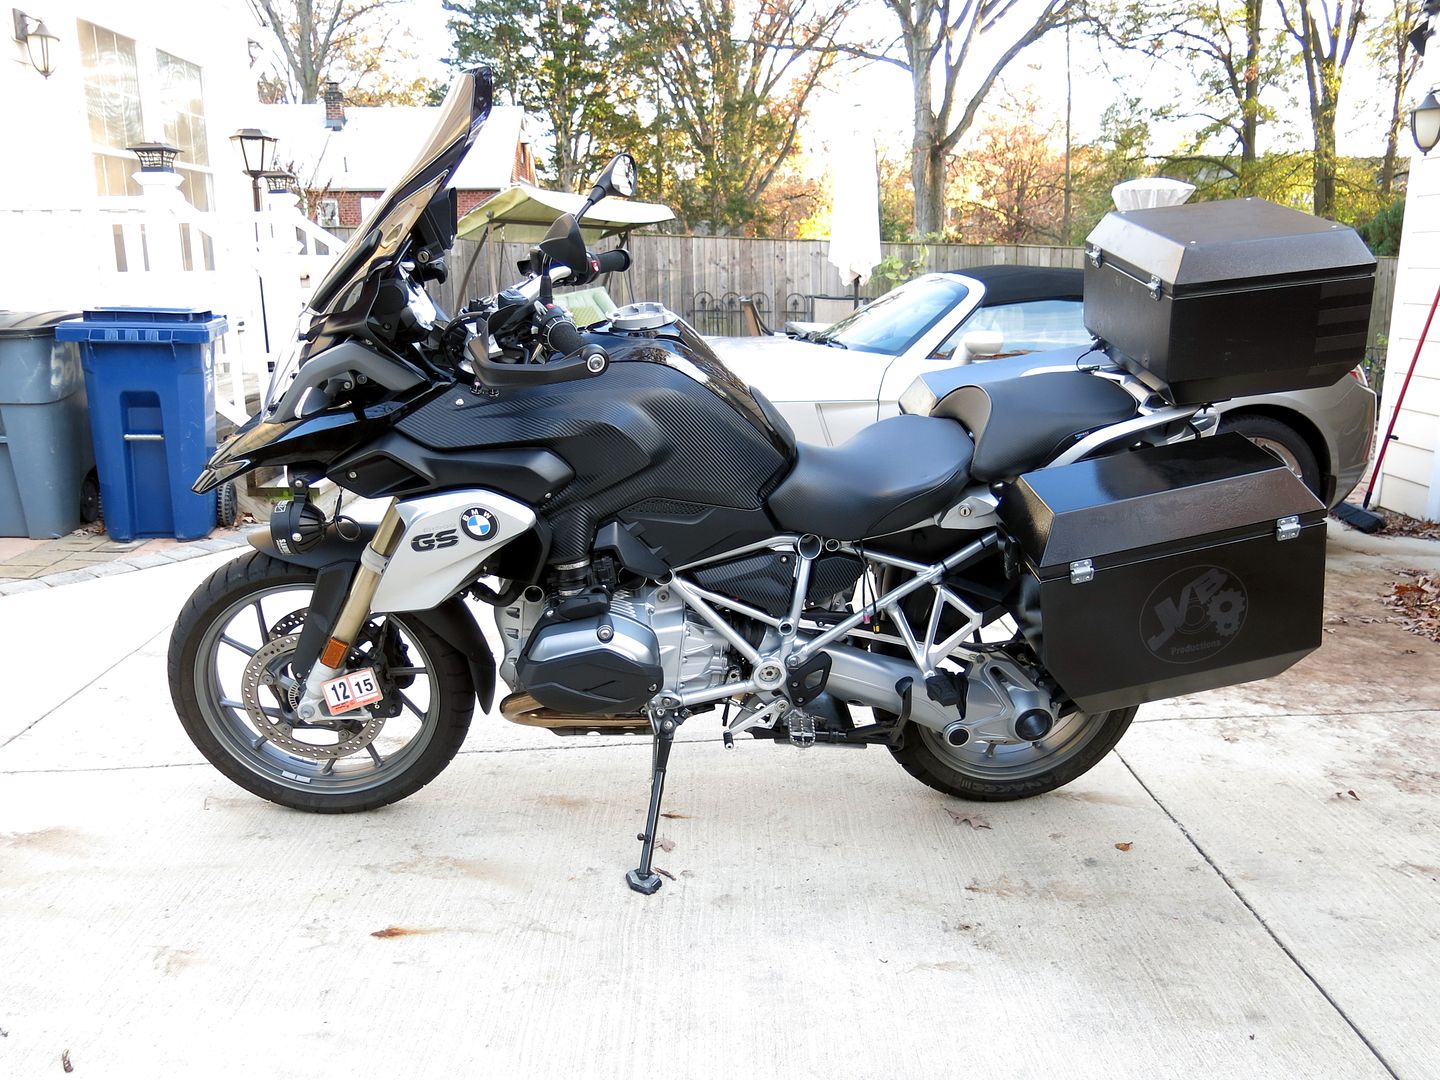
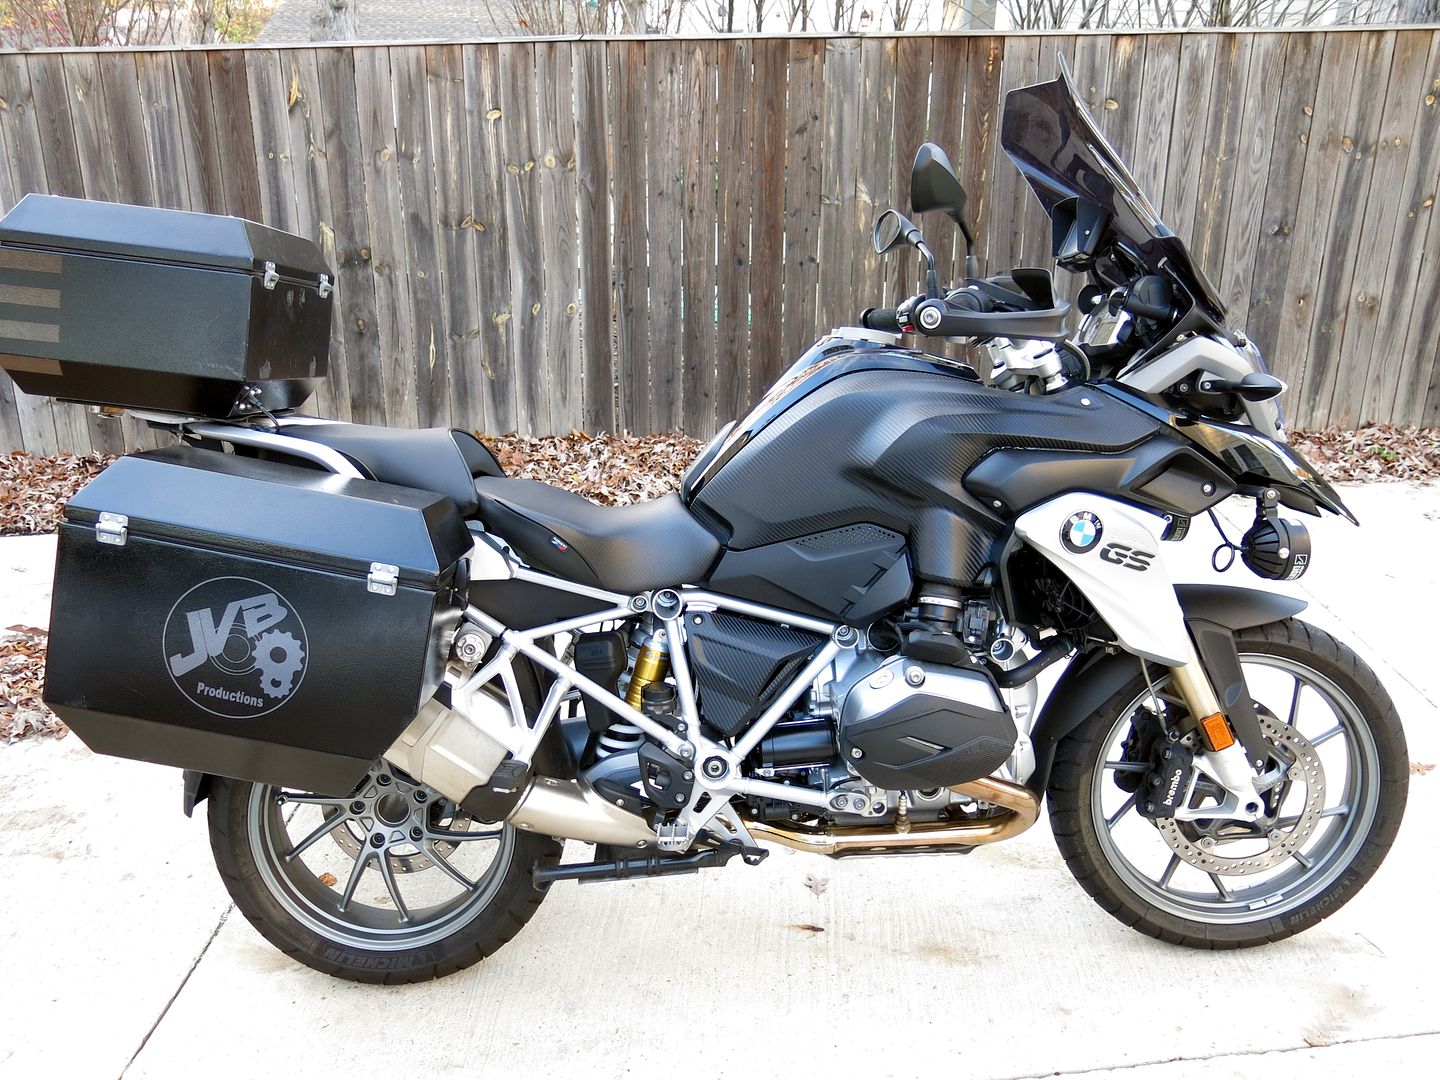
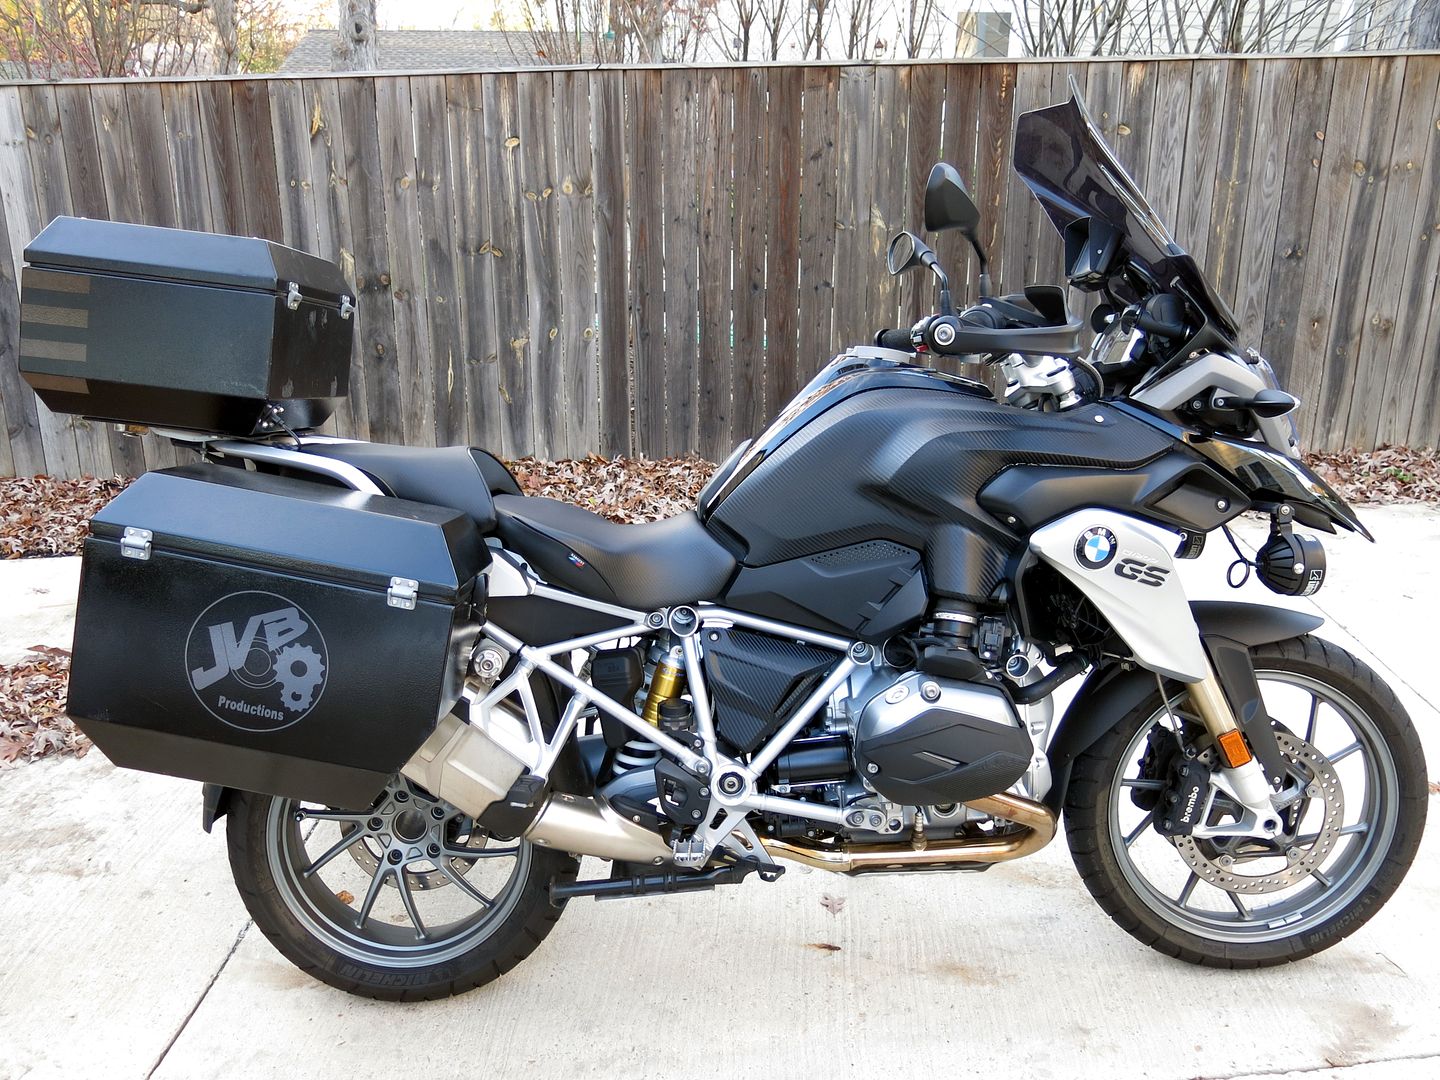
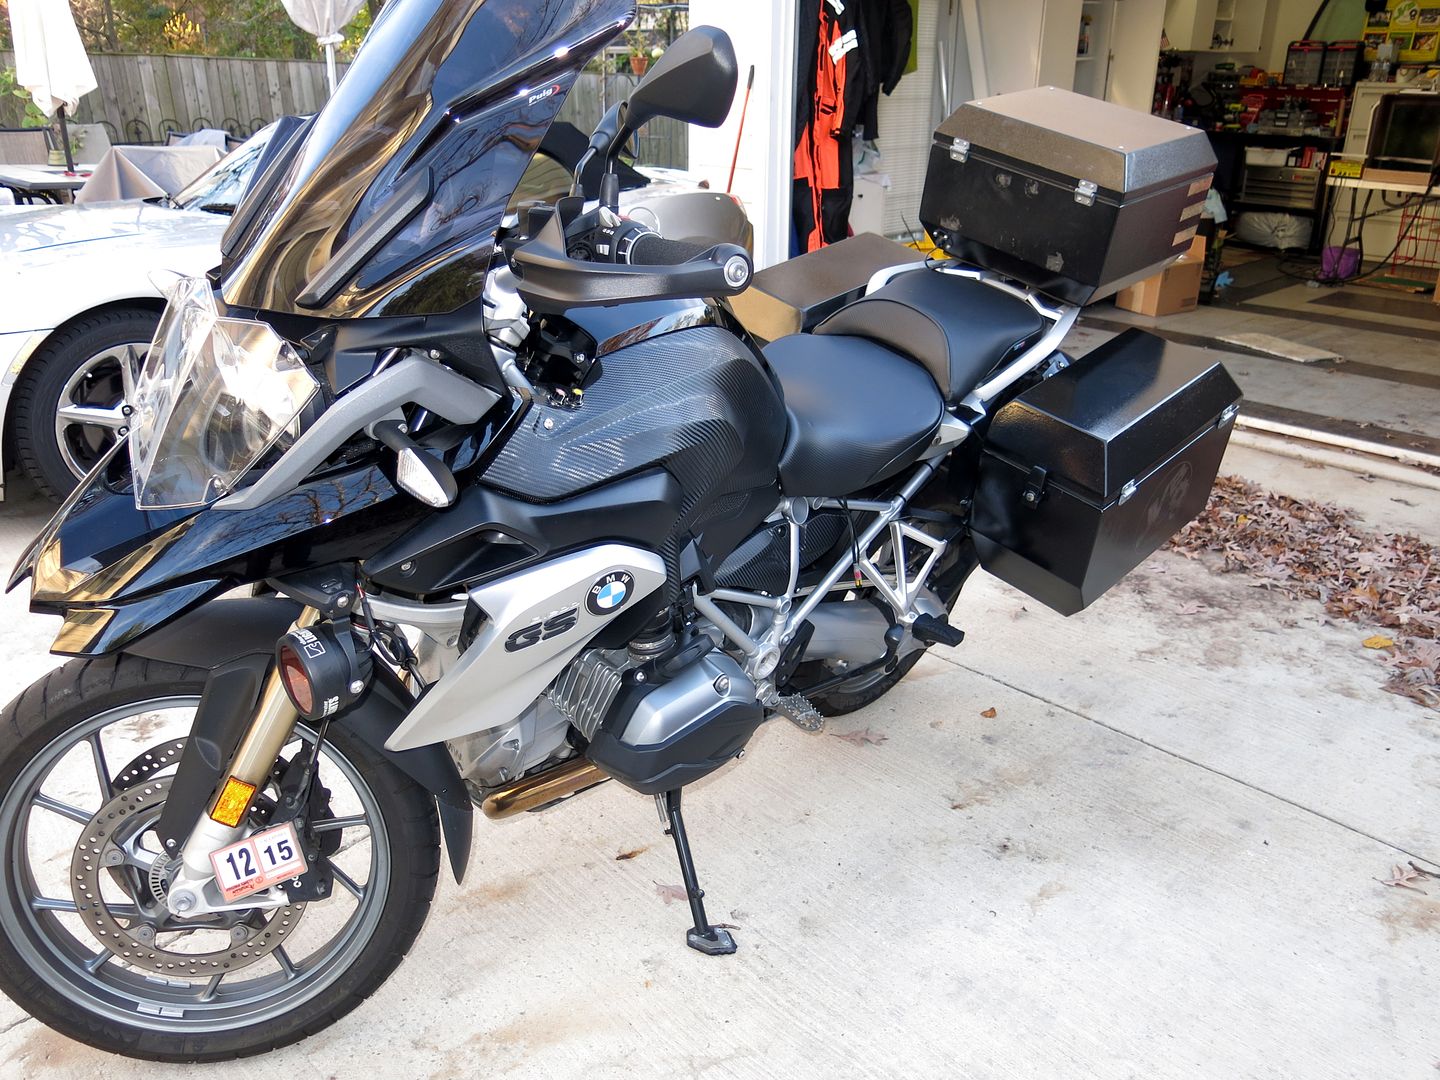
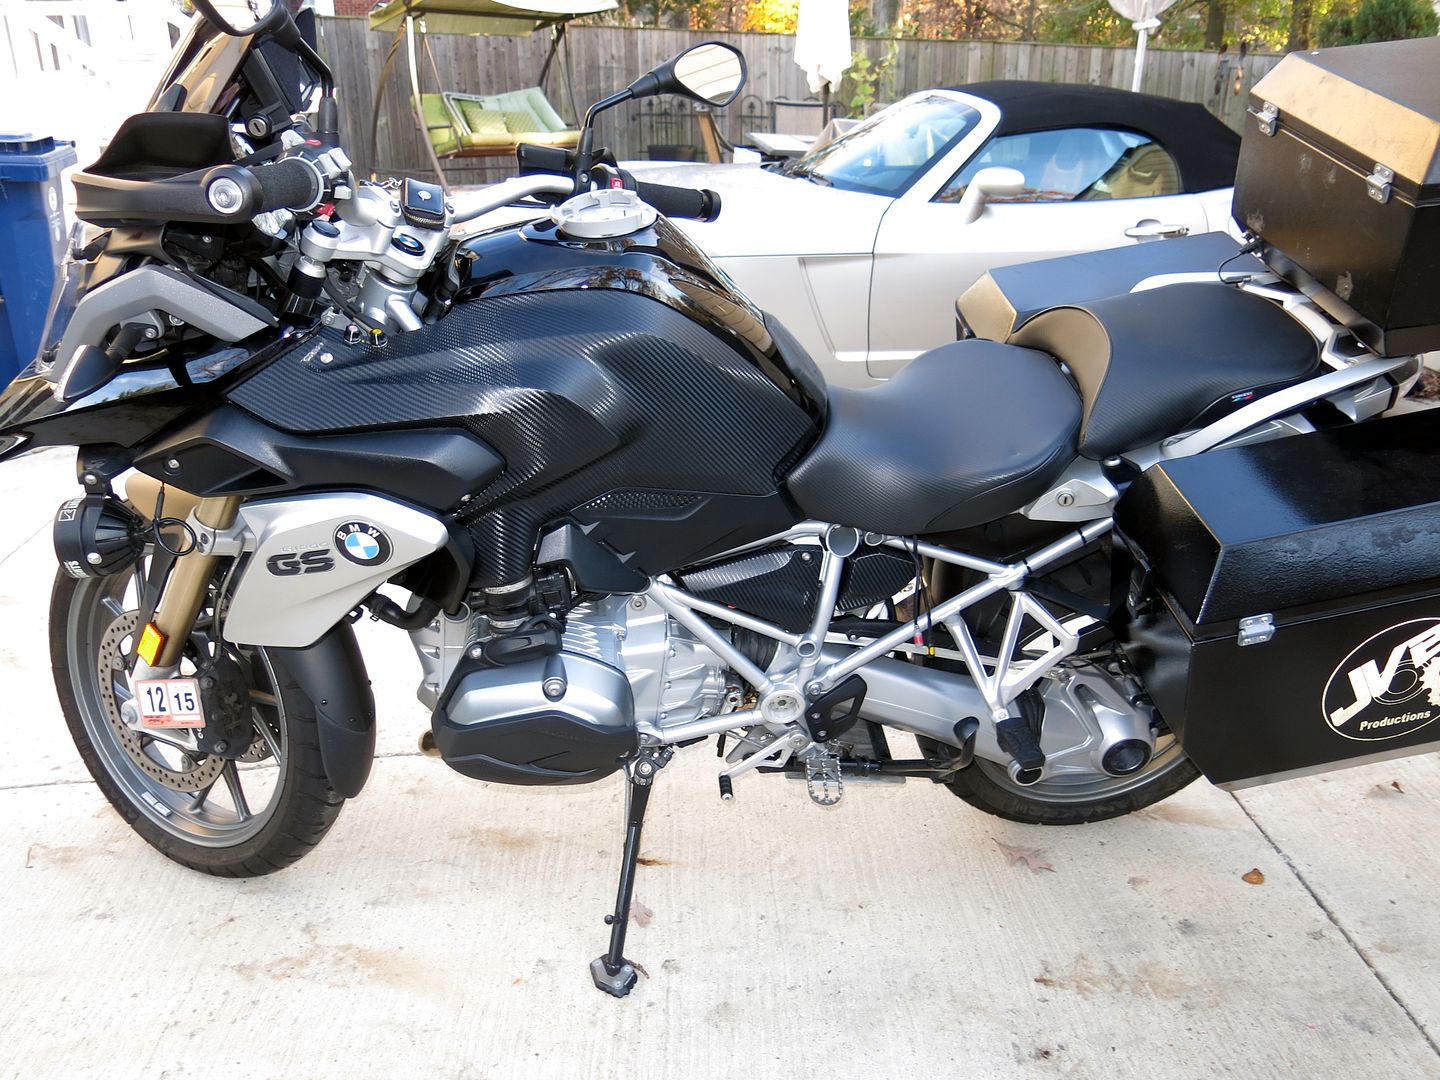
looks great im about to start doing the same to my quad i did some on my truck and i used the 3m 1080 series seems the same as what u have just not sure how close it would be . did u use any adheasion promoter on those panels ?
Those pins are badazz. Do you make them to sell? If so what do you get for them?Spent some time in the garage today turning carbon fiber pen blanks. This is real Carbon Fiber, not some vinyl decal. The carbon fiber tube is bonded to a brass pen body and then encased in clear alumilite resin before being turned on the lathe to final shape.
I will say, this stuff will make a mess! I quickly plugged up my entire 4" dust collection system with a softball sized wad of shavings! Here's the finished products in both "Gearshift" and "30 Caliber Bolt Action" pens:
 Now I'm thinking the three welders and torch need their own space on the wall and the crane and "fab table" will bring the work to them.


Reconstructed a squirrel feeder that had fallen apart as some of the wood had rotted.

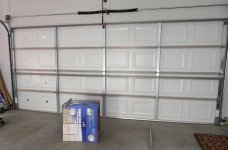
Insulated the garage door in preparation for a cold Minnesota winter. These insulation kits were on sale for $39 each at Menards and went up easy in about an hour and seem to be good quality. Lastly, I'd like to find a way to seal the small gaps around the perimeter of the door when closed.