OP
jimreed2160
Well-known member
Chris--Great job on the Dutchman.

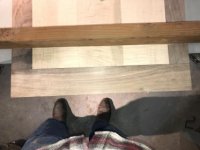
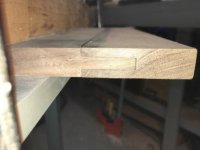
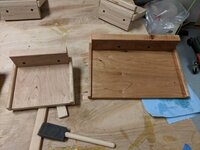
Tonights workout. Hand tools except a small router for hogging out the bowtie
About 48x18 intended for bench in the mudroom.


What kinda of legs are you going to make?
Tonights workout. Hand tools except a small router for hogging out the bowtie
z--best is a fine tooth carbide table saw blade. There is a specific grind available for acrylic, but a triple chip or alternating bevel works well enough.
A sharp Forstner bit works on large holes.
Not sure if this has been mentioned but Lee Valley Tools is a great place for woodworking tools . They have their own line of tools as well , it's called Veritas .
scarrylarry
Zach--I have absolutely no experience with acrylic but do have a few ideas. My guess is that you are concerned about keeping the finish pristine during drilling. Much polycarbonate is shipped with a protective vinyl type skin that is peeled off before use. Seems like you could cover it with blue painters tape and achieve the same result.


Correct. I have shown Lee Valley tools in my posts. No only do they make quality tools, they have an extensive collection of vintage ww tools to draw inspiration from. LV has demonstrated much innovation in their ww tool line.
Did you know they also make medical equipment, retractors for surgery !
scarryalrry
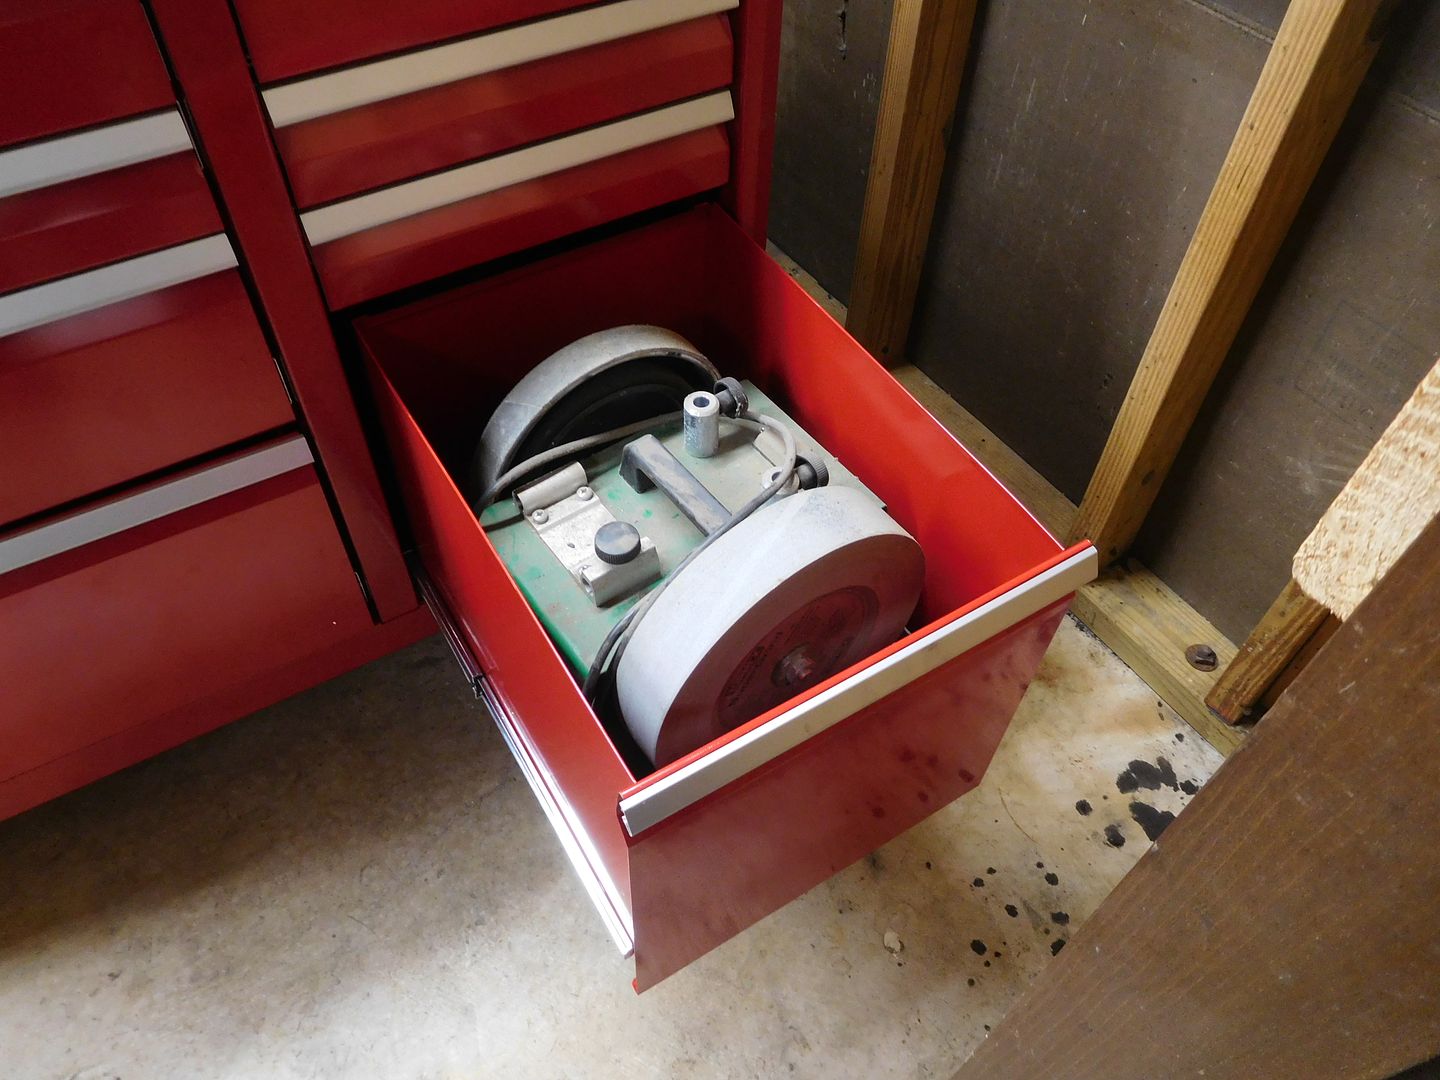
jim: A dedicated grinding area. What a luxury! Here's a suggestion in case your foil spark guards aren't durable enough. I am lucky to have a restaurant supply store nearby. I was going to go soon to get a full baking sheet to use as a catch tray under the table of my bench top drill press. Sweep all the chips and dust onto the tray and dump it into the trash. Quick and easy clean up. Half sheets would be about the same size as your foil trays.
I'm sub'd.
Jim that is a fantastic bench and kudos to your dad for having you there in those walnut shavings. I have a few hand planes and scrapers, but I mostly use power tools.
Drive. I saw your pergola before it looks great.
Ztorres that is a very nice bench and you can appreciate it more because you built it. You understand a good workbench.
I will share my bench and some of my projects.
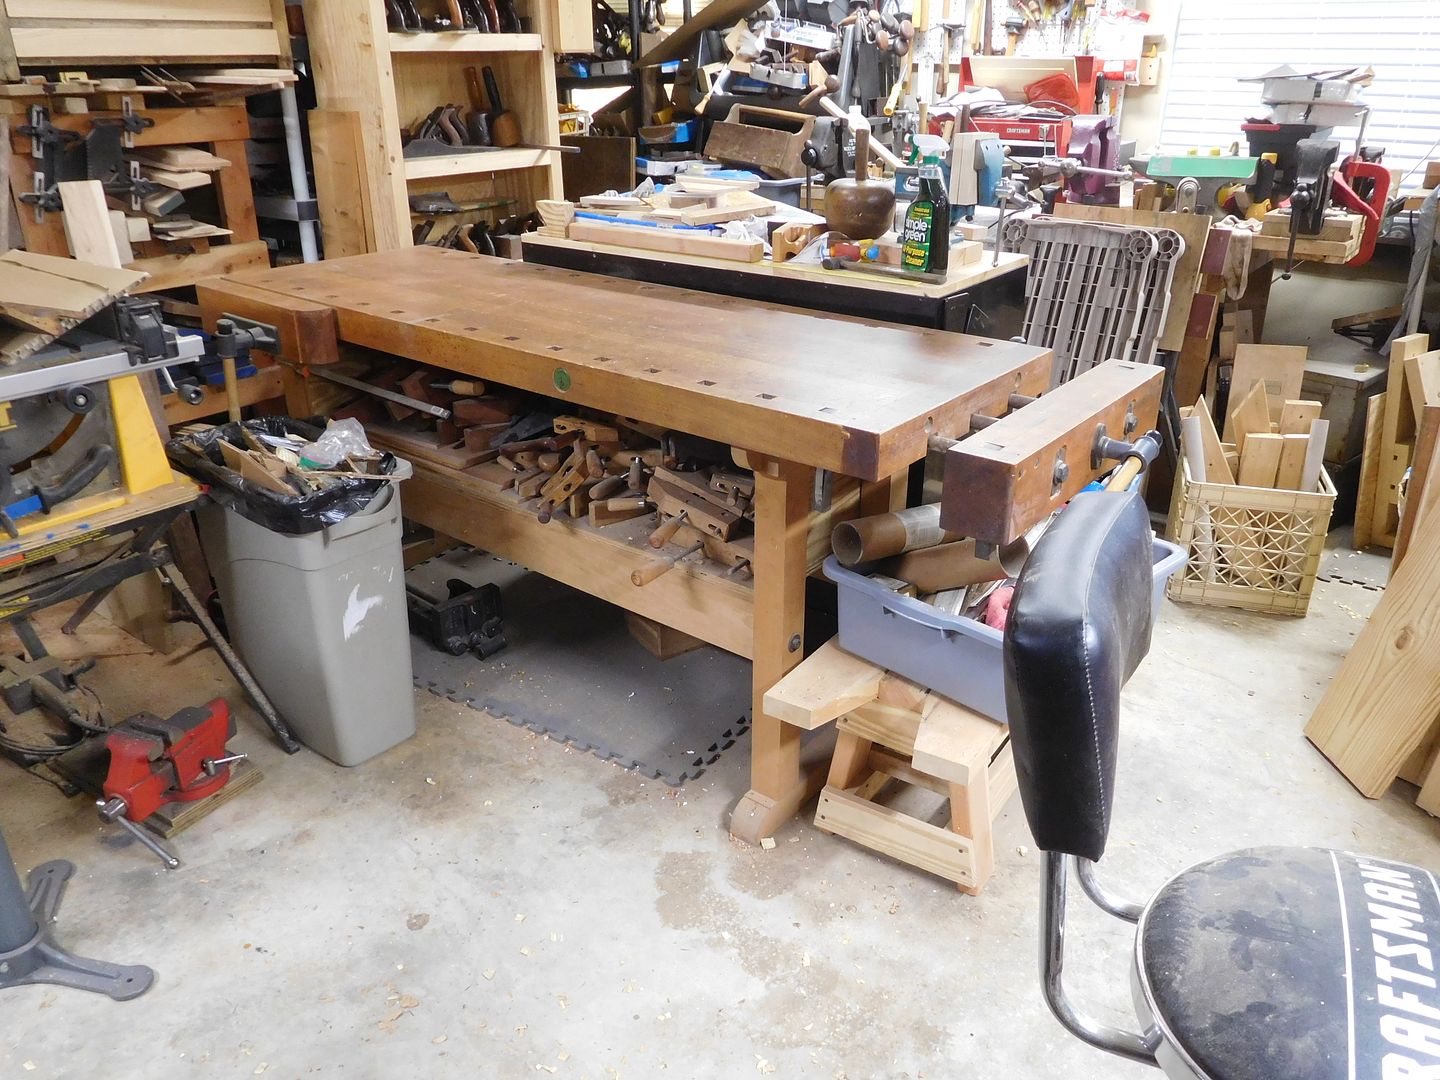
This is my main bench and I have rebuilt it 3 times to the current state. The top is two 3/4" layers of MDF. The bottom is mortise in Tenon joints using plywood layers to make the tenons and mortises. The bottom is filled with a 100lbs. of sand. My dad and I could hardly lift it off the ground.
20161109_191352 by bjohnson388, on Flickr
My lathe workbench. It has 100lbs of sand in the bottom and its bolted to the wall.
20161109_191421 by bjohnson388, on Flickr
Automotive side of the garage just a set of cabinets with standard benchtop.
20161109_191448 by bjohnson388, on Flickr
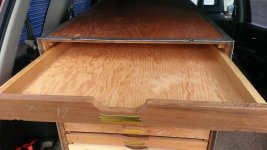
Mitersaw workbench. It has been added on so many times I can't remember. It is functional but it is a mess. I plan to completely redo this entire workbench when I get time. The biggest problem is the saw is only has 6 feet of cutoff space on the right. Need to put it more in the center. And the drawer has all my router bits in it and the router is on the other side of the garage. In my old garage this was right across from my router table.
20161109_191514 by bjohnson388, on Flickr
Last but not least some of my wooden toys and scale models I have built. I also obviously enjoy building cabinets.
20161109_191533 by bjohnson388, on Flickr
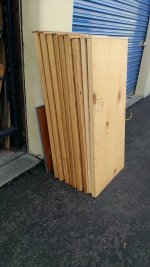
Almost forgot have a bench in the shed. Nothing special exact same my automotive one in the garage. They are modular cabinets made from plans in Shopnotes.
20161009_185431 by bjohnson388, on Flickr
I am really excited about this thread and hope it gains some momentum. As Drive has said there are a lot of woodies on here.
")
 20171025_172633293_iOS by Chris Lehr, on Flickr
I think it was Robin Lee's dad who made the first items for a surgeon buddy of his.