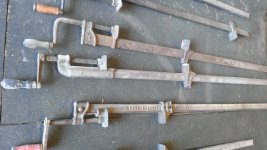
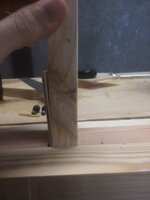
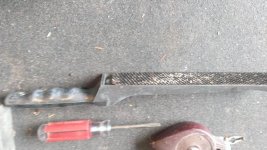
Our next topic of the day is edge treatments. My last post on the drawknife case began with a class picture of tools. All have one thing in common--they can be used to create chamfers. The chamfer edge treatment is descended from ancient ww times. Early woodworkers saw 90 degree corner edges wear over time. Often this wear created large splinters. Ouch. If only there were a way to soften that edge. And thus the chamfer was born. Chamfers soften those edges to both our eyes AND our fingers.
Chamfering with a drawknife is quick and easy. Hold the drawknife on a skew because it slices easier that way. Whittle away until you have what you want. The drawbacks are lack of control and the haphazard appearance of the finished joint. It is possible to make or buy chamfer guides for the drawknife, but precise control is necessary and that takes practice.
Another tool for chamfers is the block plane. Set the cutting depth and plane away. Again, slightly skew the blade for a smoother cut. The block plane is easy but does take practice to make consistently uniform edges.
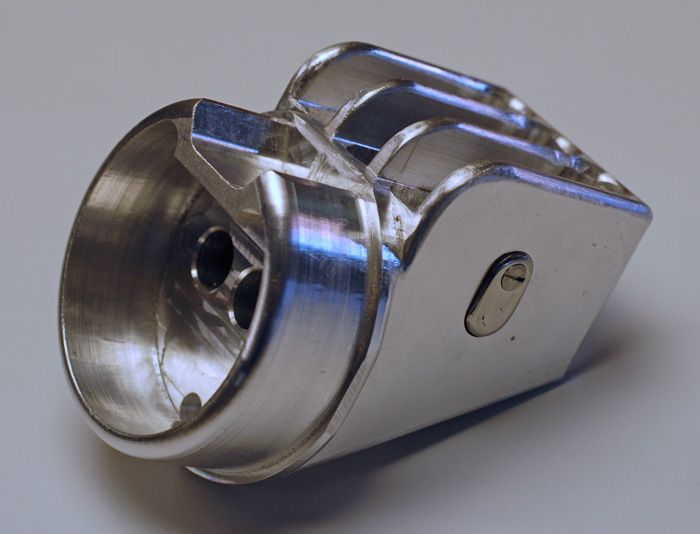
Understanding these issues of control, Preston and others manufactured chamfer shaves. Just take a spokeshave, which is a small type of drawknife, and put guides on the bottom. Here is a Stanley #65 in action.
Here is a close up of the guides.
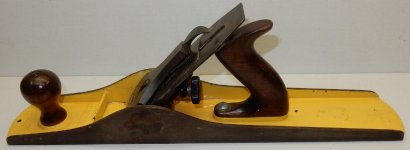
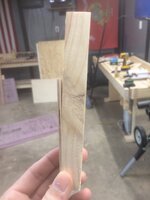
Chamfer spokeshaves work well and I keep one in my shop ready for action. But if you want the ultimate in chamfered edges, get a chamfer plane. The chamfer plane makes great chamfers with ease. Here is a Stanley #72 working on the walnut.
For my money, the #72 is really the way to go. It is the easiest and leaves the best looking edge. It even leaves a nice edge treatment on raw lumber.
So don't forget chamfers when you are working on your projects. Almost every project has a rough edge that could be improved with a chamfer.

![WP_20161114_013[8873].jpg](/forum/data/attachments/476/476980-aef44d24debd86f12606f1bd3be9134b.jpg)
![WP_20161114_039[8802].jpg](/forum/data/attachments/476/476950-748b15db32bfd57cf7c23a9b6704b6d1.jpg)

![WP_20161114_007[8867].jpg](/forum/data/attachments/476/476853-550a1112519a6ec35b353b636fc4dc13.jpg)
![WP_20161114_006[8866].jpg](/forum/data/attachments/476/476821-0315b0ecabb4e92374e70b1032db25f0.jpg)


")