Toolfool
Well-known member
I like watching a good guy have fun. Good job Jim.


Mefast--Jump in--the water is just fine. Your list is a good start and those planes should see lots of use in your shop. I am partial to Stanley planes made up until WWII as they seem to have the most quality. Planes with broken totes seem to be the best bargains. And fixing wood should not be hard for a woodworker. Most of my user planes have repaired totes.
Good luck in your quest for some planes.
Here it is.

Here it is.

mefast: That was a great starter set you got. You should be able to do just about anything you want to do with them. If you don't already know how to rehab and fine tune them then ask somebody who does or watch some You Tube videos. (Warning: Watch a few of them. Some of those guys don't really know what they're doing. I recommend Paul Sellers.)
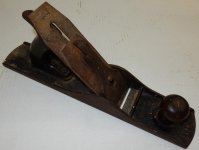
Another reason that I responded to your post is to show you a plane that I just bought. I bought it for three reasons: First, it was CHEAP. Second, it's a 5 1/2 which don't come up all that often. Third, it's a brand I've never heard of but the components looked good. The brand is NATIONAL and after I did a fair bit of digging I found out that it was made in Hamilton, Ont. Have you heard of National Machinery and Supply?
I also recently bought a Shurley - Dietrich backsaw from Galt, Ontario but that's another story.
 ). In the interim, I'll use the No. 7 without a horn. The type of wood to use was my biggest question and you answered that without me even asking. Thanks!


True. I have two Mitutoyo digital calipers for this purpose. While I like dial gages, I'm definitely in the digital calipers camp over decimal dial calipers. I think I have one Starrett but I'd lose a bet if you made me go find it.The decimal dial calipers are much more accurate and easier to use. Mine are all decimal. Decimals are also easier to add and subtract.
Thanks. This is the purpose; when you need 'a bit more than 1/8" ' type of measurements rather than 0.3275" is easier with a dial than a tape measure for me. Usually if it's small enough I take a square and transfer the measurement rather than trying to read a 1/16 or guess how close to half a 1/16 something might be on a yellow tape measure.Cheechi--That is the one. ...It is handy for sizing SAE screws.


Jar--Impressive cabinets but more impressive is your clean and neat shop. It looks like a nice place to hang out.
JAR944,
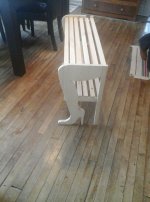
Give us a few more pics of the wall-hung tool cabinet please.
Blue Frog


 [/QUOTE]


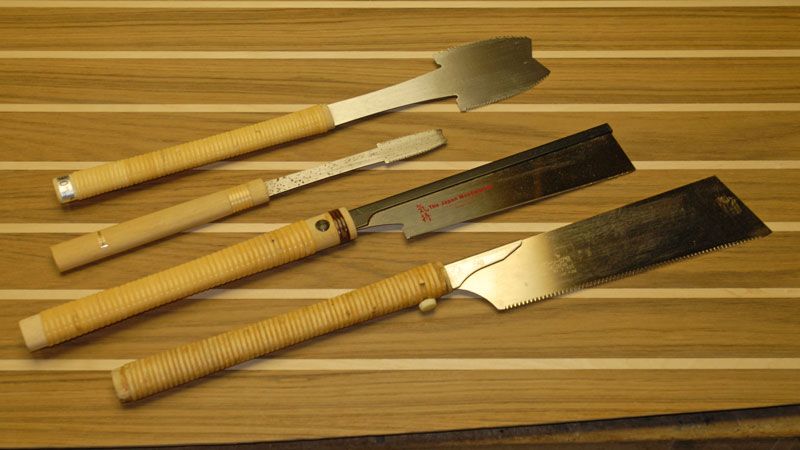

jim: Do you have any saws by those saw making brothers, Warran & Ted Superior?
Madison: You should try making your own saw vise. All it takes is a couple of scraps of plywood, some 1 by, and a piano hinge. Look for a You Tube video. I have an actual saw vise but I only use my home made vise. It took less than an hour to build. I should tell you that I have to clamp mine in my woodworker's vise but there are simple plans for stand-alone saw vises.
Jar--nice shop!
those yellow handled chisels are those the Stanley Fatmax ones made in England? It looks like they've since been replaced but how are they?