It's not that we do not believe you, but pictures would really seal the deal.
Did the picture not work? Or did you want to see close ups?


It's not that we do not believe you, but pictures would really seal the deal.
haha that's right! good work.For the non-haters of pens in this thread.
CSR: love the pens and great work!!
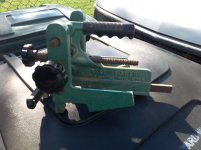
do you have any before and during shots to post or did i miss them? also did you make the stand or is that something you by from a supplier?
So after a month long cancer scare, it looks like we are in the good zone. We were able to escape the hospital and I napped the afternoon away. Then we went to a birthday celebration to cap it all off.
Life is good.


 I'm super excited!
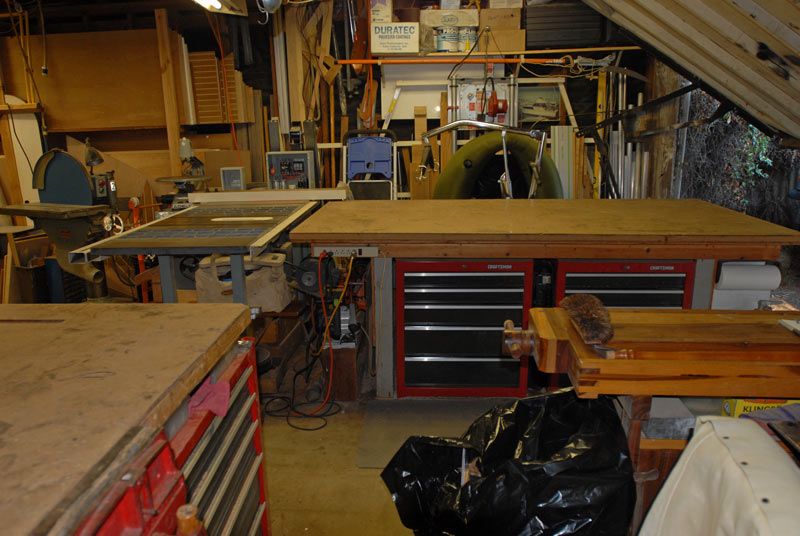
R-- That is a great looking saw--good score. I am impressed with the neatness of your shop.
Congratulations ! Great saw with a great fence. Make sure the fence is properly adjusted before you start using it . Have fun.
I wish I had room for a saw like that.
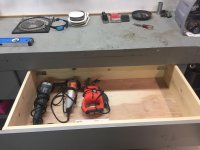
those are some big drawers. are they **** jointed and that's why the metal bracket is in the back?
Toolfan: Thank you as well, I checked everything before I brought it home, everything was square but some minor adjustments to make sure the fence was riding above the table without rubbing we're necessary. It's all set now!
It's best to NOT have the fence dead-on parallel to the blade. Spacing should be "just slightly" wider at the back edge of the blade than at the front edge.


When you cut wood with the fence perfectly parallel to the blade there's a possibility of the "back" side of the blade catching with resulting kick back. Also if the blade is not perfectly sharp it will tend to burn the cut surface. Remember the dimension is from the front of the blade to the fence so you should still get accurate cuts.Can you expand on this? New to woodworking and haven't heard this before. Why is this so? How much is "just slightly?"
Sent from my iPhone using Tapatalk
When you cut wood with the fence perfectly parallel to the blade there's a possibility of the "back" side of the blade catching with resulting kick back. Also if the blade is not perfectly sharp it will tend to burn the cut surface. Remember the dimension is from the front of the blade to the fence so you should still get accurate cuts.
So if the fence is off parallel just enough to relieve the contact, maybe a couple of thou this can be a benefit. My preference is to use the riving knife which if correctly set up can achieve the same results. My current saw has no riving knife so I have the off parallel set up.
Sent from my SM-G900T using Tapatalk

Help please. I am going to cross cut some 3/4" plywood(4x8). The width will be about 3 inches. These will be bevel cuts, 45degrees. I am using a circular saw. I have something called a Kreg rip cut, a tool to help make perfectly straight cuts.
How should I suppport the plywood and the pieces that will be cut off? Let it just hang off the table?
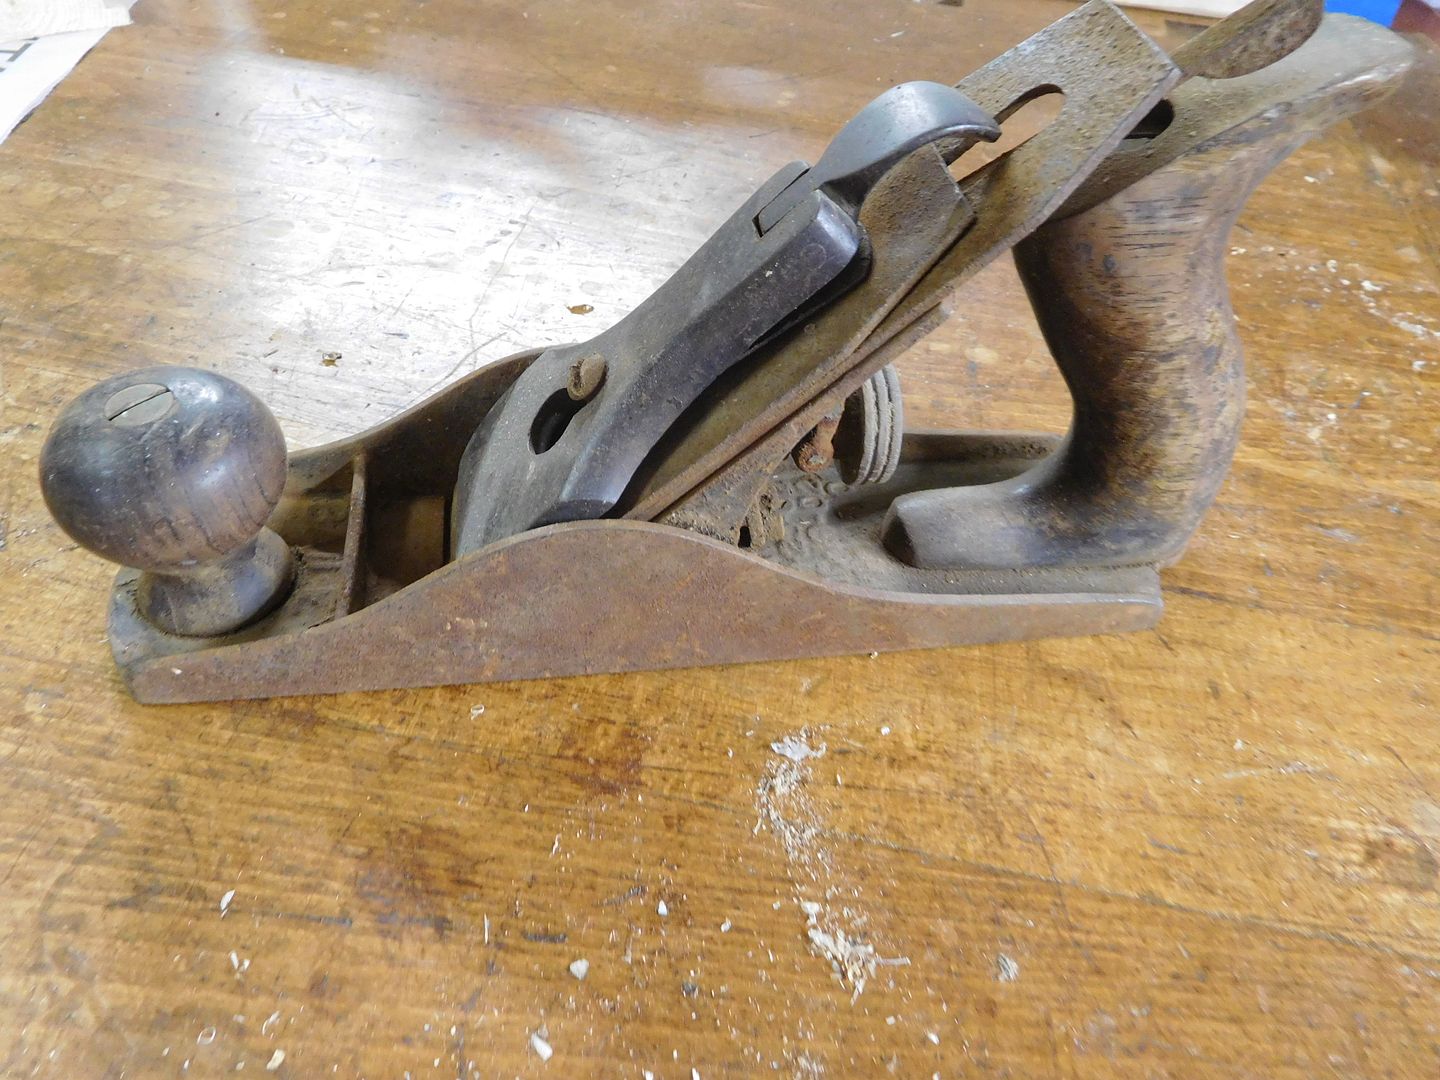
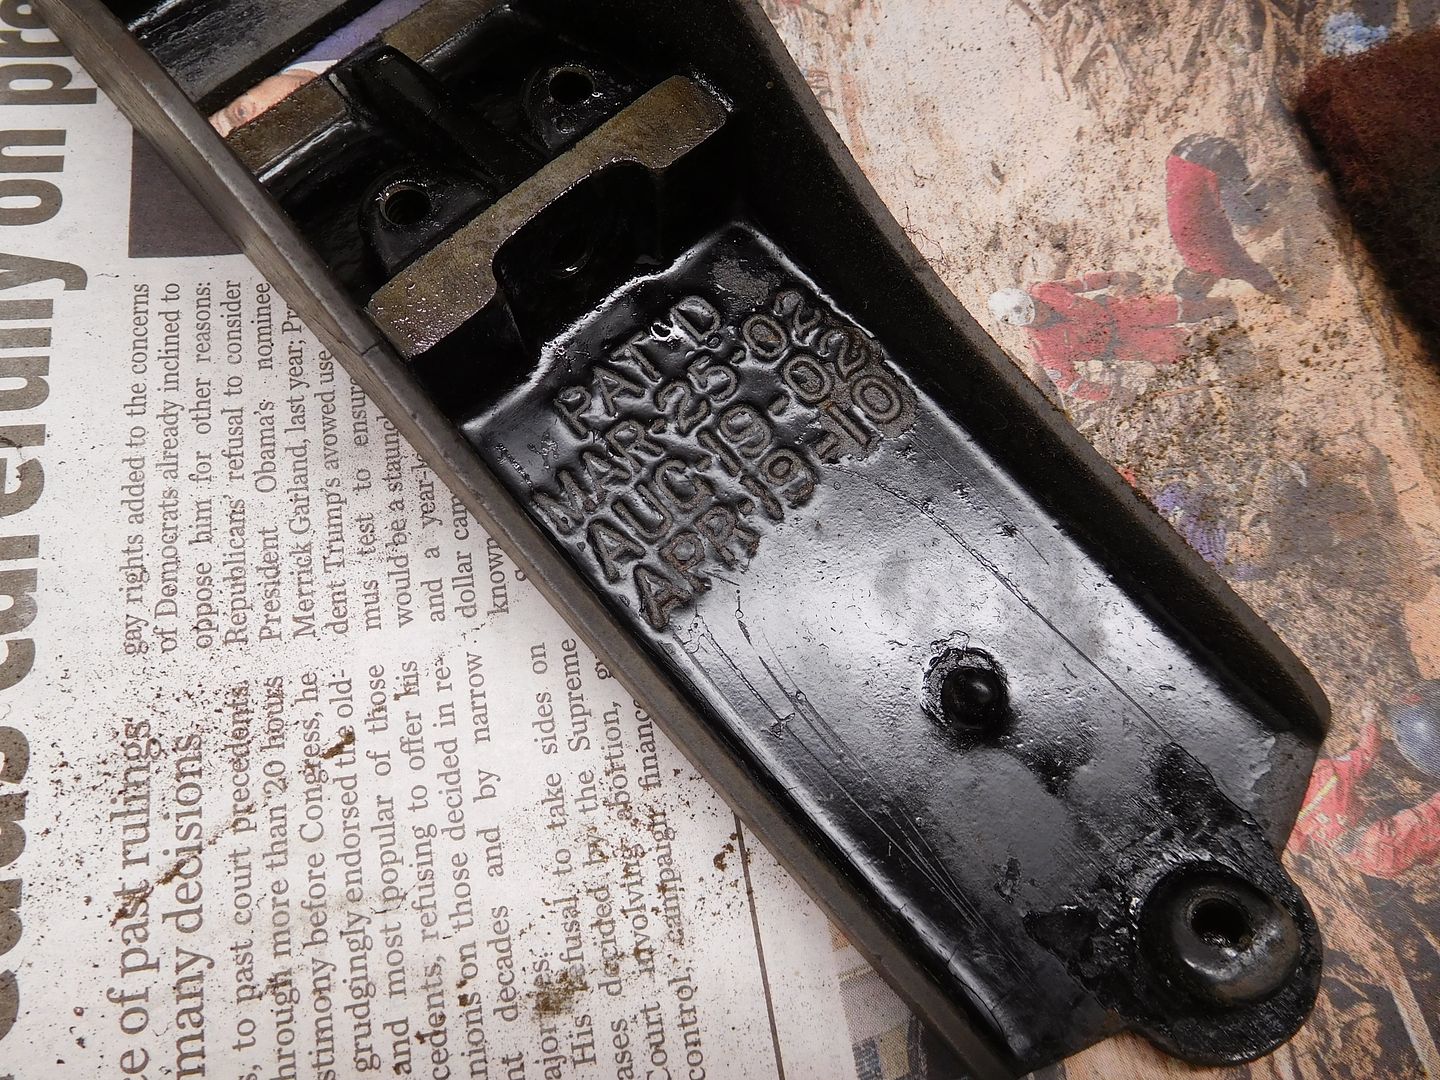
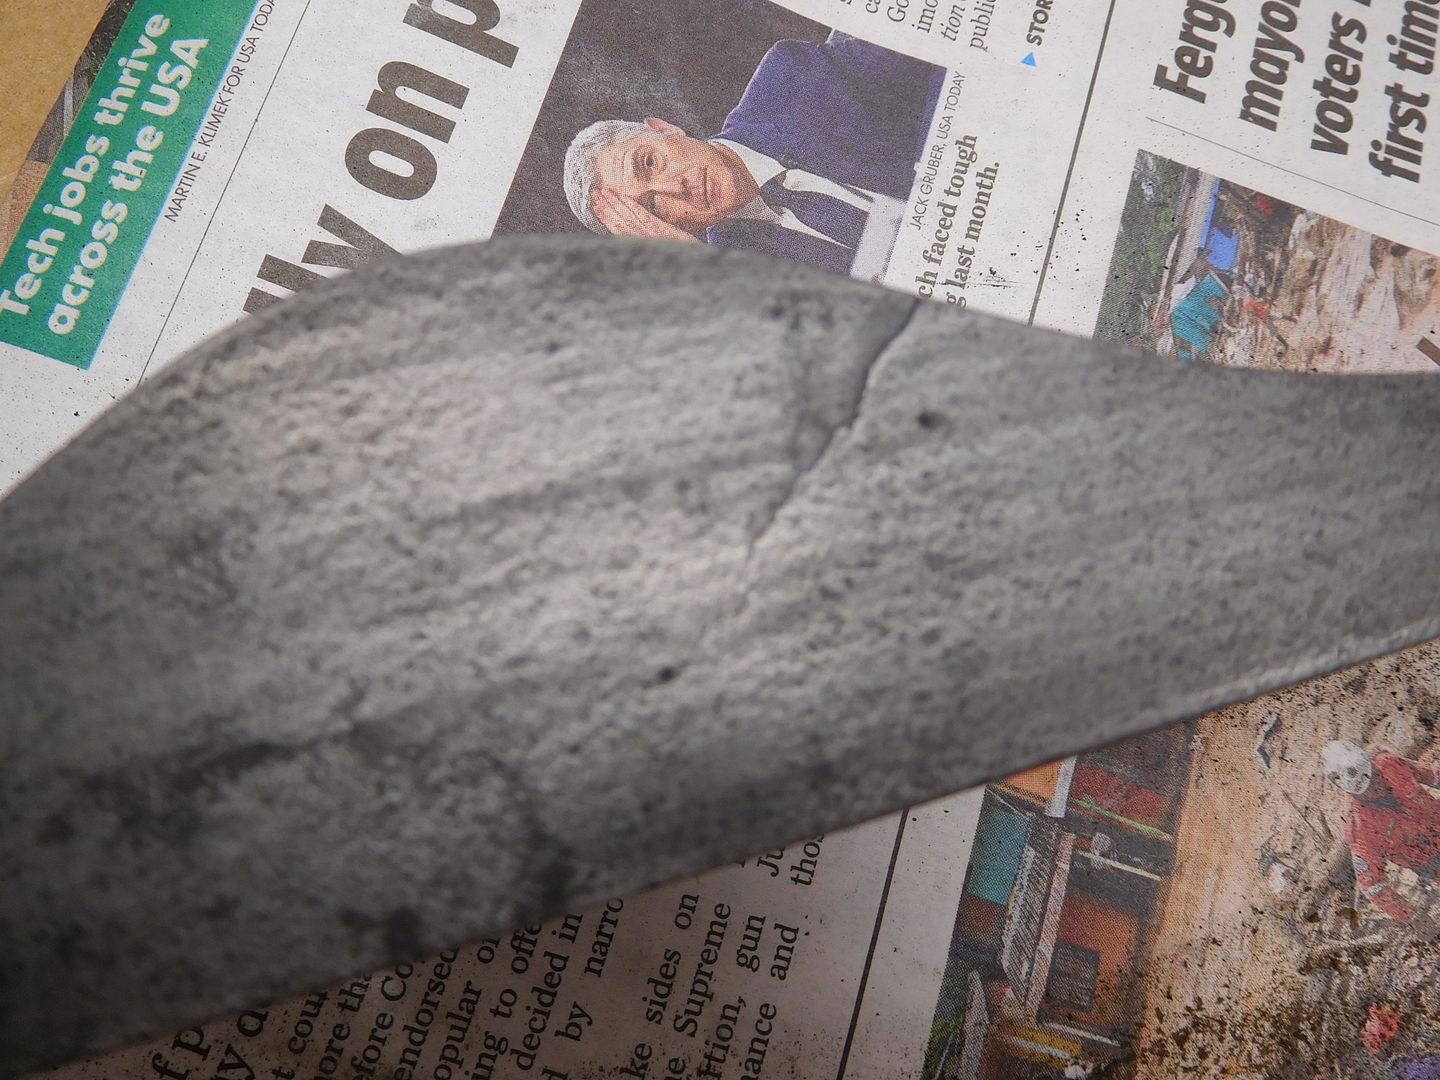
That's the pits Jim, always hate to see good tools damaged from neglect. On the bright side you have some really nice hard woods for projects. What's first?


Help please. I am going to cross cut some 3/4" plywood(4x8). The width will be about 3 inches. These will be bevel cuts, 45degrees. I am using a circular saw. I have something called a Kreg rip cut, a tool to help make perfectly straight cuts.
How should I suppport the plywood and the pieces that will be cut off? Let it just hang off the table?
 I have found that a pair of solid sawhorses and two 8' 2x4's as a sacrificial surface works well.
  Hope this helps. Good luck and be safe.
Help please. I am going to cross cut some 3/4" plywood(4x8). The width will be about 3 inches. These will be bevel cuts, 45degrees. I am using a circular saw. I have something called a Kreg rip cut, a tool to help make perfectly straight cuts.
How should I suppport the plywood and the pieces that will be cut off? Let it just hang off the table?
You should make a list of, "Here are the 5 planes you can't do without."
jimreed2160: Your plane tutorials have educated me on the wonders of these tools. I will now start keeping an eye out for them at yard sales and flea markets. I don't want to collect them, I want them to use them. You should make a list of, "Here are the 5 planes you can't do without." That way I will know which ones to buy!
Mark aka Coolerman