To avoid these ads, REGISTER NOW!

Woodworking 101--Tools and Tips

rrich1

Well-known member
Joined
Oct 7, 2015
Messages
793
Thanks everyone. Nice to finally see it looking like a bench.

Ad: your bench is amazing. I was thinking of making some drawers underneath for mine. Won't be dovetailed though. Any more pics?

For people with leg vises: how far down do you have the screw?

Sent from my Pixel XL using Tapatalk
 
To avoid these ads, REGISTER NOW!
OP
J

jimreed2160

Well-known member
Joined
Aug 7, 2016
Messages
3,589
Location
Tallahassee FL
Drives--To your buddy who wanted some solid wood for edge banding--here is something that went a little farther. These are the pigeon holes in my secretary desk. Since stuff is usually in the slots, I glued cherry to poplar for the bottom and for the dividers. I think it came out pretty well.

DSCN3245.jpg
 

BikerDad

Well-known member
Joined
Apr 24, 2014
Messages
975
Location
Utah
My Roubo build took around 8 months, and that was after the material was gathered, and I needed a break after it was together enough to use.
...
Here is the sorta finished project, still have to put in drawer stops and one or two need a little tweaking.

Andy

VERY nice bench Andy. Benchcrafted leg vise from the looks of it, love the shape of the chop. Can you give some more details on the bench? Specs, materials, etc.

Also, a suggestion. You might want a bigger gap between the bottom of the chop and the floor. A few stubbed toes will increase the want factor...
 

ADNICK

Well-known member
Joined
Feb 6, 2017
Messages
45
Location
Comfort TX
Thanks guys....The chop is on the floor for the reasons EZ stated, not really an issue with feet, maybe because one expects it to move.

Yes the I looking thing is a sliding deadman.

Posted some on this bench before, but that was many posts ago...The bench is almost 10' long, split top made from long leaf pine heartwood reclaimed from our 120 year old house.

Made to work on from all sides, Benchcrafted leg vise, Lie Nielsen tail vise and an a very old Sheldon quick set vise on the back..the top is over 5" thick and it's just over 34" high.

Has to weigh close to 1000 lbs with the cabinet of drawers, here's a picture before the drawers
 

Attachments

  • bench 1.jpg
    bench 1.jpg
    136.2 KB · Views: 111

Denwood

Well-known member
Joined
Sep 22, 2014
Messages
4,185
Location
Thunder Bay, Ontario, Canada
....

ALL: another member Denwood (Woody) posted up a question that he wants to finish his cabinets with a hardwood instead of the veneer tape you glue or heat on so he found this routering method. anybody use this method yet or have a better one they like better?

Drives, thanks for posting this here :)

JimReed, the cabinets look great. I did some more cabinet work last night, doing all the rabbets on a custom cabinet with my vintage Dewalt RAS. I figure the routed hardwood edge is almost the same amount of work as a face frame. So right now, I'm a bit on the fence (pun intended) :)
 
OP
J

jimreed2160

Well-known member
Joined
Aug 7, 2016
Messages
3,589
Location
Tallahassee FL
Toolbox upgrade

Funny how a buying string works. I was in HD wandering around one day (a very dangerous activity) and I came upon a nice 24" toolbox. Well, cool, says I. One cannot have too many drawers and this one came home with me. It moved around the shop for awhile, but there are not many flat surfaces there and it could never gain permanent purchase. On another wandering HD trip (again, dangerous activity), I found the Husky base. It seemed like a perfect home for the box. I added plywood to the top and it found a home beside my workbench.

DSCN3247.jpg


So then I am wandering around HD (can you see a pattern emerging?) just before Memorial Day weekend and spied some nice top boxes. After having multiple fever dreams, I returned today and picked one up. It fits just fine and looks great. My recycled pad even fits in front of it.

DSCN3248.jpg


It is a great addition, but now the 24" toolbox is again homeless. The cycle continues. :willy_nil
 

trainer

Well-known member
Joined
Nov 28, 2005
Messages
2,019
Location
Northern Ontario, Canada
RR:

ALL: another member Denwood (Woody) posted up a question that he wants to finish his cabinets with a hardwood instead of the veneer tape you glue or heat on so he found this routering method. anybody use this method yet or have a better one they like better?
A simple strip glued on the edge or glue and biscuits works fine.

Also dont be so quick to write off veneered tape. Its really improved over the past few years.
 

Teenager with old tools

Well-known member
Joined
Jun 3, 2015
Messages
595
Location
riverside california
c1cc805d5f6eac121a8ac00e44d1ca69.jpgbb387a5400f7d8e2b7f54c2a96ca1a35.jpg
Most recent woodworking projects. I inlayed the Celtic knot by making cut at 45 degrees glued in wood did that four times and then I turned it.


Sent from my iPhone using Tapatalk
 

Attachments

  • c1cc805d5f6eac121a8ac00e44d1ca69.jpg
    c1cc805d5f6eac121a8ac00e44d1ca69.jpg
    429.9 KB · Views: 0
  • bb387a5400f7d8e2b7f54c2a96ca1a35.jpg
    bb387a5400f7d8e2b7f54c2a96ca1a35.jpg
    407.7 KB · Views: 0
OP
J

jimreed2160

Well-known member
Joined
Aug 7, 2016
Messages
3,589
Location
Tallahassee FL
Teen--The quality of your projects always amazes me. I had to give my early stuff to my mom. She was my biggest fan and liked everything. But your projects are way ahead of my stuff. The clock has good balance and the pen is really sharp. Well done. Welcome back.
 

rrich1

Well-known member
Joined
Oct 7, 2015
Messages
793
"new" bench vise came in today. Scored it for $15 on eBay. Time for a restoration. I will paint it to match my 1948 Craftsman drill press and 1966 Craftsman grinder, Ford dark shadow gray. 5f611c064605e05d6174a81faba06bc8.jpg4753f3c3a1abe1f43a4d0882490b37b1.jpga78aaac6c268cdfcafae87783b3a1fda.jpg

Sent from my Pixel XL using Tapatalk
 

Attachments

  • a78aaac6c268cdfcafae87783b3a1fda.jpg
    a78aaac6c268cdfcafae87783b3a1fda.jpg
    91 KB · Views: 0
  • 4753f3c3a1abe1f43a4d0882490b37b1.jpg
    4753f3c3a1abe1f43a4d0882490b37b1.jpg
    100.7 KB · Views: 0
  • 5f611c064605e05d6174a81faba06bc8.jpg
    5f611c064605e05d6174a81faba06bc8.jpg
    81.4 KB · Views: 2
OP
J

jimreed2160

Well-known member
Joined
Aug 7, 2016
Messages
3,589
Location
Tallahassee FL
Thanks. Do you know any history of these? I cant seem to find any information on dating them at all.

The company began in Cleveland in 1906 and is still in operation today. They specialize in the school market and your vise was probably originally used in a school shop. My guess on a date range is 1930-1970.
 

drivesitfar

Well-known member
Joined
Oct 23, 2013
Messages
36,007
Location
Pacific Northwest
TEEN: great looking clock and pen. tell us what you did to make the finish on your clock if you don't mind? i like all the lines in your sig line and guessing you like COUNTRY MUSIC just a tad.

cheers

ALL: here's to making some of us WOOD BUTCHERERS into WOODWORKERS. :beer:
 

drivesitfar

Well-known member
Joined
Oct 23, 2013
Messages
36,007
Location
Pacific Northwest
RR: how big is that wood vise? it does look a lot like Columbian wood vises, but i haven't got into wood vises like i have researched big old bench vises so i'll defer to Jim's comment as maybe a good fact. i'd lean towards the pre WWII dates because of the casting and the look of it though.

keep your eyes open for a good 10-12 inch quick release wood vise (vice). Wilton, Columbian and i bet a few other US companies made some. i think my favorite one is my Record quick release that i think has 10 inch jaws and i bet the vise weighs 60 pounds and isn't any little thing.

here's a picture of my RECORD quick release wood vice.
 

Attachments

  • WP_20160511_015.jpg
    WP_20160511_015.jpg
    141 KB · Views: 57
  • WP_20160511_014.jpg
    WP_20160511_014.jpg
    128.1 KB · Views: 64
  • WP_20160511_011.jpg
    WP_20160511_011.jpg
    144 KB · Views: 56

ckadams00

Well-known member
Joined
Sep 12, 2011
Messages
1,273
Location
Seattle, WA
Toolbox upgrade

Funny how a buying string works. I was in HD wandering around one day (a very dangerous activity) and I came upon a nice 24" toolbox. Well, cool, says I. One cannot have too many drawers and this one came home with me. It moved around the shop for awhile, but there are not many flat surfaces there and it could never gain permanent purchase. On another wandering HD trip (again, dangerous activity), I found the Husky base. It seemed like a perfect home for the box. I added plywood to the top and it found a home beside my workbench.

DSCN3247.jpg


So then I am wandering around HD (can you see a pattern emerging?) just before Memorial Day weekend and spied some nice top boxes. After having multiple fever dreams, I returned today and picked one up. It fits just fine and looks great. My recycled pad even fits in front of it.

DSCN3248.jpg


It is a great addition, but now the 24" toolbox is again homeless. The cycle continues. :willy_nil

Jimreed - before I read your last sentence I was doubles over laughing thinking: so now he's got a new bottom/top box combo and the little toolchest STILL doesn't have a place to sit!:lol_hitti
 
To avoid these ads, REGISTER NOW!

jar944

Well-known member
Joined
Jul 26, 2010
Messages
5,912
Location
Northern VA
I have a bunch of beaded face frame cabinets to make, so i built a notching/haunching fixture to make it easier. I'm using the kreg 1.5" and 2" cutters. The clamp is just a 12" wedge. So far it works exceptionally well.


rrich1

Well-known member
Joined
Oct 7, 2015
Messages
793
RR: how big is that wood vise? it does look a lot like Columbian wood vises, but i haven't got into wood vises like i have researched big old bench vises so i'll defer to Jim's comment as maybe a good fact. i'd lean towards the pre WWII dates because of the casting and the look of it though.

keep your eyes open for a good 10-12 inch quick release wood vise (vice). Wilton, Columbian and i bet a few other US companies made some. i think my favorite one is my Record quick release that i think has 10 inch jaws and i bet the vise weighs 60 pounds and isn't any little thing.

here's a picture of my RECORD quick release wood vice.

The vise is 7" wide by 4" deep. It should be plenty big for my needs. The leg vise ill be building should compliment it well. It looks to be on the older side with the casting font. I would have preferred a larger vise but this will fit without causing clearance issues with the bench legs. Also the price I couldn't pass it up. It's hefty and not light by any means for its size.
 

cheechi

Well-known member
Joined
Feb 29, 2012
Messages
4,384
Location
Triad, NC
Jar I like how much router stuff you have going on in those photos. You have a closer shot of your bits collection? I might have to get me some of those Kreg cutters that looks nice and clean.

don't have any photos yet but I bought a 14" Dunlap yesterday, and a 110 is on the way as I finish up this workbench top with my lonely HF plane. I know the Dunlap is a jack, but I'm looking to try basically any fore plane and this one looks pretty decent.

Now that I am FINALLY at my thickness I have put the router sled away and sanded the top. It's relatively flat, definitely good enough for this purpose but nowhere near flat enough it was a true workbench. But since I now have a thickness planer, this is hopefully the last time I have to do it this way anyway. I planed the front but the top is too massive for me to care that much at least not tonight.

I'm going to put a tail vise on this guy so it's not ready yet for its final home but at least with 3 flat edges I can now measure & cut and move on to the next steps. And this is the part where I should have photos but I was too tired/lazy to take some.
 
Last edited:

jar944

Well-known member
Joined
Jul 26, 2010
Messages
5,912
Location
Northern VA
Jar I like how much router stuff you have going on in those photos. You have a closer shot of your bits collection? I might have to get me some of those Kreg cutters that looks nice and clean.

Not that much interesting going on here. Except for some niche bits i quit buying router bits once i got my first shaper.


cheechi

Well-known member
Joined
Feb 29, 2012
Messages
4,384
Location
Triad, NC
true but now I have a better photo to copy your setup.

Seriously it was hard to tell in the photo if the bottom row was very (3" and up) shaper bits or if it was for routing. But more or less one of the next things on my list is to make myself some trays for bits, going back and forth between what you have there vs a scrap of the cut pattern next to/in front of each.
 

jar944

Well-known member
Joined
Jul 26, 2010
Messages
5,912
Location
Northern VA
true but now I have a better photo to copy your setup.

Seriously it was hard to tell in the photo if the bottom row was very (3" and up) shaper bits or if it was for routing. But more or less one of the next things on my list is to make myself some trays for bits, going back and forth between what you have there vs a scrap of the cut pattern next to/in front of each.

Ah, makes sense. The doors are about 3" deep.

I have most of my shaper cutters in a couple of the cabinet drawers. The only problem is the profile knives don't have the best accessibility stuffed in the drawers.


OP
J

jimreed2160

Well-known member
Joined
Aug 7, 2016
Messages
3,589
Location
Tallahassee FL
Even with the heat I have been able to sneak a little shop time in this week. I have been working on the Bedrock #605 tote. Seems a PO put some heavy varnish or lacquer on it. As best as I can tell, Stanley used shellac on almost all of its rosewood totes. The shellac is easy to get off because it is brittle and also responds to denatured alcohol. This stuff was nasty, however, and I scraped and sanded for two days.

Finally got it clean today and wiped down with turpentine.

DSCN3255.jpg


Here is the first coat of shellac.

DSCN3256.jpg


And after years of using scrap wood to replace paint can tops, I finally have a proper tool. I found this rawhide mallet at the auction site. It was made with pop rivets and the rawhide was coming off. Seems to be user made. Anyway, it looked shabby and was not spendy at all.

DSCN3257.jpg


I just wrapped it with a few zip ties and they pulled it back together pretty well. It may not look good, but it sure does the job on lids without leaving a mark. Better than soap in a sock.
 

ztorres

Well-known member
Joined
Sep 22, 2016
Messages
195
Location
Iowa
After 6 years in Iowa one would think I'd be used to 95° and 80% humidity but I'm not. I still miss the 96° dry heat of Colorado. Well the shop was too hot all weak and found out that the garage has no ventilation at all. So decided to put in a roof vent today and then I'll need to put some soffit in to allow air flow naturally. I forgot when you cut the hole in the roof the blast of hot air that comes out.


Sent from my iPhone using Tapatalk
 

cheechi

Well-known member
Joined
Feb 29, 2012
Messages
4,384
Location
Triad, NC
that is really neato jar.

Jim once I get a photo I also need your opinion about a tote.
 
Last edited:

jrp458

Well-known member
Joined
Aug 4, 2014
Messages
140
Location
Middle TN
I have a bunch of beaded face frame cabinets to make, so i built a notching/haunching fixture to make it easier. I'm using the kreg 1.5" and 2" cutters. The clamp is just a 12" wedge. So far it works exceptionally well.


You liking that Paulk bench? Just finished building the Total Station to take to job sites with me.
 
OP
J

jimreed2160

Well-known member
Joined
Aug 7, 2016
Messages
3,589
Location
Tallahassee FL
Wizard Screwdriver

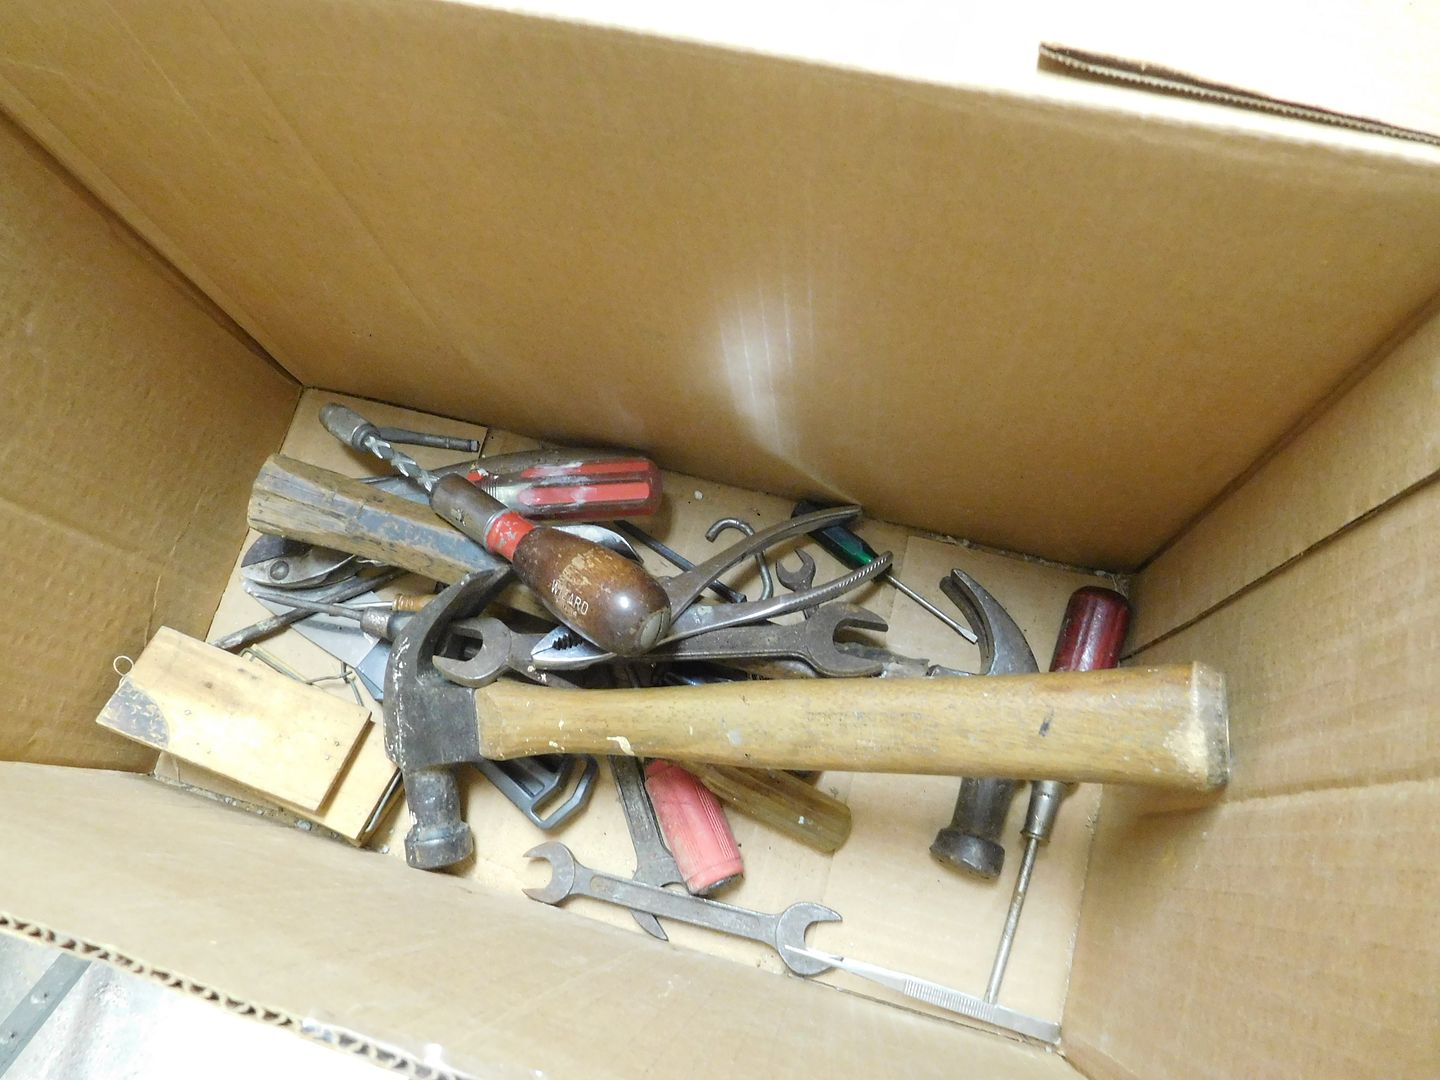
This morning was cool and I was able to spend a pleasant hour in the workshop. I was just knocking around and bumped into this box of tools that I found in the boneyard.

DSCN3263.jpg


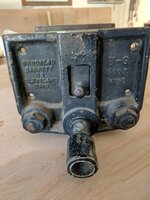
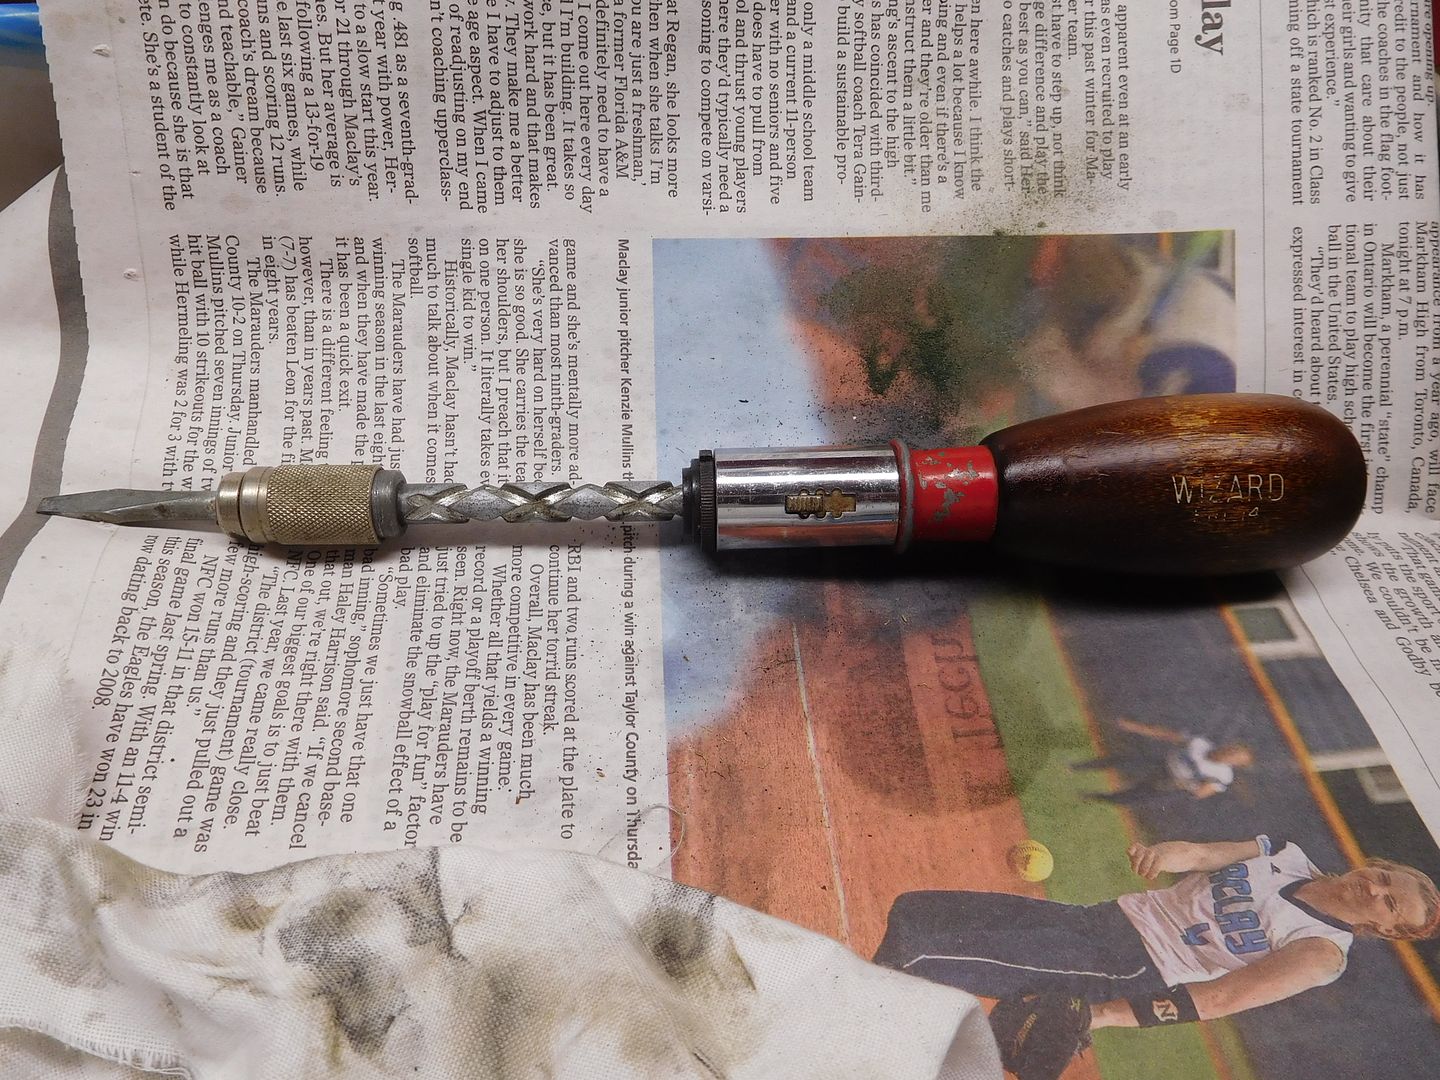
My MIL lived with us for awhile and these tools came from her cleanout. Many are marked "Wizard". It fits because my FIL ran a Western Auto store with his brother for a spell. What caught my eye was the Wizard marked Yankee screwdriver. A little poking around in the box yielded a nice bonus--an extra screwdriver head. The mech was sluggish and the tool was a little dirty. It looked like a nice and quick rehab.

DSCN3264.jpg


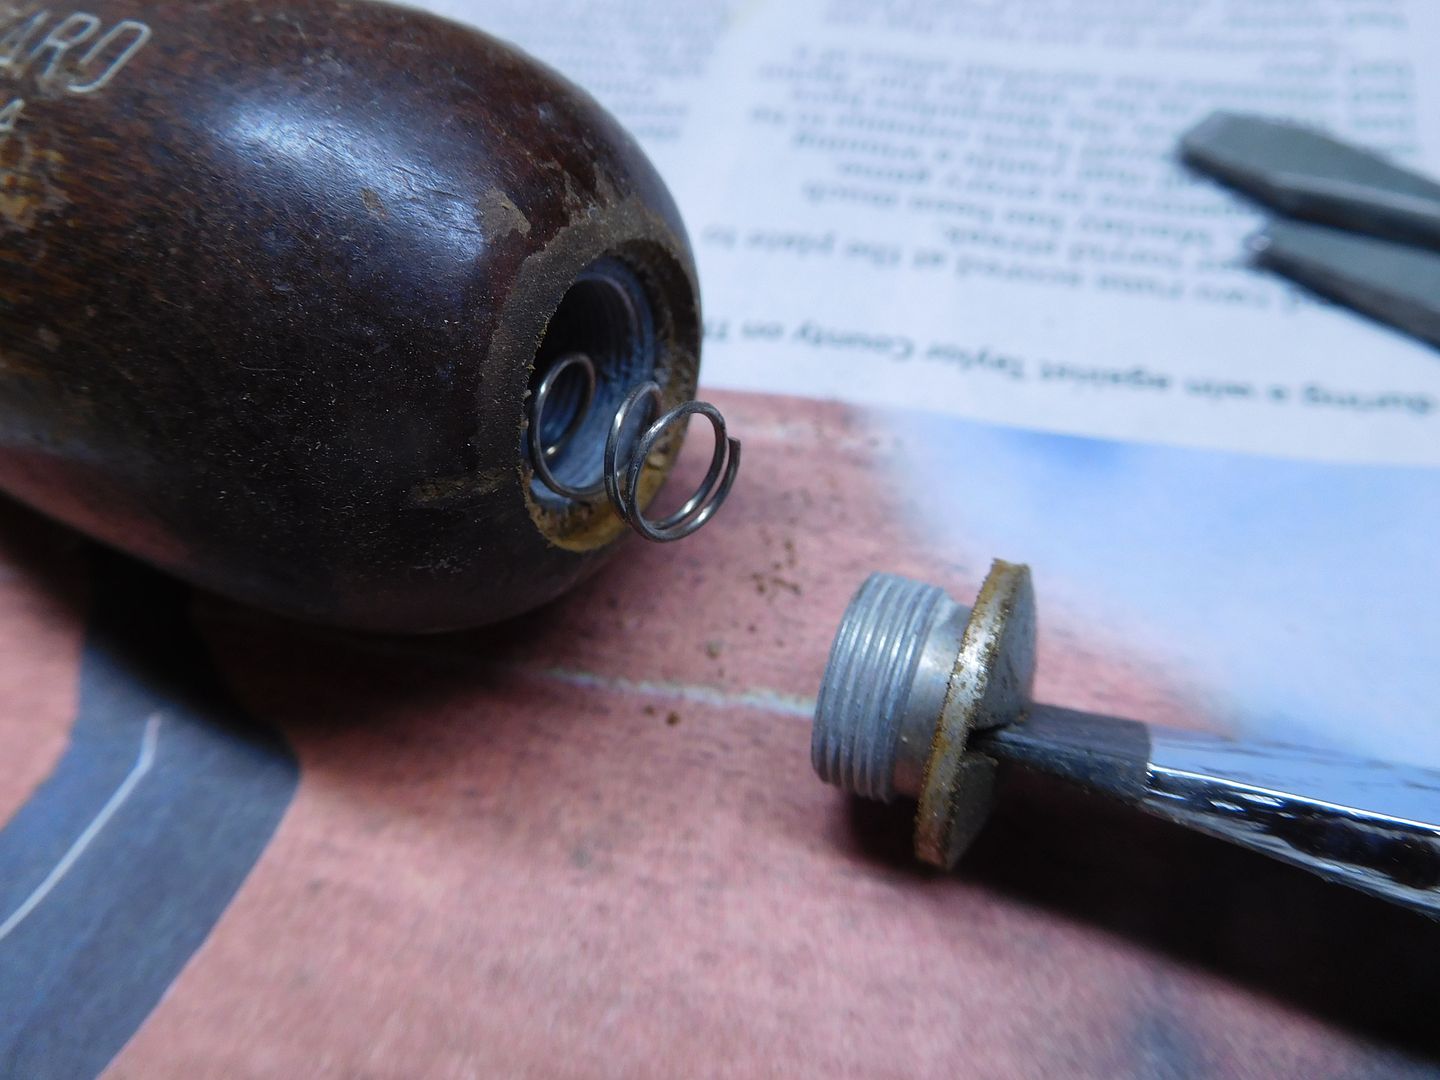
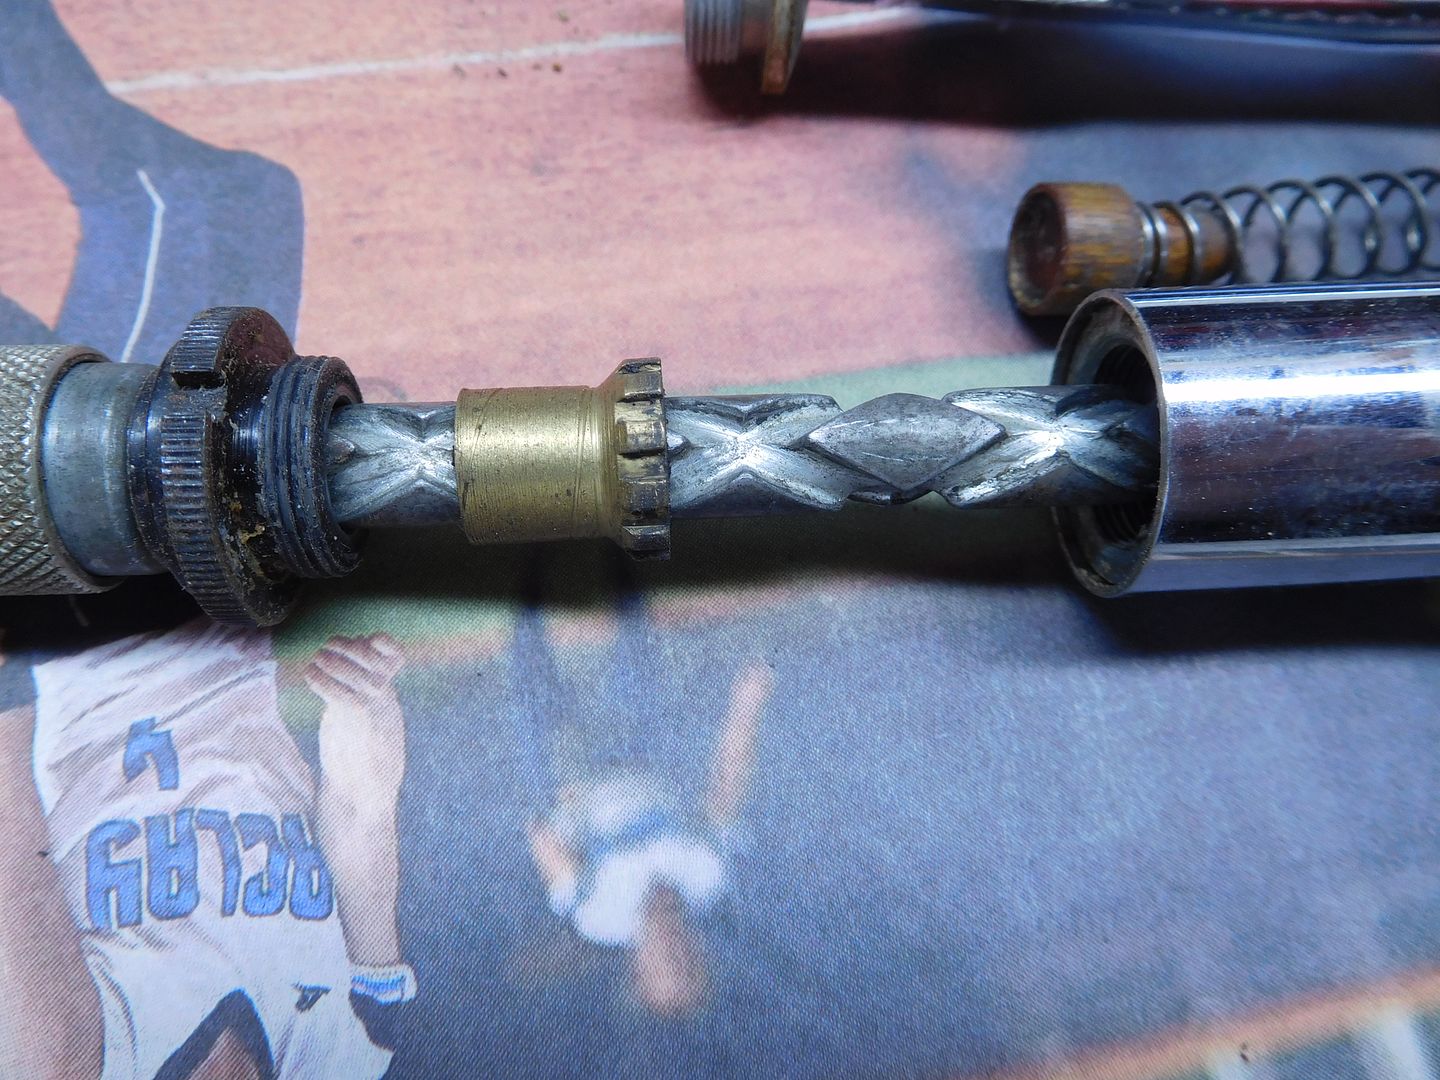
This was all discovery for me and I started at the obvious places. One obvious clue was the knurled ring at the end of the handle. Another was the large screwhead on the end of the handle.

DSCN3265.jpg


Turns out that the large screw head is actually a cap that holds a spring.

DSCN3266.jpg


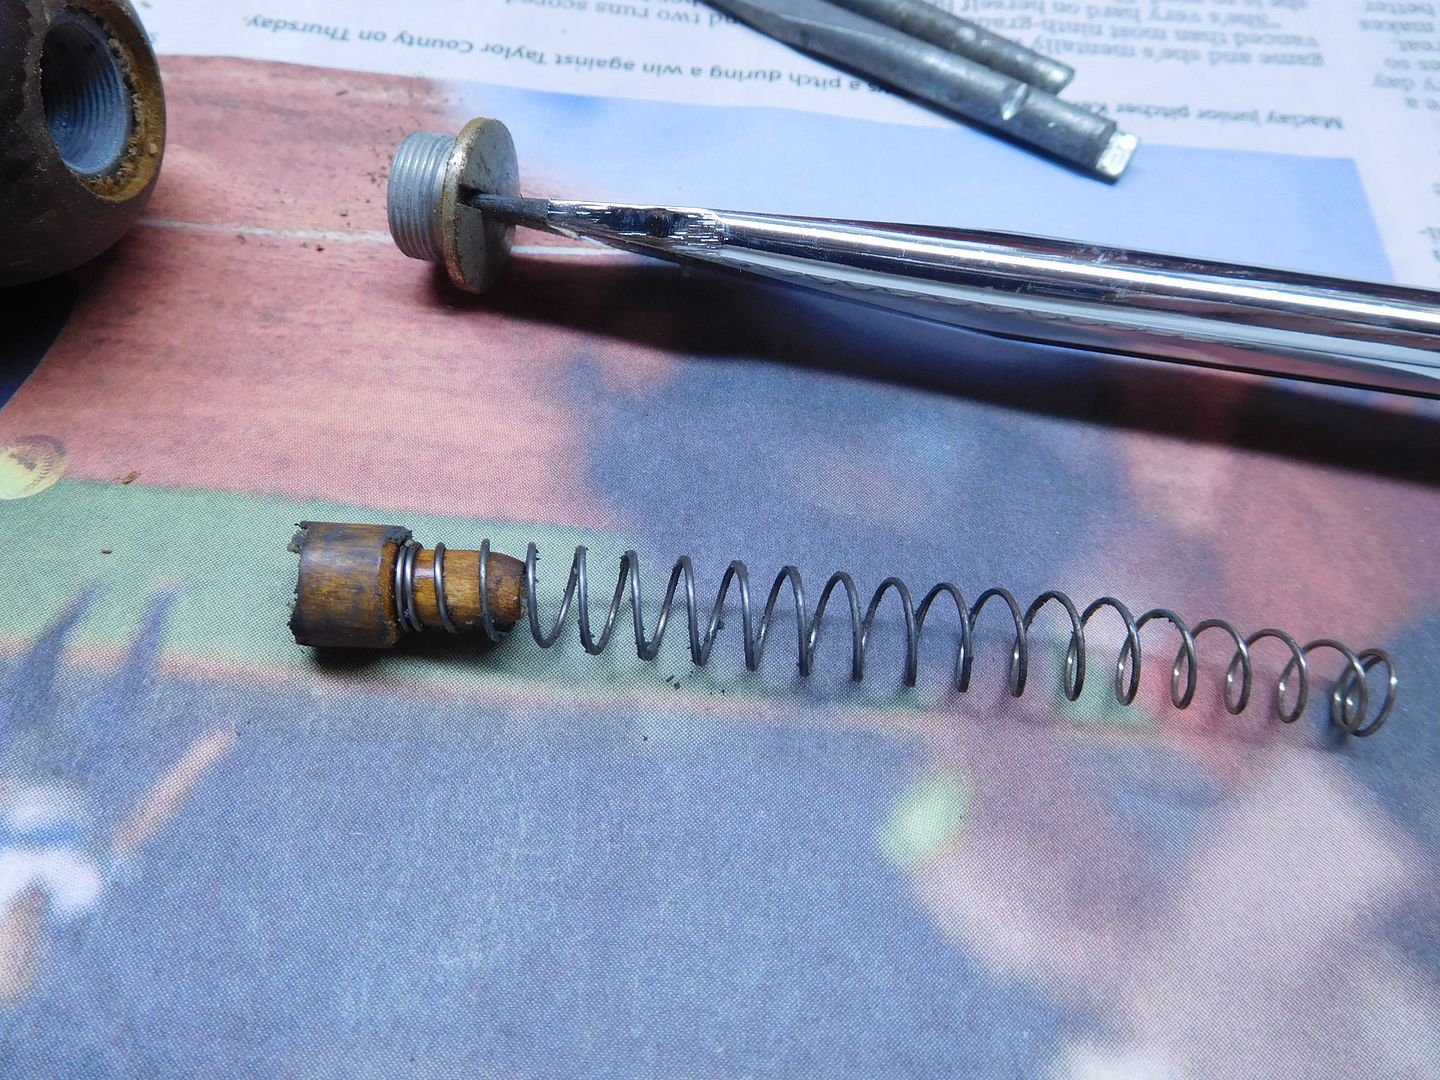
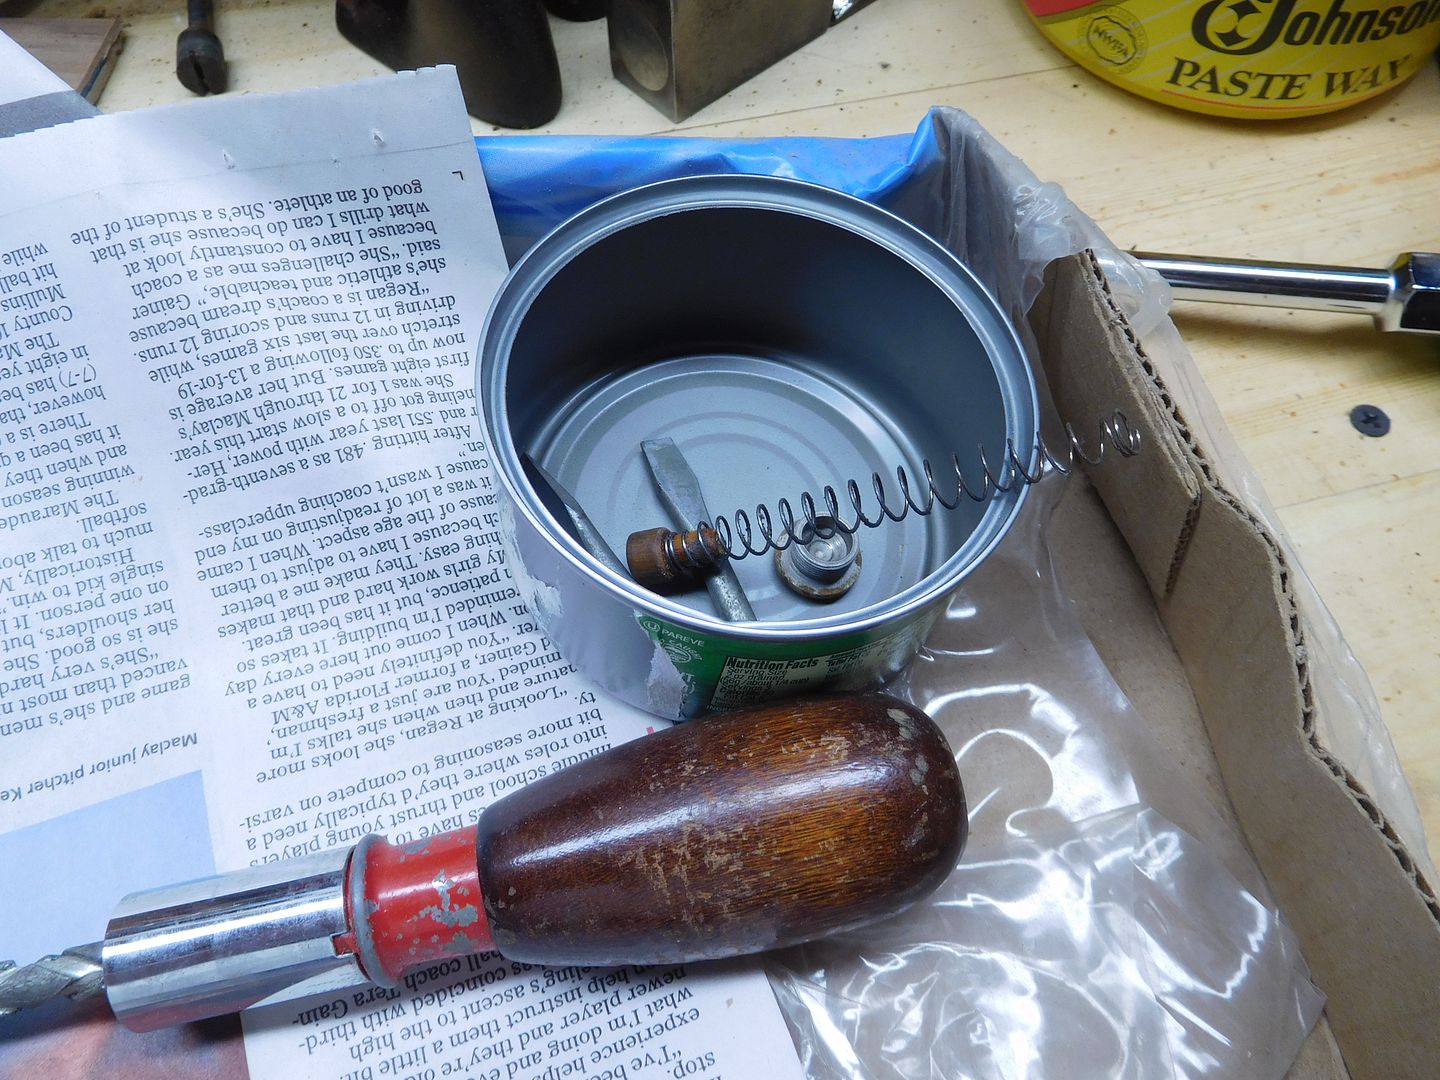
The spring is in good shape and it has a little wooden peg on the end that is full of dried lube.

DSCN3267.jpg


There is a brass piece held in place by the knurled knob. It slides down the shaft for easy cleaning.

DSCN3268.jpg


At this point, I had a good collection of parts. Here is where OCD comes in handy. I am getting a little absent minded as I age and sometimes (often) I misplace parts. But the OCD saves me because the shop is full of recycled containers that I use for stray parts. I always have a tuna can or two on the fixit bench just to collect these strays from the current project.

DSCN3269.jpg


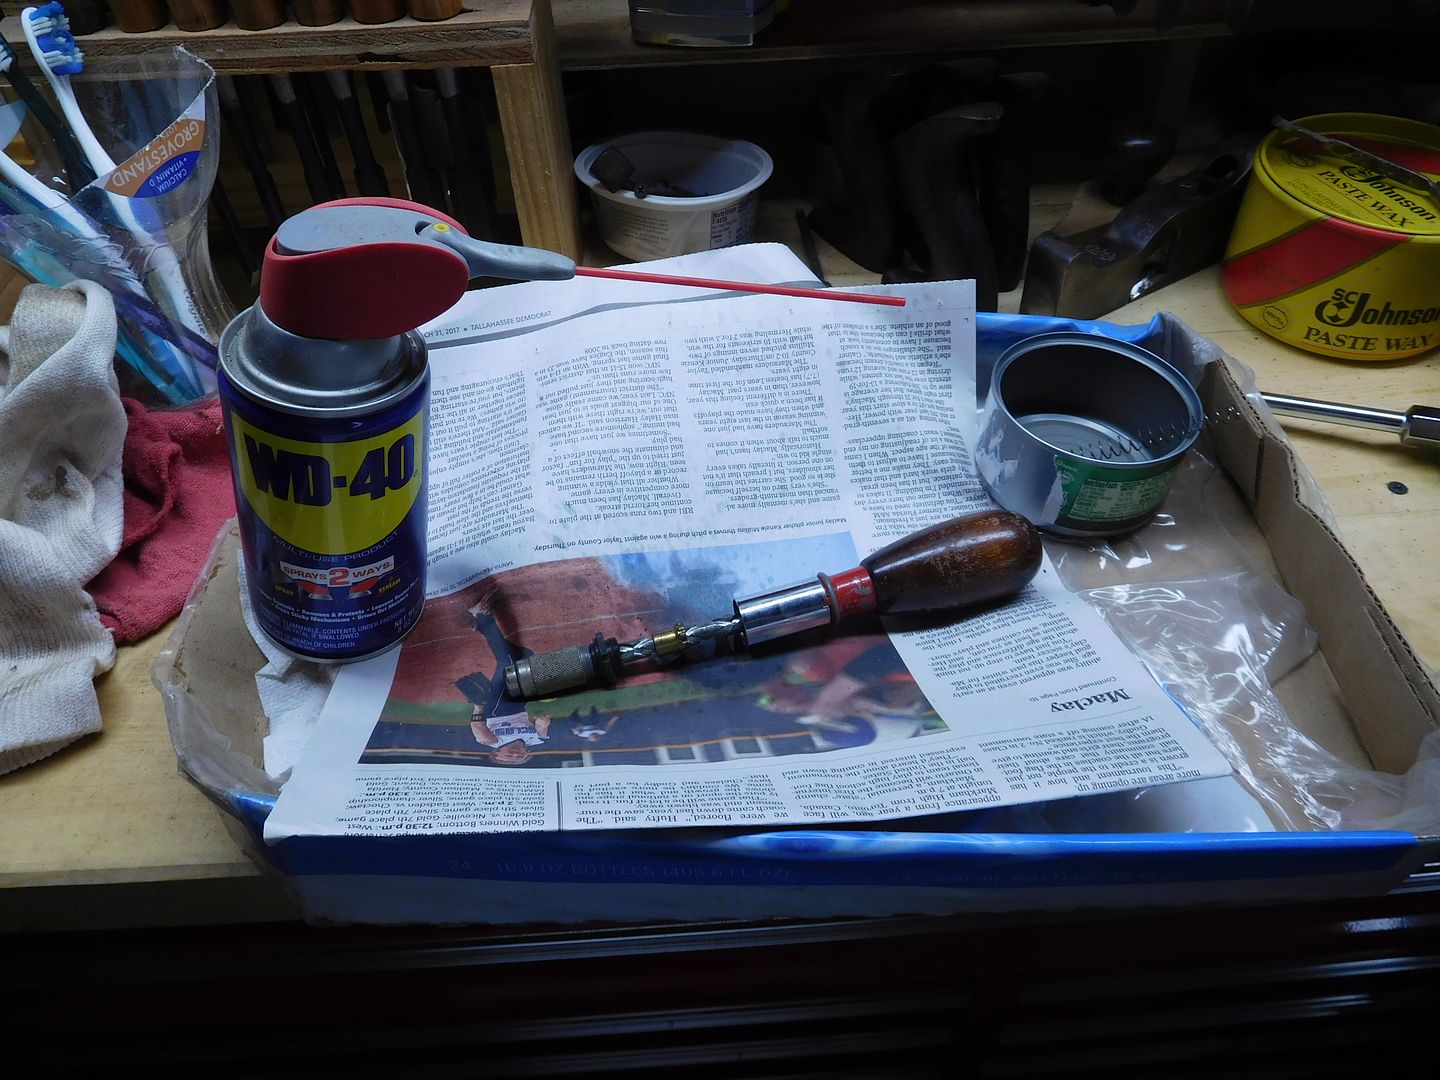
Time for some WD-40.

DSCN3270.jpg


You know the drill--spray and cycle the mech. I musta punched it home several dozen times. Every time it got looser. And I had a nice cotton rag to collect the overspray and the weeping.

DSCN3272.jpg


The top cap was some sort of aluminum alloy.

DSCN3273.jpg


But the scotchbrite pad cleaned it up nicely.

DSCN3274.jpg


I polished everything else up and waxed the handle.

DSCN3275.jpg


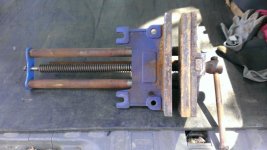
I even found a nice home for it. The wax did not help the handle as much as I thought it would. Maybe later I will strip the wax, stain the handle, and give it a spritz of poly.

DSCN3276.jpg


FIL was gone before I met The Queen. So I never knew him but all who knew him thought he was a great guy. I am sure he would smile if he knew his screwdriver had a nice home. He would smile bigger if he knew his precious little girl, The Queen, got some bright blue highlights in her hair last week. :rocker:
 

ScottsGT

Well-known member
Joined
Jan 1, 2014
Messages
4,883
Location
Lake Wateree, SC
Here's another one of those "keep mamma happy" projects I just finished. Well, almost. I still need to cut out a chalk tray and install it. Simple 1X4's using dowel pins and pocket holes on the back side.
40DA3D9E-670D-491B-9E08-F2EB4C4FA66D_zpsawr3qtvr.jpg
 
OP
J

jimreed2160

Well-known member
Joined
Aug 7, 2016
Messages
3,589
Location
Tallahassee FL
Scotts--Love the message board. I had a white board in my last office and the eraser kept getting bumped from the tray. I screwed a disk drive magnet to the frame and then hot glued a metal strip to the eraser. It never fell down again.
 

drivesitfar

Well-known member
Joined
Oct 23, 2013
Messages
36,007
Location
Pacific Northwest
Jar: awesome looking shop and looks like it is set up to do a little work too. nice job on the cabinets and feel free to post up more pictures of your tools and shop as you have time to. thanks

Scott: love the door chalkboard/blackboard. did you re purpose an old blackboard or just use that blackboard paint? the more i see these old blackboards the more i like them and want one instead of a white board. nice touch with the can chalk holder and the bottle opener. i didn't see an eraser so i'm guessing it sits on a shelf, desk or in a drawer? i've seen some erasers tied to a string that seems to work ok.

Jim: your bride put blue in her hair? my bride hasn't yet, but i have a feeling she will when she retires and starts to let her grey show instead of coloring it every couple months.

ALL: hope you are all enjoying the improving weather, but with that comes the tornados (one in ALBERTA, CANADA yesterday) and hurricanes so stay safe.

cheers
 
OP
J

jimreed2160

Well-known member
Joined
Aug 7, 2016
Messages
3,589
Location
Tallahassee FL
Jim: your bride put blue in her hair? my bride hasn't yet, but i have a feeling she will when she retires and starts to let her grey show instead of coloring it every couple months.

The Queen likes to be a little edgy. Her hair is colored red with a few dark blue flames in it.
 
To avoid these ads, REGISTER NOW!
Top Bottom