To avoid these ads, REGISTER NOW!

Woodworking 101--Tools and Tips

derosa

Well-known member
Joined
Oct 19, 2010
Messages
1,078
Location
Oceanside, NY
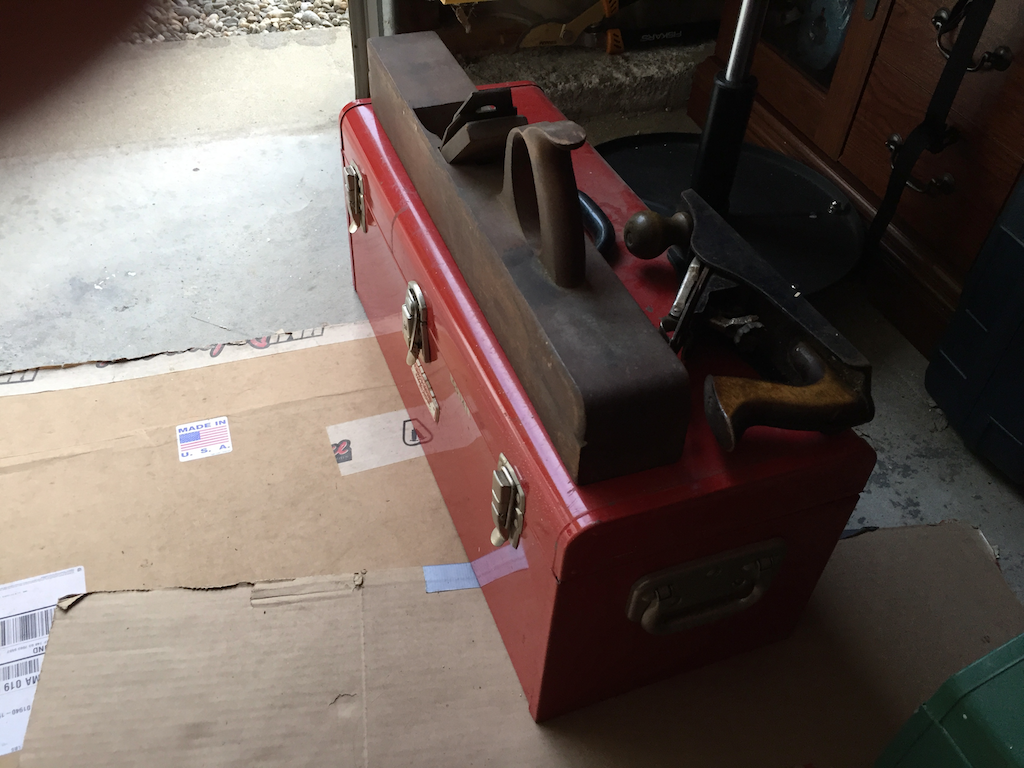
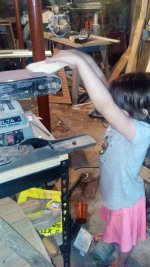
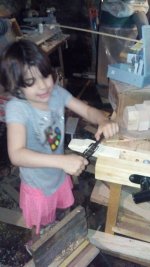
My daughter had her first girl scout pinewood derby which led to a little shop time. After having her rough draw the shape I cut the car out on the bandsaw. I gave her a quick tutorial on the small belt sander before letting her smooth out the saw marks. Sander was a little high but she only needed to use the edge, getting her to realize that took effort as she wanted to use the top of the sander. Nothing went flying so she did well.
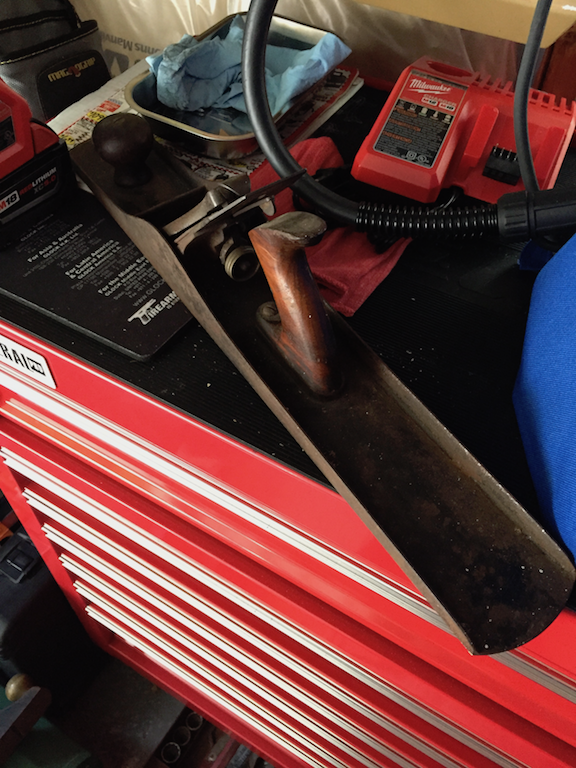
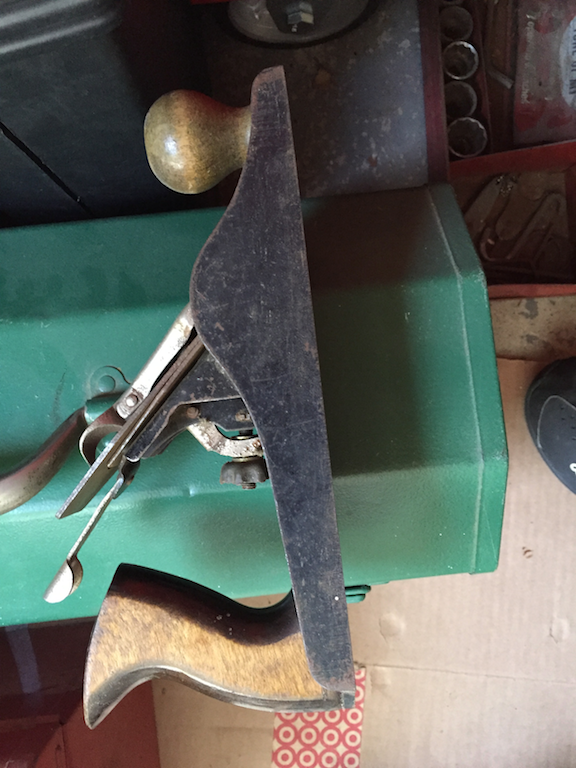
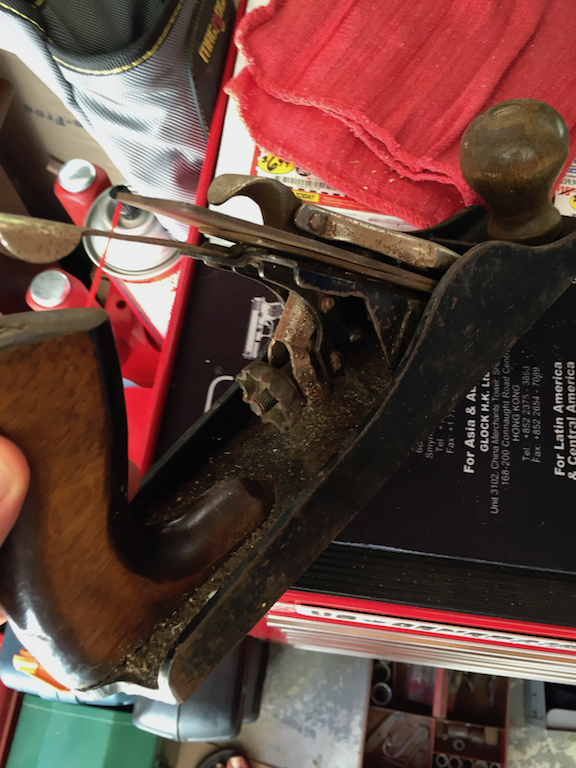
Next we broke out a spoke shave and shaped the edges and then filed them a little smoother, after showing her how to use them I let her go. We both sanded and she hammered the wheels on. She has a couple second place runs and finished middle of the road but the work was all her so a respectable finish overall for a first time. Have to edit with a picture of the finished product when I get one.
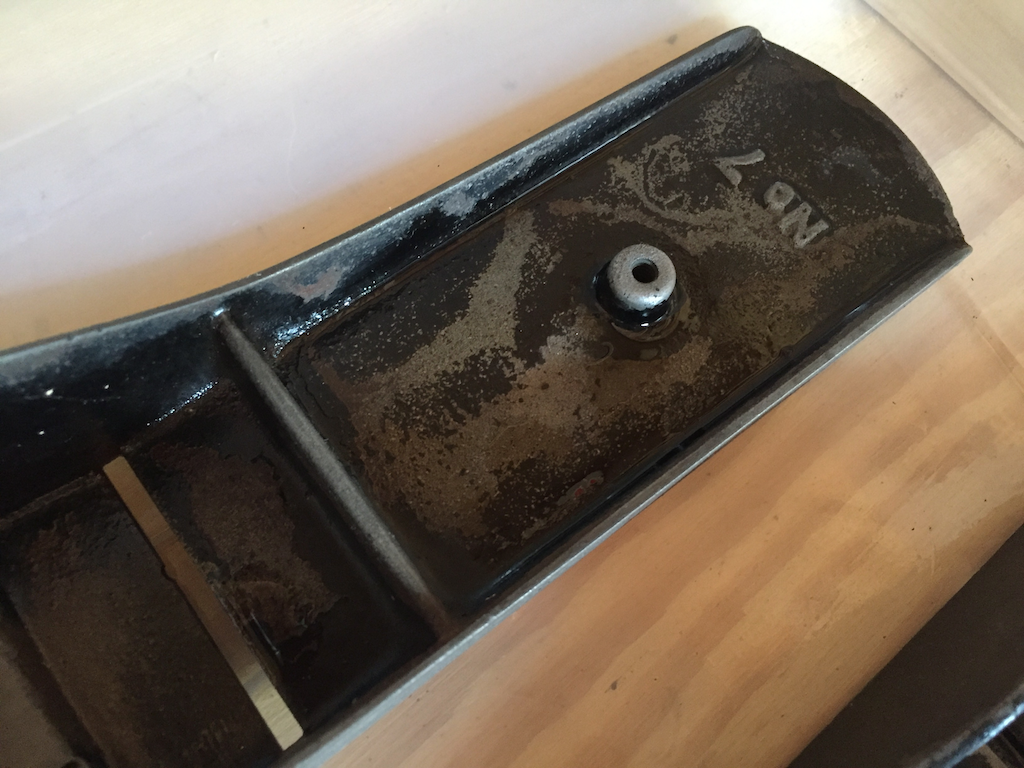
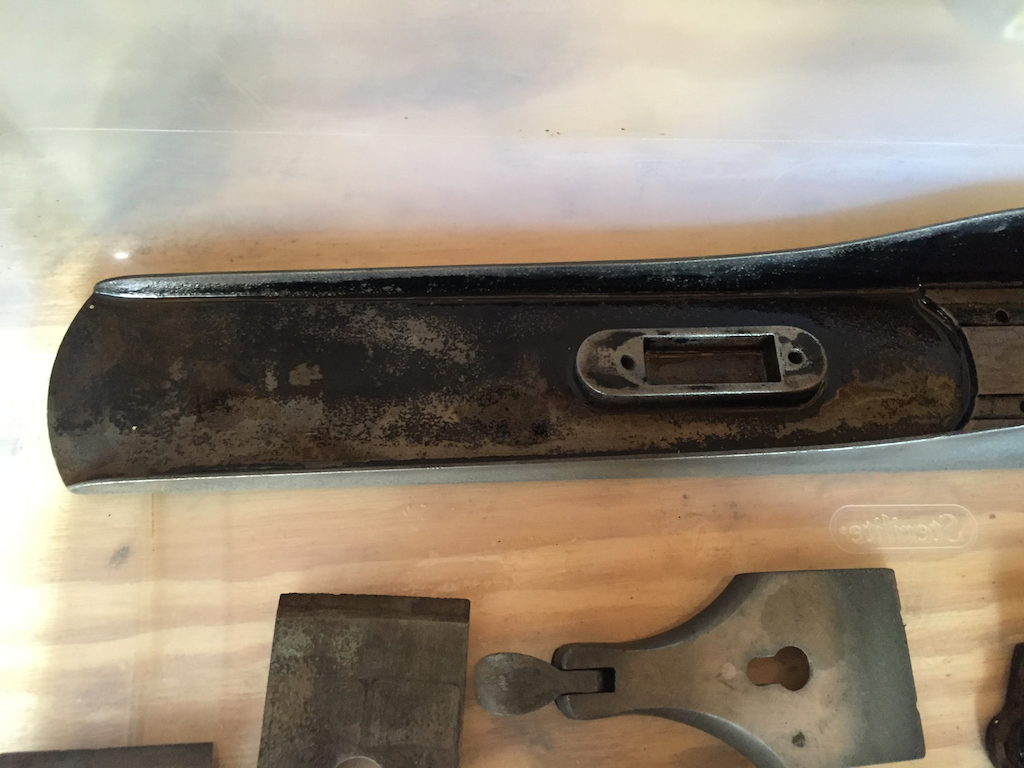
 

Attachments

  • IMG_20170609_190014.jpg
    IMG_20170609_190014.jpg
    150.3 KB · Views: 75
  • IMG_20170609_190641.jpg
    IMG_20170609_190641.jpg
    143.3 KB · Views: 76
To avoid these ads, REGISTER NOW!
OP
J

jimreed2160

Well-known member
Joined
Aug 7, 2016
Messages
3,589
Location
Tallahassee FL
Derosa--I love the girl-power in action. Looks like she had a good teacher. If that is the only project to ever come out of your shop, then the shop served its purpose. Thanks for the pictures.
 

ScottsGT

Well-known member
Joined
Jan 1, 2014
Messages
4,883
Location
Lake Wateree, SC
Whhhaaaatttt!!?? GS are now doing the PW Derby cars too?? Good for them. I had to let my daughter "build one" when my youngest was competing. It was obvious it was not build by a kid! LOL!
 

rrich1

Well-known member
Joined
Oct 7, 2015
Messages
793
@derosa: awesome. I had my daughter in to build a bird house last year. She had a blast.


Stanley plane is done and cutting fine! Very happy with it. The blade took a while to get into shape. Hopefully the father in law will like it. c8866a6003990b0030d1973d972f0d93.jpgd4d0252258df1b1801cc505357ac63d8.jpg2c074904aa9cfc22dc7ee6fd60ab41ae.jpg85f873a41ebd53cba889c44969645749.jpg46e6fbac56ebc2ce41574087f4a8f6f2.jpg132e38774de90f644f926108c73f1d88.jpg

Sent from my Pixel XL using Tapatalk
 

Attachments

  • 85f873a41ebd53cba889c44969645749.jpg
    85f873a41ebd53cba889c44969645749.jpg
    91.6 KB · Views: 1
  • c8866a6003990b0030d1973d972f0d93.jpg
    c8866a6003990b0030d1973d972f0d93.jpg
    106 KB · Views: 0
  • d4d0252258df1b1801cc505357ac63d8.jpg
    d4d0252258df1b1801cc505357ac63d8.jpg
    94.4 KB · Views: 0
  • 2c074904aa9cfc22dc7ee6fd60ab41ae.jpg
    2c074904aa9cfc22dc7ee6fd60ab41ae.jpg
    88.8 KB · Views: 0
  • 132e38774de90f644f926108c73f1d88.jpg
    132e38774de90f644f926108c73f1d88.jpg
    56.9 KB · Views: 0
  • 46e6fbac56ebc2ce41574087f4a8f6f2.jpg
    46e6fbac56ebc2ce41574087f4a8f6f2.jpg
    58.7 KB · Views: 0

derosa

Well-known member
Joined
Oct 19, 2010
Messages
1,078
Location
Oceanside, NY
scottsGT- there were some obviously not made by kids, guy next to me talked about how he polished the plastic wheels and the nails that hold them on to make it faster. I understand helping; couple of the guys spoke of helping with the initial shaping then letting the kid go from there which just makes sense for 5-7 year olds but it defeats letting the kid learn and grow.

rrich1- nice to see a plane getting back to work.
 

ScottsGT

Well-known member
Joined
Jan 1, 2014
Messages
4,883
Location
Lake Wateree, SC
Even after my son moved on to Boy Scouts, I still showed up for two or three years at weekend "cut out day" to do all the initial carving with my jig saw. I've probably cut out 200 cars over the years for the old Pack.
 
OP
J

jimreed2160

Well-known member
Joined
Aug 7, 2016
Messages
3,589
Location
Tallahassee FL
rrich--Good job. The proof is in the thin shavings.

scotts--After 200 cars you should be able to cut them out blindfolded. I am sure they appreciated your help.

Locker--I use Johnsons paste wax. I have a dehumidifier in the shop and that helps. I keep most of the planes in plastic boxes inside. The outside bench planes brown stain on tops but the bottoms are in good shape if they rest on wood. Condensation is the problem.
 
OP
J

jimreed2160

Well-known member
Joined
Aug 7, 2016
Messages
3,589
Location
Tallahassee FL
Scratching post

The post glue was dry enough after a few hours for work. It can continue to cure during the next week. I wanted a big tenon on the end so I marked it.

DSCN3310.jpg


Then I marked the orientation and measured with a trammel.

DSCN3311.jpg


The bandsaw drifted on the first cut (blade is getting dull).

DSCN3312.jpg


So I recut it and slowed down the feed.

DSCN3313.jpg


Add glue and there you are.

DSCN3314.jpg


But I wanted to add some screws for strength. This is why you need the drill driver set. Put a drill bit in the drill for pilot holes and put a driver bit in the driver. Two tools makes the job go much quicker.

DSCN3315.jpg


I found this screw/nail case at HD. The nail and screw boxes just fit. I keep sheetrock screws 1" to 3" on hand for projects like this.

DSCN3316.jpg


DSCN3317.jpg


I put 2" screws in each side and two 3" screws in the bottom.

DSCN3318.jpg


When I test fit the carpet, I could see that it needed some support. Here it is. Notice the angle gauge.

DSCN3319.jpg


That transfers directly to the saw.

DSCN3320.jpg


DSCN3321.jpg


Turns out that it was right on 20 degrees.

DSCN3322.jpg


And from our trig class, we all know that the top angle is 70 (90-20). My saw stopped at 55 but that was close enough for a scratching post.

DSCN3323.jpg


By this time it was getting pretty hot in the shop. I decided to go with an innovative design because it required less cutting of the carpet.

DSCN3328.jpg


I think the customer is pleased.

DSCN3329.jpg


Now I need to rub it down with catnip and seal the deal.
 

rrich1

Well-known member
Joined
Oct 7, 2015
Messages
793
@jimreed scratch post looks good and beefy.

Sent from my Pixel XL using Tapatalk
 
OP
J

jimreed2160

Well-known member
Joined
Aug 7, 2016
Messages
3,589
Location
Tallahassee FL
OK. It came to me last night in a fever dream. I originally avoided the acute 70 degree angle because I thought the end would be too thin for screws. And then I had the Ah-Ha moment. I could have used a 70 degree angle and then cut the tip off. The piece would have fit AND I would have had a thick piece for the screws.

So I am sorry to offend the sensibilities of ww everywhere. It WAS pretty sloppy. I think karma got me for it anyway. During the build, I picked up some nasty splinters from the 2x4. I pulled most of them out while I was working but I kept feeling a stick when I put pressure on my thumb. That is a tell-tale sign of a splinter going deeper. So I went to Splinter Central.

DSCN3324.jpg


The entry to the garage is a small hallway laundry/utility/pantry. I keep my good planes in the closet and use rolling shelving for pantry items. I convinced The Queen that we needed a table for folding and storing laundry in process and she agreed. I found the perfect table at HF. It also stores batteries, chargers and misc hurricane supplies. Here is the top bin.

DSCN3325.jpg


Besides miscellaneous tools and flashlights, this bin holds magnifiers, tweezers, and forceps for splinters. I turned on the bright LED light and used the magnifier to find the offending piece of wood. It was really dug in and I went after it with the forceps.

DSCN3327.jpg


So there is the gnarly shard. It was pretty big. I think I ripped the end off on my first attempt so it took a little digging.

I would encourage others to have a splinter area. Of course, maybe I am the only ww who is always in a hurry :willy_nil and thus a frequent recipient of subcutaneous wood products. :dunno:
 

Locker537

Well-known member
Joined
Sep 25, 2016
Messages
488
Location
Massachusetts
Quick little picture dump of the planes from this weekend's yard sale score...

Not the best pictures, but it's better than nothing!

Stanley No 7
Here is the Stanley No 7 as purchased.
stanley_no_7_full.png


Rather rusty...

stanley_no_7_rust.png


No name No 4?

The only marking on this plane is "MADE IN USA"
no_name_full.png


no_name_full_2.png


Thos L Appleton Vintage Plane

Pretty cool wooden plane! I intend to get the others to a working state, but not this one. It's going to be a display piece as of now.

two_on_craftsman.png


thos_l_appleton_marking.png


Before vinegar bath

before_vinegar.png


After vinegar bath

after_vinegar.png

after_vinegar_no_7_closeup.png

after_vinegar_closeup_2.png


After some scrubbing and soaking, I washed them with baking soda and water, then dish soap and water, then gave them a wipe down in WD-40 and CLP to keep any new rust at bay. Given this thread, I'll likely hit them with paste wax next.
 
Last edited:
OP
J

jimreed2160

Well-known member
Joined
Aug 7, 2016
Messages
3,589
Location
Tallahassee FL
Locker--Nice score on the planes.

#7--This is the one I know the most about. It is a very desirable type 5-9. Closer inspection of the lateral lever would narrow it down. They were made from 1888-1902. Your next task is to wax everything and get the blade in order. Make the back flat and sharpen the bevel. If you want a jointer, then you are done. If you want a general use plane for smoothing and flattening, then you need to carefully remove a slight touch of material from each corner. Otherwise, the corner may dig into your project and leave a line.

#4 size--Unknown maker. Not a top of the line plane but what the hey. Sharpen that blade and use it. Sometimes planes can surprise you. It's always nice to have one around for rough work.

woodie--That looks like a fore plane, ie, Stanley Bailey #6 size. Used beFORE the smoother. It takes a little practice to get the hang of blade adjustment on woodies. I like to use a stick to tap the blade and a wooden hammer to tap the front (makes the blade advance) or tap the heel (makes the blade back off). Once you learn, the adjusting goes surprisingly quick. Woodies are fun to use because you have the wood on wood experience. It feels much different (nice) from a metal plane on wood. The ancient Romans used planes almost exactly like that one. Hey, why change if it works so well.?!?
 

Locker537

Well-known member
Joined
Sep 25, 2016
Messages
488
Location
Massachusetts
Thanks Jimreed! That's the plan. I could have used the jointer a few weeks ago when I built a simple outdoor bench!

I just watched the hour long Paul Sellers video where he restores a plane to his liking.


Tons of great information there!
 
To avoid these ads, REGISTER NOW!

cheechi

Well-known member
Joined
Feb 29, 2012
Messages
4,384
Location
Triad, NC
i have a round plastic 'needle kits', a carded set of 20-30 all different sizes, and an actual 'touch up kit' with a few colours of thread, all in my toolbox for odd situations. Different sizes of needles are really useful to have around.
 

ztorres

Well-known member
Joined
Sep 22, 2016
Messages
195
Location
Iowa
Well almost done with the dresser.
a88c74686127688edcf4bfa614d742a6.jpg
f3bb4d40b8639a850bdfa52a47eb330e.jpg
I need some input. The wife wants handles on the drawers and doors and I don't know what style of handles to put on. Plus I need some input on feet for the dresser. I don't have a lathe so I need something that I can make with the bandsaw and router or something I could order. So if any one has some ideas let me know.


Sent from my iPhone using Tapatalk
 

Attachments

  • f3bb4d40b8639a850bdfa52a47eb330e.jpg
    f3bb4d40b8639a850bdfa52a47eb330e.jpg
    628 KB · Views: 0
  • a88c74686127688edcf4bfa614d742a6.jpg
    a88c74686127688edcf4bfa614d742a6.jpg
    551 KB · Views: 2
OP
J

jimreed2160

Well-known member
Joined
Aug 7, 2016
Messages
3,589
Location
Tallahassee FL
I think you may have a knob to fit it. :)

Do I spy welding on it?

Yeah, the knob was a no brainer. :lol_hitti

The lever cap is welded (poorly) but I have some of those. The brass adjuster wheel is wonky from abuse. As luck would have it, I have all those parts cleaned up and ready to go. I was working on a type 11 a few months ago and discovered a crack in the main casting just as I was finishing up. :willy_nil

So now those parts have a home. Otherwise, this would have been a very bad acquisition.
 

derosa

Well-known member
Joined
Oct 19, 2010
Messages
1,078
Location
Oceanside, NY
Ztorres- how high are you trying to get it? Local ace by me has a couple different feet that could attach, likewise they have a basic pine knob that would work well.
 
OP
J

jimreed2160

Well-known member
Joined
Aug 7, 2016
Messages
3,589
Location
Tallahassee FL
Zach--I have been pondering the feet and hardware. If you have $$$ to burn, go on line. If you just need something nice, go to your local box store.

As for the feet, perhaps a base is more appropriate. An easy and effective bottom would be a box like a toe kick. Make it 3 or 4 inches high and recessed on front and sides. Closed up keeps the floor cleaner and will leave less marks on the floor.
 

cheechi

Well-known member
Joined
Feb 29, 2012
Messages
4,384
Location
Triad, NC
zach I would go with 'medium' (kind of relative I guess) knob handles, double up on the drawers single on the doors. I have never minded paying good money for good hardware but I like salvage when I can. See if there is someplace near you, whether it's a building supply type salvage or an antique store that deals in enough restorations to have enough matching knobs and feet and such to make it worth making friends.
 

ADNICK

Well-known member
Joined
Feb 6, 2017
Messages
45
Location
Comfort TX
Zack:

Lots of options:

Here is my latest example, Jim will know where I got all the dowels ;-)

I've also made a variation with electric conduit.

Andy
 

Attachments

  • sorta finished.jpg
    sorta finished.jpg
    139.4 KB · Views: 80
OP
J

jimreed2160

Well-known member
Joined
Aug 7, 2016
Messages
3,589
Location
Tallahassee FL
OUCH!

Derusting the #3 plane body was easy. I just dropped it into the tube and let the ER take over. Last night I cleaned it up.

DSCN3347.jpg


The japan finish was mostly gone but the casting did not have any large pits. In fact, it looked great until I saw the side.

DSCN3348.jpg


OUCH! Looks like this plane suffered a bench fall. Previous owner tried (unsuccessfully) to stop the crack. Then there is the other crack.

Oh well. I think the plane universe is telling me to get back to woodworking.
 

cheechi

Well-known member
Joined
Feb 29, 2012
Messages
4,384
Location
Triad, NC
I'm curious with a plane like that, and a crack like that;

how other than dropping it could that happen?

if it's repaired will it work less well? Are you concerned with the heat of welding it it won't be square or true anymore? or are you not a welder?

I assume its collectible value is the main reason that's a stopping point for you? are you mostly flipping these? It's ok if you're a plane snob I won't think any less of you. I have certain tools I'm snobbish about too.
 
OP
J

jimreed2160

Well-known member
Joined
Aug 7, 2016
Messages
3,589
Location
Tallahassee FL
I think it's telling you you're trying to scrape the bottom of the barrel.

:lol_hitti

cheechi--I started rehabbing planes to use. It got out of hand and I began flipping them. Many of the casting breaks do not affect use and I have used many planes with broken parts. BUT they are almost impossible to sell. The truth is that most early Stanley Bailey bench planes are worth much more in parts than in whole. It is supply and demand and I guess there are lots of broken planes out there. Of course, the pristine examples go to collectors and those planes get a premium price. But average grade bench planes are usually priced less than the sum of the parts.
 
OP
J

jimreed2160

Well-known member
Joined
Aug 7, 2016
Messages
3,589
Location
Tallahassee FL
Assembling a kitty condo

OK. This is not fine woodworking. If you are looking for a dovetail tutorial, just keep moving. I am stuck in kitty land this week. There is more work because this big box arrived today via FedEx.

DSCN3349.jpg


I wanted to build one myself but the kits were much nicer and less $$$. Here are the parts.

DSCN3351.jpg


I was lucky to have two junior building inspectors on site to monitor progress.

DSCN3352.jpg


It went together with bolts and studs. Pretty clever. I will borrow some of those ideas on future projects.

Finished in about 20 minutes. I used my own tools instead of the crappy allen wrench supplied.

DSCN3353.jpg


And it was occupied almost immediately after completion.

DSCN3354.jpg


It is always nice to have indoor projects when the shop is in the 80s.
 

rrich1

Well-known member
Joined
Oct 7, 2015
Messages
793
"Finished" the second half of the Father's day plane combo for my father in law. This is a wards master #5 jack plane. The handles are currently in paint stripper so I can refinish them. As you can see they are a little rough. 090a901209306e446428db040f5459cc.jpg6c6247d106e430281350ec956ab545c1.jpg693ffdca8ade192fff219584648fc0b4.jpgd0130c0df7249ed5f4585289e589dff2.jpg9d7151e04620b8e0a53c8dbb1eea124b.jpgae5a713337786fd7b892950bf3f3da5a.jpg

Sent from my Pixel XL using Tapatalk
 

Attachments

  • 090a901209306e446428db040f5459cc.jpg
    090a901209306e446428db040f5459cc.jpg
    121.7 KB · Views: 0
  • 6c6247d106e430281350ec956ab545c1.jpg
    6c6247d106e430281350ec956ab545c1.jpg
    183.5 KB · Views: 0
  • 693ffdca8ade192fff219584648fc0b4.jpg
    693ffdca8ade192fff219584648fc0b4.jpg
    112.7 KB · Views: 0
  • d0130c0df7249ed5f4585289e589dff2.jpg
    d0130c0df7249ed5f4585289e589dff2.jpg
    108.6 KB · Views: 0
  • 9d7151e04620b8e0a53c8dbb1eea124b.jpg
    9d7151e04620b8e0a53c8dbb1eea124b.jpg
    104.9 KB · Views: 0
  • ae5a713337786fd7b892950bf3f3da5a.jpg
    ae5a713337786fd7b892950bf3f3da5a.jpg
    112.3 KB · Views: 2

wrenchguy

Well-known member
Joined
Sep 22, 2011
Messages
4,697
Location
NW Indiana
New 2 me, 24" planer. I been looking for years for a 24-36" planer for my live edge slab projects. Got it yesterday at a sale at good deal. Here are some ads about it. Photos later when i get it unloaded. 2100lbs. I imagine its over 100 years old.


rrich1

Well-known member
Joined
Oct 7, 2015
Messages
793
That planer looks awesome. Can't wait to see actual pictures

Sent from my Pixel XL using Tapatalk
 
To avoid these ads, REGISTER NOW!
Top Bottom