ez-duzit
Well-known member
I'd glue the whole thing.

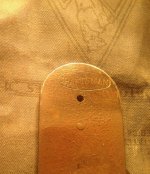
Started and finished a Sargent 5307 low angle? Block plane today. Started in pretty decent shape. Apparently when you sharpen with 2500 grit you get a mirror shine. Whoduthunk. Time to sharpen the other blades to match now.
Sent from my Pixel XL using Tapatalk
I've been eyeing a small plane like this for some time. There is a Lie Nielsen on my local CL for $90 but the guy won't email me back. He didn't post a phone number either. I did tell him I'll take it, no haggling the price either.
id snag that up to without haggling. hopefully he gets back to you.
do you have the powertec castors? they look nice. they are just sitting in the box for right now until i can get the vise screw from the father in law. keeping me from getting my truck back in the garage.
Firstly, I like it.Hey guys,
I'm making a "sparky tote" for myself, see pics


Firstly, I like it.
")
Second, what's keeping the pipe handle in place? Without knowing your plans I'd go with cotter pins if you only work with limited kinds of wire and don't need to change reels often or D pins if you do change them often.
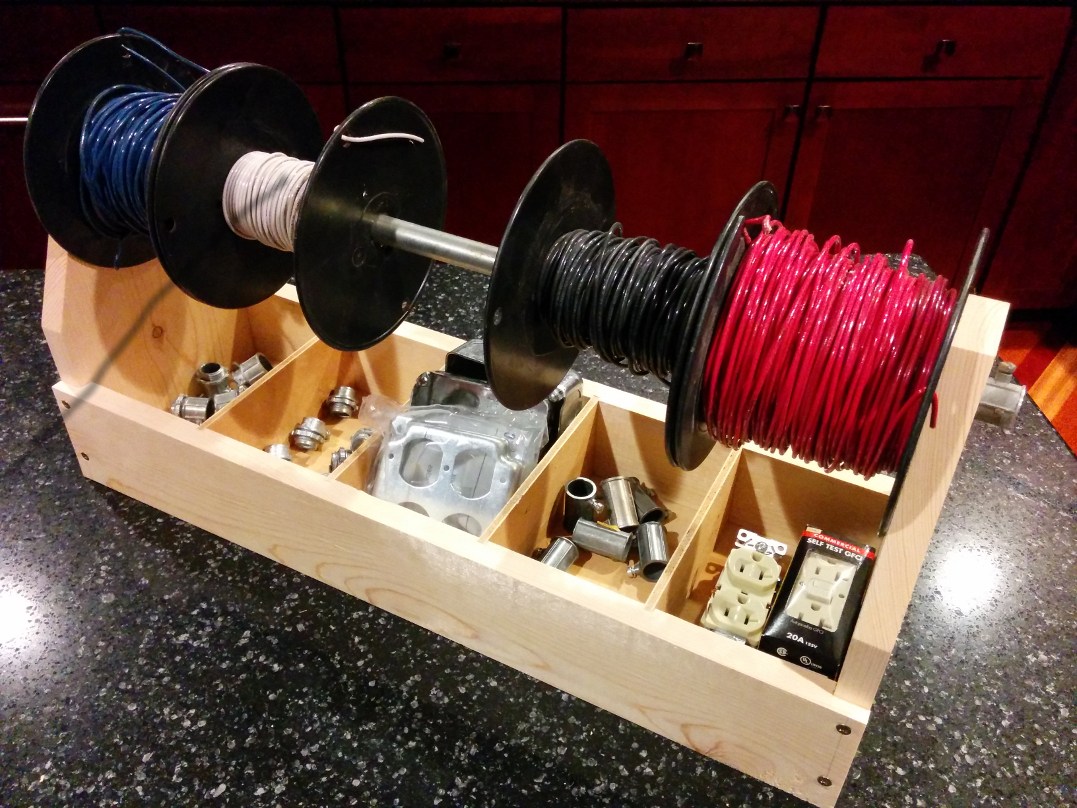

Third, get hard rubber feet for both the bottom and one of the sides. Never know when you need to stand it up tall to unreel. Don't want it following you like a lost puppy.
My basement speakers are wired with solid 12ga that I got for cheaper than stranded speaker wire, and this could have come in reel helpful when I did the runs for 6 speakers.


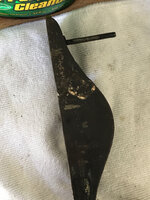
 I just worked on two #3 type 11 Baileys and BOTH of them had cracks in the cheek. Mine looked less severe than yours.


...Seems to be useable, not bent...
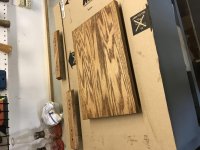
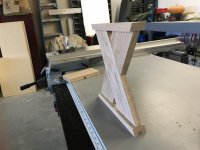
Since I finished that table I've been working on a small trellis for my wife to grow hops up. I'm trying to do it without any screws, all tenon jointery pinned with brass.

Looks to me like he's got the legs set in concrete.Ai--you'll need something to keep the trellis from wracking.
I see you have to share your workspace with a classic Mustang too.
I see you have to share your workspace with a classic Mustang too.
I thought that was a Camaro.