CRSINMICH
Well-known member
jim: Jeeze! I've never been a trendsetter before. LOL. That one is great. I wonder how it got left incomplete for so long. Congrats on the find.

Having trouble with this site.
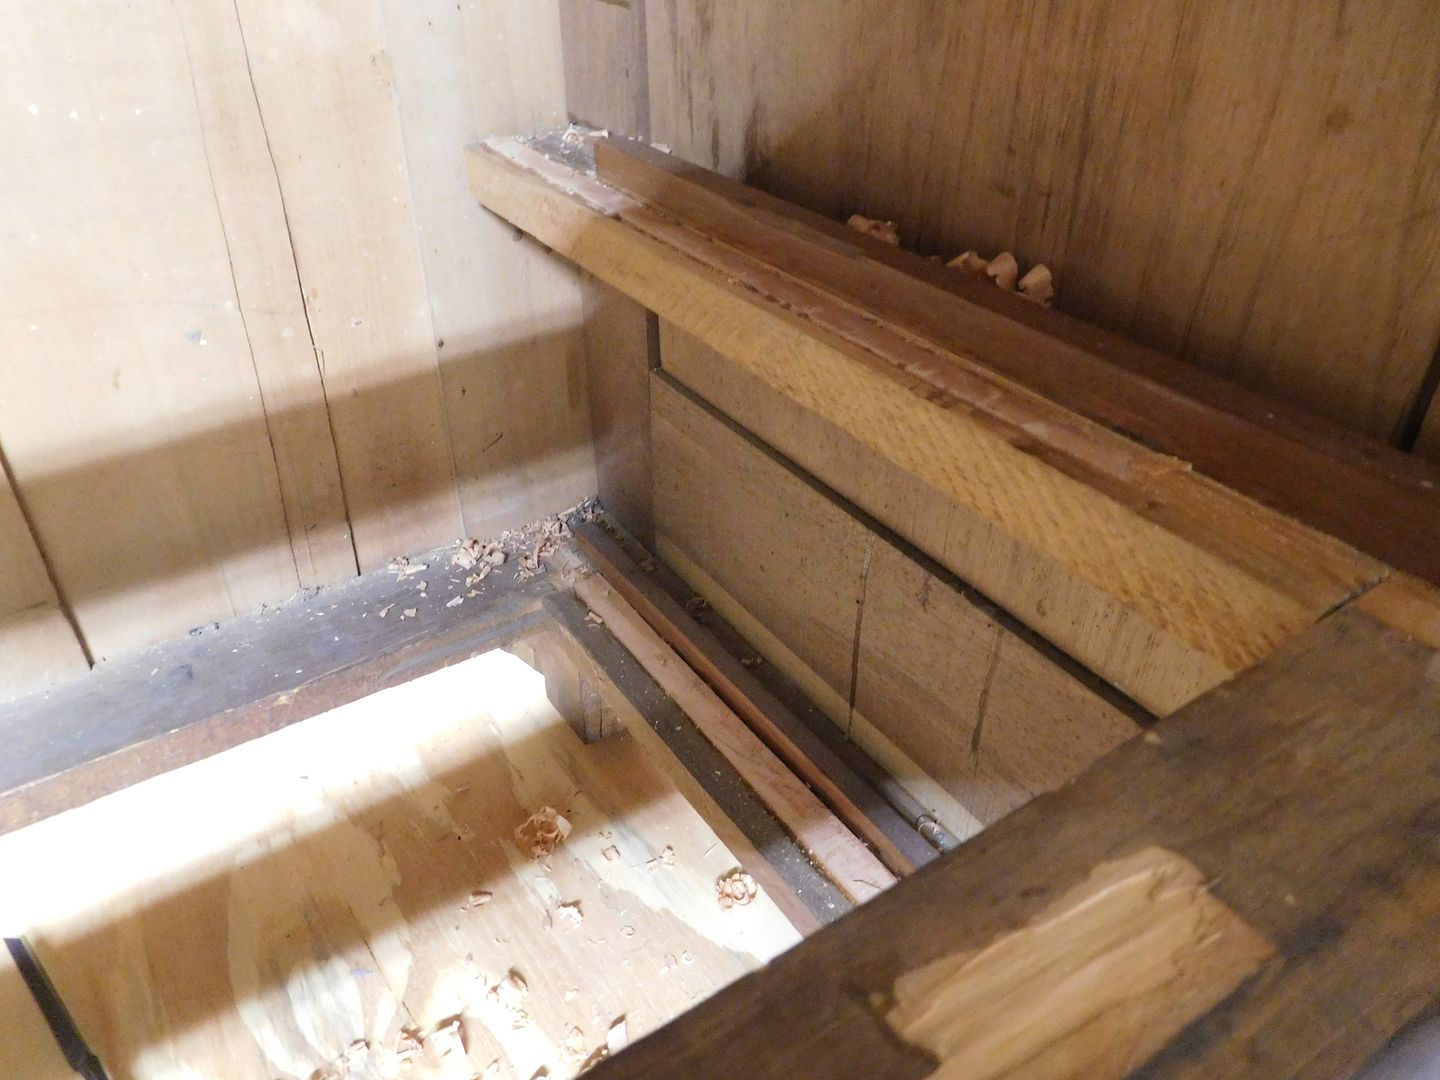
...I quickly finished the rectangular plug and applied stain. Now it is time to move on to the drawer slides. Two of them are very worn. I will glue in strips of hardwood. Time to go to the scrap pile.

A Fuller bit and plug cutter can produce a tight fit with no gap between the plug and hole. Recommended.


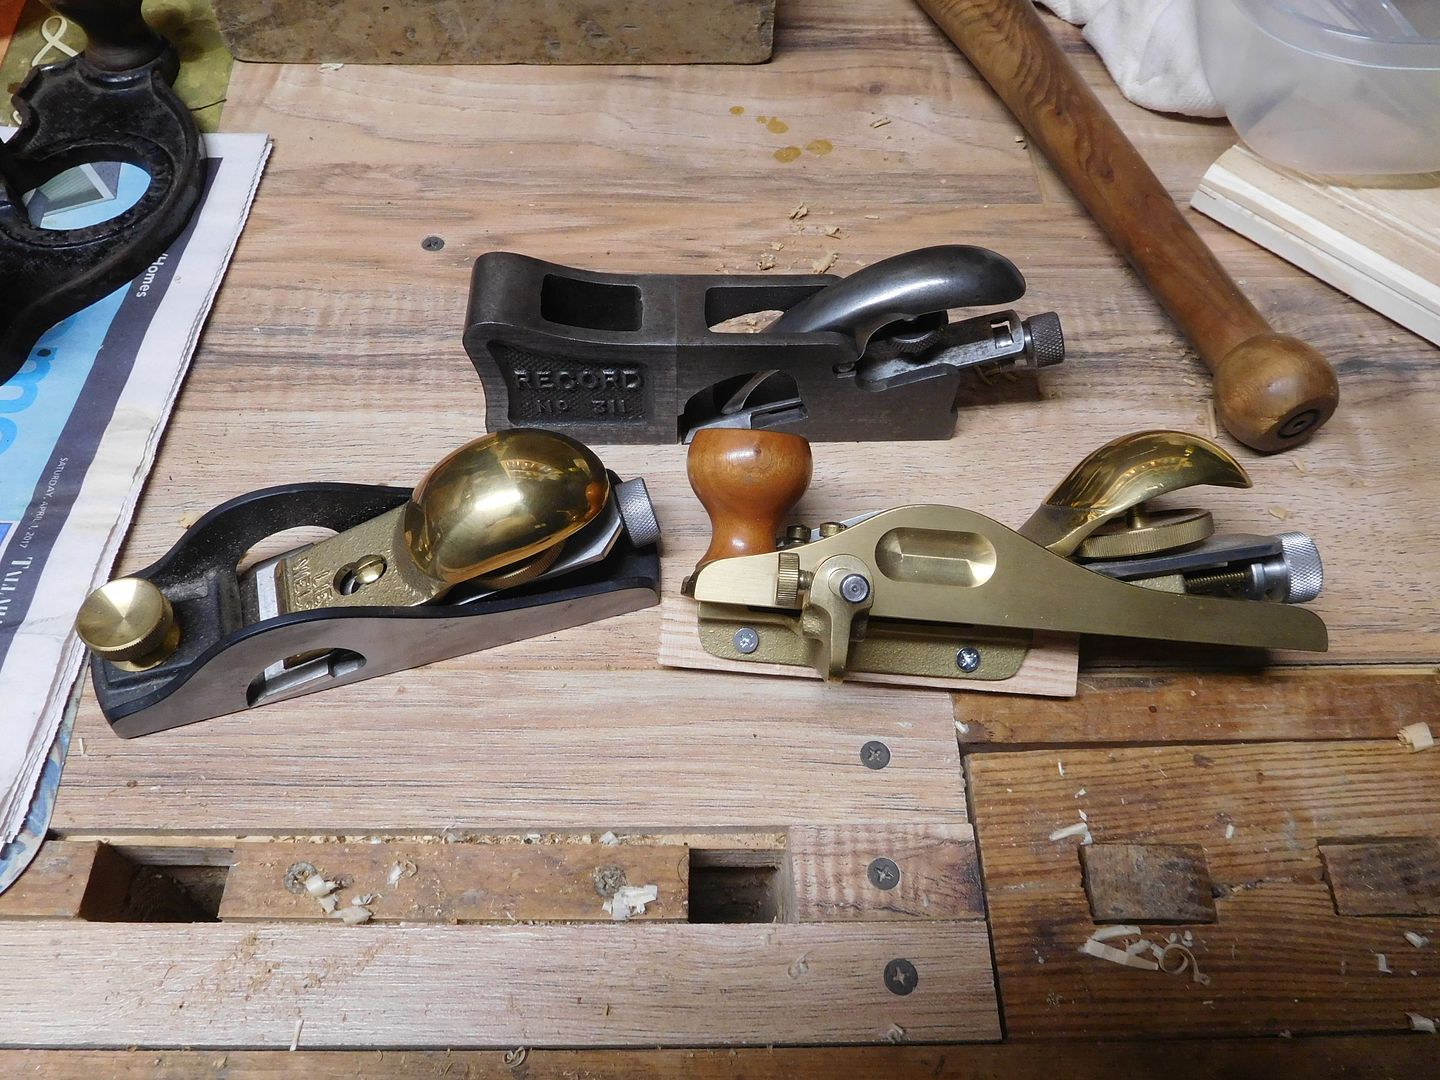
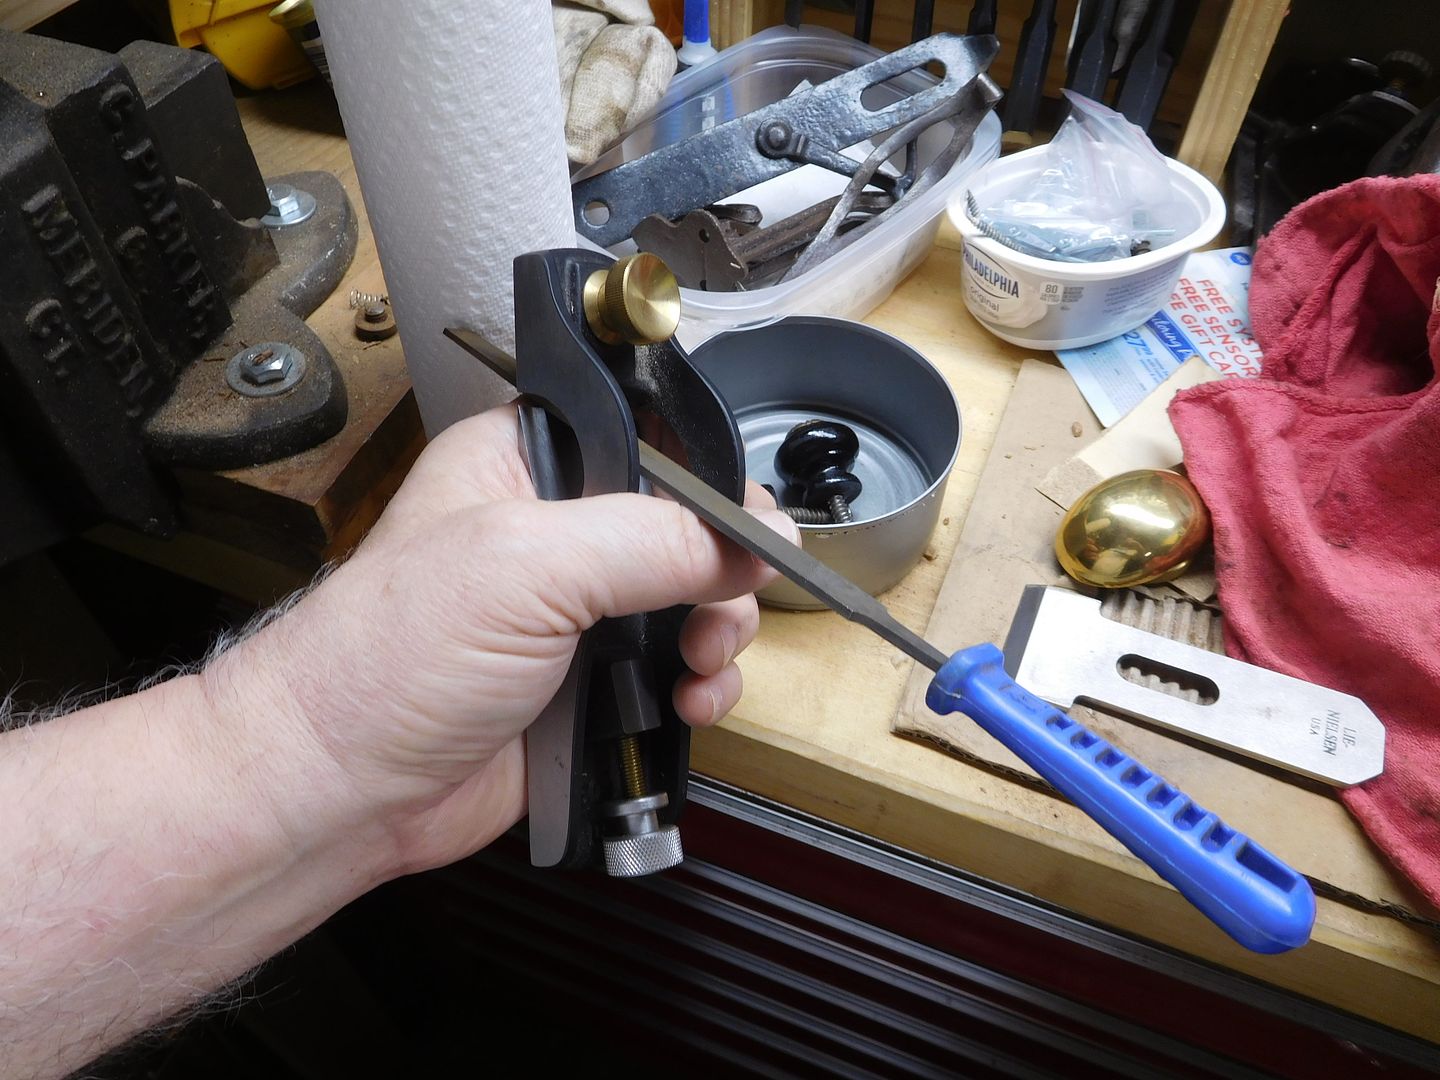
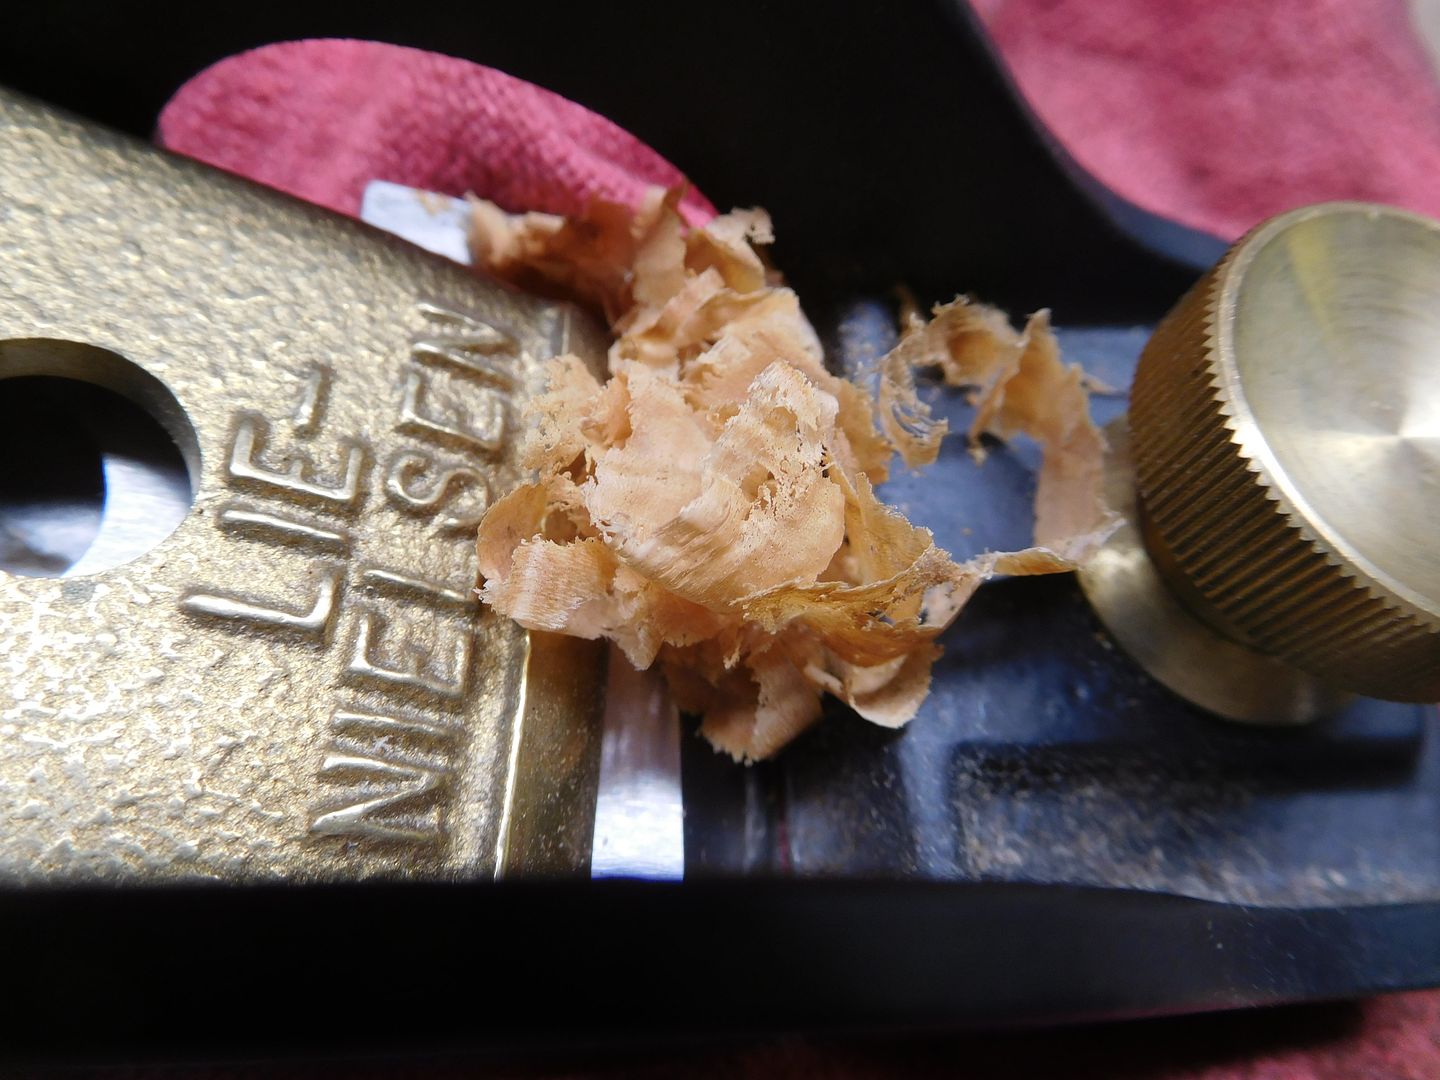


Jim: I really really want one of the LN rabbet block planes. I just missed out on one on ebay the other day.
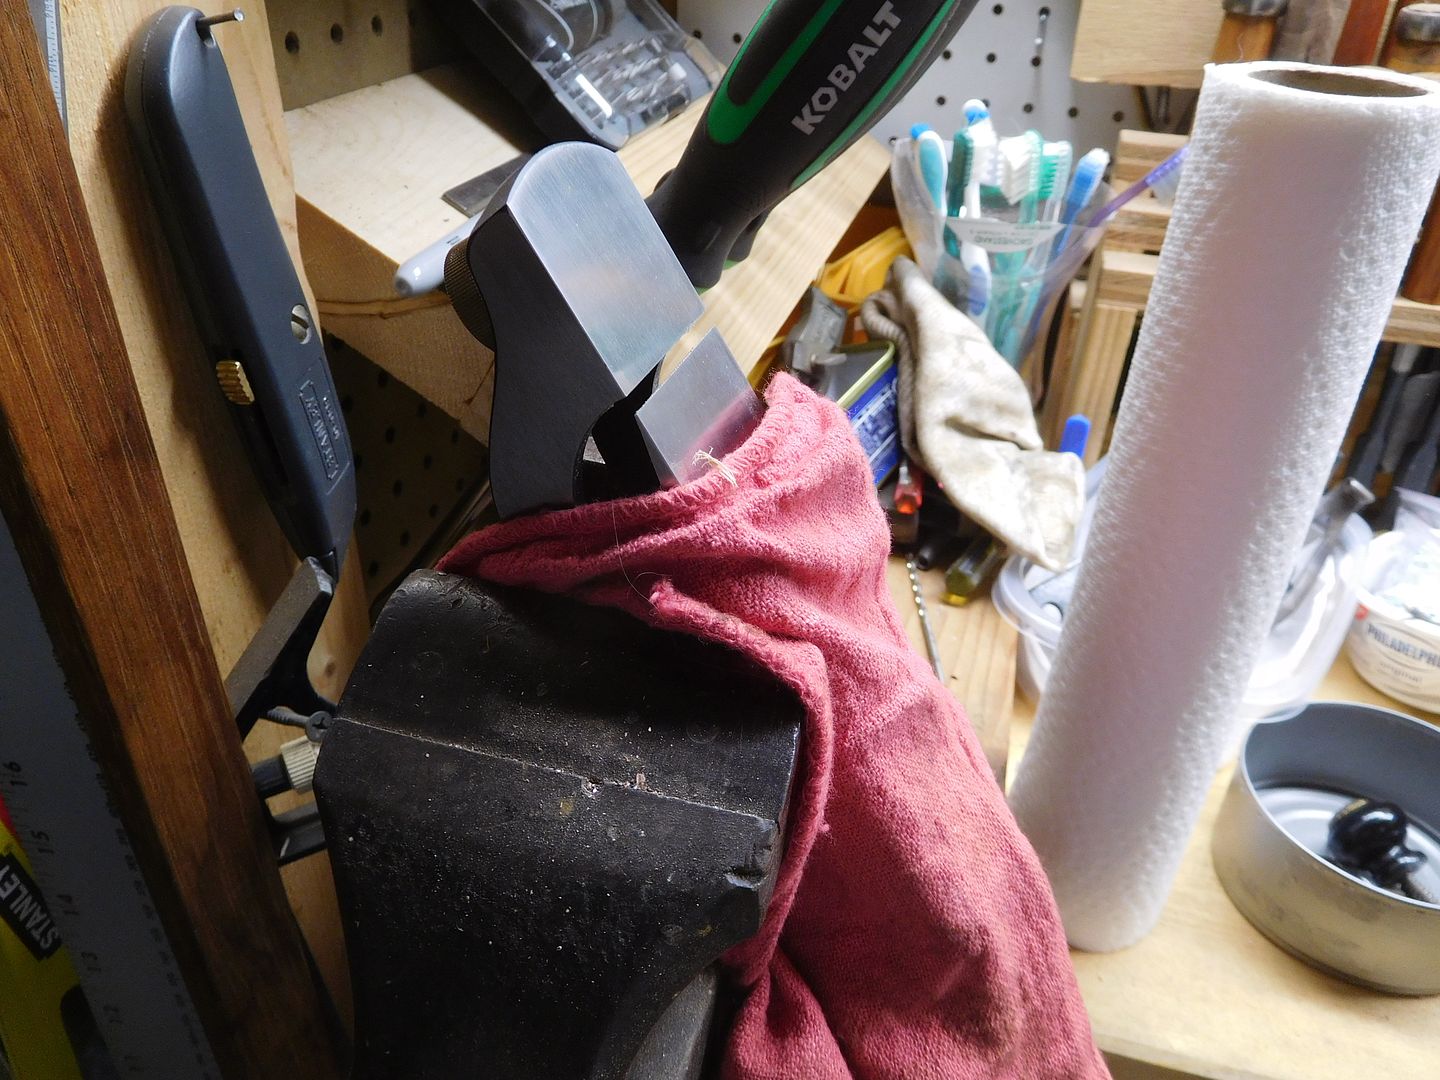
Well if you decide to get rid of it hit me up [emoji16]I have had this one around for years but never got a chance to use it. Until today, it would have been on my surplus list. But it performed well on this difficult task and beat out several of the others. So not it gets moved way up on the keeper list.
Jim: I really really want one of the LN rabbet block planes. I just missed out on one on ebay the other day.

Pilot hole was the right size they just weren't long enough. I contacted brusso and that was the hinge they recommended when I gave them the dimensions of the wood. I already stated I got one of the mortises too big. Anything else?1--the pilot hole for your screws is too small, causing them to break. The hinges appear to be a bit too wide for the thickness of the box material. And the mortises look to be too long for the hinge length.
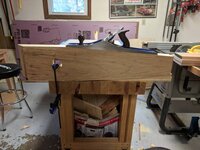
Main panel is out of clamps, and sanded here’s a couple shots wiped down with MS to show off the true colors. And these are going to be the legs.


Liking this, but then I have a thing for figured wood, especially quilted maple. Nice.
BobL.
Pilot hole was the right size they just weren't long enough. I contacted brusso and that was the hinge they recommended when I gave them the dimensions of the wood. I already stated I got one of the mortises too big. Anything else?
Sent from my Pixel XL using Tapatalk
...Anything else?...