ez-duzit
Well-known member
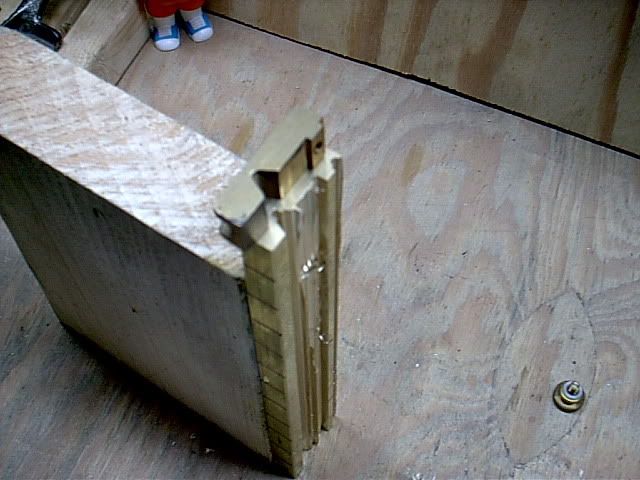
You can easily hold those pieces in a woodworkers vise while routing the recess using a pattern follower. Absolutely no need for a router table, which is much more dangerous in this case.

On that note (though it is too late this time), it might have made more sense to route a pocket for two handles of this design together, and then cut them apart.
You can easily hold those pieces in a woodworkers vise while routing the recess using a pattern follower. Absolutely no need for a router table, which is much more dangerous in this case.
That is what I just said.
Well, that works if you clamp two handles together and cut both recesses in one plunge. That will keep you from having to use a sacrificial piece, or cutting into your vise jaw.
Ok. I kind of read it to mean keeping handles together lengthwise, but I see how it could work both ways.
... I intend to keep a flat end on each side of the cut for the screw for mounting. Otherwise, I'd absolutely have made a 6 foot board, routed the whole thing in one cut...
You misunderstand. You simply stop the cut wherever you want, leaving parts of it not routed.


Sorry for the late post. I see it had already been beat to death, Chris.

Jim I'm genuinely surprised you either don't have or don't use a metal bandsaw to cut the tool steel. Honestly I'd use a hand hacksaw before an angle grinder, in the end still less time and effort when you factor in how much you are doing to clean up the cut after.
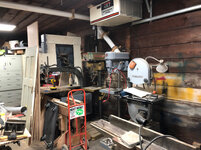
Chris--I love your air filter and have been considering one. Which model did you get? How do you like it so far?
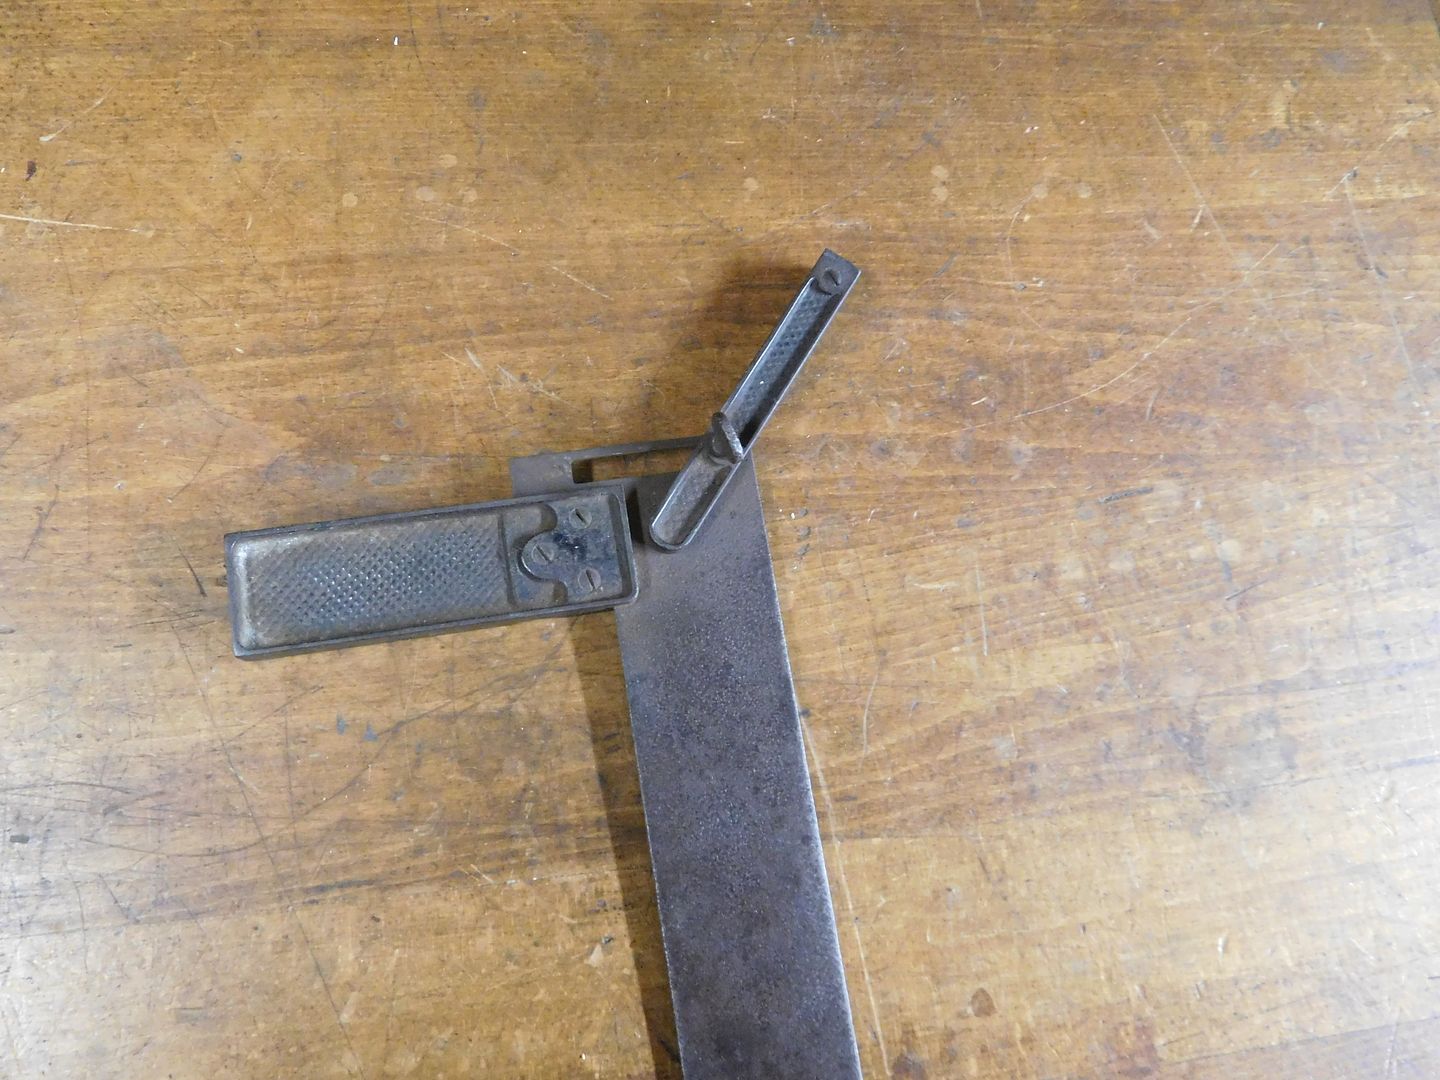
Jim-please clarify for me: in your post on the repair of the saw handle with finger hole, your last picture is of a different handle although you indicate it is a shot of the repaired handle. Or am I missing something obvious--not unusual,
Tom B.

Nice work Jim! Your skills at old wood working tool rehab are excellent and it’s wonderful that you are able to put these nice vintage tools back into service. I might have to bend your ear when I find some old planes to rebuild.
I’ve also been considering an air filter system for me shop, to help keep the airborne dust from settling on everything while sanding. None of my sanders have any form of dust collection and I refuse to replace them. I’ve looked at the jet unit, as well as Rikon and wen which are lower powered but more cost effective. I’ve also considered building my own unit, as a friend offered me a fan he used in his greenhouse, but I haven’t seen it to know if I can make it work.
Make a downdraft table or construct a portable one that connects to your dust collector. Works much better than a fan.
Easy to make one out of scrap materials that you probably have laying around the shop.
.
.


 20171111_052601230_iOS by Chris Lehr, on Flickr
 20171111_053048152_iOS by Chris Lehr, on Flickr
Way too complicated for such a simple task.