shortykorte
Well-known member
How about a WW 101 on the various uses/purpose of trammels. Thanks.
Sent from my iPhone using Tapatalk
Sent from my iPhone using Tapatalk

Trammels Yes, I do have a few...
")
How about a WW 101 on the various uses/purpose of trammels. Thanks.
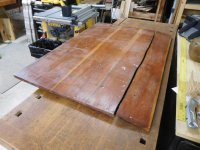
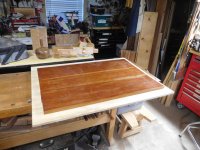
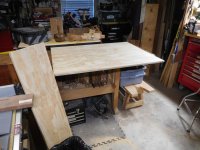
Last minute cutting boards for gifts.
What a great question! Please assume your seat of honor in the front row.
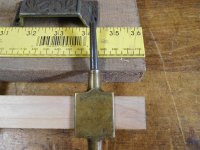
The most common use for trammels is to describe arcs and circles. Just go back to your HS geometry class and remember all of those compass exercises--intersecting circles, bisecting lines, etc. The radius of a circle is the distance from the center to the edge and our trammel set IS that radius. Small radius means small circle and large radius means large circle.
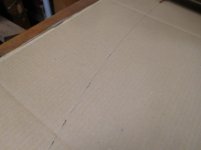
So our first demo is showing what a trammel set is known for--describing arcs. But this is a broad arc. First, I drilled a small hole in a scrap and clamped it in the end vise on the bench. Then I attached one trammel on a piece of cat shredded door frame moulding and put the point in the wood scrap. Next I attached the trammel with the pencil at the end of the moulding. For this demo, I drew an arc on cardboard. As you can see, it describes a nice broad arc. Of course, you can reduce the radius and make the arc tighter.

Please reseat Shorty somewhere else, I can't see with him in front!
Thanks for the little lesson, I especially like the use for the handles.
Does anyone have any advice on making stopped rabbet joints using only hand tools? I've thought of multiple methods but I'm curious what works best for others
gentlemen, I'd like some help.
All of my tools have dust ports meant for a 2-1/2" shop vac hose. So far I can't find an adapter that will go into that port, and the other side have a 4" dust collector hose clamped to it. The 4" side is fine, the 2-1/2" side for the ones I've tried are meant for 2-1/2" dust collector hose (which I don't have any) to be clamped outside it.
whatever experience you guys have would be appreciated.

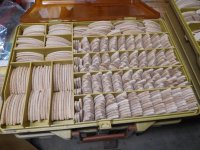
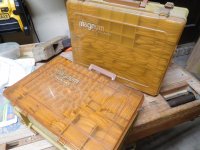
My buddies think I'm crazy because I have three zip lock bags in with the biscuit jointer. Labeled bags...