Alchymist
Well-known member
shapers and drum sanders now huh? Can't say I have any machinery anywhere near that big, however I did just finish modifying the Fastcap hood for my miter saw so now it's not quite so tall and even though I lose from 57* to 'only' 52* of cut angle on one side, I'm satisfied with that as it usually only makes 90* & 45* cuts anyway. I could remove the one bracket if I absolutely needed that cut angle back, just the saw hood while reducing quite a lot of the dust in the air is a bit unweildy.
However, I just also opened up my brand new DW735x planer, since a friend made an offer on my other. I'm going to do a flip top table with my 6" Delta jointer and this planer with a 4ft outfeed extension they can both share. Would you also want that much infeed extension on both, or is the planer's infeed table 'extension' enough typically? Since a jointer's infeed is height adjustable I wouldn't expect to need a static infeed table for it, although if you think that greatly benefits the jointer then I will.
I'd Hightly suggest against a flip top. I have one for my dewalt planer and ridgid osc spindle/belt sander and HATE it. I'd much rather have a solution where both tools are accessible without the BS of pulliing out the cart, flipping (without pinching fingers) just to get to the other tool.
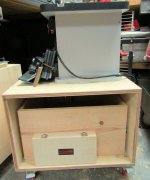
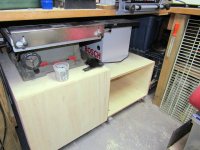
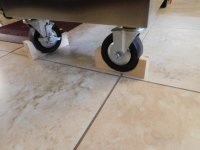
Flip carts serve their purpose - especially if floor space is limited. I put my spindle sander and planer in one flip stand, and my grinder and belt sander in another. (Both pics show them "almost" complete). Easy to store away and pull out when needed, otherwise I wouldn't have room for everything.
Unfortunately I couldn't do that with the miter saw, it got a rather big stand. Again not quite finished, but functional. (The stand has two folding wings, only one shown in the up position).