Drill drawer update.
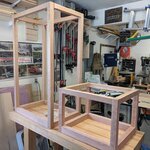
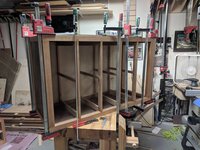
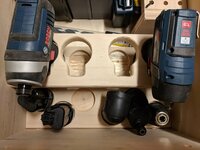
My drill bit/12v drill storage is atrocious and I need to get it organized. I made a "simple" holder for the drills/impacts/batteries/and attachments for the flexiclick. Turned out alright. They still fit tight. I originally had them facing downward but it was too tall for the drawer that way. If I was going to do it this way I would have used the next size up in forstner bit. Oh well. I'll hit it with sand paper and a rasp.
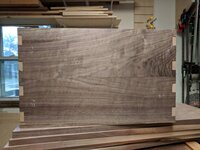
Next was the forstner bits. Half of my bits we're in a case and the rest were still on the blister packs. Those of course do not store well. Using another piece of scrap plywood I cut it to width and then made a grid. I then laid out the pieces with approximate equal spacing. Much faster than mathing it all out.
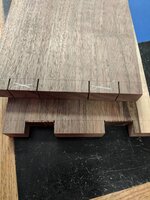
Last was the bit storage for the self centering bits, countersink bits, and plug cutters. I had a good spot on the right side of the drawer for this. I elevated the holder for easier access and replacement of the bits. I made another grid and drilled an 8mm hole (just bigger than the 1/4" shank) and drilled out my spacing. I drilled more than needed so I can add more pieces and move things around if needed. There was a lot of tear out even with the Brad point bits I was using.
Overall I am MUCH happier with how this turned out. I had been scratching my head for the longest time about a solution to the drawer. I got everything back in except for the milescraft drill guide.


Sent from my Pixel XL using Tapatalk


")

