OP
jimreed2160
Well-known member
Great photos. Thanks. Even though those tools are a few hundred years old, they show that woodworking just needs a few simple, but sharp tools, wood, time and some skill.


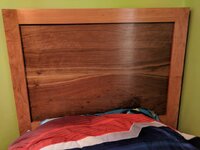

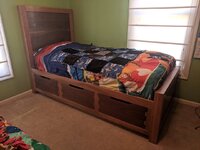

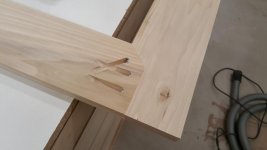
Thank you. I feel I rushed the drawers and they could have been a little better but overall I'm still happy with it.1--that turned out rather well.


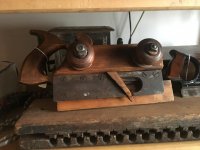
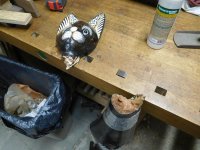
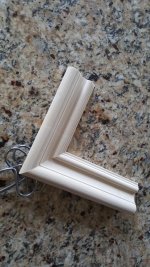
Please fill me in on what the heck these are! If they’re rare and collectible and you want ‘em, let me know. Priced at 65 and 75
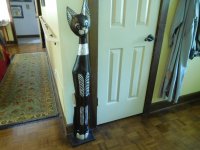
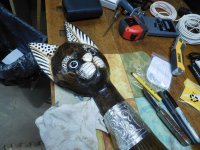
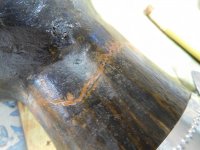
...This thing is carved from some unusual white wood that is super soft. When I knocked it over, it broke and also deformed on the far side from the bash. I applied glue liberally and stuck it together as best as I could but it still left a gash on one side...
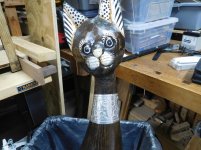
Jim, start practicing now! "There's a crack in the cat's neck?" Emphasis on the question.

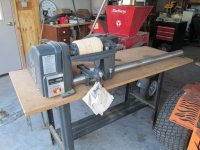
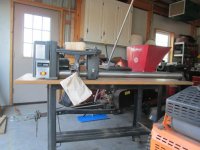
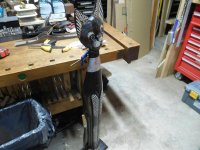
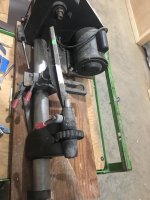
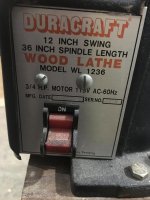
Just picked up a Craftsman wood lathe at auction. Model 113.23800. Think it was manufactured in 1973. Appears complete and in good shape. Hoping to learn to turn wood on it. Priced seemed good $42.50
Pops--Thanks for the pictures. My dad had that exact lathe on that exact table and gave it to me to free up shop space. This was sometime in the late 1990s. I loved that lathe and taught myself turning with it. I even found an adaptor and was able to use a pen mandrill and turn pens. I sold it when I moved and picked up a mini. You will love the lathe and the price was right.
Good luck making shavings with it.
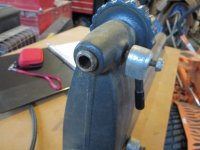
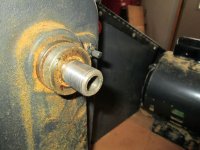
The spur center goes in the headstock. It has a cone in the middle that centers on what you're turning, and four spurs that when pressed into the work, allow the motor to spin the work without it slipping.
The tailstock gets a center that should spin freely. In metal work, we just use pointed conical centers, but those tend to split wood, so in wood turning we use a cup center that can still turn, but doesn't wedge the grain apart. This end should be treated with a little wax to lubricate it if it is a dead center.
A better option on the tailstock is a live center. These freely spin on bearings, so there’s much less friction.
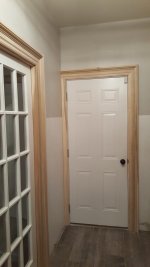
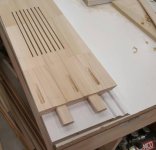
Jar--Great job on the trim. That's a nice machine there.
Thanks for all the help. I ordered the $26 set on eBay. Don't need it right away.