

burgie
Well-known member
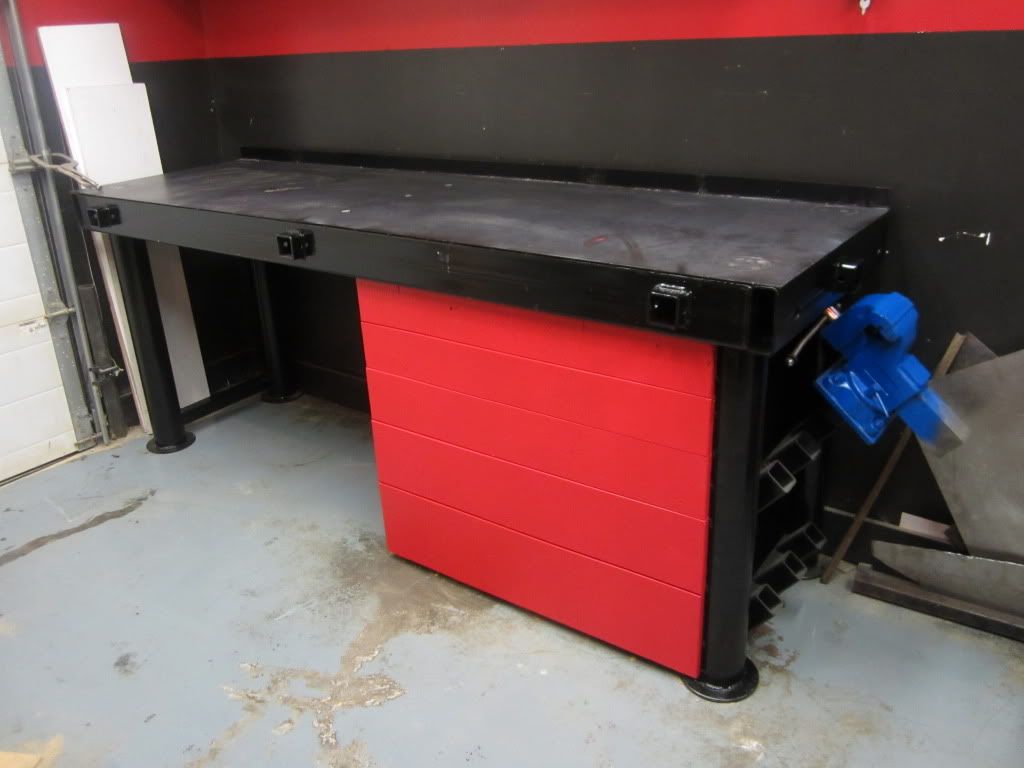
Greetings...
Thanks for the nice comments about my bench!! Rather than spend a bunch of time posting additional pics and answering questions, please go to my web site and take a look at the blog entries for my Monster bench:
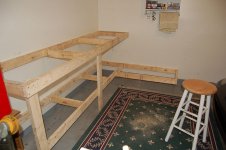
These links talk about the base construction:
http://www.creativelandscapeaccents.com/blog_february_21_2010.htm
http://www.creativelandscapeaccents.com/blog_february_22_2010.htm
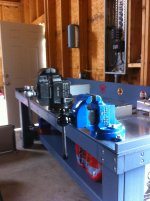
These links talk about the lamination and finish of the top:
http://www.creativelandscapeaccents.com/blog_march_27_2010.htm
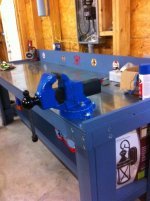
These links talk about the cabinet construction:
http://www.creativelandscapeaccents.com/blog_april_24_2010.htm
http://www.creativelandscapeaccents.com/blog_may_19_2010.htm
Hope you all enjoy the readings from my blog....
Burgie
Thanks for the nice comments about my bench!! Rather than spend a bunch of time posting additional pics and answering questions, please go to my web site and take a look at the blog entries for my Monster bench:
These links talk about the base construction:
http://www.creativelandscapeaccents.com/blog_february_21_2010.htm
http://www.creativelandscapeaccents.com/blog_february_22_2010.htm
These links talk about the lamination and finish of the top:
http://www.creativelandscapeaccents.com/blog_march_27_2010.htm
These links talk about the cabinet construction:
http://www.creativelandscapeaccents.com/blog_april_24_2010.htm
http://www.creativelandscapeaccents.com/blog_may_19_2010.htm
Hope you all enjoy the readings from my blog....
Burgie


 - I'm airgunner over there


