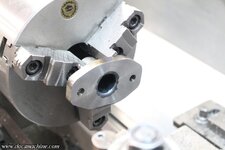
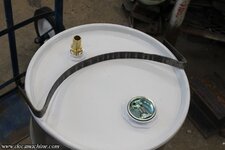
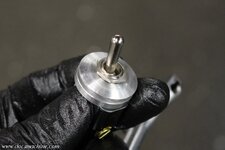
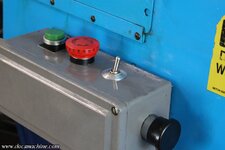
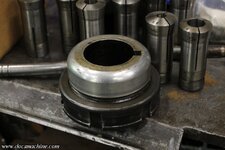
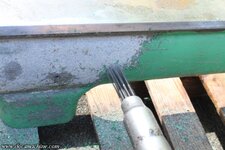
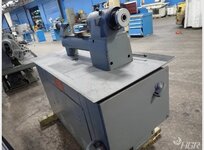
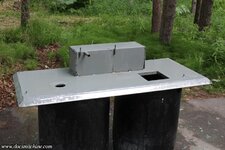
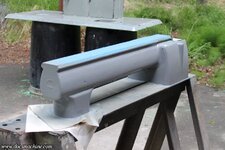
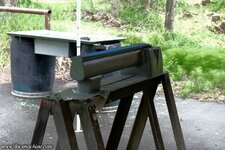
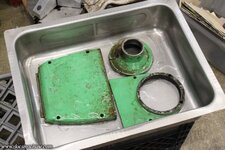
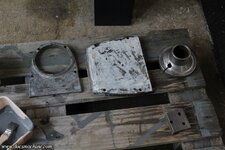
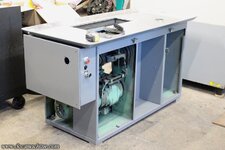
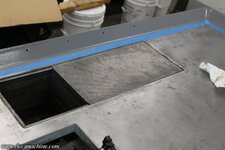
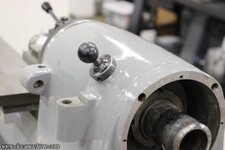
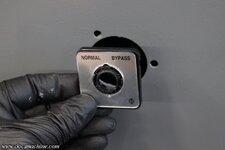
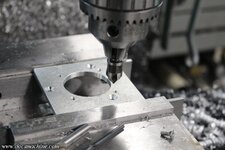
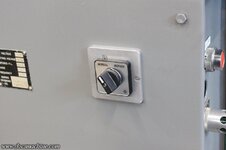
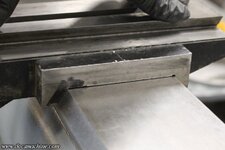
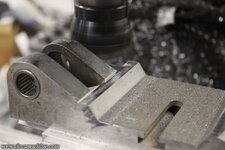
Finally, the paint is dry on enough of these bits, we can start throwing this off-brand Erector set back together!

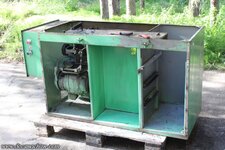
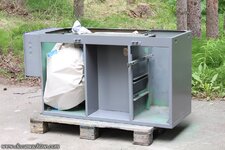
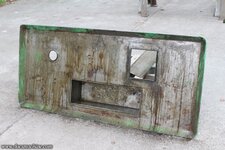
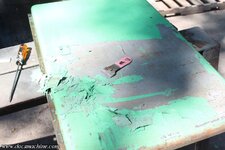
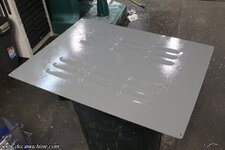
Easy stuff first- the back cover:

(Besides, it'd been sitting on my trash can, and I've been needing that.
)
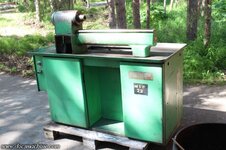
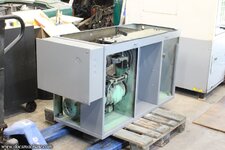
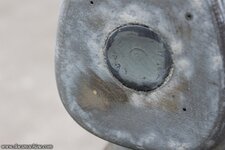
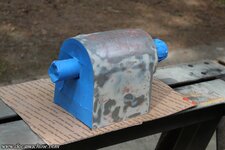
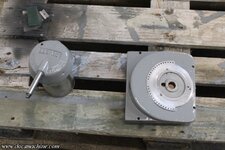
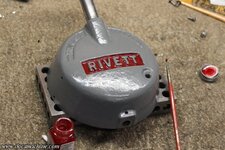
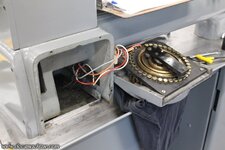
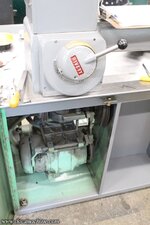
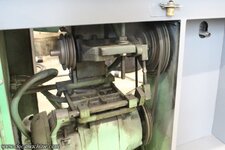
The end vent cover over the motor-generator...

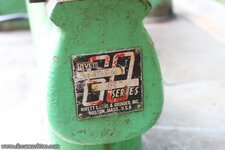
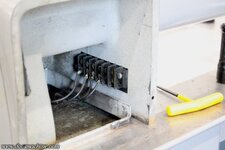
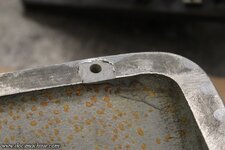
And the little ID tag on the electrical box.

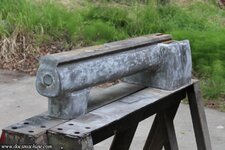
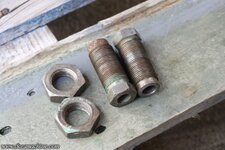
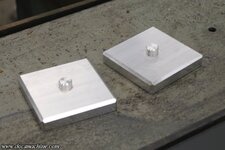
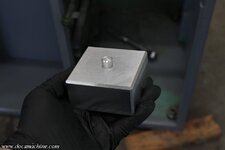
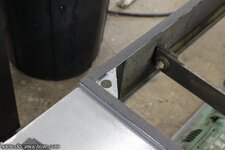
I hired some help to get the bed casting back in place- it sits on three of these jacking points, each with this little semi-hemispherical washer, which fits into matching recess on the bottom of the casting. That allows for a small bit of misalignment, so the adjusters can be used to level the bed.
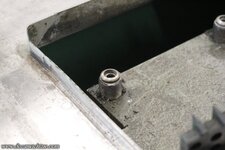
After more fiddling than I care to relate, we got it socked down and the bolts placed.

Note how high the right-hand end is, by the gap under the "foot". I wanted to lower that down a little, to reduce that gap, so that chips and gunk wouldn't keep collecting under there. But, that meant there was now a distinct downhill slope to it. And to fix that, I had to raise the low end
another half an inch.

I may revisit those feet eventually, but that should work for now.
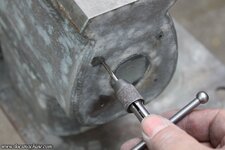
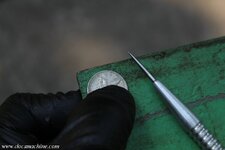
I'd have thought that would throw off the level as measured at the chip tray, which was nominally level yesterday, but oddly enough, it was spot on, too. There were only a few places where this steel ball rolled in pretty much any direction.

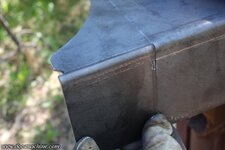
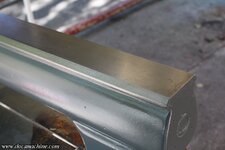
Next up, I decided to attend this nasty dent in the right-hand door nameplate.

Some non-marring pliers and a small rawhide mallet, and I was able to gently massage it back to approaching straight-ish.
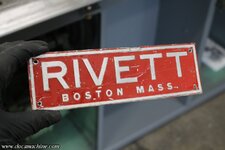
It attaches to the door with four shiny new stainless buttonhead 4-40 screws, and it damn near looks new again.

I then reinstalled the drawer slides and collet rack slide, before bolting the door back in place.

'Couple interesting bits: Those aren't actually drawers. They're old heavy steel... I guess small crates, made by a still-extant company called Pollard Bros. They make heavy-gauge industrial stuff like benches, stools and worktables. Somebody mounted some angle-iron 'rails' inside the cabinet so that the boxes can slide in on them, like drawers.
I also don't know if this thing ever had a collet rack like that from the factory- the wood, at least, on this one is shopmade, and a bit wonky. Some of the holes are pretty tight on the collets. I may have to make a new one at some point.
Anyway, I had to tweak the adjustment on that latch/detent thing a little, but now the door closes firmly and snugly.

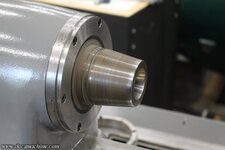
The paint wasn't quite 100% dry on the headstock, but it was dry enough so that I could clean off the mating surfaces, spray a little LPS-3 in there and slide 'em together.
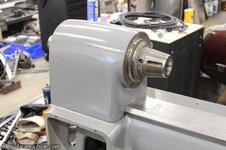
I chased out the bolt holes- remember, some of them had been empty and open for a time- cleaned up the screws (and found some extras) and bolted the shiny clean guard ring back in place.

I had earlier done a little bodywork to the sheetmetal protector cap, and primed and painted it, so that was easy to snap into place.

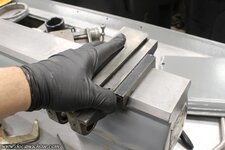
And, out of curiosity, I pulled the X/Y slides off the little Hardinge, and tried it on for size.

It doesn't "fit", at least not yet. The Hardinge uses a dovetail bed, while this Rivett has a more prismatic bed- more like a Weaver rail. I can mod the slides to fit, although that's one reason, as I said earlier, I kind of wish this had been a Hardinge- so I could more easily share tooling between them.
But, I'll have to make do. Once she's up and running, I'll start looking more closely into the tooling, and see what I have and can do there.
Anyway, that pretty much did it for the day:

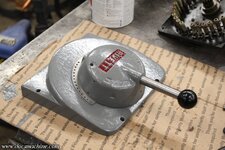
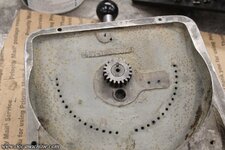
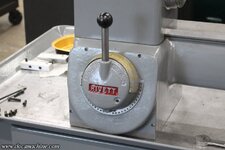
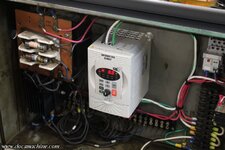
Over the weekend, I hope to get the "rheostat" switch cleaned and painted, and the rest of the electricals hooked up. Then we can actually
try this thing!
Doc.