Sunbimmer
Well-known member
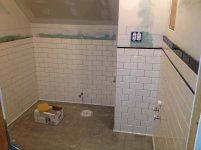
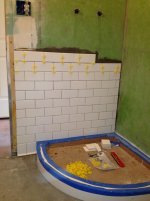
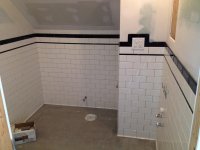
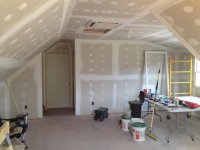
Brick veneer, damn it looks great already 

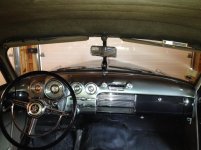
Looking nice! What are the details on the Buick (year/model). I like that body style.
Thanks Styx, I'm hoping to get it mostly finished sometime this year. But are they ever really done?Great looking place you have there... cant wait to see the finished product...
Cheers...

Thanks big_bake. That's the wonderful thing about these gallery threads -- they condense years' into a few pages!Just read through the whole thread so far. Great addition and garage. Your attention to detail is great. I dare say most people wouldn't have put the time in on the upstairs insulation, let alone all the other details. I am looking forward to future updates.
 )
)
Good luck on the new home and garage project. Keep us updated on your progress.Gerald, thanks for the idea with the staircase.
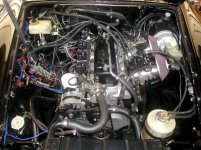
It's a homebrew EFI setup. The controller is an older generation (now) megasquirt, and the throttle bodies are adapted from a motorcycle. I posted about it in a thread on this website a long while back:Your creating a great space. Thanks for sharing.
Back at the beginning of your thread you mentioned you have a MGB, with fuel injection. Did you ever to a write up on how you went about the EFI conversion. Reason I ask is that I have a 76 B and have been researching on a method to do the same.
Any way Keep up the excellent work I'm hooked now.