To avoid these ads, REGISTER NOW!

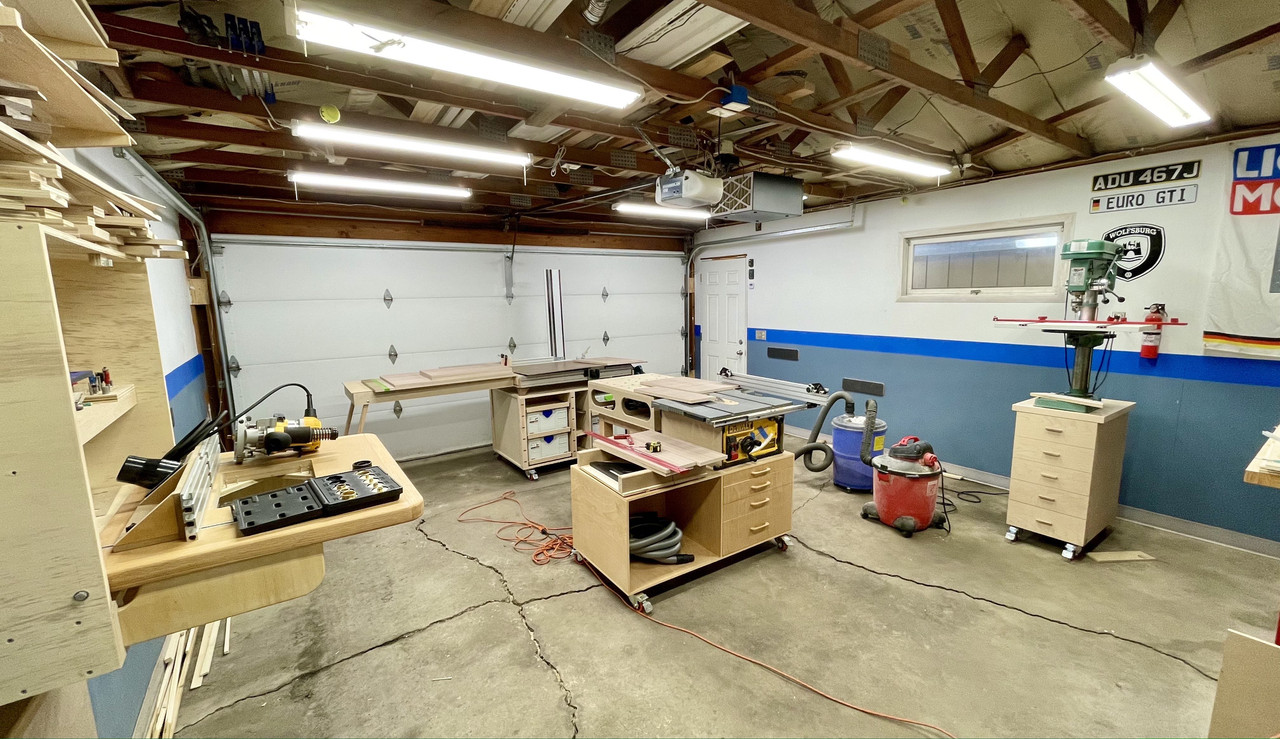
Between 265 & 485 SQ/FT Nick's Two-Car Detached Vdub Garage

Workspaces sized between 265 and 485 squarefeet.
To avoid these ads, REGISTER NOW!

Mr. Roboto

Well-known member
Joined
Dec 11, 2012
Messages
2,160
Location
New Hampshire
Nick,

I just got caught up on all of your progress. Too many great updates to comment on each of them specifically, but as always, I love reading along. I have to give you credit for sharing the mistakes along the way, too! I have never been good at that, but that is certainly how we learn. I also feel your pain out there working in a winter coat. Gotta make that garage heat happen someday, it will change your life!

I am always jealous of the pictures you post inside your house, it appears as though you have a ton of natural light! What is that a function of, large windows? House orientation? Bright interior colors? All of the above? Whatever it is, I dig it.
 

The J

Well-known member
Joined
Mar 4, 2010
Messages
152
Every one of my projects are like this. There’s always a hidden “challenge” from work done by previous owners and sadly from past professionals.

The built ins are really starting to take shape. Nice work! This the final 10% of the project that’s taking 90% of the time!


I can’t believe you don’t have a stud finder!
I got mine at Costco, I don’t remember brand but I believe it was a private labeled version...it’s 8” wide, blue, with multiple lights that will shows the full stud width. It has been extremely accurate for me even through plaster walls. It’s got a small ruler and level on it to which is also helpful. It was around $40.
 

mfg0772

Well-known member
Joined
Aug 8, 2018
Messages
146
Location
Northeast CT

The J

Well-known member
Joined
Mar 4, 2010
Messages
152
That looks to be the same as the one I use. Only mine is blue and from Costco. The only marking on it is a label that includes www.precisionstudsensors.com and “Designed in the USA. Assembled in the USA.” (is a nice way saying we imported all the parts).
 

Denwood

Well-known member
Joined
Sep 22, 2014
Messages
4,192
Location
Thunder Bay, Ontario, Canada
Way to persevere on the shelf and built in units. It's surprising when you monitor time on this stuff and realise how long it takes outside of the efficiency of mass production :)

I find myself carefully contemplating this trade off when making decisions, more recently purchasing Ikea cabinets vs making them. That said, I have a few maple/birch built in for the daughter's room, now 18 years old, and they still look great and work perfectly. So you do get that "time" back in longevity when you take the quality approach :)
 

jake28

Well-known member
Joined
Aug 28, 2018
Messages
487
Location
SF, CA
[mention]nicholam77 [/mention]
I’ve got nothing great to add, save that a sharp block plane and some practice might give you a fast and quiet way of flushing up the shelf trim before sanding.

Kudos on the new vac, I’ve got the same.

Reiterating another poster’s question, I’d love some info on your camera and photo set up. Every time I enjoy your posts I kick myself for investing the time and energy in a proper camera, post-processing, and lighting.
 
OP
N

nicholam77

Well-known member
Joined
Dec 18, 2016
Messages
2,671
Location
Minneapolis, MN
I love the style of those cabinets. Nice work!!

Thanks!

Holy Cow the inside of that wall is what nightmares are made of!

You work looks really good Nick. Good thing you made those nice cabinets to cover up all that mess. :D

Bret

Right? :lol: Now I know why they put those electrical boxes where they did.

Looks great! Can't wait to see the final product.

Thanks! Hopefully soon...

Every one of my projects are like this. There’s always a hidden “challenge” from work done by previous owners and sadly from past professionals.

The built ins are really starting to take shape. Nice work! This the final 10% of the project that’s taking 90% of the time!


I can’t believe you don’t have a stud finder!
I got mine at Costco, I don’t remember brand but I believe it was a private labeled version...it’s 8” wide, blue, with multiple lights that will shows the full stud width. It has been extremely accurate for me even through plaster walls. It’s got a small ruler and level on it to which is also helpful. It was around $40.

I feel that, my house has been very much the same way. Lots of complications. Yes, it's hard to believe after 4 years I still just drill holes in the wall to find a stud. You've inspired me, I think it's time to get one!

Should have mentioned re: stud finders - I've had several over the years always opting for the cheap one. They all sucked. Then, listening to the Fine Homebuilding podcast, they mentioned Franklin Sensors. Once I heard about it there, I found lots of other great reviews. I finally ponied up for one and it was worth every penny.

That's great to hear. I know it was vouched for in the MCMMM thread as well. It looks like Menards has the blue one for ~$34 near me.

Way to persevere on the shelf and built in units. It's surprising when you monitor time on this stuff and realise how long it takes outside of the efficiency of mass production :)

I find myself carefully contemplating this trade off when making decisions, more recently purchasing Ikea cabinets vs making them. That said, I have a few maple/birch built in for the daughter's room, now 18 years old, and they still look great and work perfectly. So you do get that "time" back in longevity when you take the quality approach :)

Yeah, I think it's probably rarely more efficient to build stuff yourself. And personal time is valuable. I don't think I could ever take on a full kitchen, it might kill me. :lol: But I do get enjoyment out of making stuff and for me the biggest advantage is custom design. I like designing stuff and in the case of the built ins they needed to be fit to the space. Yes, you can pay a professional to do that but it's so expensive. This way I have control over the details myself and only myself to blame if it doesn't turn out. I've had a few situations with contractors where I felt like I paid way too much money for a result I wasn't completely happy with. But it's definitely something that should be evaluated on a per project basis I think. Sometimes it just doesn't make sense to DIY.

I’ve got nothing great to add, save that a sharp block plane and some practice might give you a fast and quiet way of flushing up the shelf trim before sanding.

Kudos on the new vac, I’ve got the same.

Reiterating another poster’s question, I’d love some info on your camera and photo set up. Every time I enjoy your posts I kick myself for investing the time and energy in a proper camera, post-processing, and lighting.

Block plane is on the list :)

My camera setup is very simple... it's just an iPhone 12. I try to leverage the "Portrait Mode" as much as I can for shallow depth of field. That generally makes pictures more interesting, and manipulates the viewer into focusing on a specific focal subject. I definitely "post process" all my images. Just right on the phone in the native Photos app, nothing crazy, but I find tweaking the settings goes a long way in giving the pictures a visual bump. Having a camera that is good with low light is important. The new iPhones are pretty good at this considering their size.
 
OP
N

nicholam77

Well-known member
Joined
Dec 18, 2016
Messages
2,671
Location
Minneapolis, MN
Nick,

I just got caught up on all of your progress. Too many great updates to comment on each of them specifically, but as always, I love reading along. I have to give you credit for sharing the mistakes along the way, too! I have never been good at that, but that is certainly how we learn. I also feel your pain out there working in a winter coat. Gotta make that garage heat happen someday, it will change your life!

I am always jealous of the pictures you post inside your house, it appears as though you have a ton of natural light! What is that a function of, large windows? House orientation? Bright interior colors? All of the above? Whatever it is, I dig it.
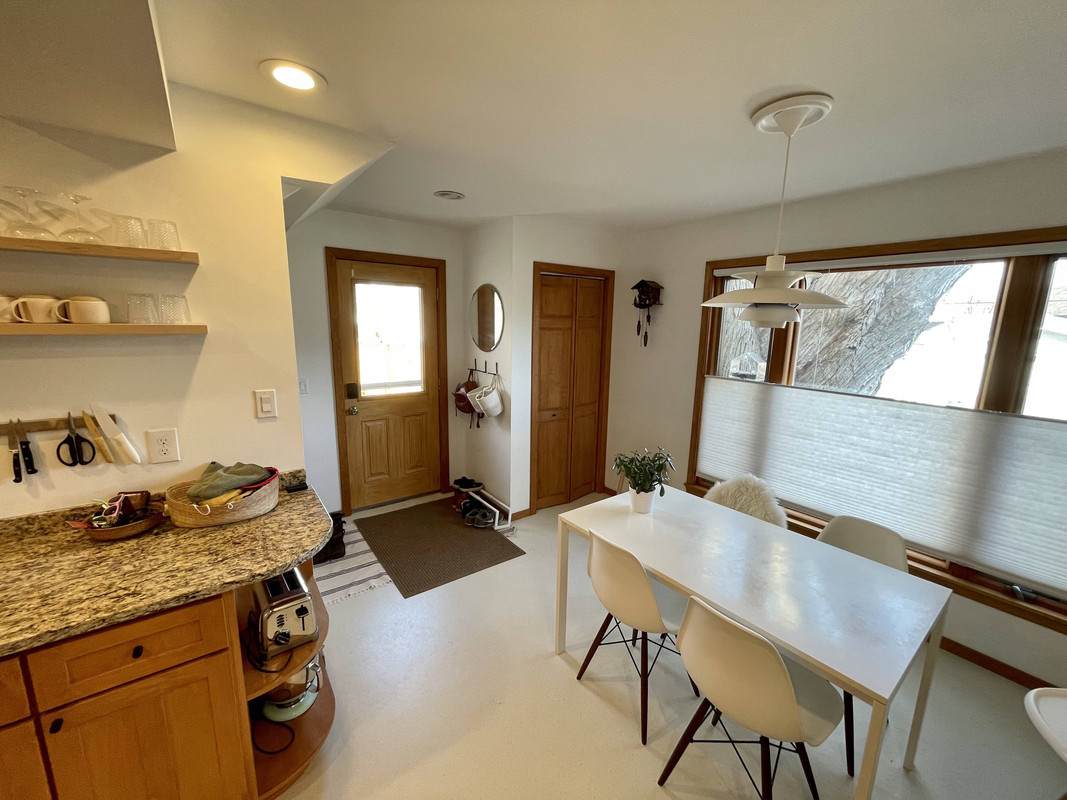
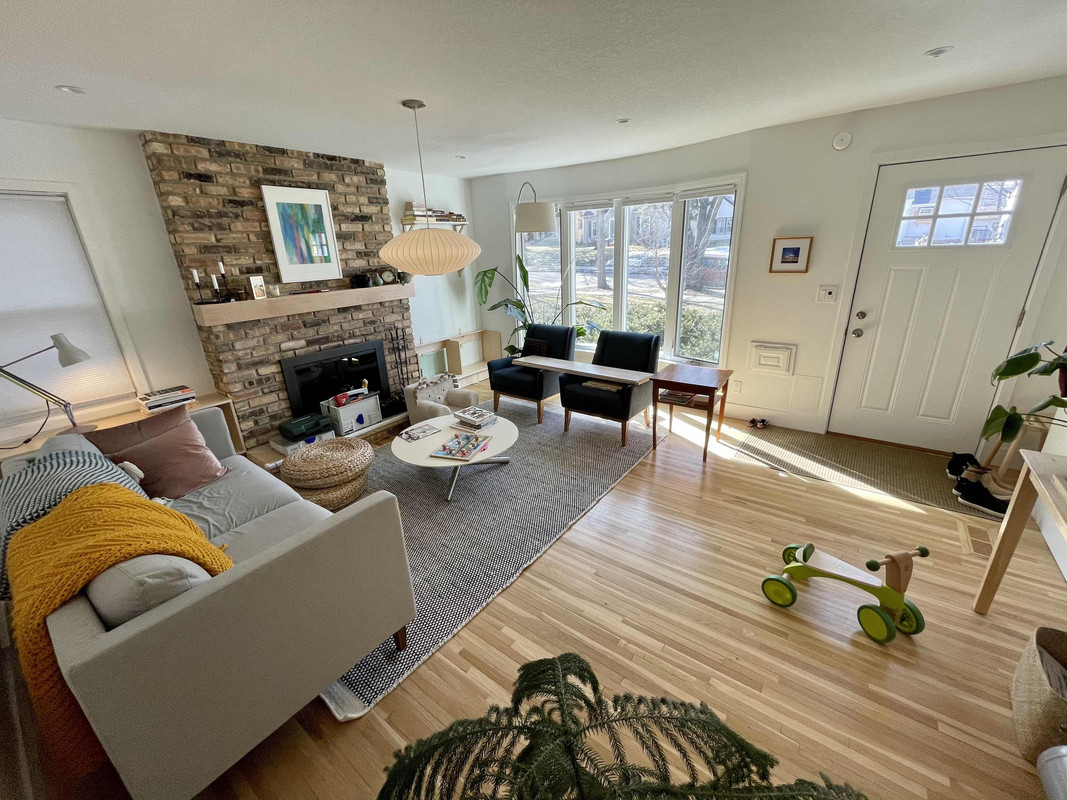
Thanks Roboto!

I will admit, this is kind of a loaded question for me! I actually wish my house had more natural light, and it's something I feel really strongly about. Here in Minnesota we get a lot of cloudy days in the winter, and honestly a good amount of rainy days in the summer. My mood is always elevated when it's bright and sunny, I think it's just essential for a healthy life to have sun.

My house has a fairly small footprint on a small urban lot. It's oriented East-West with the front facing West. Along the South side my neighbors house towers 3 stories above and we draw all the shads for privacy all the time. It's a bummer. Mostly the same on the North side to block the adjacent house there, too.

We have a large window in the back of the kitchen (East) and a large bay window in the living room (West), so in the first half and second half of the day, respectively, these do bring in a good amount of light. But when one is brighter, one is darker.

All of our window treatments are semi-translucent so they still let some light through even when closed.

A big reason for painting all the interior walls white was to reflect light and brighten the relatively compact spaces, so you are correct about that!

I don't often share wide shots of the house interior because I'm not happy with the way it all looks yet, so you often get a selective peek. And I definitely wait until the sun is adequate for pictures.

But... this is the back of the house / kitchen:

IMG-1694.jpg


And this is the front / living room:

IMG-1697.jpg


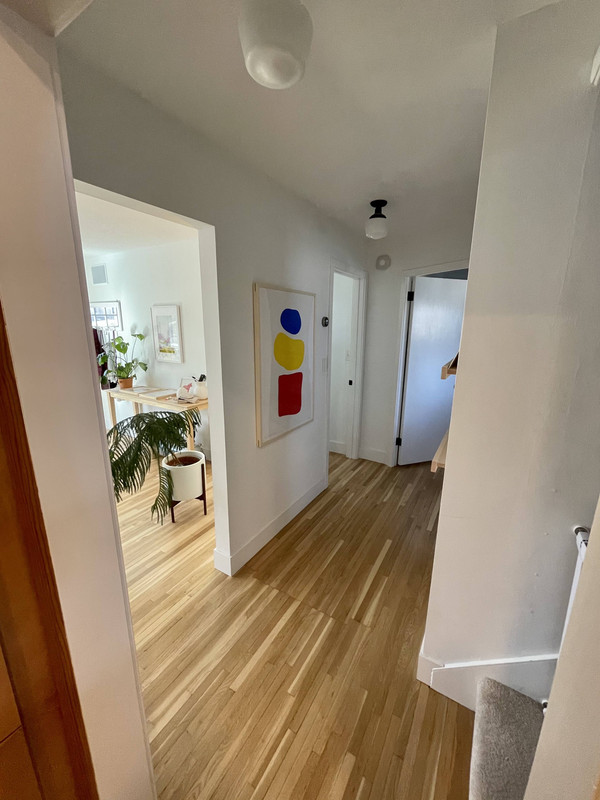
Where it falls apart a bit is in this hallway:

IMG-1696.jpg


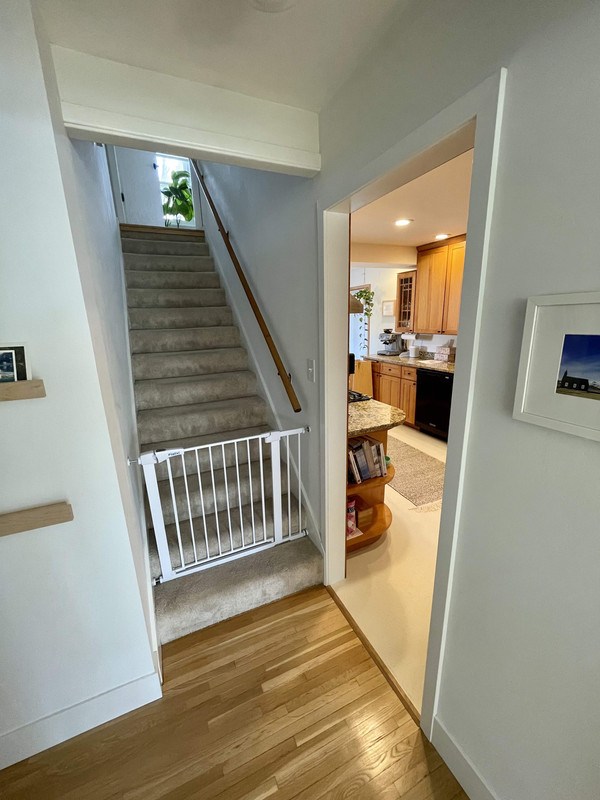
And in this stairwell:

IMG-1698.jpg


It may not look it in those pics but at certain times of the day it's just way too dark for my liking.

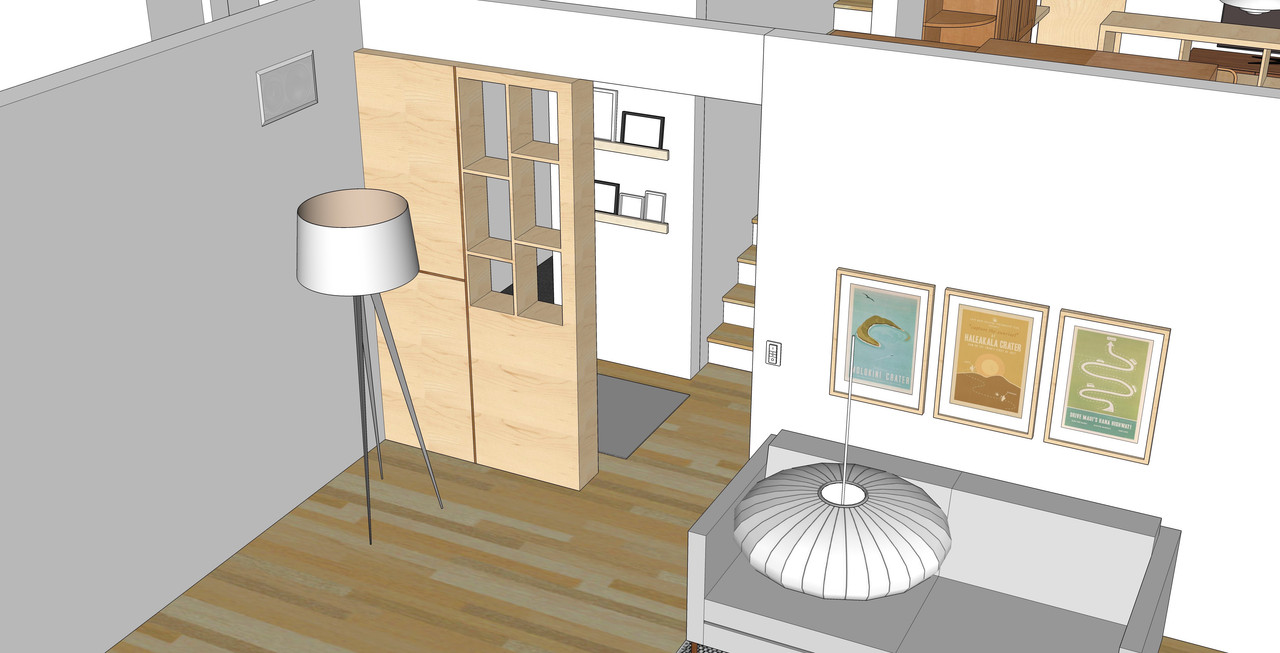
I have no idea structurally what's possible but I've toyed with various "creative" plans for the house, and a major thought behind those is maximizing interior light. One idea I had to get more light into the hallway is to make a partially see-through shelf thingy:

shelf-3.jpg


shelf-4.jpg


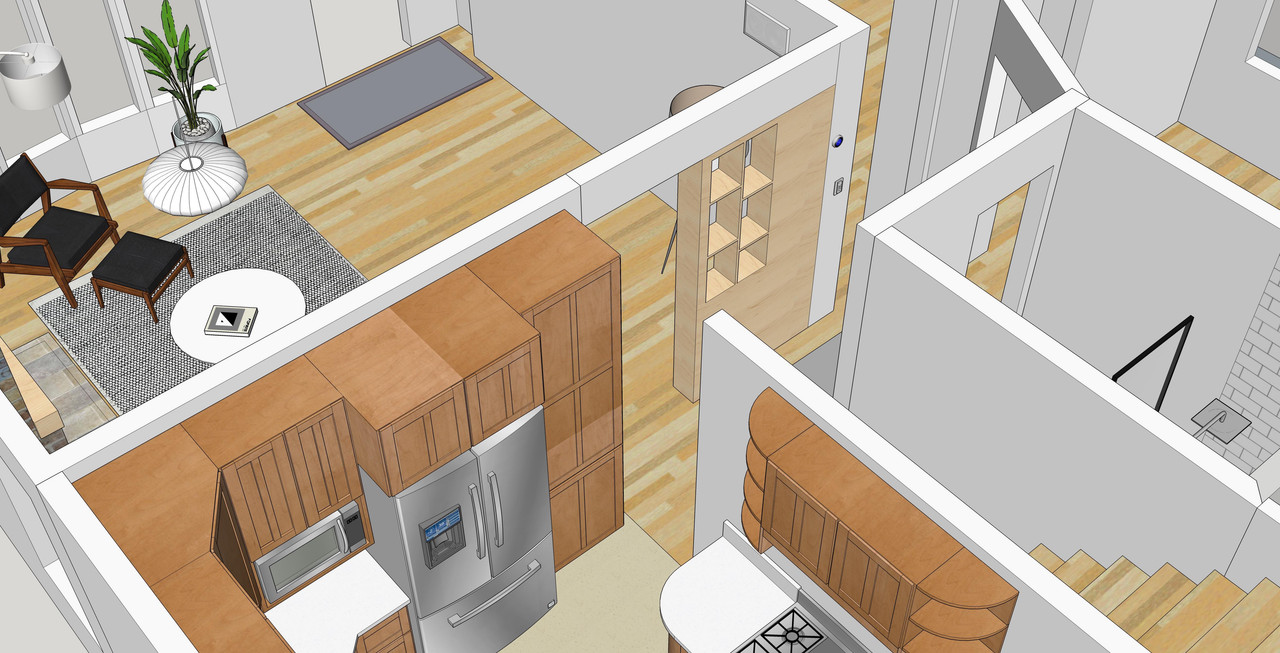
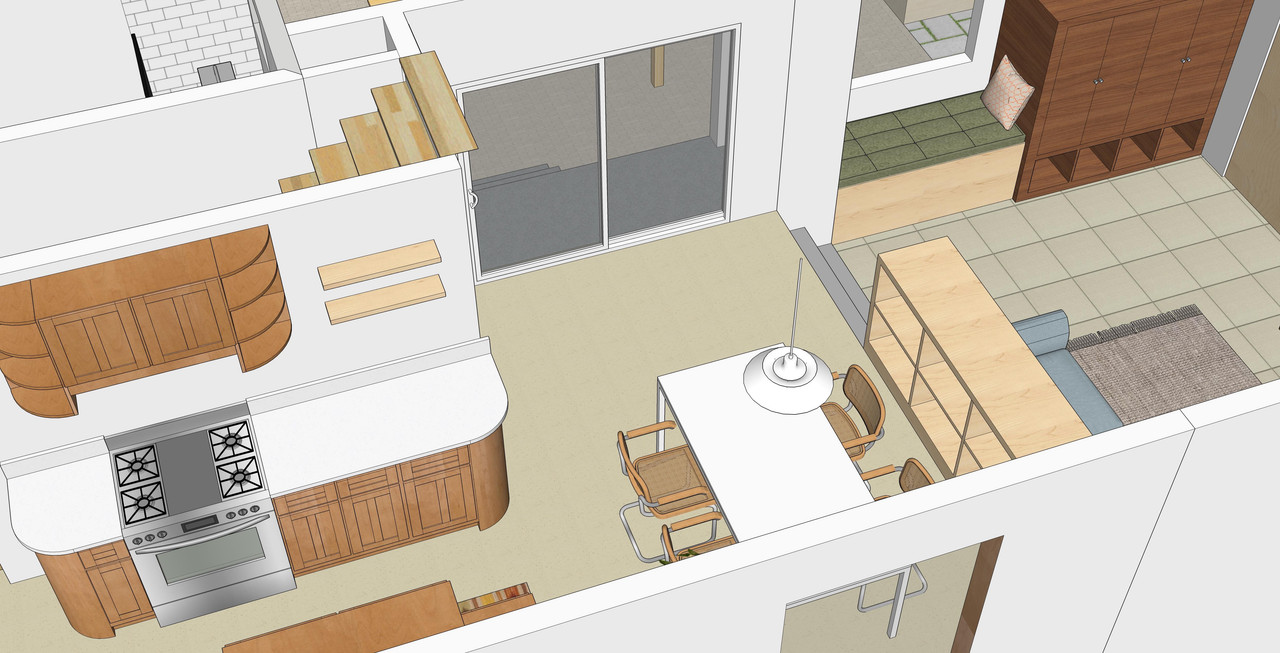
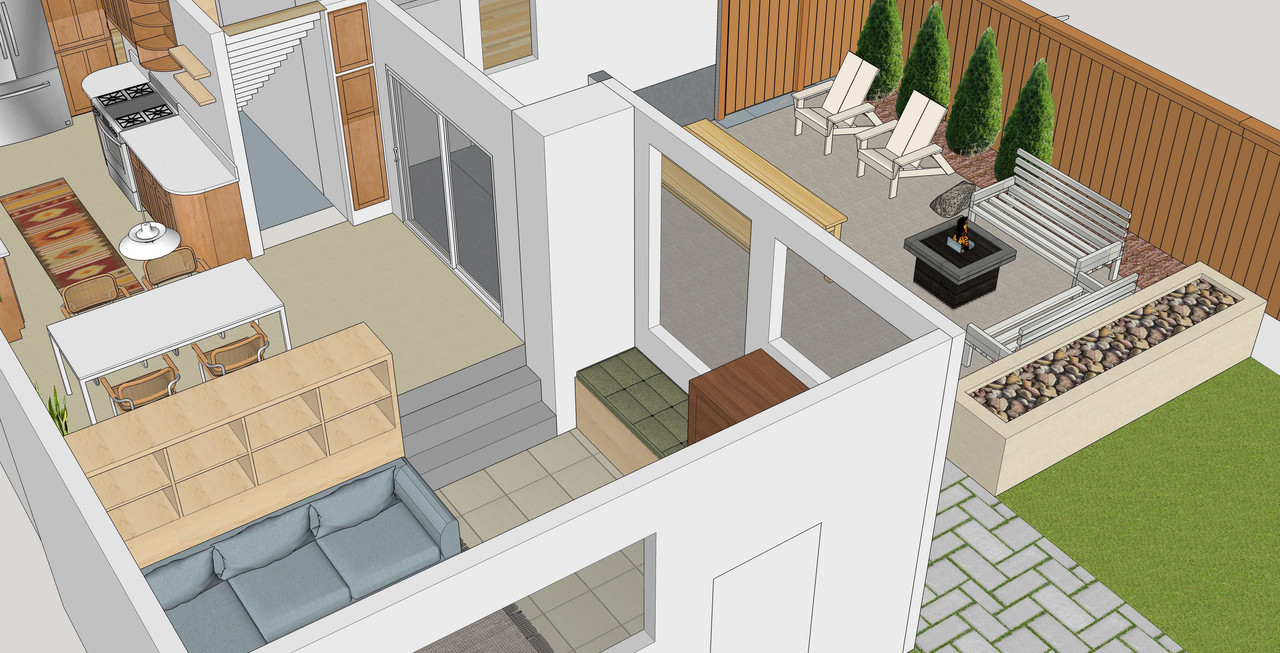
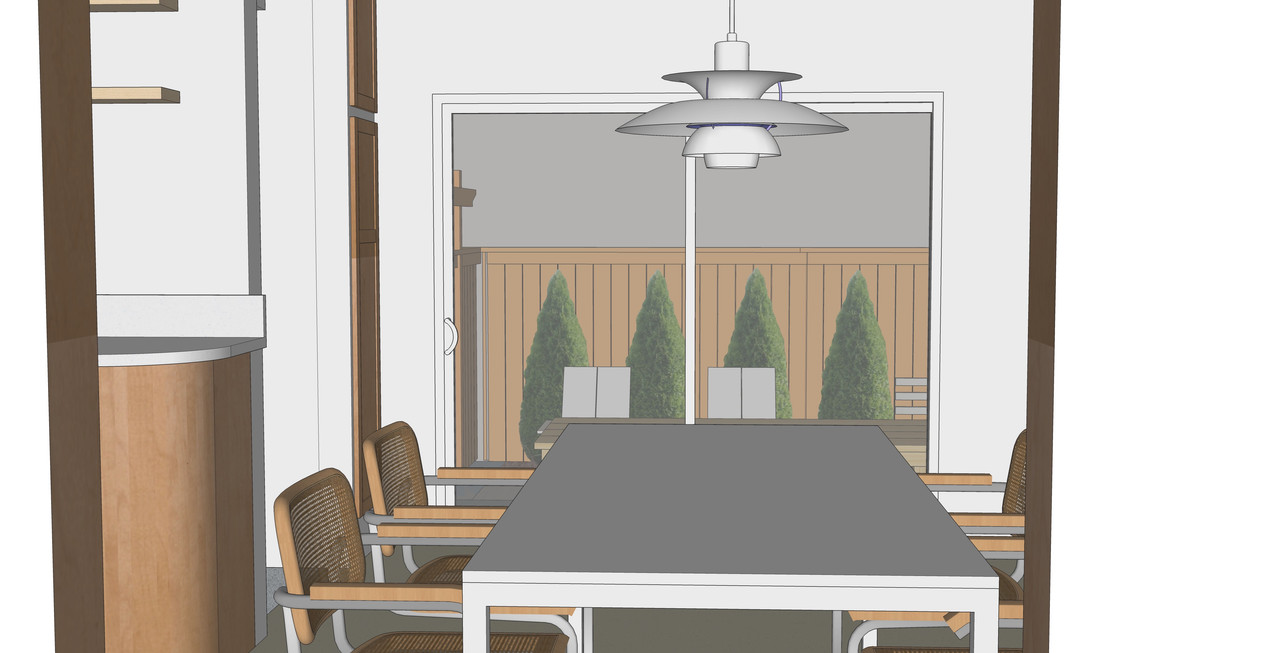
I've also drawn up some ideas for an addition off the back of the house (kitchen), and turning the back door and closet into a much larger sliding door aperture to the patio area which faces North.

addition-1.jpg


addition-3.jpg


addition-2.jpg


Another idea I have with the stairs is to do floating treads to let some light pass from the front to the back of the house and vice versa.

Anyways these are all hypothetical but just to illustrate it's important to me and I think about it often...
 
OP
N

nicholam77

Well-known member
Joined
Dec 18, 2016
Messages
2,671
Location
Minneapolis, MN
Living Room Built Ins - part 11 - fixing my 2nd mistake

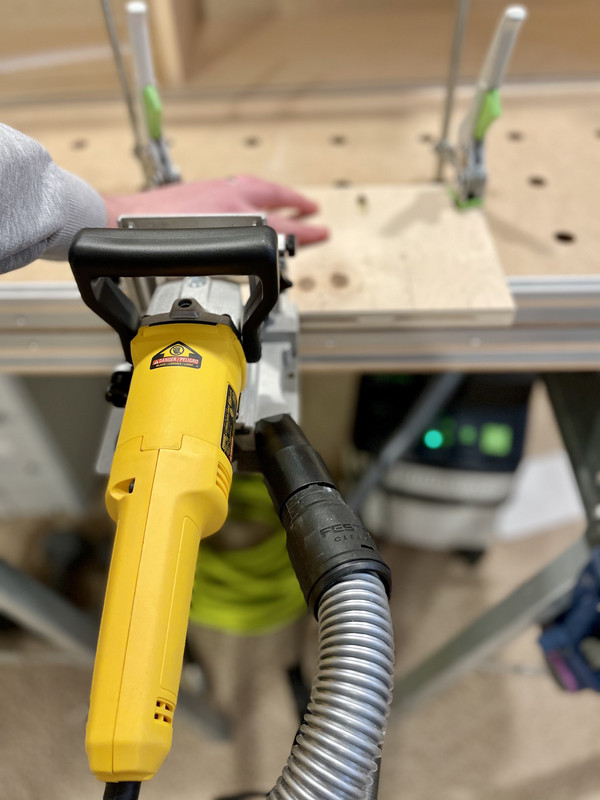
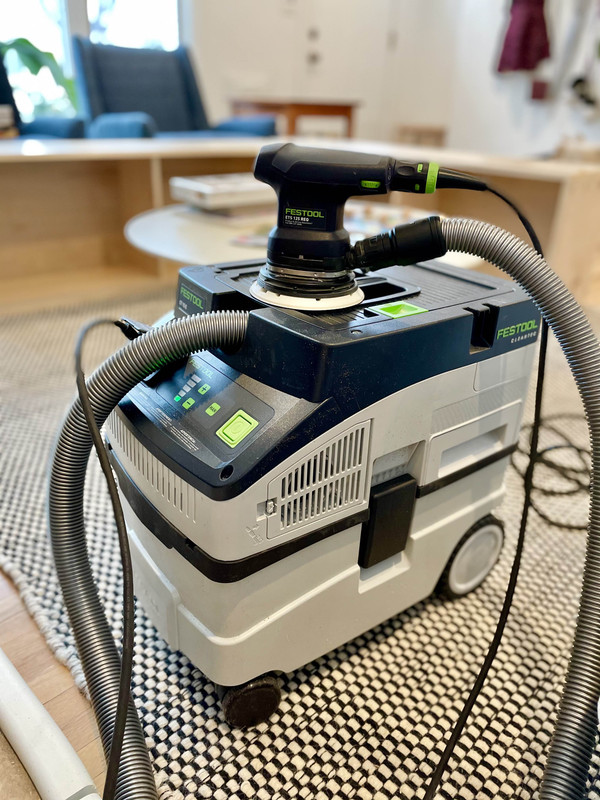
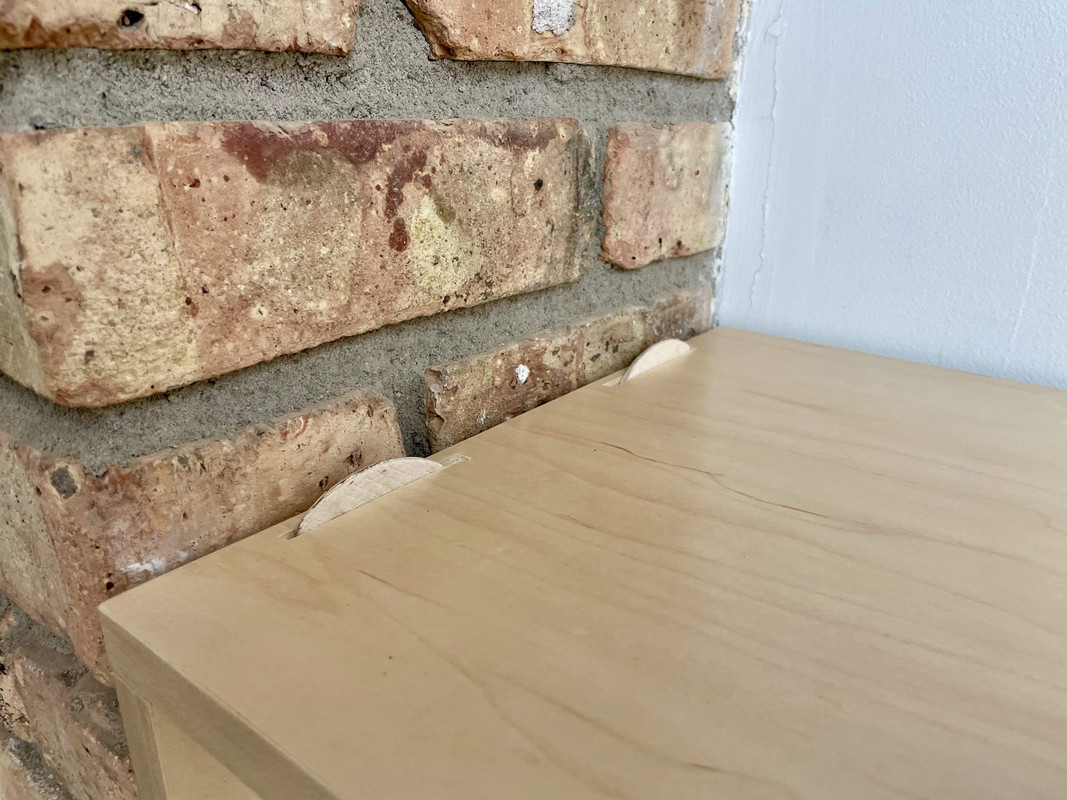
Continuing to pick away. Last bit I did indoors was cut biscuits and pocket holes for the "top compartment" of the right-side cabinet.

IMG-1715.jpg


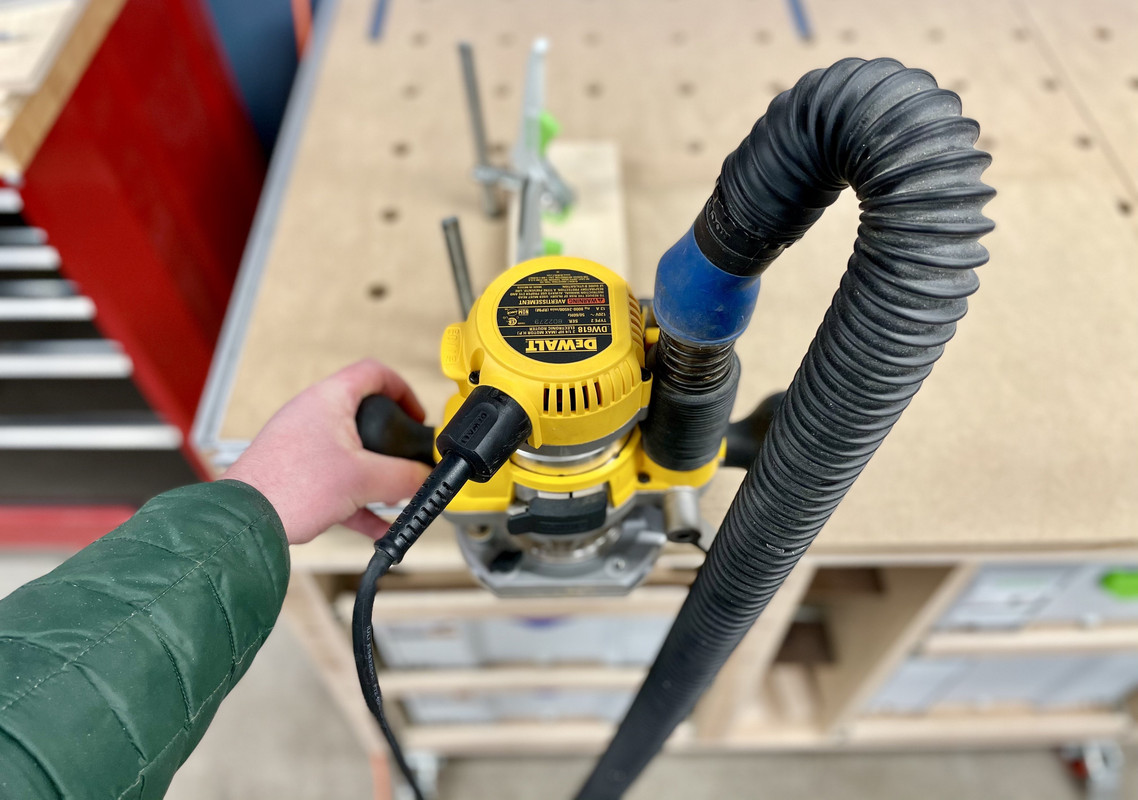
Having tool-activated vacuum is amazing. It seems like a little thing but it's so nice.

Then I spent a full hour hauling a lot of my **** back to the garage, including the MFT top, now that the weather has significantly warmed.

It's nice to be back in the garage.

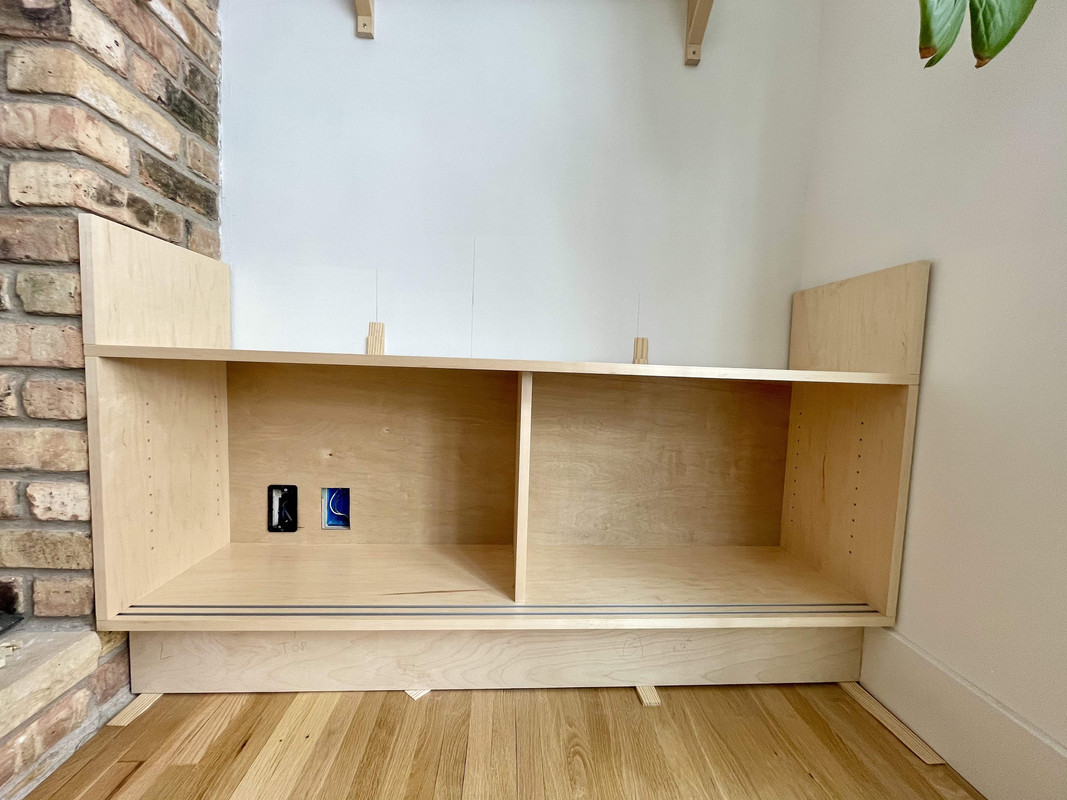
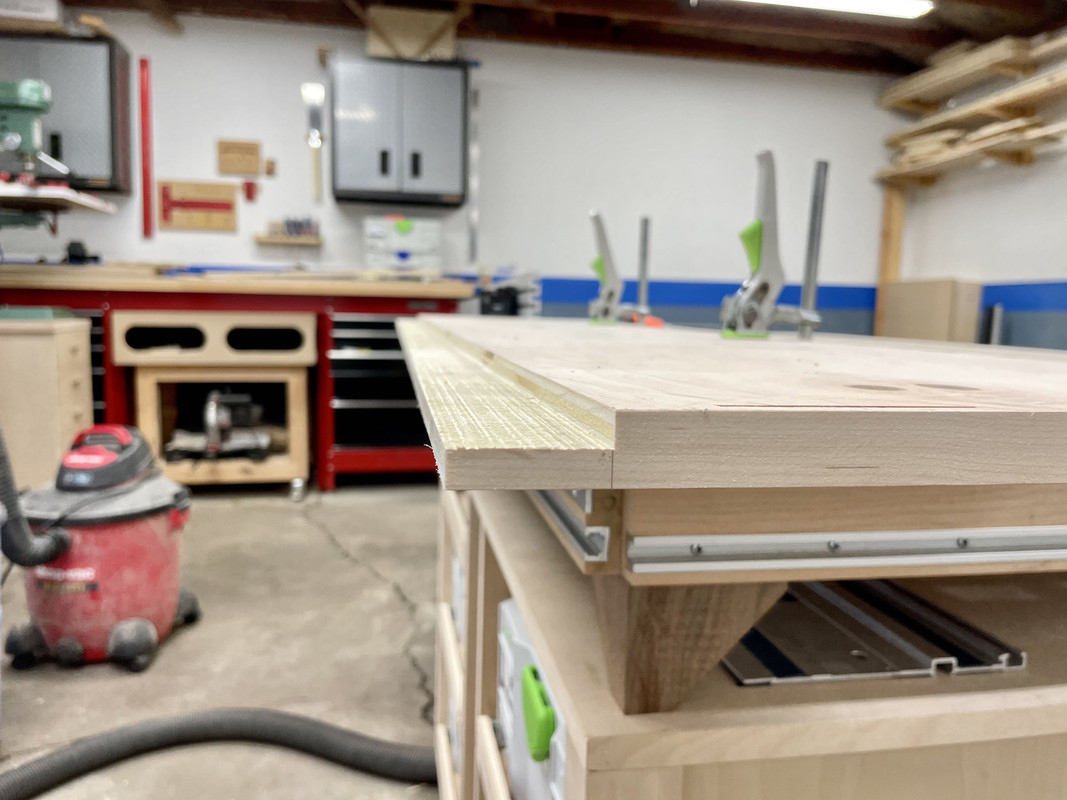
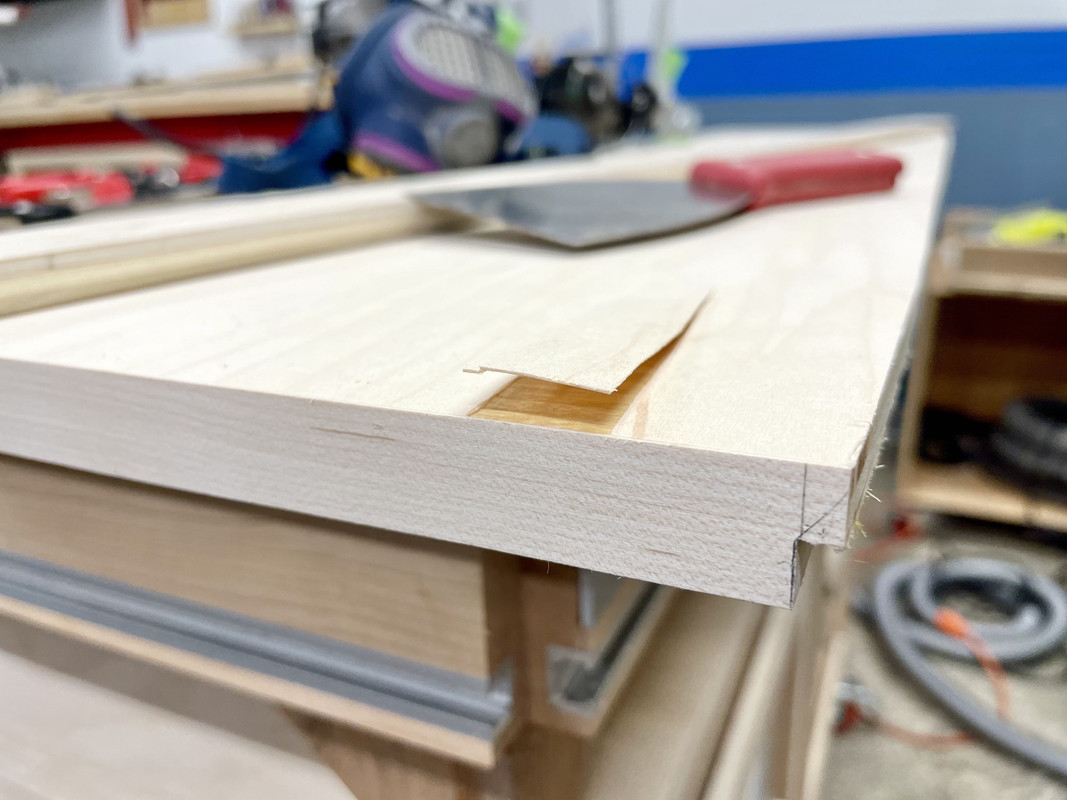
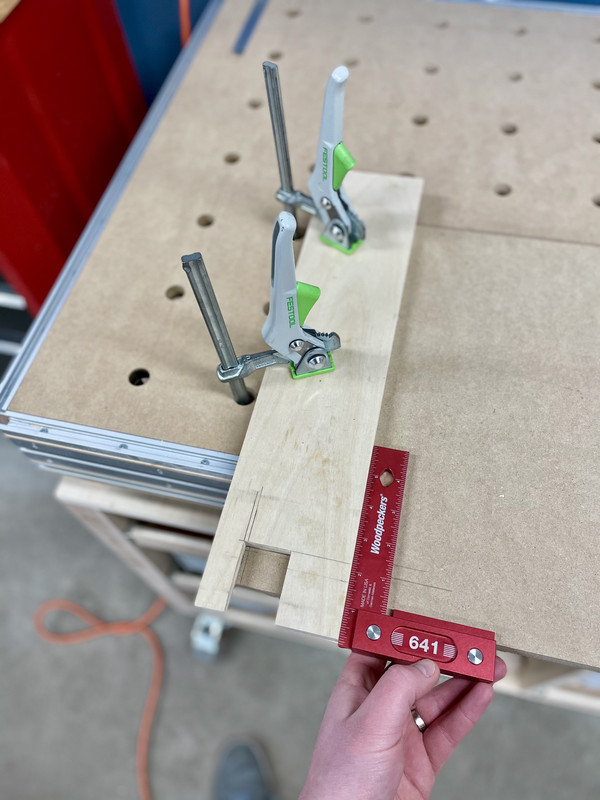
Anyways, like the title says, this post is about fixing my second mistake, which was accidentally routing a door track groove in the underside of the top piece that shouldn't get one because of the extra compartment. There was also a router slip.

It's on the underside, but on the off chance someone would be sitting on the floor and see it (including myself), I figured I should fix it after all the time spent on this project. I don't want one elusive detail to drive me crazy for eternity. We are our own harshest critics, right?

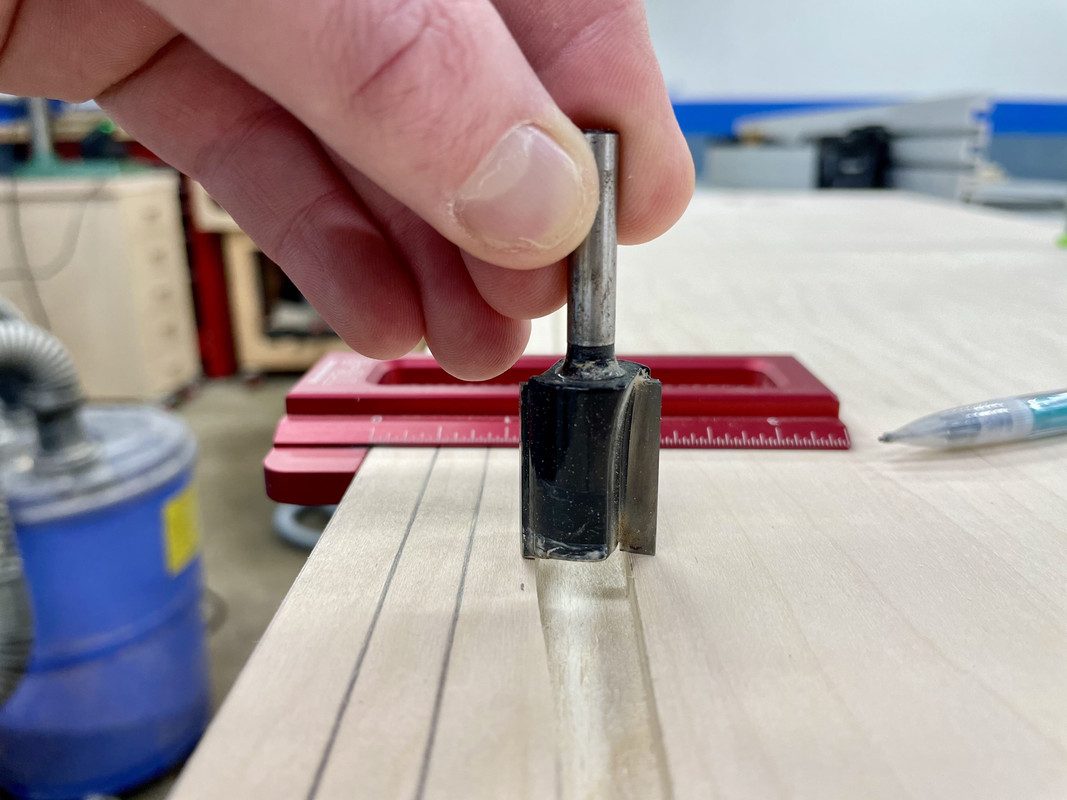
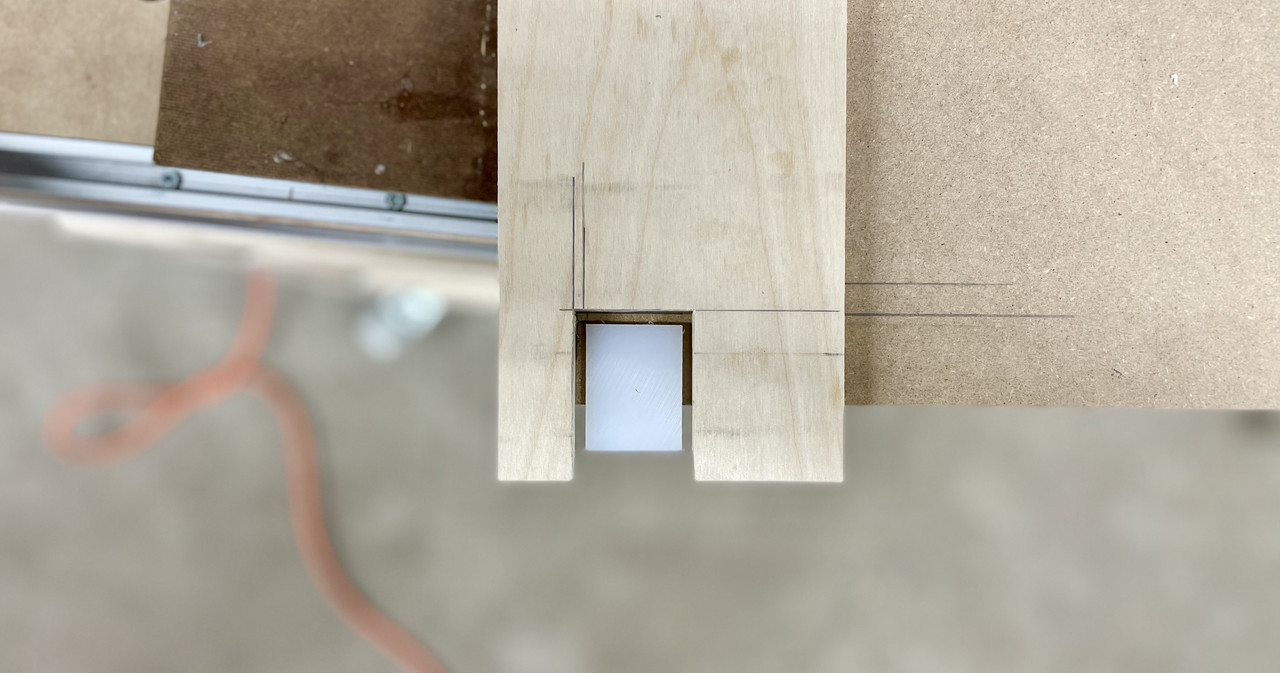
I started by finding a router bit that would cover the full gap at it's worst.

IMG-1720.jpg


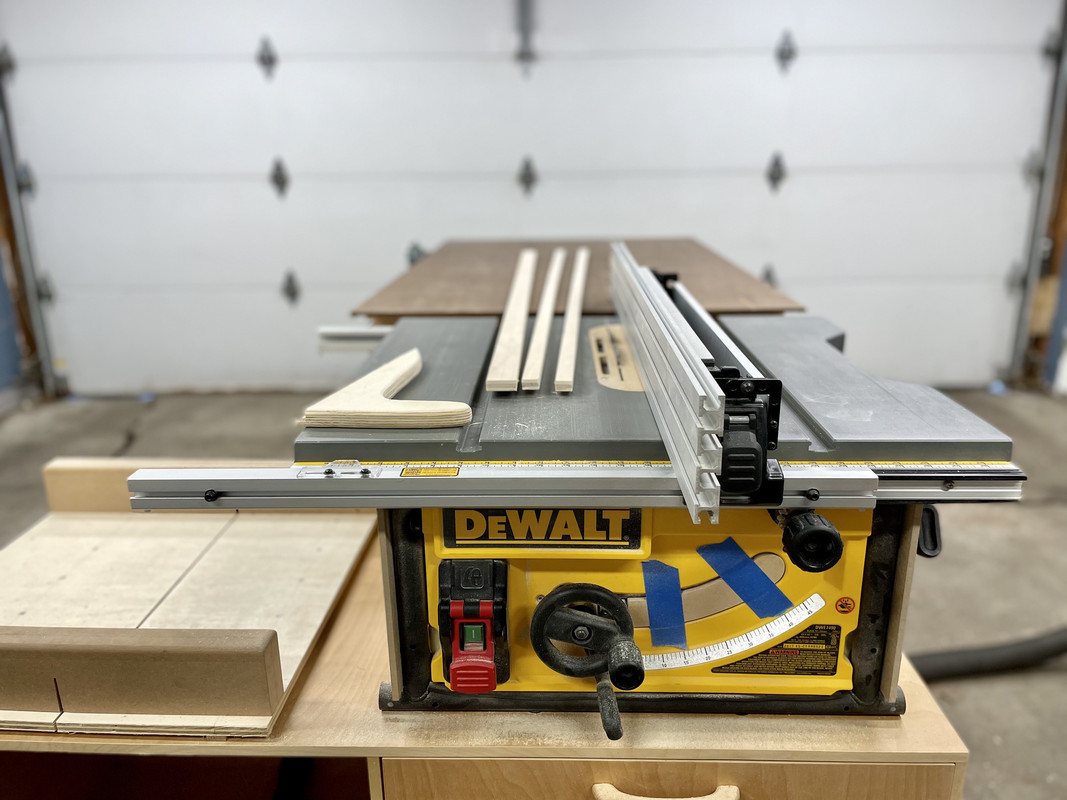
Then I ripped some strips of 1/2" plywood to the width of that router bit, which was 3/4".

IMG-1718.jpg


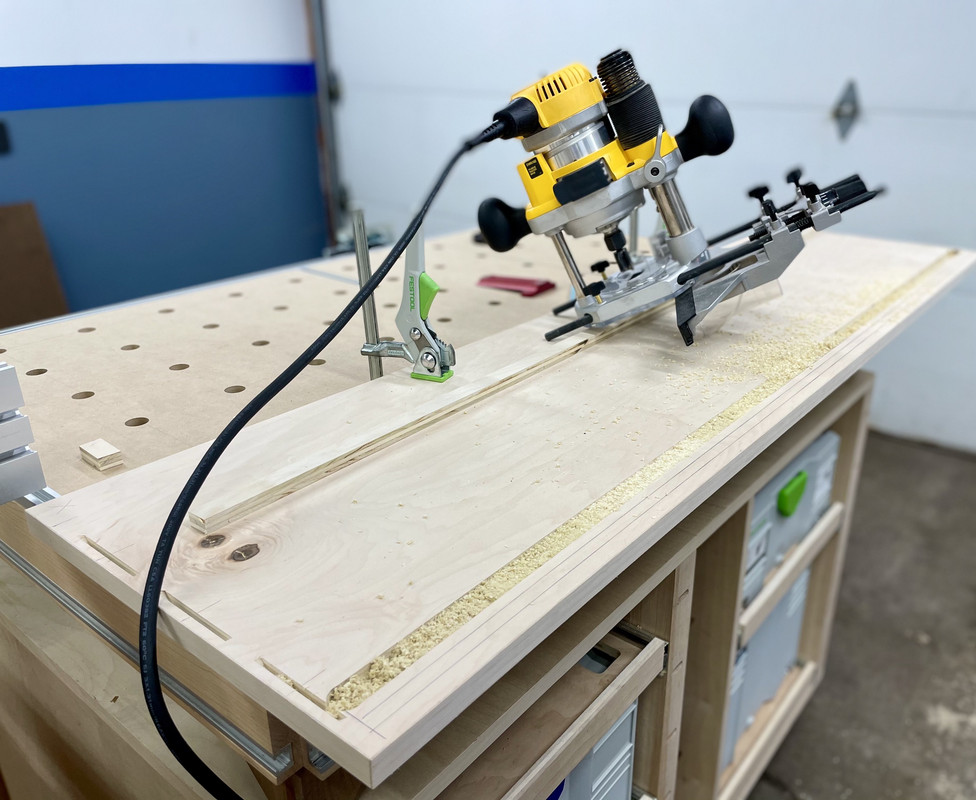
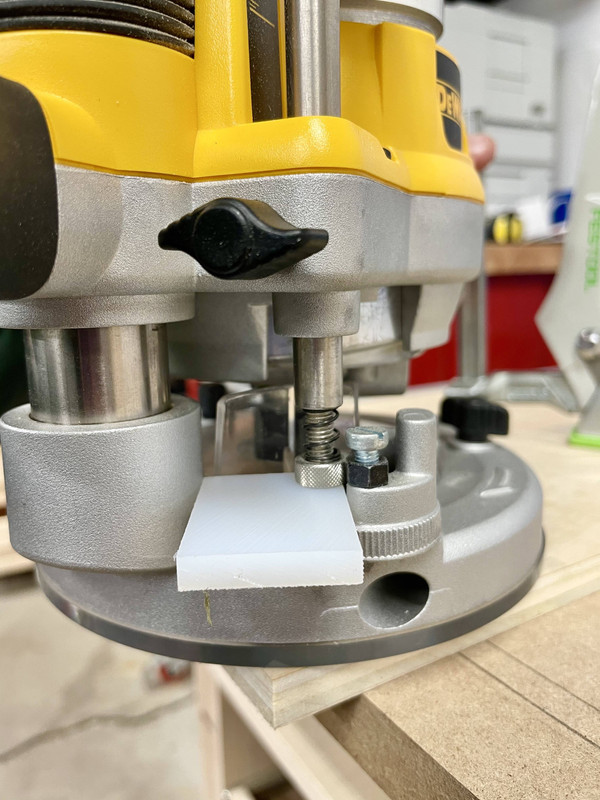
Then I routed it out to make a uniform groove the depth of the plywood strip (1/2"). I used a piece of the plywood to set the depth stop on my plunge base for perfect depth.

IMG-1721.jpg


Yes, I'm still using the edge guide. Pucker factor was very high that I would screw it up again. But fortunately I did it right this time, taking shallow passes and running the router in the right direction. :D

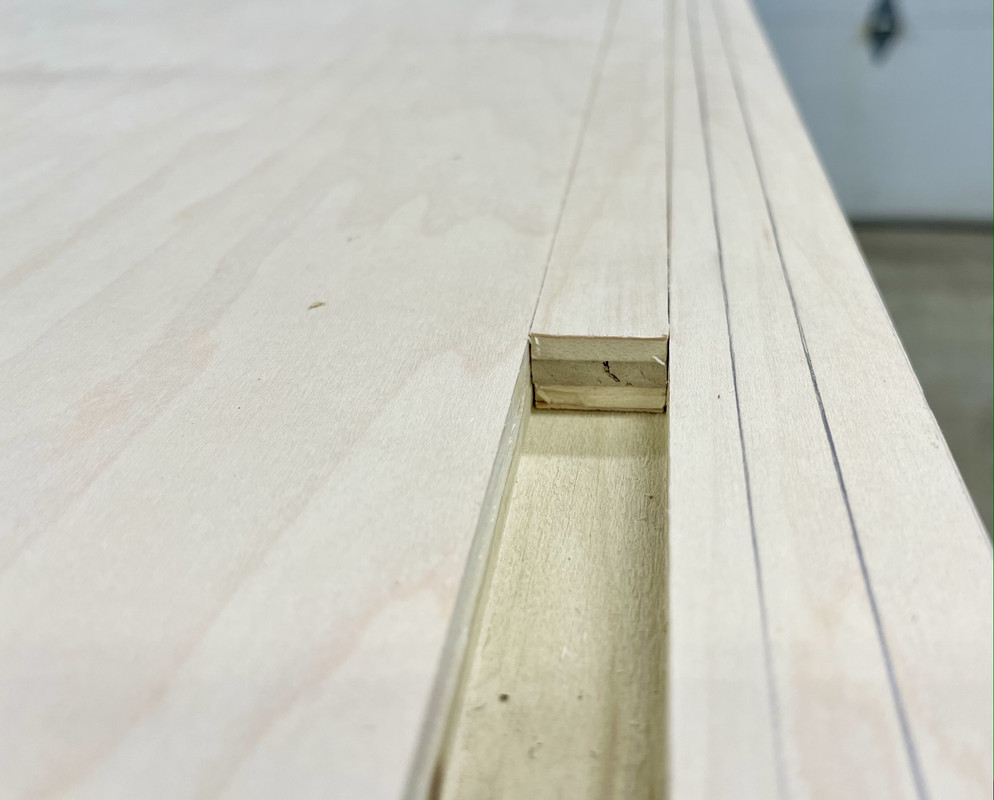
Here you can see the difference between the new groove and the filler strip in place:

IMG-1723.jpg


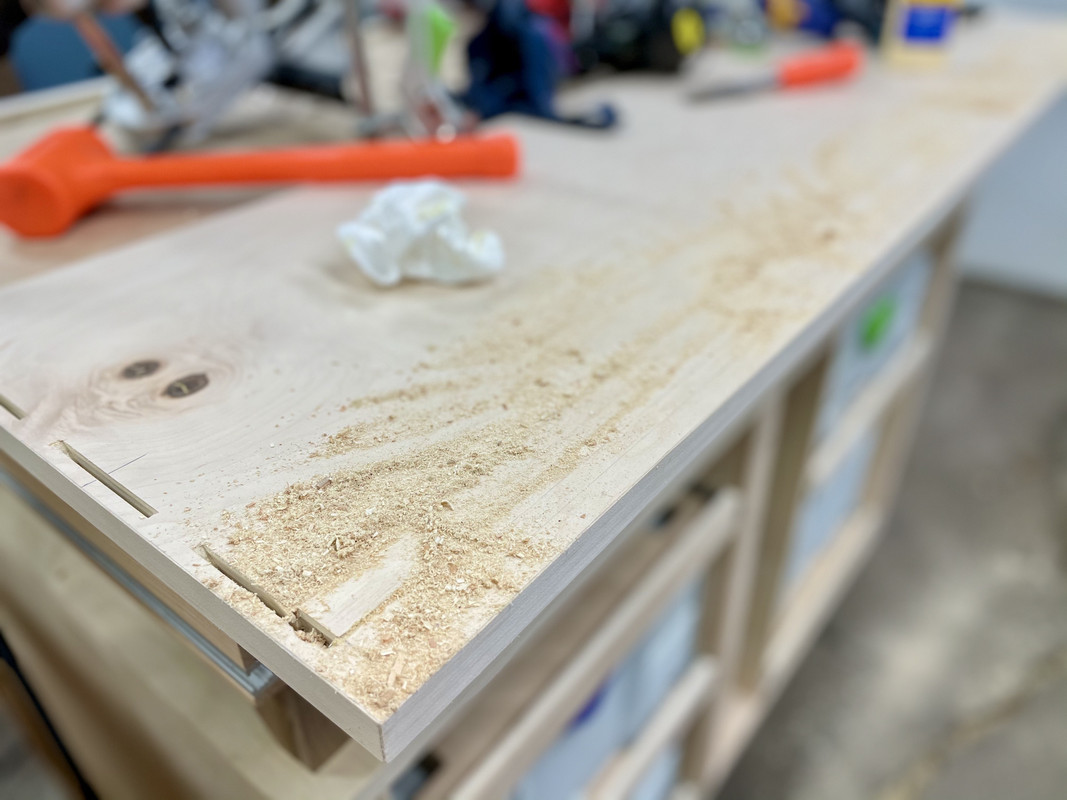
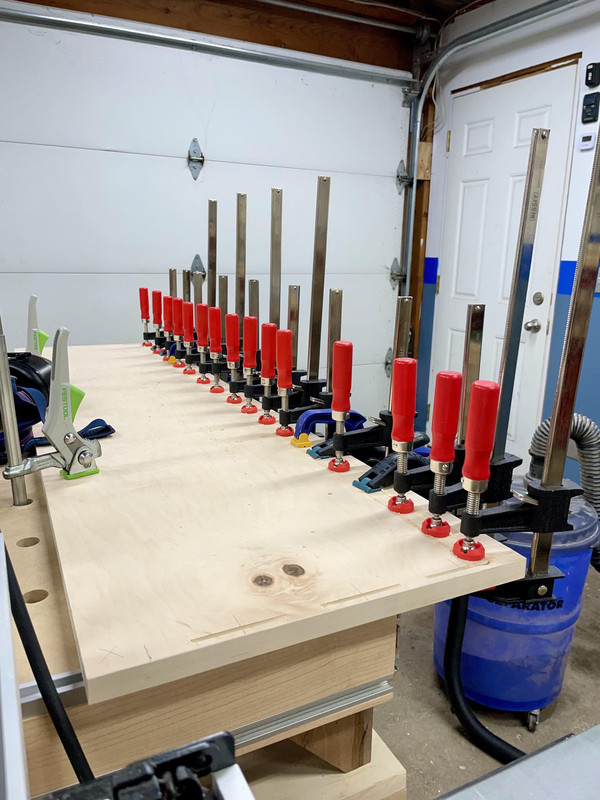
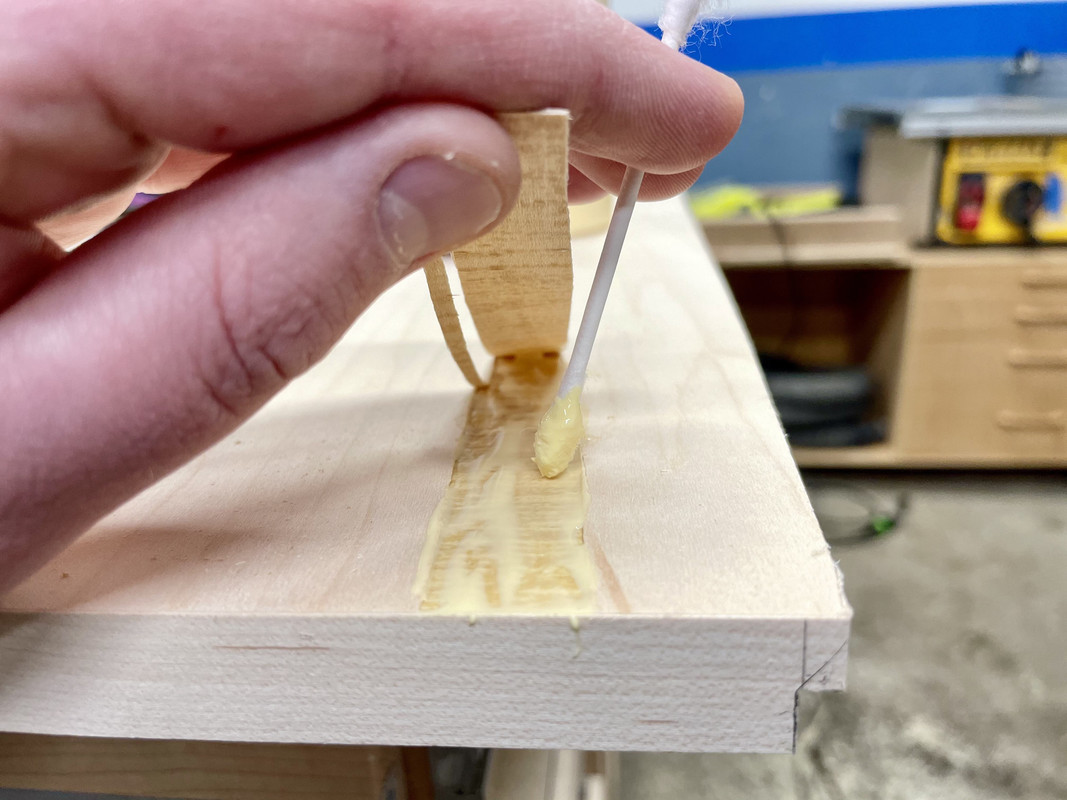
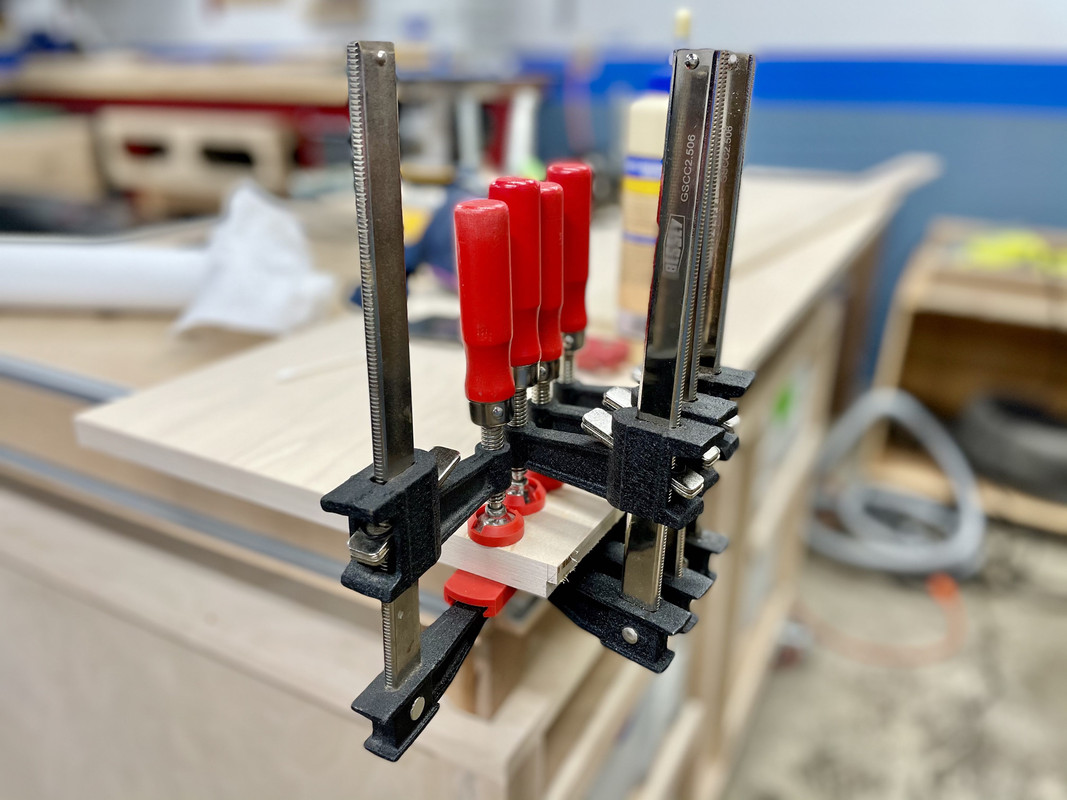
I glued this in place, attempting to rub some sawdust in the edges to try to blend it.

IMG-1725.jpg


IMG-1727.jpg


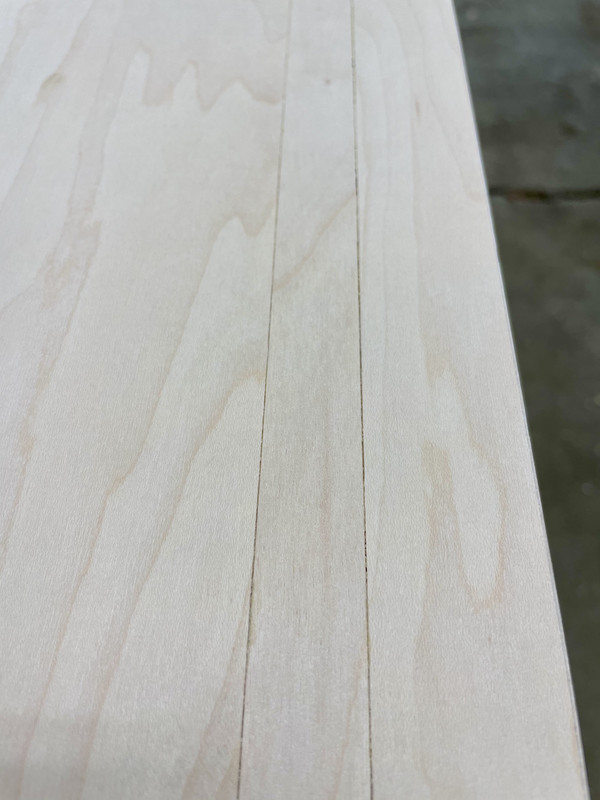
The sawdust didn't really fill the gaps, I think there wasn't enough glue squeeze out. So if you look close, it's noticeable.

IMG-1733.jpg


But after sanding, at a distance, it blends in nicely. It's on the underside after all, so totally good enough:

IMG-1734.jpg


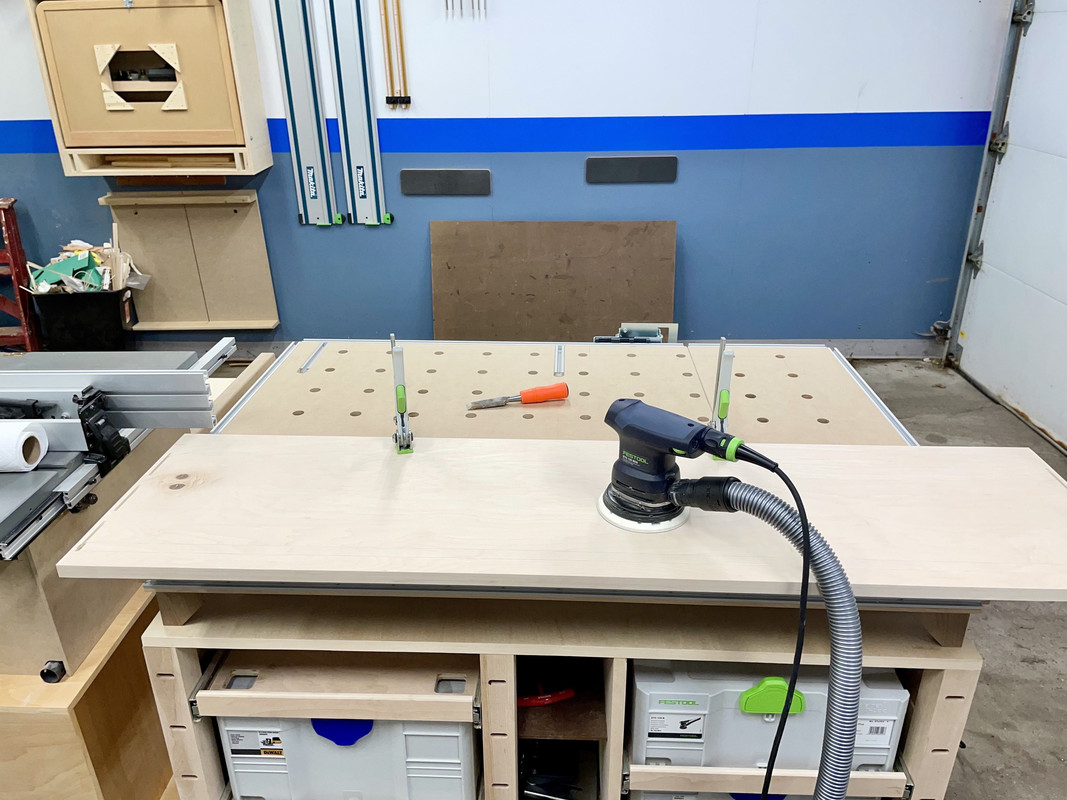
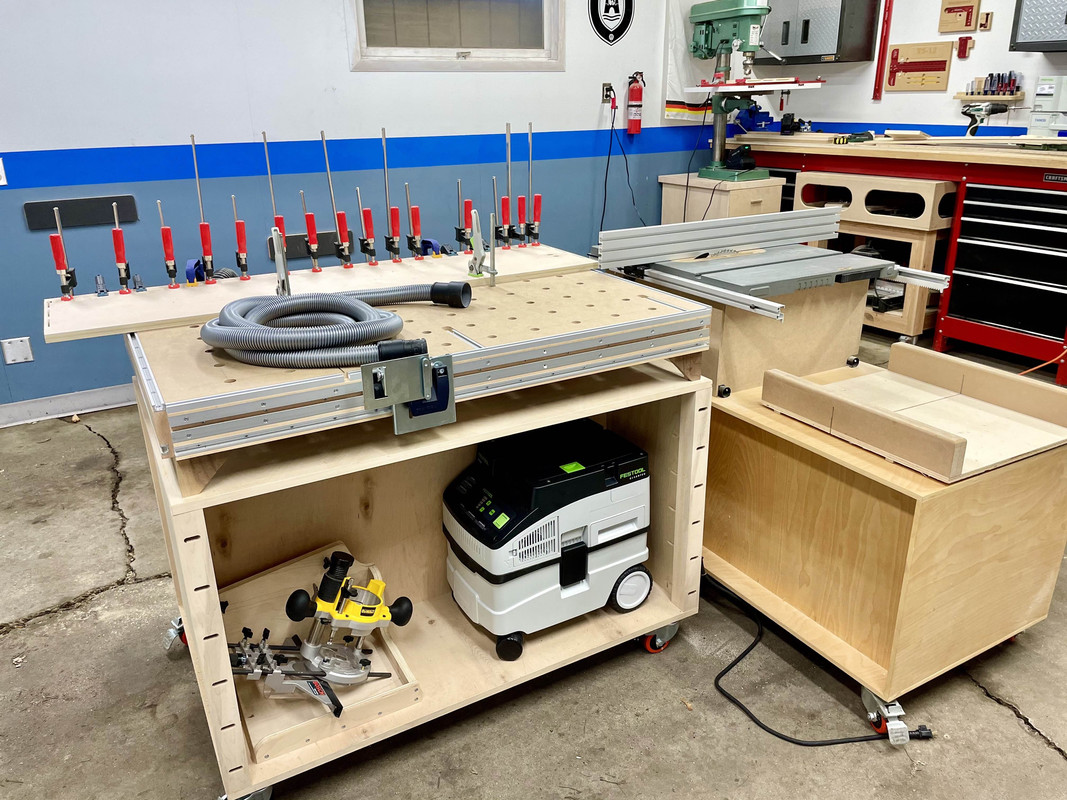
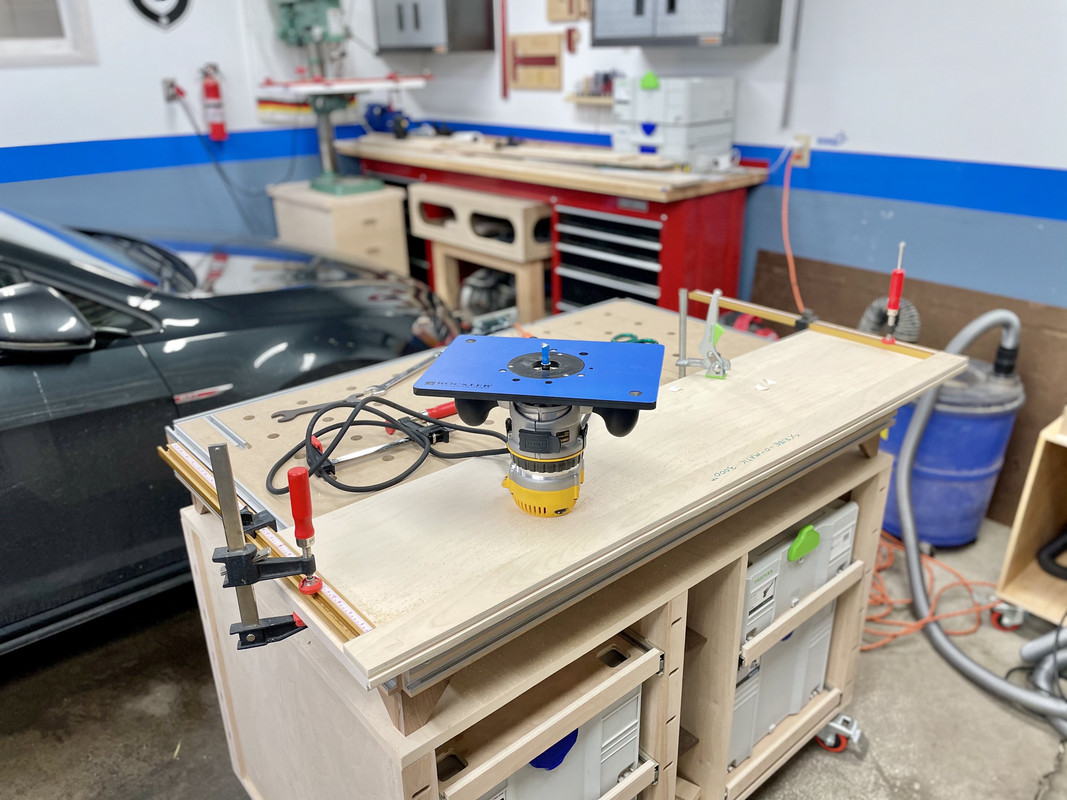
I brought the new CT15 vac outside and it's going to fit nicely on the back side of my MFT cart:

IMG-1729.jpg


I kind of left that whole side untouched for the time being, waiting to figure out what was going to go in there. Eventually I'll probably add some dividers and shelves to accommodate various accessories and provide a docking station for the vacuum.

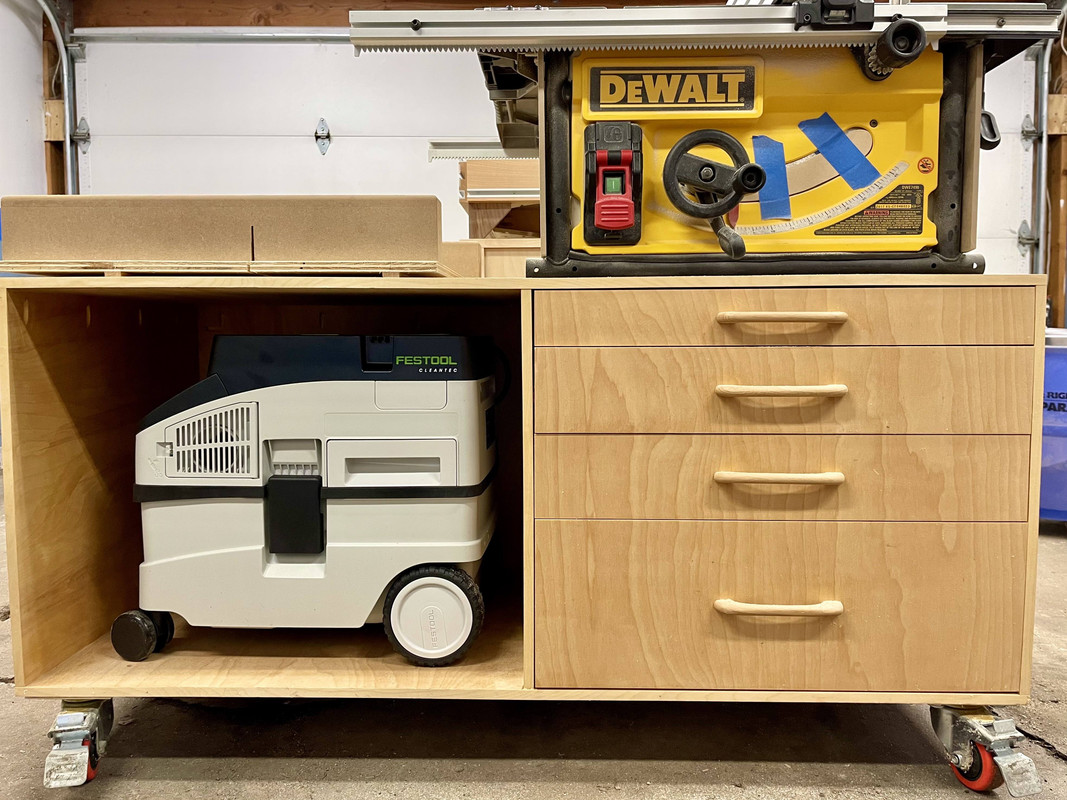
The compact size is great though, fits in my table saw cart as well.

IMG-1731.jpg


I'll be keeping the regular shop vac around, but I'd like to find a way to make that setup more compact.

Back at it when I can!

:beer:
 

bj383ss

Well-known member
Joined
Sep 29, 2011
Messages
3,166
Location
TX
Looks like your repair worked out well Nick. After a few years you will forget it is even there. :D

Bret
 
OP
N

nicholam77

Well-known member
Joined
Dec 18, 2016
Messages
2,671
Location
Minneapolis, MN
Living Room Built Ins - part 12 - more progress, more mistakes!!!

It's been just over 2 months since I started this project. I've been chipping away at stuff after kid bedtime and a bit on the weekends, but it's always small leaps.

A quick detour on the window -

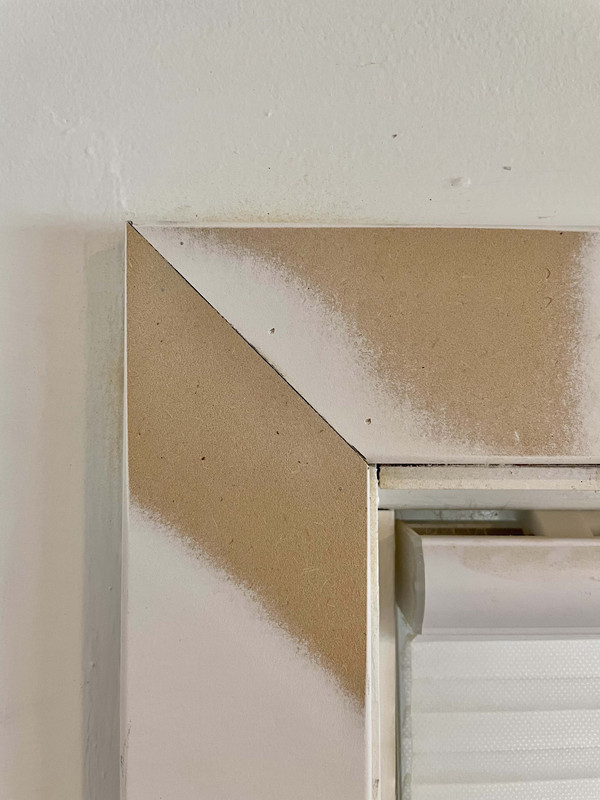
I sanded the casing miters flush, and it turns out my joints were not as bad as they looked at first.

IMG-1760.jpg


IMG-1768.jpg


It's going to caulk and paint fine.

IMG-1765.jpg


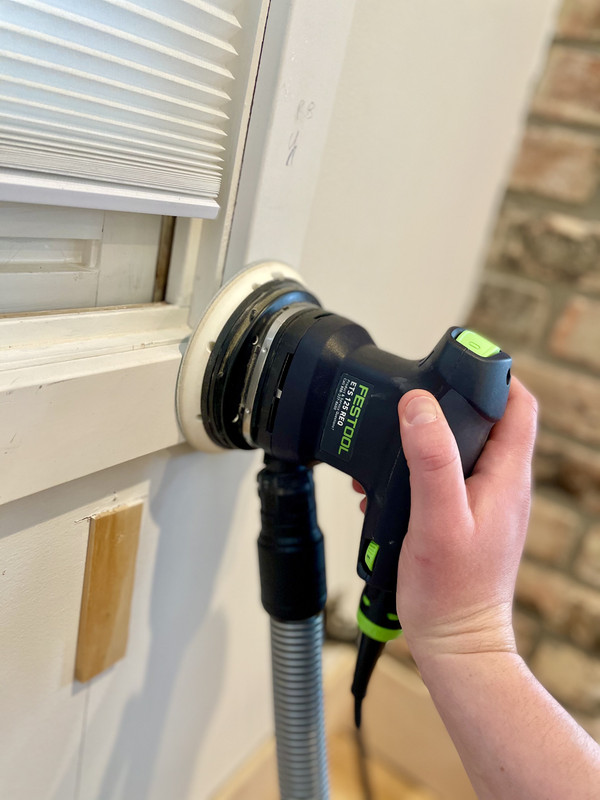
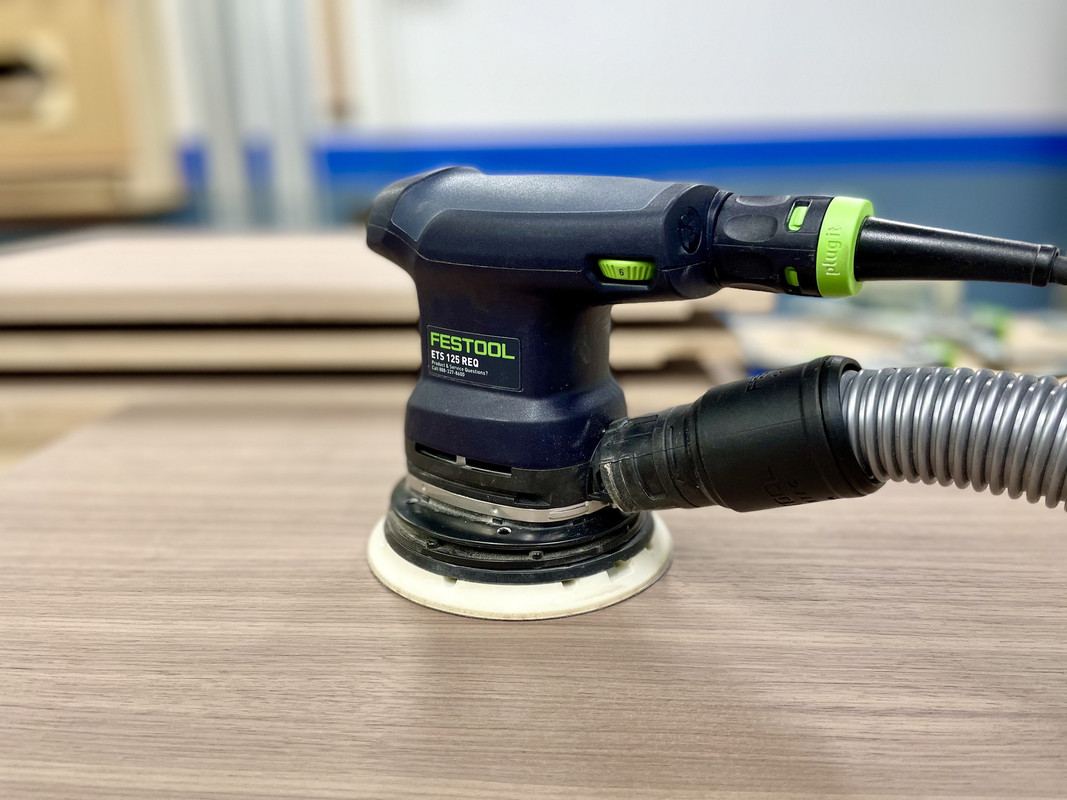
I still have a love-hate relationship with this sander. It gives an excellent finish, and dust collection is superb, but it does not feel smooth to me. It gets jumpy when the workpiece isn't perfectly flat, and I don't like that.

Still, sanding MDF inside, with no noticeable cloud of fine dust is a win.

Back to the built ins.

Building up the "second layer" of the right-side cabinet with some tasty biscuits.

IMG-1753.jpg


IMG-1752.jpg


Originally I planned to do some structural support nailing strips on this top section, too:

back-supports.jpg


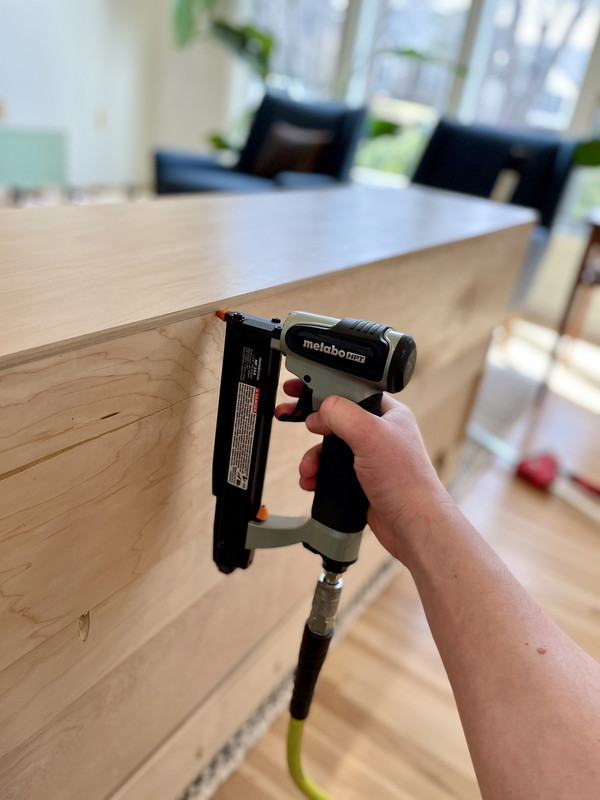
But putting the backing panels in the groove was a bit of a pain, so to simplify things I tried Bret and Jar's advice of just tacking the panel on the back.

Because I left the top deep in order to scribe, I had to rabbet out the back where the backing panel would meet. About 3/8", enough to get the pin nailer in there.

IMG-1738.jpg


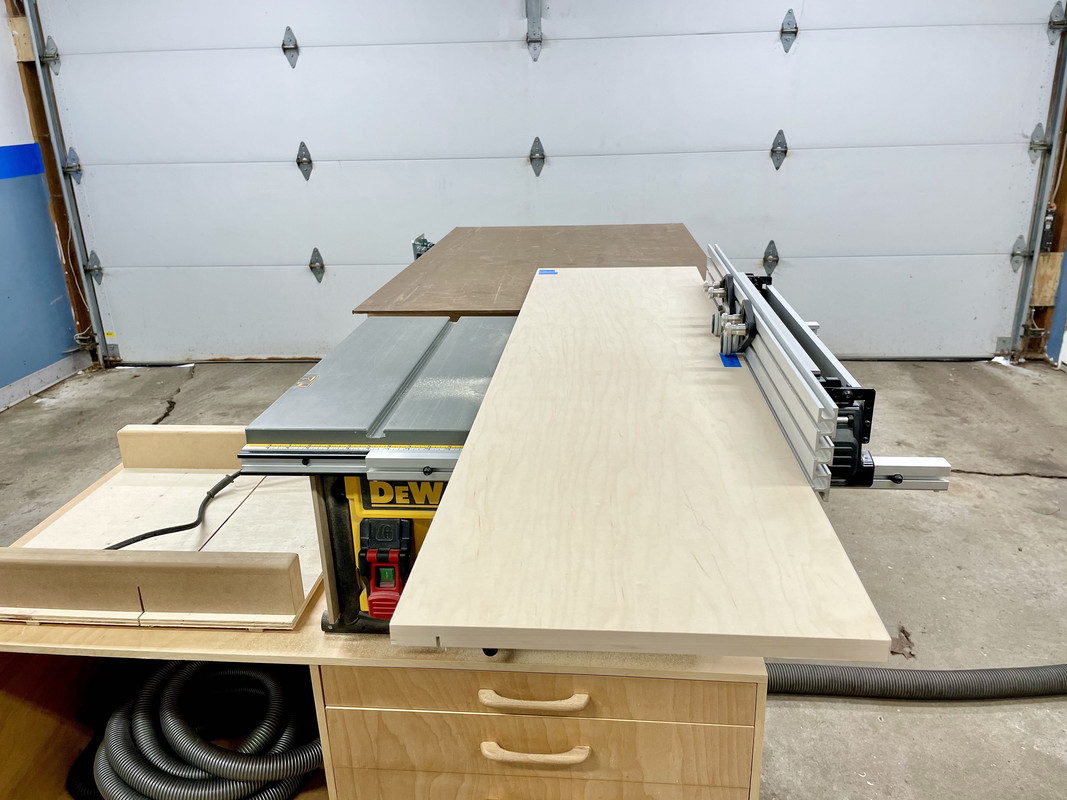
The top had a slight bow (all my plywood is never flat, ever), so the JessEm guides were actually useful in holding it flat while I chewed away a rabbet on the table saw.

IMG-1743.jpg


Still need to acquire one of those FTG blades.

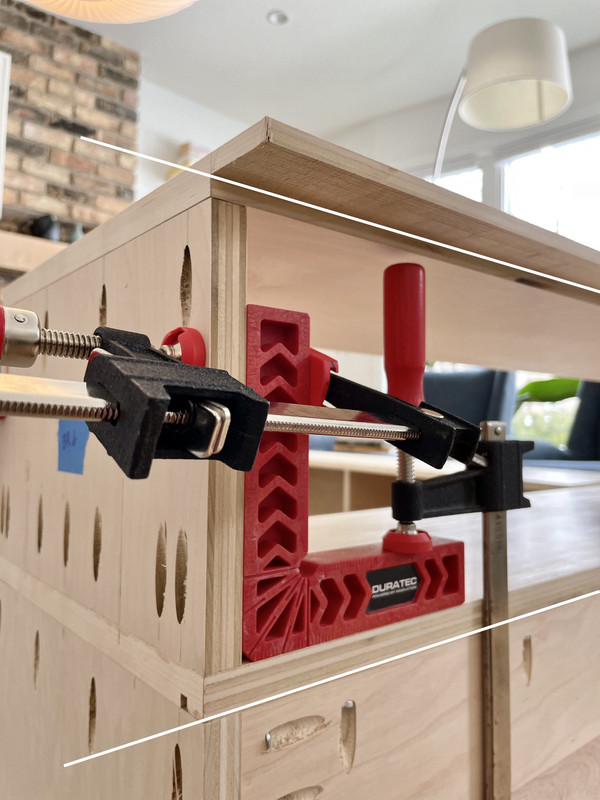
Back inside this is what it looks like:

IMG-1771.jpg


The white lines are where the backing panel is supposed to fit in.

But I cut it too short!!!!

giphy.gif


No extra stock so I have to order more. :mad:

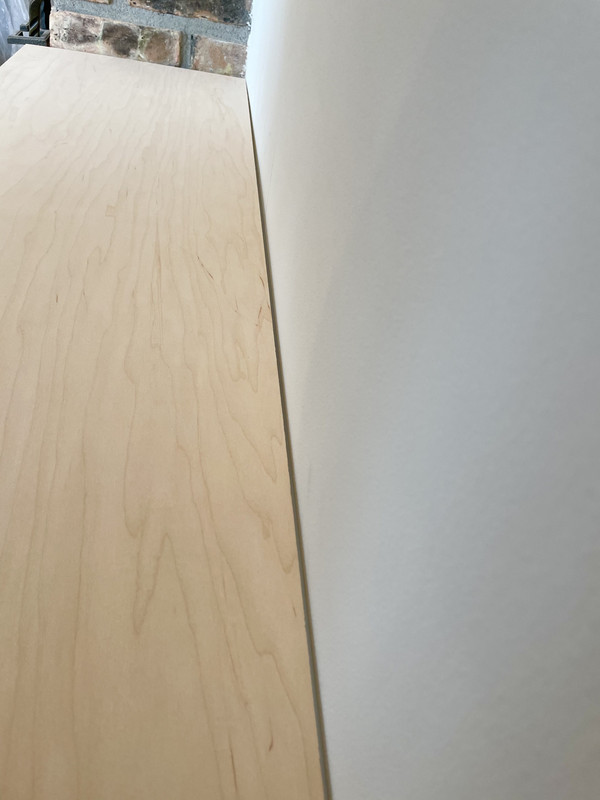
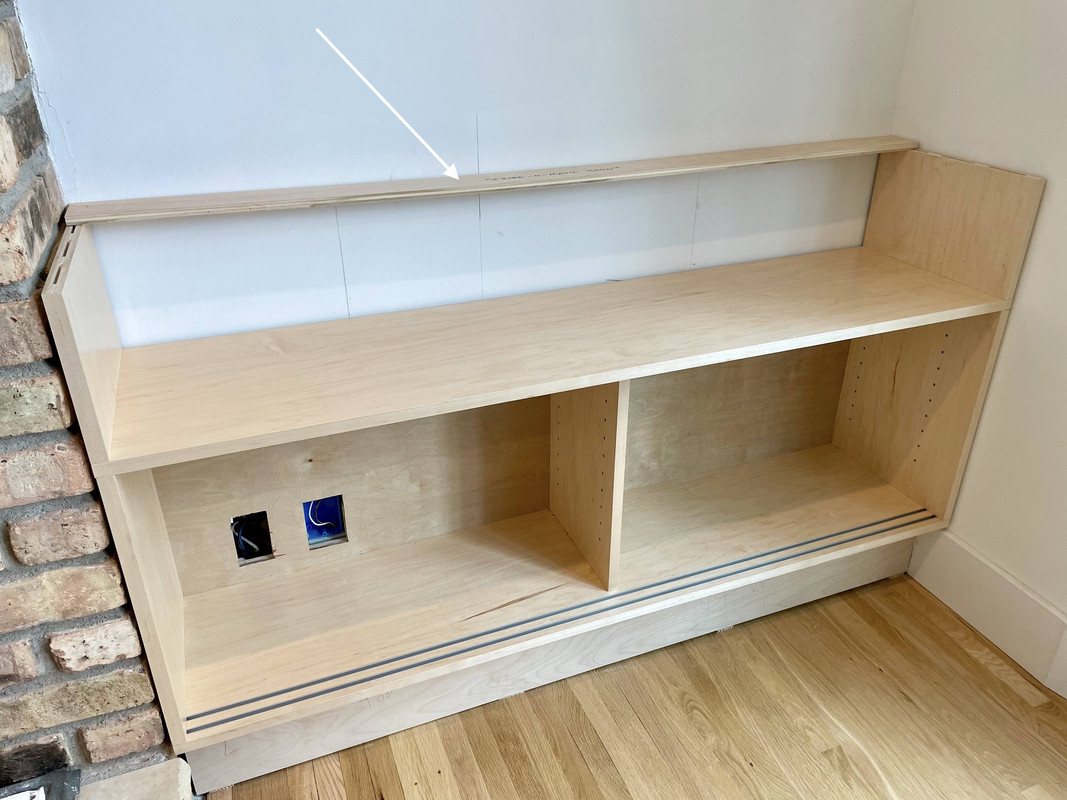
Set the top in place and there's the same 1/4" sag in the wall. Shocking.

IMG-1773.jpg


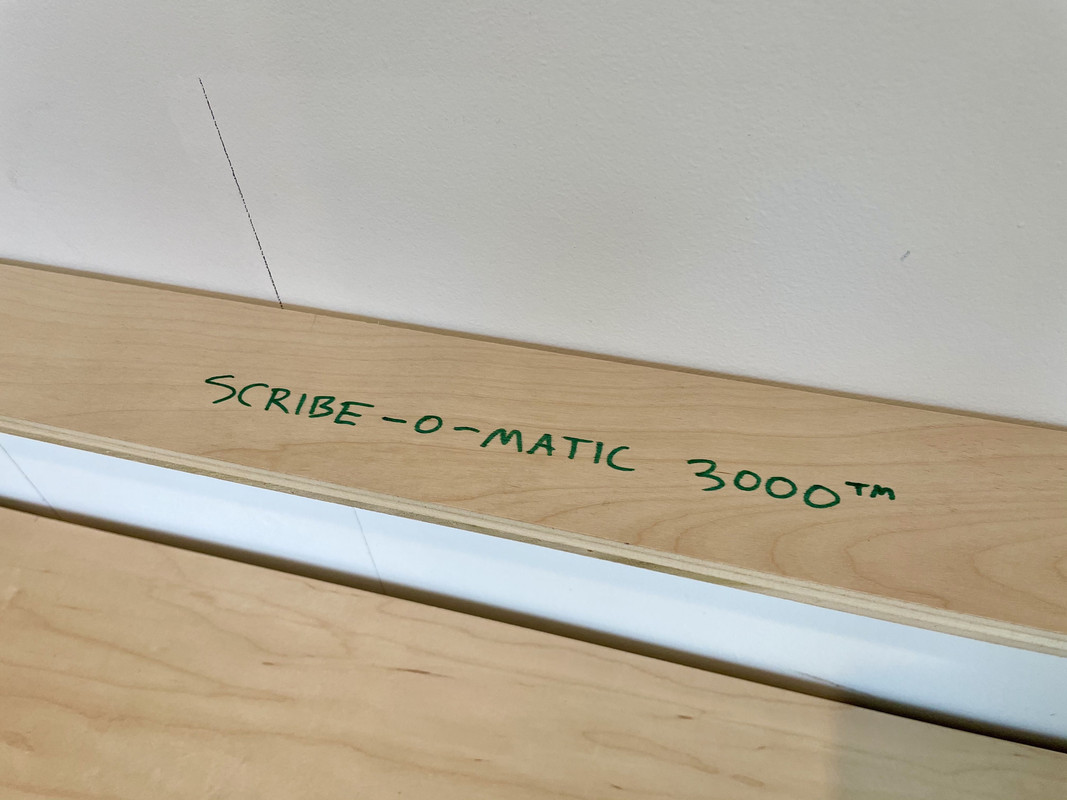
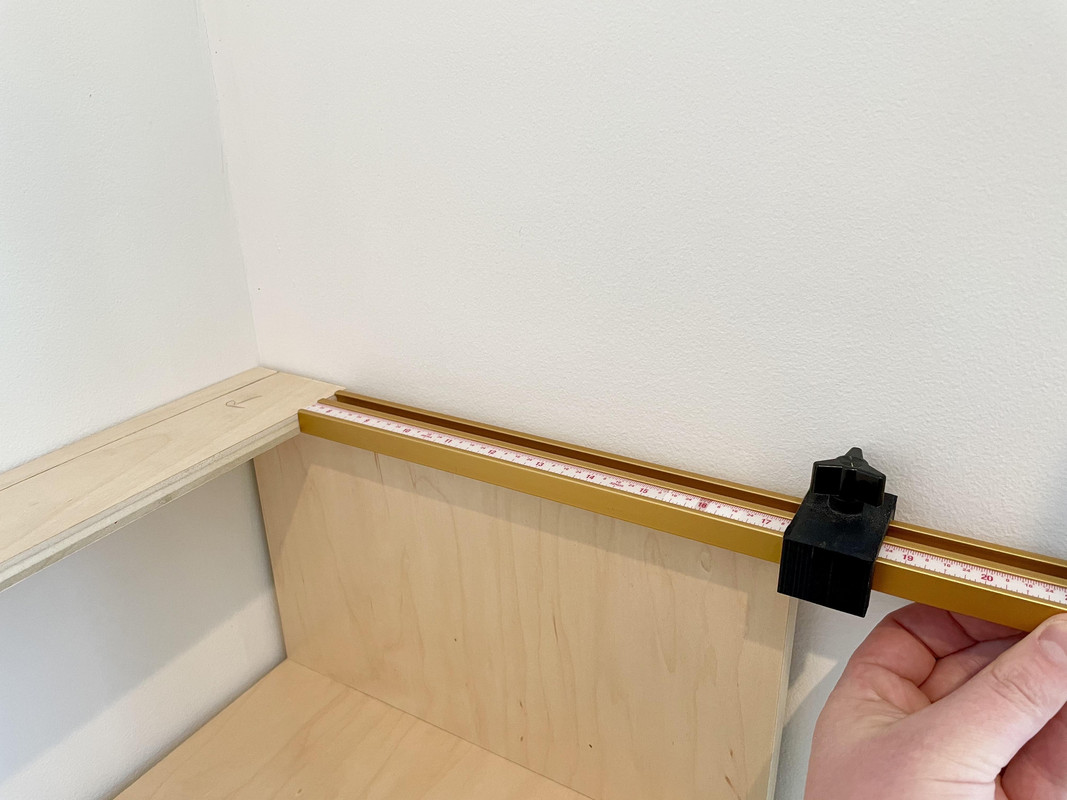
So I laid my Scribe-O-Matic 3000 in place.

IMG-1775.jpg


No, really, that's what it's called.

IMG-1774.jpg


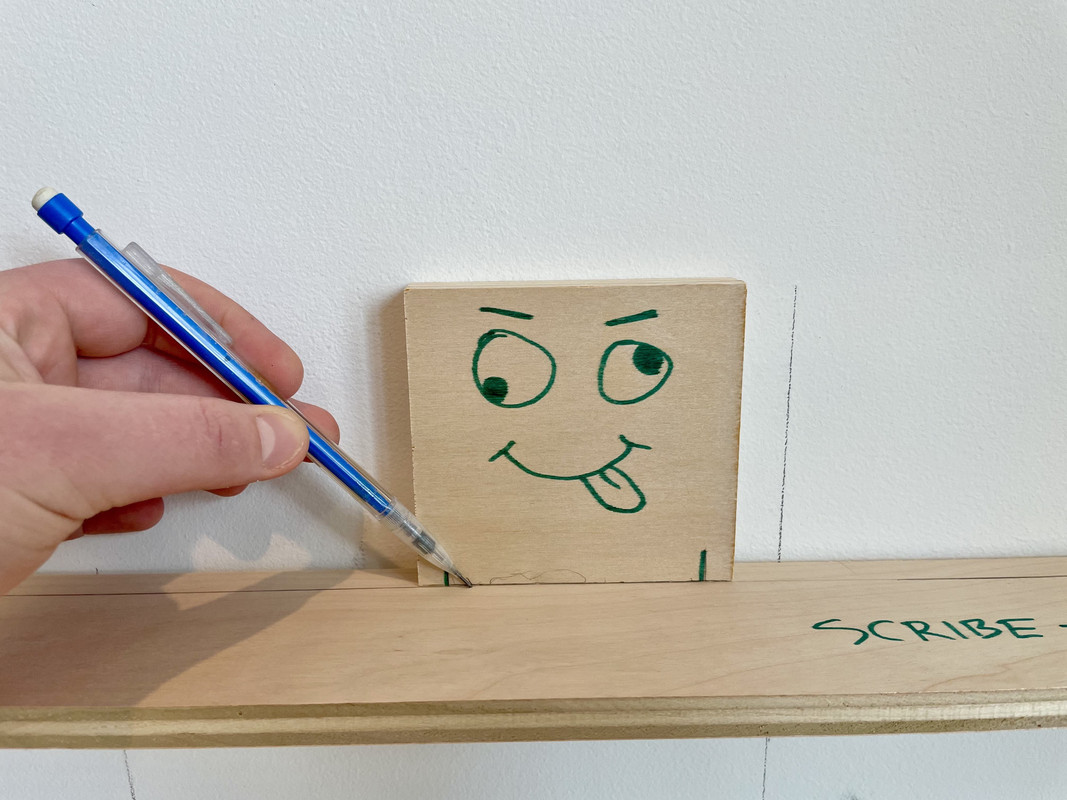
And used my scribe block (his name is Scribey McScribe-er-son) to scribe a line.

IMG-1776.jpg


Like a dummy I set my stop blocks before cutting the scribe with the jigsaw. Fortunately I caught myself and reset them before template routing the actual top.

IMG-1777.jpg


IMG-1778.jpg


**Side Note** on scribing. This time I sneaked up on the pencil line with the orbital sander. I had trouble holding the sander perpendicular. I also used the sander to back bevel the finished piece. I'd say overall my technique leaves a bit to be desired in this process.

I used double-sided tape to adhere the template, and when removing, this happened:

IMG-1780.jpg


giphy.gif


Fortunately some glue and sanding did the trick.

IMG-1781.jpg


IMG-1782.jpg


IMG-1783.jpg


All said and done the scribe is actually pretty good.

IMG-1784.jpg


But somehow the left side is not aligned with the front of the cabinet:

IMG-1785.jpg


I had the cabinet all shimmed and measured out, so to get a tight fight I'll just have to take the shims out and have it go in 1/8" askew. Not noticeable, but still annoying. Not sure how this error happened, probably setting the stop blocks.

I've had my tools spread around the living room for awhile now. Wife and kid and being patient but I'd really love to get them installed soon and clean up.

IMG-1788.jpg


I will say, sharing the mistakes is encouraging me to fix them, which is good.

For anyone concerned I'm going to run out of material, don't worry I'll probably have about 12 more installments on the minutiae of this project. :lol:

Thanks for reading,
-Nick
 
Last edited:

Ronin22

Well-known member
Joined
Oct 2, 2018
Messages
478
Location
BA
20 years later, and gifs still get me in forum posts like these :lol_hitti
I think I'll never grow up :sad:

:lol_hitti
 

The J

Well-known member
Joined
Mar 4, 2010
Messages
152
Thanks Nick

It’s looking great and I’d much rather read about the mistakes along the way than only an after photo.

Keep it up, even if it’s slow and steady progress.
I need to keep my progress (and spirits) up working the same 9pm+ project hours. It’s hard some days.

Can’t wait to see it all come together.
The room has a great feel already.

I bet your wife can’t wait for it to be done, too!
 

Bakafish

Well-known member
Joined
Feb 7, 2017
Messages
477
Location
Tokyo
The first couple times I used my Festool Rotex 150 it was like wrestling a bag full of angry weasels. I thought I'd made a terrible choice, but over time I got to understand its nature and how to let it work. They've got a lot of torque and the way their weight is distributed once the paper grabs on a high spot it's going to really dig in and throw it around. The key for me was to understand that the initial sanding passes were going to reflect the nature of the uneven surface, and modulating the pressure (I often take weight off the beast to keep 'er from getting too skittish) and sandpaper grit selection are important. Keep using it, pay attention to what it is telling you about the surface, and use that to get a perfect plane. You already noticed that once things get flat it settles down, that is a great indication of the state of the job (and when to go up in grit.)

Basically just keep using it and you'll get more comfortable with what it is trying to tell you. When it gets grabby you'll be able to feel what area it is grabbing on and center the disk there so it has a more symmetrical contact. You bang down all these (invisible to the eye) high spots and then can do a quick leveling pass. If it doesn't grab anywhere you know you're pretty much flat.
 

topcok88

Well-known member
Joined
Jun 3, 2013
Messages
660
Another thing that helped my workflow/process was buying all the different backing plates. I find myself using the hard one almost exclusively. That’s helps a tremendous amount from skidding all over.


Sent from my iPhone using Tapatalk
 

T-handle

Well-known member
Joined
Jun 17, 2019
Messages
440
Location
Northern Ostrobothnia Finland
Great work Nick! You know difference between a good and great carpenter is how good you hide your mistakes. You definitely define to the "great" category:thumbup:
I could do a thread about hiding mistakes:lol_hitti

Love your house pictures and great helper you got there!
 
OP
N

nicholam77

Well-known member
Joined
Dec 18, 2016
Messages
2,671
Location
Minneapolis, MN
20 years later, and gifs still get me in forum posts like these :lol_hitti
I think I'll never grow up :sad:

:lol_hitti

Haha, trying to include some humor :lol:

Thanks Nick

It’s looking great and I’d much rather read about the mistakes along the way than only an after photo.

Keep it up, even if it’s slow and steady progress.
I need to keep my progress (and spirits) up working the same 9pm+ project hours. It’s hard some days.

Can’t wait to see it all come together.
The room has a great feel already.

I bet your wife can’t wait for it to be done, too!

Thanks J. I think that's the hardest part about a prolonged project like this for me... keeping the motivation to do "after hours" work. I usually wake up ready to tackle the day, and then by the time 7pm rolls around it can be difficult to even get in the mindset. So I feel you there. And I definitely don't work on it every day -- often we catch up on TV shows in the evening instead. Relaxing is important, too.

Thanks for your comments and I'll do my part to encourage you to keep pressing through your own projects, even if it's little by little!

The first couple times I used my Festool Rotex 150 it was like wrestling a bag full of angry weasels. I thought I'd made a terrible choice, but over time I got to understand its nature and how to let it work. They've got a lot of torque and the way their weight is distributed once the paper grabs on a high spot it's going to really dig in and throw it around. The key for me was to understand that the initial sanding passes were going to reflect the nature of the uneven surface, and modulating the pressure (I often take weight off the beast to keep 'er from getting too skittish) and sandpaper grit selection are important. Keep using it, pay attention to what it is telling you about the surface, and use that to get a perfect plane. You already noticed that once things get flat it settles down, that is a great indication of the state of the job (and when to go up in grit.)

Basically just keep using it and you'll get more comfortable with what it is trying to tell you. When it gets grabby you'll be able to feel what area it is grabbing on and center the disk there so it has a more symmetrical contact. You bang down all these (invisible to the eye) high spots and then can do a quick leveling pass. If it doesn't grab anywhere you know you're pretty much flat.

Thanks for this, Baka. These are helpful tips. Maybe it's similar for all Festool sanders but I do not have a Rotex, it's just their ETS 125 REQ finishing sander, you probably know this but pretty much your standard orbital sander. I'm often sanding plywood, which should be fairly flat already, but I've noticed if an edge hangs off the MFT or isn't completely clamped solid, the sander gets skittish. Usually using 120 or 220 grit. I don't apply much pressure as I read the same about letting the "machine do the work". It doesn't happen all the time, so I know it has something to do with vibrations or not level surface. But my old DeWalt orbital wouldn't do that ever, I'd rarely even clamp a workpiece down... so it still strikes me as finicky.

Another thing that helped my workflow/process was buying all the different backing plates. I find myself using the hard one almost exclusively. That’s helps a tremendous amount from skidding all over.

Is this for Rotex or the ETS 125 (see above reply to Bakafish). I haven't checked out if they have different pads for the ETS but I would be annoyed if the one that comes with it can't handle a piece of plywood. :lol:

But thank you for the input I will look into it. It's definitely a problem I'd like to solve, whether it's technique or a different accessory.

Great work Nick! You know difference between a good and great carpenter is how good you hide your mistakes. You definitely define to the "great" category:thumbup:
I could do a thread about hiding mistakes:lol_hitti

Love your house pictures and great helper you got there!

Thank you T-handle, I fear you're being far too kind, but I appreciate it all the same!
 

Mr. Roboto

Well-known member
Joined
Dec 11, 2012
Messages
2,160
Location
New Hampshire
Thanks Roboto!

I will admit, this is kind of a loaded question for me! I actually wish my house had more natural light, and it's something I feel really strongly about. Here in Minnesota we get a lot of cloudy days in the winter, and honestly a good amount of rainy days in the summer. My mood is always elevated when it's bright and sunny, I think it's just essential for a healthy life to have sun.

My house has a fairly small footprint on a small urban lot. It's oriented East-West with the front facing West. Along the South side my neighbors house towers 3 stories above and we draw all the shads for privacy all the time. It's a bummer. Mostly the same on the North side to block the adjacent house there, too.

We have a large window in the back of the kitchen (East) and a large bay window in the living room (West), so in the first half and second half of the day, respectively, these do bring in a good amount of light. But when one is brighter, one is darker.

All of our window treatments are semi-translucent so they still let some light through even when closed.

A big reason for painting all the interior walls white was to reflect light and brighten the relatively compact spaces, so you are correct about that!

I don't often share wide shots of the house interior because I'm not happy with the way it all looks yet, so you often get a selective peek. And I definitely wait until the sun is adequate for pictures.

But... this is the back of the house / kitchen:

IMG-1694.jpg


And this is the front / living room:

IMG-1697.jpg


Where it falls apart a bit is in this hallway:

IMG-1696.jpg


And in this stairwell:

IMG-1698.jpg


It may not look it in those pics but at certain times of the day it's just way too dark for my liking.

I have no idea structurally what's possible but I've toyed with various "creative" plans for the house, and a major thought behind those is maximizing interior light. One idea I had to get more light into the hallway is to make a partially see-through shelf thingy:

shelf-3.jpg


shelf-4.jpg


I've also drawn up some ideas for an addition off the back of the house (kitchen), and turning the back door and closet into a much larger sliding door aperture to the patio area which faces North.

addition-1.jpg


addition-3.jpg


addition-2.jpg


Another idea I have with the stairs is to do floating treads to let some light pass from the front to the back of the house and vice versa.

Anyways these are all hypothetical but just to illustrate it's important to me and I think about it often...

Well, from 1,000 miles away here in NH, the lighting looks great! haha. I can see how important it is to you, and see how much though you've given it. Those renderings look great too for the potential additions. Do you think you'll think about pulling the trigger on something like that someday? It certainly would be a cool addition.

Also, where may I acquire a scribe-o-matic 3000? It seems a worthy addition to my toolbox!
 
To avoid these ads, REGISTER NOW!

Bakafish

Well-known member
Joined
Feb 7, 2017
Messages
477
Location
Tokyo
I mostly use the Rotex in Orbital mode, where it has a very similar action to yours. Your unit has a tighter orbital stroke since it is targeted more for finishing, but that means is that the motor is delivering its power over a smaller path so it will feel more willful if you try and fight it.

As topcok88 mentioned, the backer pad hardness (yours does have several options) will certainly have an effect, as this will govern the contact patch over an uneven surface. As soon as the forces on that contact area are unbalanced the tool is going to react. A softer pad is going to maintain a more uniform contact patch at the expense of true flatness.

So the fact that you have a more powerful motor, exerting its energy in a smaller orbital path combined with a pad that is likely harder than your old sander and therefore more likely to be contacting the surface initially just in the high spots, so the load is asymmetrical, it is going to feel way different than the DeWalt. I hate to say it, as it sounds pretentious, but the Festool is more professionally oriented and so the tradeoffs they made with the power of the motor, "standard" backer hardness, and tighter orbital pitch are all going to factor in to the ease of use. If you are also using Festool paper, it is really quite good and will grab harder for longer than paper you may have been using on your old sander.

But I get your feeling, like I said, the first time I used my Rotex I thought I had just blown a ton of money. A sander is supposed to be 'kitten level' woodworking, it's the sort of thing an adult would let a kid to do to help on a project since it is so safe and innocuous. But even at the lowest speed my Rotex jumped around so violently and randomly it was like trying to drown a bobcat with my bare hands. I had imagined it would just glide across the surface of a brand new sheet of top quality Baltic Birch like an air hockey puck, leaving a plate glass finish in its wake, and so the reality was so unexpected. I'm not going to lie, after confirming it wasn't a mechanical issue I felt a real wave of betrayal. The thought of using my little 18v sander to do all my cabinetry was really stifling.

The thing is, I did a little research that lead me to believe the real problem was I had underestimated the tool, and stuck with it and just really focused on how to hold it, when to give it a little tilt or pressure. I constantly picture the surface, and where the pad is catching and I can get a 3D map in my head of where the high spots are and what the tool is going to do. The whole thing will settle down once it is planer and it will work with far less attention. I promise if you stick with it and think about what it is doing and why, you will get along with it a lot better and it won't feel like it is fighting you. I'm at the point where I look forward to sanding, and have confidence in it, but I still have a lot to learn, Rotex mode will be starting fresh I fear.

Lightly clamping stuff when you sand is just a good idea, but using that rubber coated non-slip shelf liner mesh stuff is a good alternative. I keep a sheet of it handy, along with some bench pucks (made from hockey pucks and the adhesive disks sold by Lee Valley) and will try those first, and if the sander starts tossing stuff around, it gets the clamps! :)

Since you made a MFT style work surface, the Festool "Clamping Elements" are almost perfect since you have full access to the surface, the only problem with them is they are about 2-3mm higher than ideal for the Baltic Birch I've been using. So I use some low profile bench dogs as the fixed point and a strip of 12mm material between the moving jaw and my stock to keep them safe from the sander.
 
OP
N

nicholam77

Well-known member
Joined
Dec 18, 2016
Messages
2,671
Location
Minneapolis, MN
Well, from 1,000 miles away here in NH, the lighting looks great! haha. I can see how important it is to you, and see how much though you've given it. Those renderings look great too for the potential additions. Do you think you'll think about pulling the trigger on something like that someday? It certainly would be a cool addition.

Also, where may I acquire a scribe-o-matic 3000? It seems a worthy addition to my toolbox!

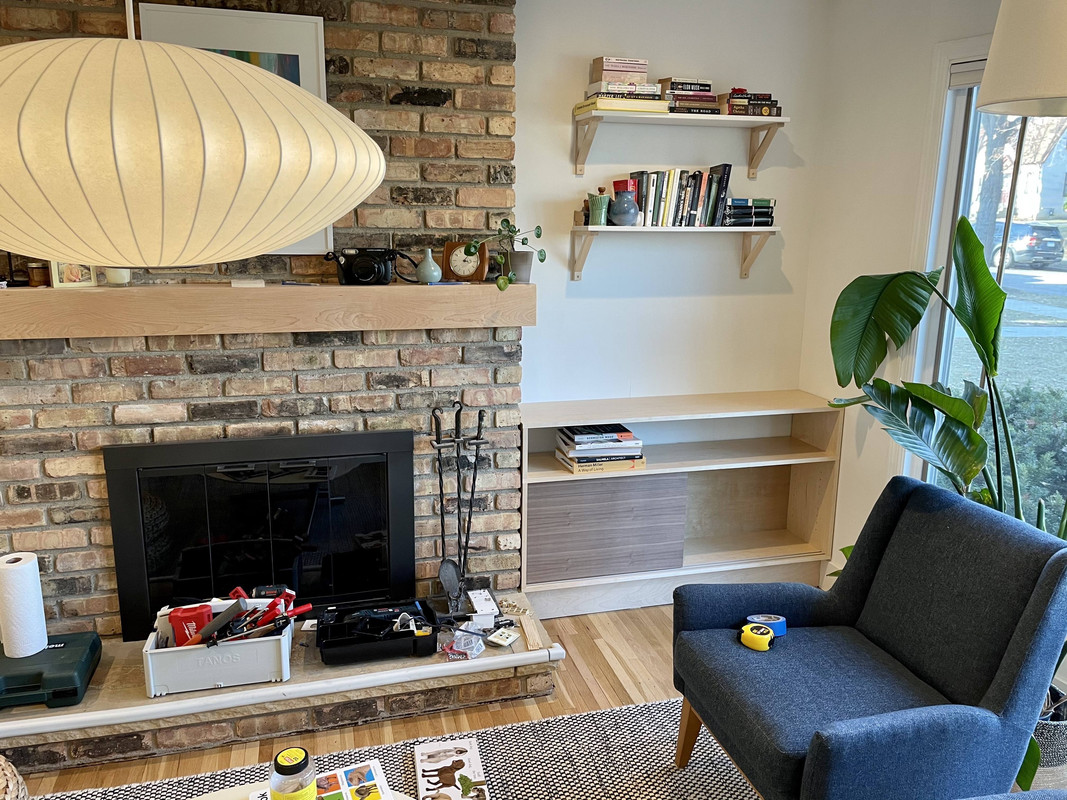
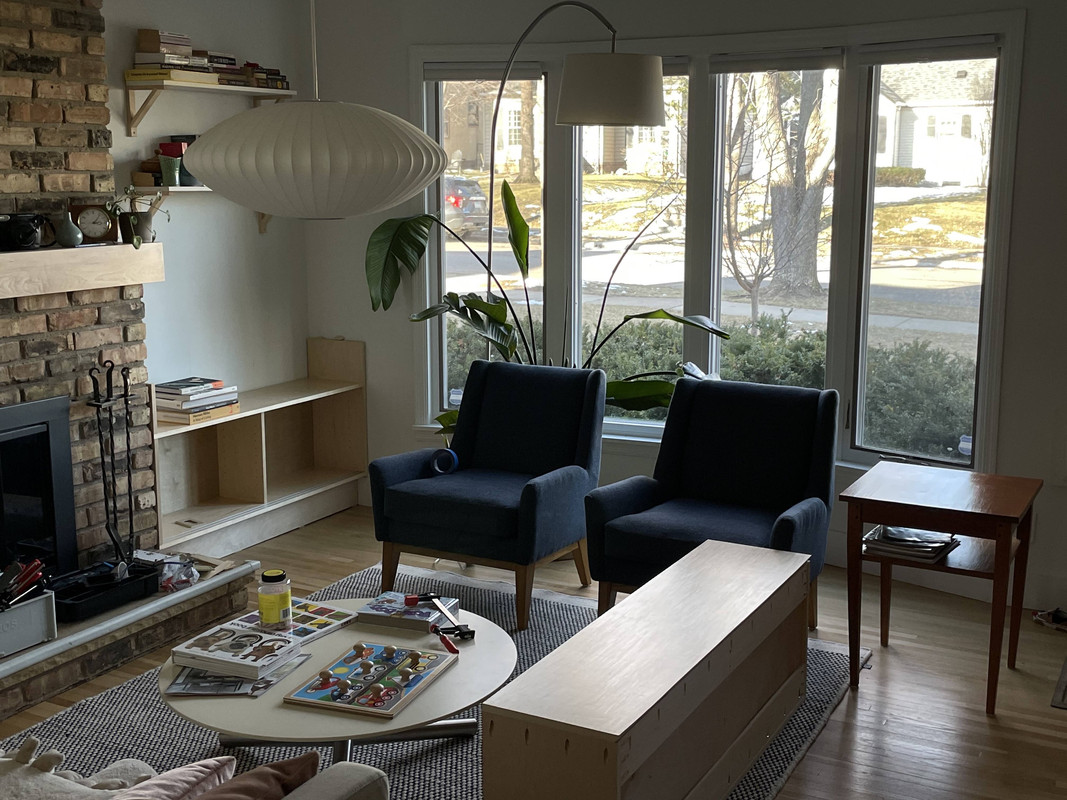
Here's a untouched photo of the living room during the first half of the day without artificial light.

IMG-1791.jpg


You can see it's a sunny day out, but due to the orientation it is in shadow like this until the sun creeps around in the afternoon. I shouldn't complain, but I wish it could be pouring sunlight in all day long. :D

In the short term, I don't think we'll be doing any major projects like an addition. Long term, I would love to do something special. Whether it's this house or a future house. Lots of pros and cons to consider, but I think the biggest hurdle would be cost. I have a lot of ideas... but lately I keep coming back to - for what it would likely cost to do everything I want to this property, it would probably make more sense to do on a larger lot that has more potential. More privacy, better views, better connection to nature. The ultimate dream for me would be to build from scratch with an architect. But again, due to location and where we want to live I don't know if something like that would ever be feasible cost-wise. And there are other practical considerations like school districts and proximity to family and work that factor in. It's all a moot point right now anyways because I don't have the funds. :lol:

But I can't help looking at the potential of any space. When we first moved in, my wife didn't love it because she was caught up with all the cosmetic defects. I certainly didn't view it as a "forever home", but I did imagine what it could look like with some love, and I still look at it that way. Now she likes it and doesn't want to move and I'm the one who would be more open to moving someday. For now I'm just going to keep trying to make it better, one step at a time.

Regarding the ScribeO-Matic, I'll sell you one for 100 bucks, just PM me your address :lol:

I mostly use the Rotex in Orbital mode, where it has a very similar action to yours. Your unit has a tighter orbital stroke since it is targeted more for finishing, but that means is that the motor is delivering its power over a smaller path so it will feel more willful if you try and fight it.

{snip}
Thank you again, this is super helpful, and reassuring. I assumed "wrestling a bag full of angry weasels" was referring to Rotex mode, as I've heard that's pretty challenging to get used to as well. But I'm comforted to hear it's also touchy in orbital. I had the same feeling at first -- is there something wrong with my sander? Do I need to send it back for warranty already?! I've since become much more used to it. I will stick with it and keep practicing. If it just requires muscle memory and skill to use better, that doesn't bother me. I think I will look into a step softer pad just to try it out. Like I said... most of the time it operates without issue. But I'm mostly using for plywood, which is already pretty dang flat, so I don't think a slightly softer pad would be too much trouble. At the end of the day it does leave a really good finish, so I can't complain about that! I appreciate your insight.

I have some knock off "clamping elements", but they are sub-par. I felt the Festool ones were overpriced. I'm sure they work well, though. I'd like to test how the ETS behaves on the rubber mat.
 
Last edited:
OP
N

nicholam77

Well-known member
Joined
Dec 18, 2016
Messages
2,671
Location
Minneapolis, MN
Living Room Built Ins - part 13 - doors!

Actually got some stuff done this weekend! Let's get into it! I was feeling trigger happy on the camera shutter so it's going to be a long one.

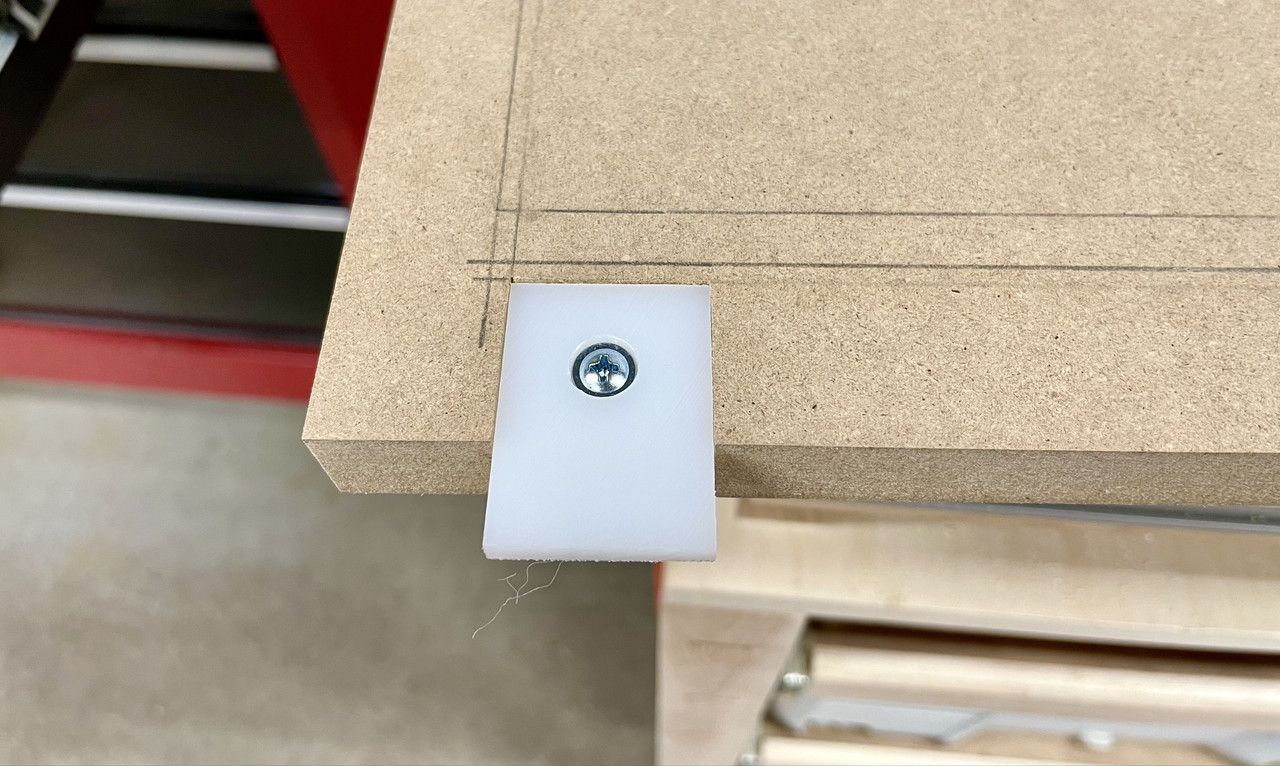
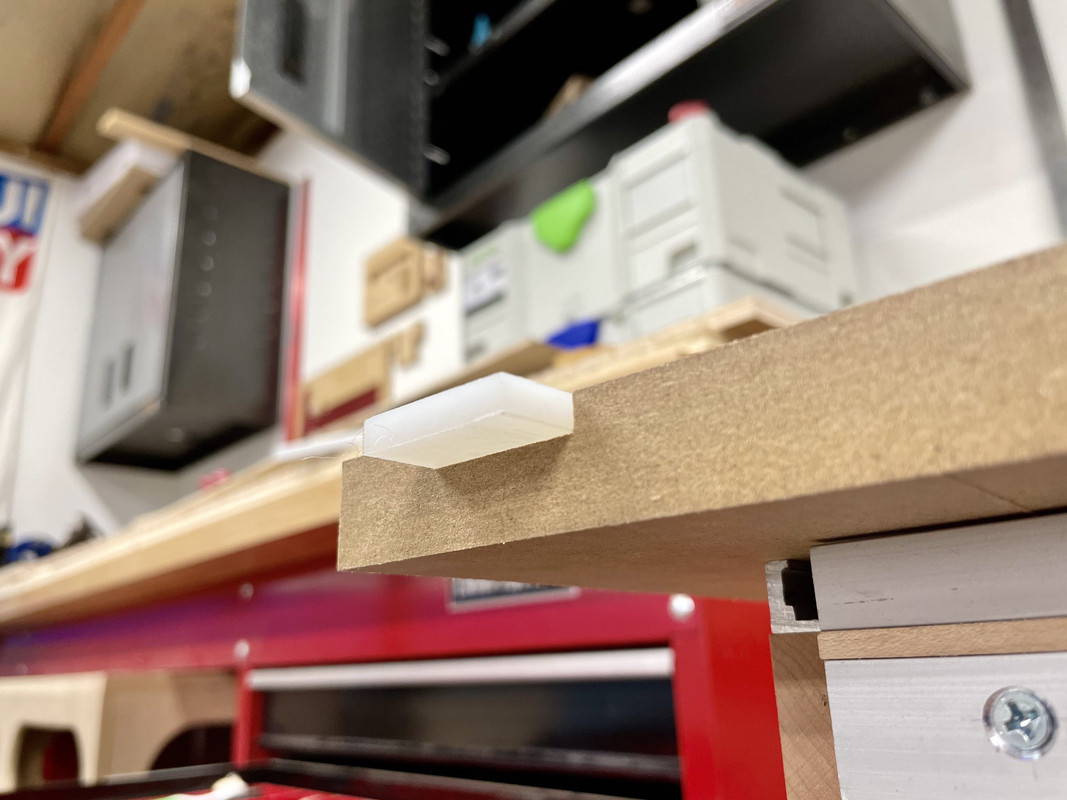
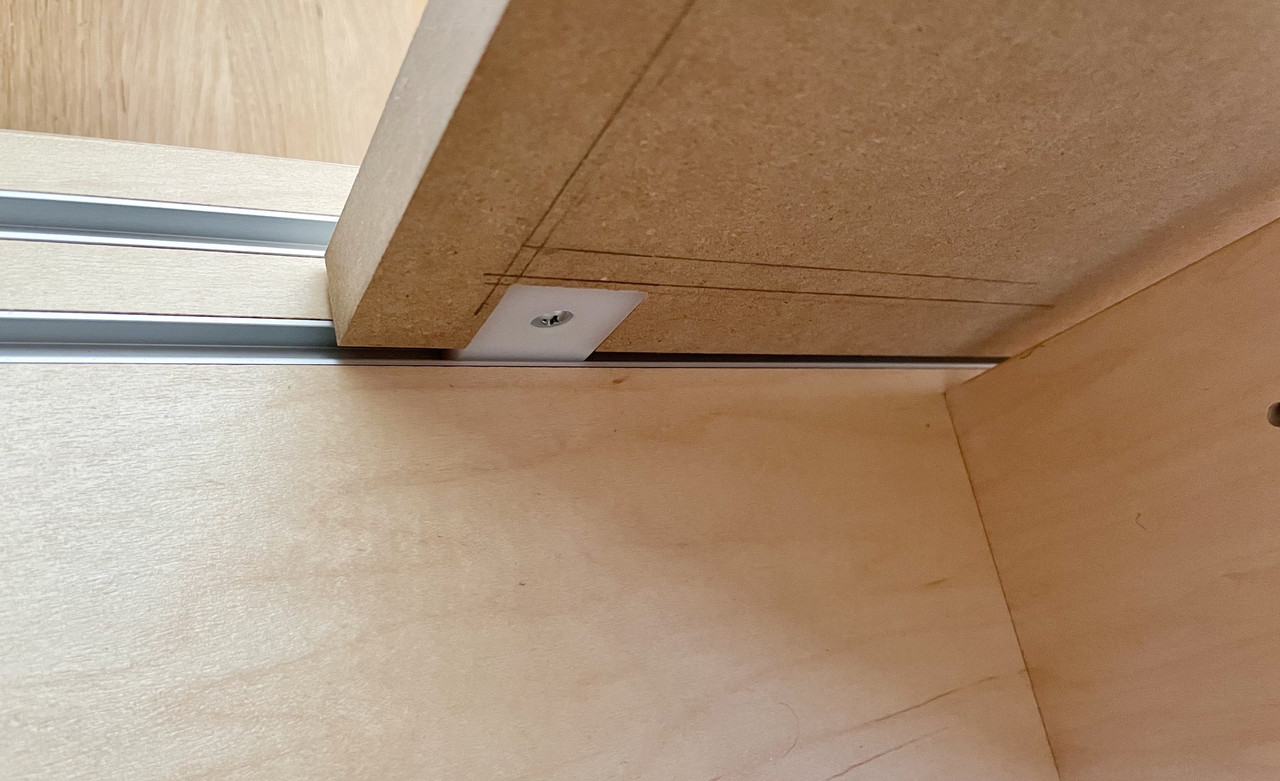
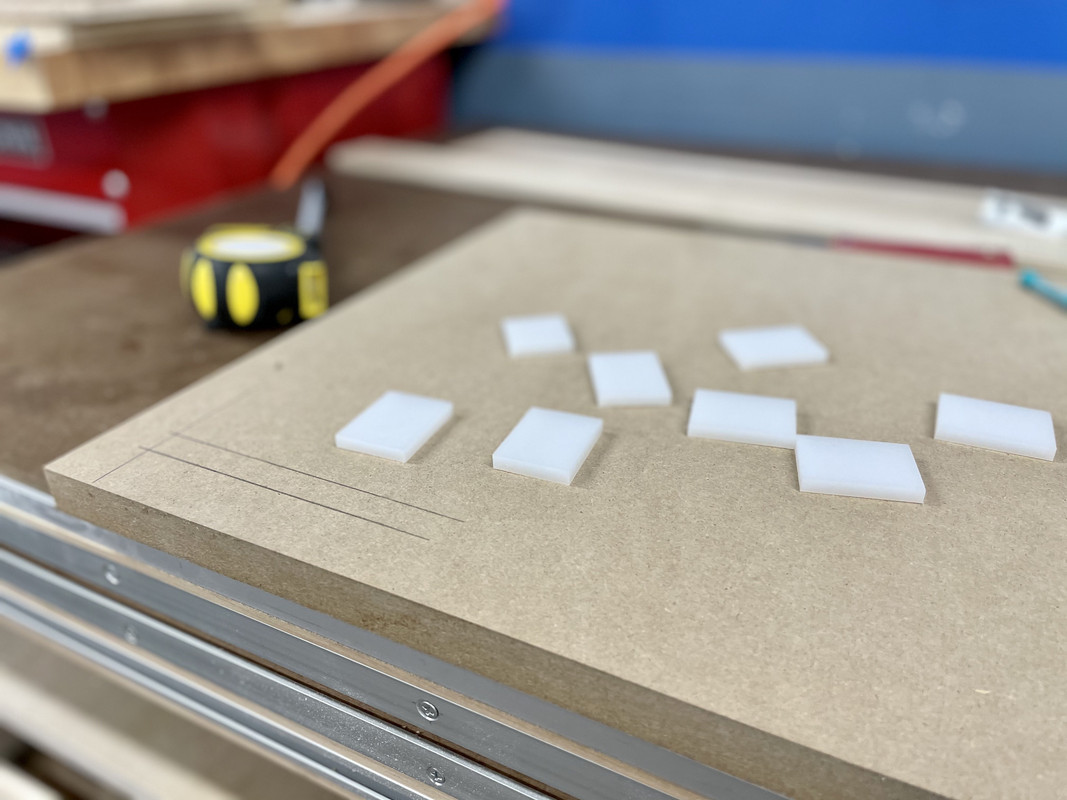
I'm sticking to my guns with the UHMW tabs for the sliding doors.

IMG-1793.jpg


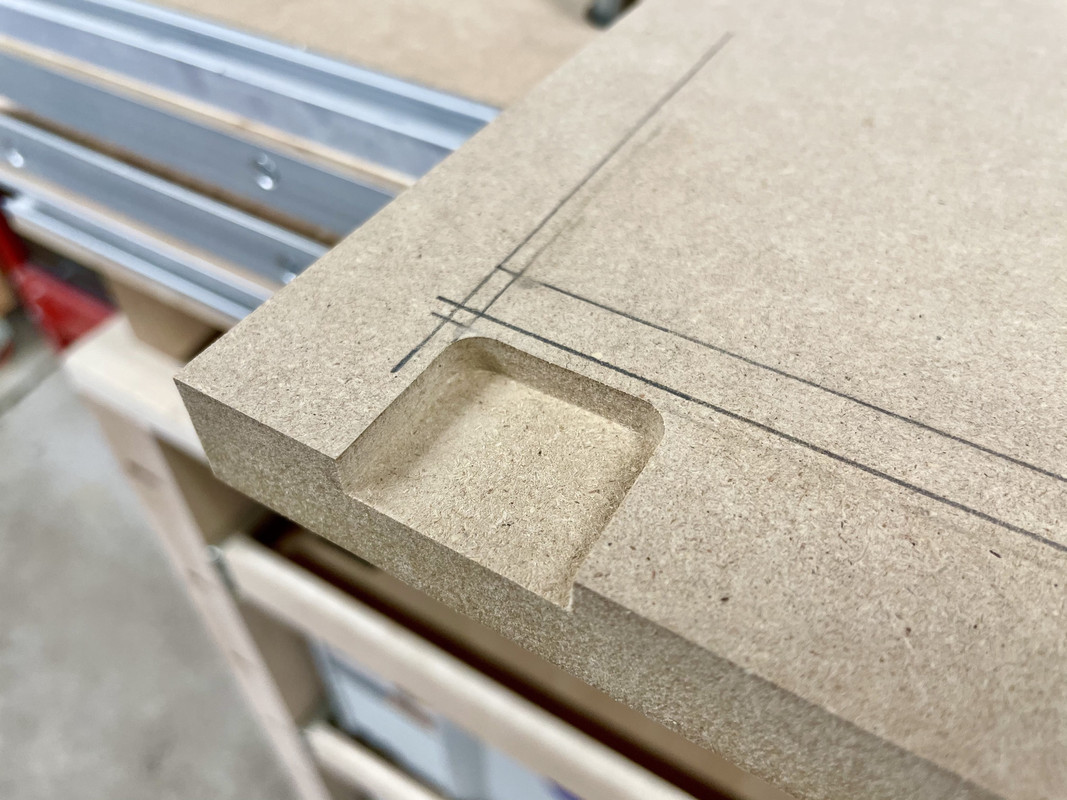
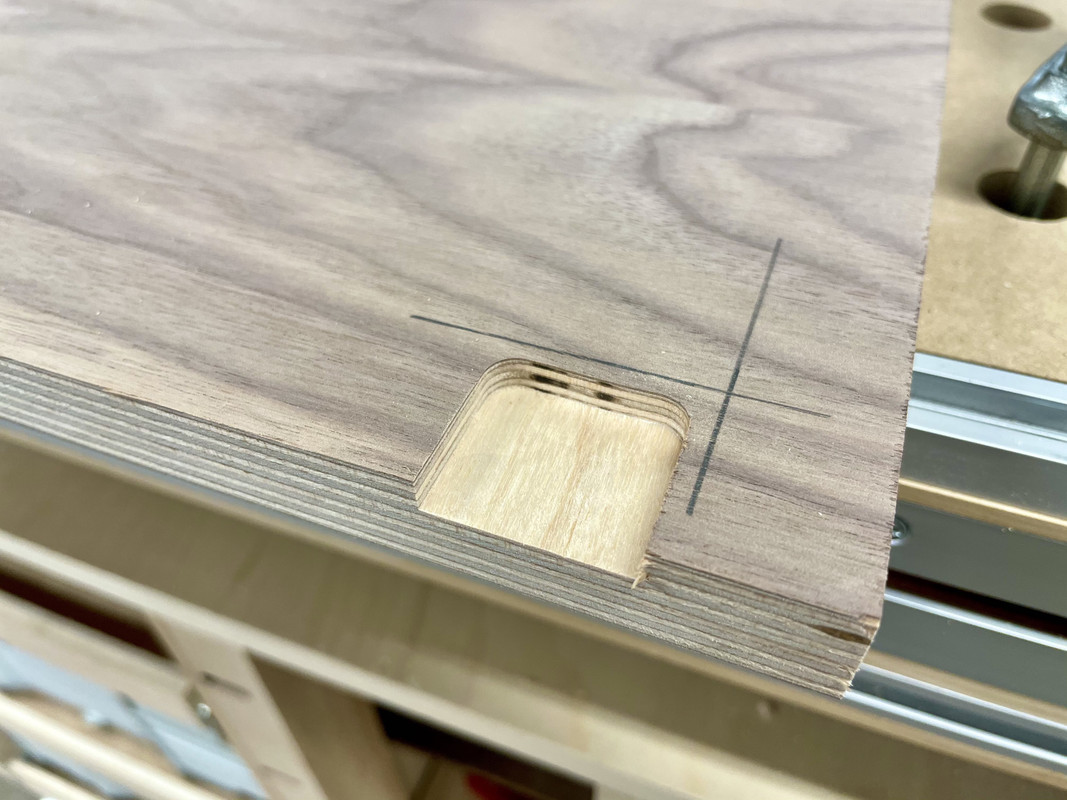
I wanted them to be removable, attached with a screw. But there isn't clearance for the tab to sit on top of the back of the door. So I will be recessing them.

To help machine the recesses I made a quick plywood template to use with a router bushing guide:

IMG-1799.jpg


IMG-1805.jpg


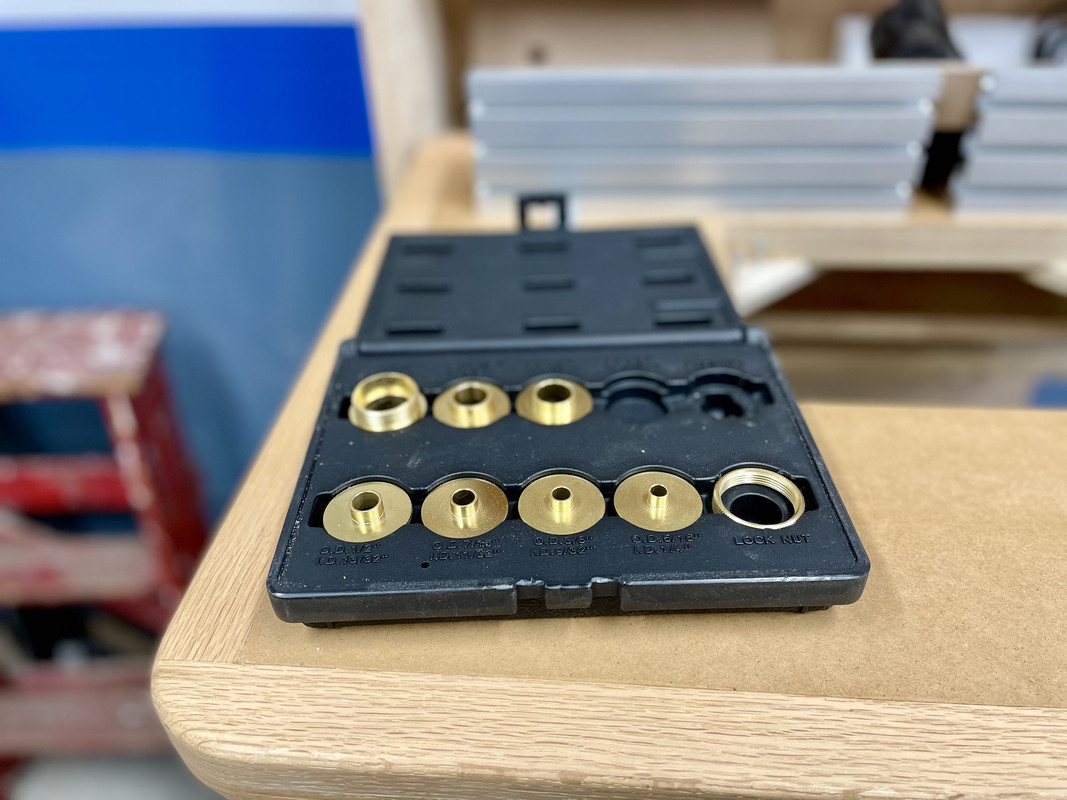
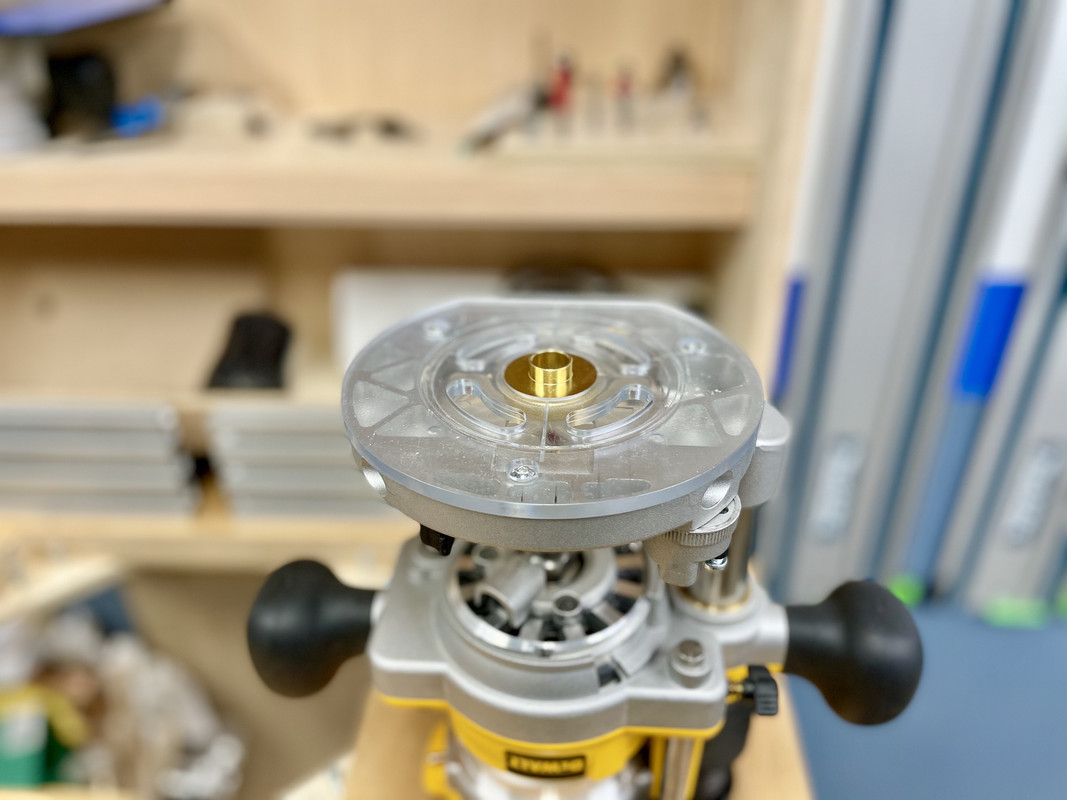
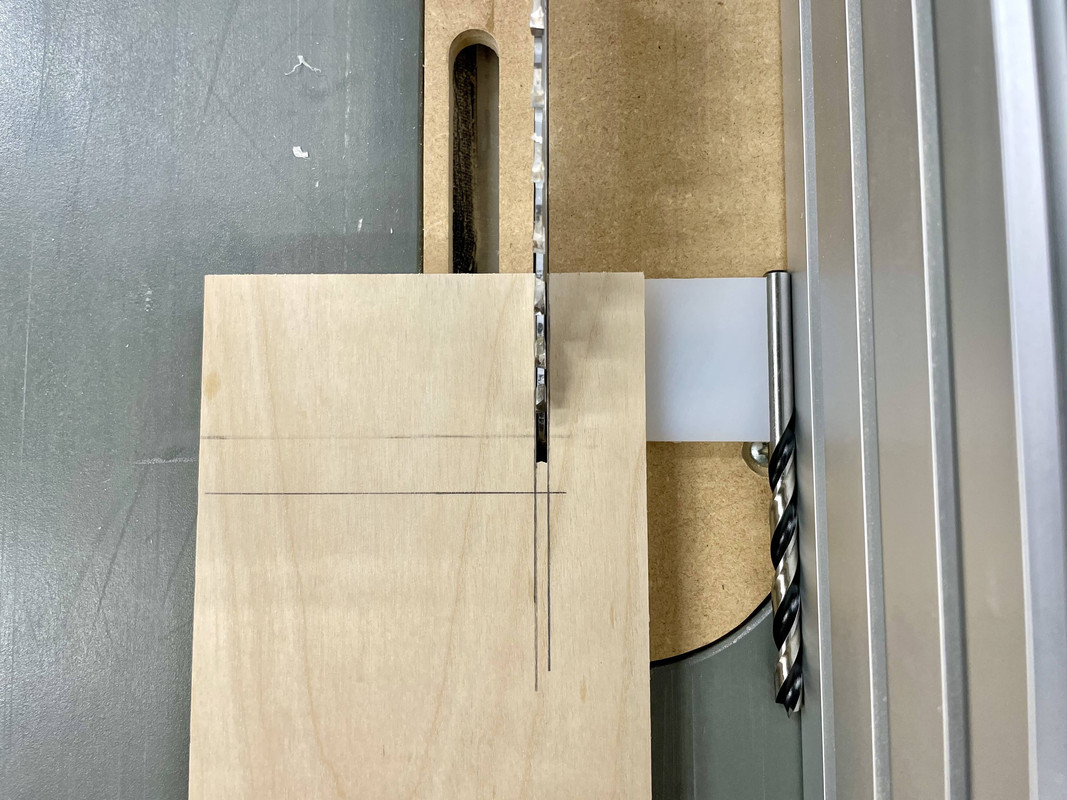
Using a 5/8" OD bushing and a 3/8" cutter means the template needs to be 1/8" larger than the intended recess. A trick I read for spacing common dimensions like that is to use the shank of the same sized drill bit:

IMG-1796.jpg


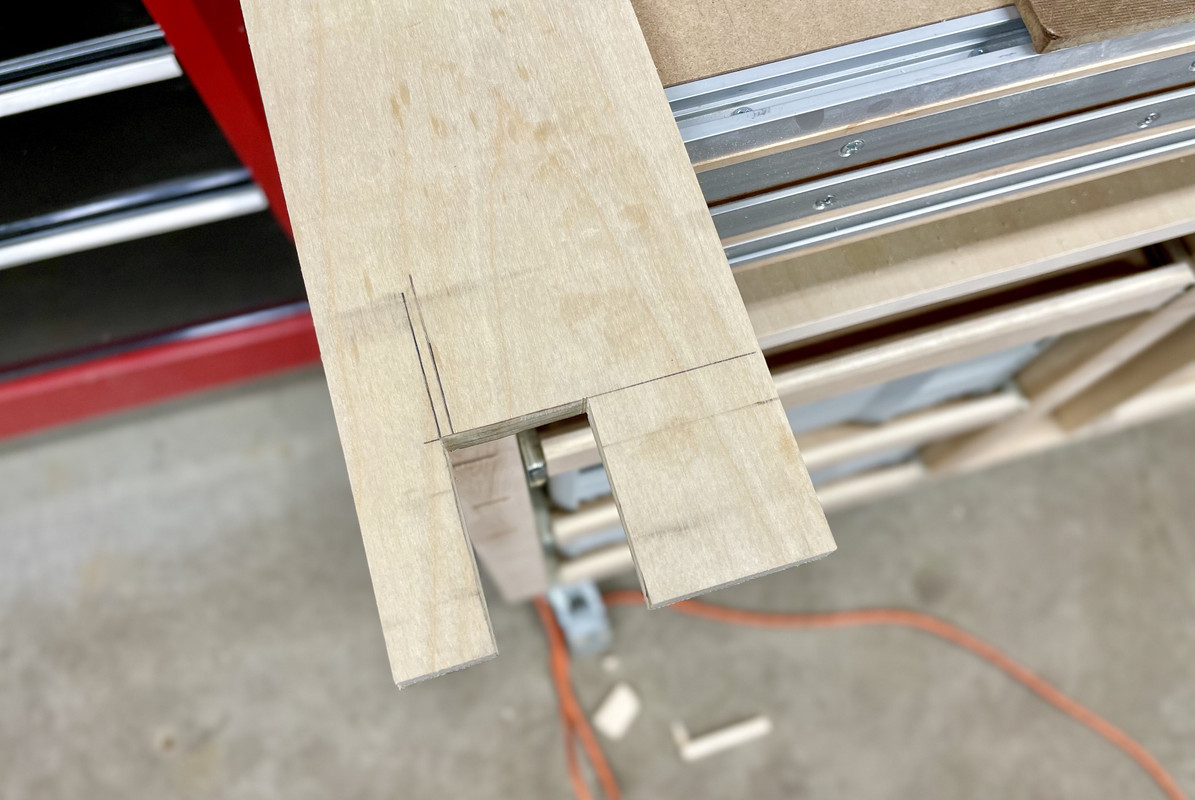
However, this doesn't account for the saw blade kerf. So I still had to eyeball it. Would've been a handy time for one of those little kerfmaker doodads.

The rest of the template is cut out with a jigsaw. Don't need to be perfect.

IMG-1798.jpg


Here you can see it's 1/8" larger than the UHMW tab on all sides:

IMG-1807.jpg


Line 'er up:

IMG-1808.jpg


Using the tab material itself to set the depth turret on the router plunge base.

IMG-1809.jpg


I'm machining this in a piece of MDF as a tester to make sure my plan works. Better safe than sorry.

IMG-1813.jpg


IMG-1815.jpg


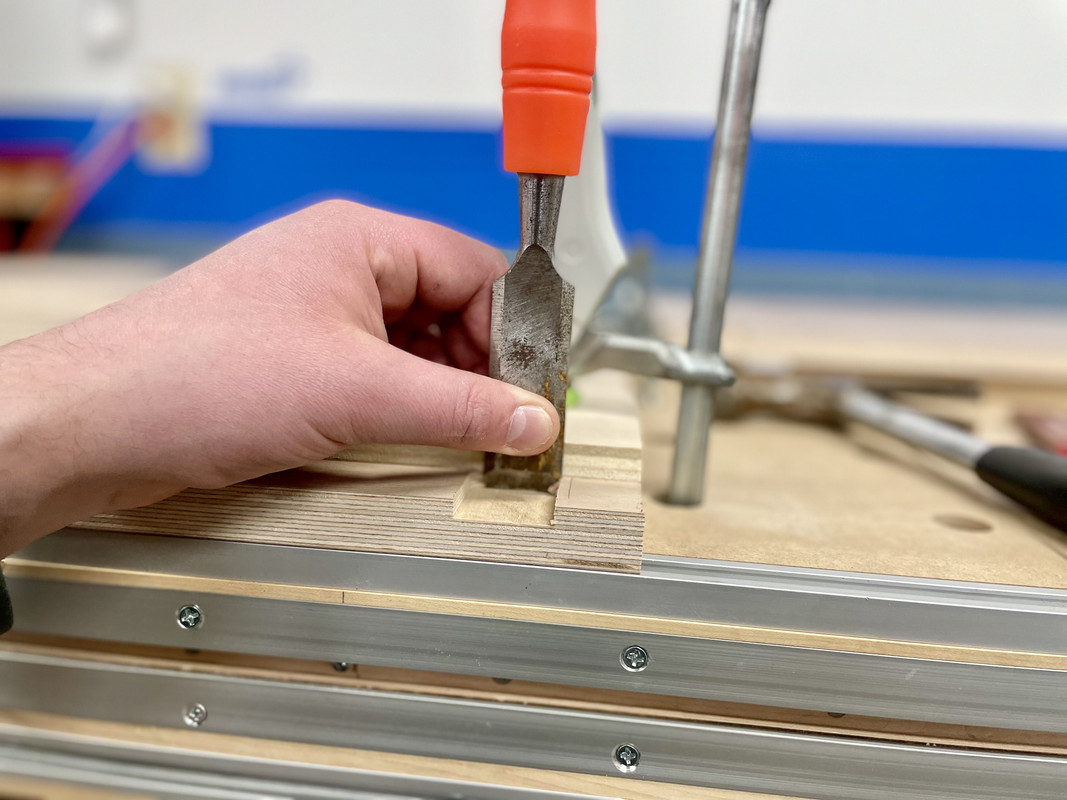
The corners do need to be squared with a chisel.

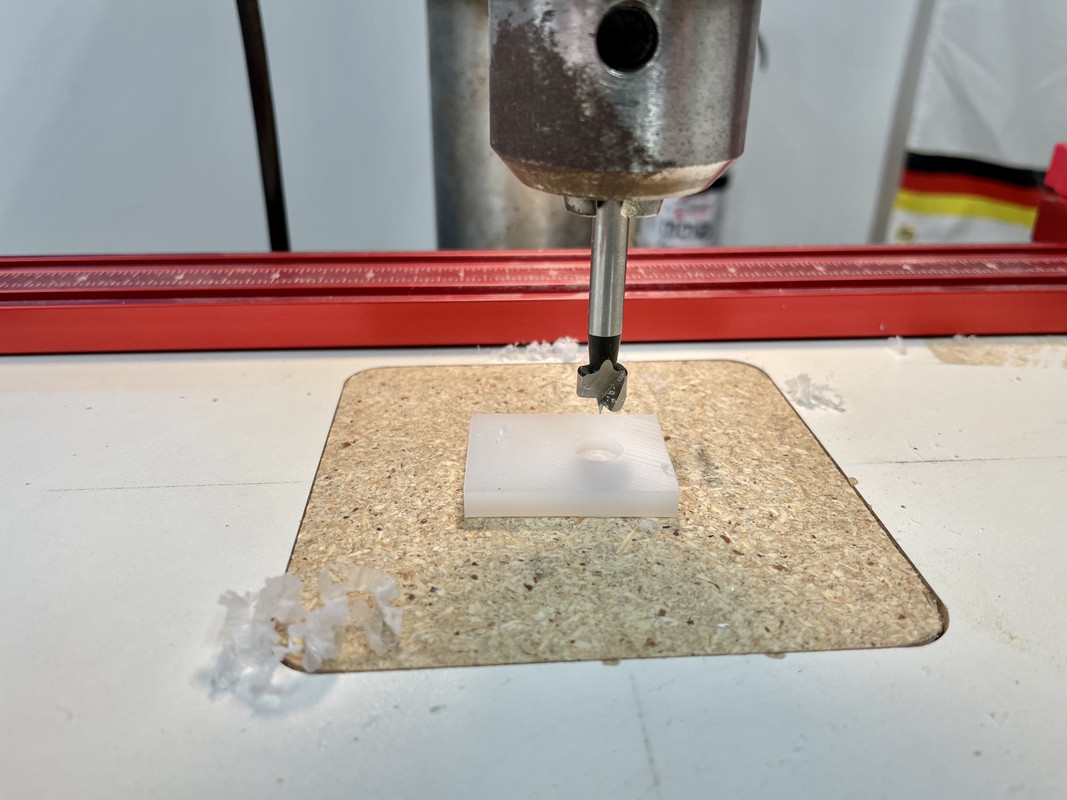
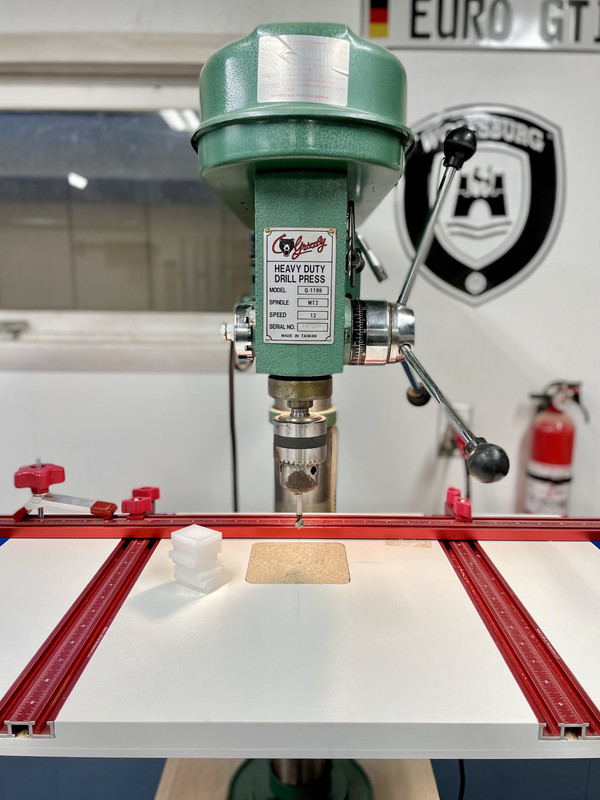
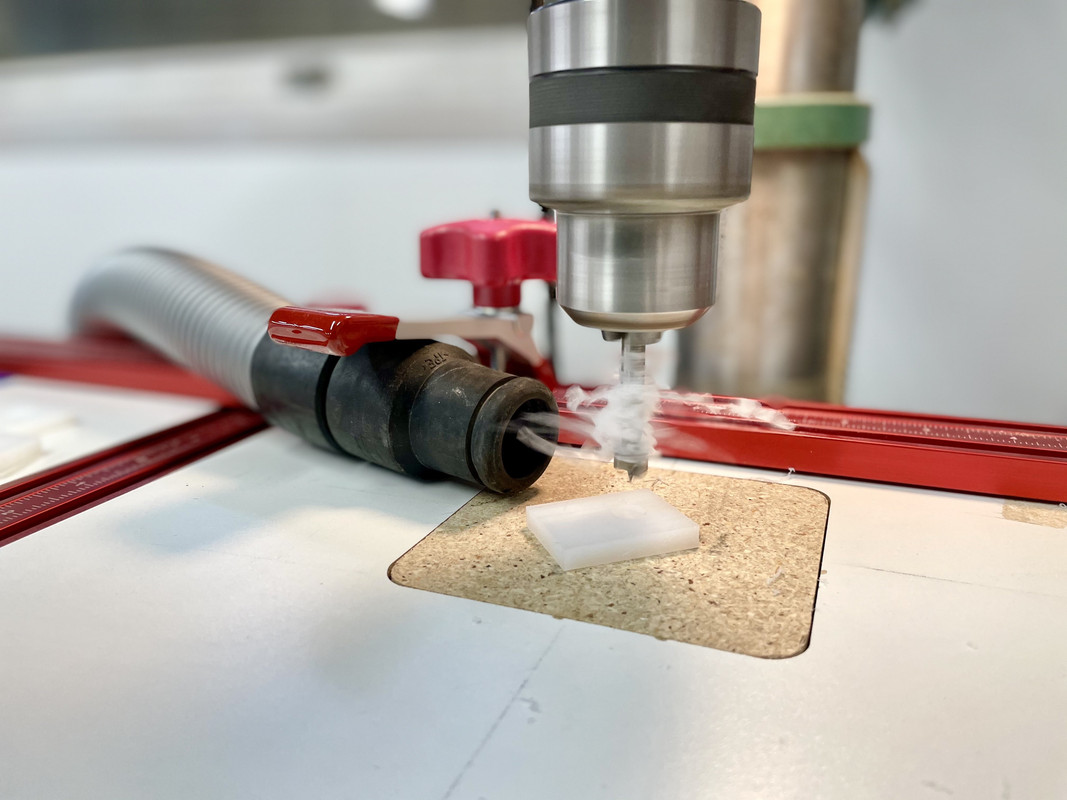
Then to get more threads of the 1/2" truss head screws I'm using into the plywood, I drilled some recesses for the heads on the drill press.

IMG-1818.jpg


This is for you Trapps -- magnets rule!!!

IMG-1817.jpg


Boom fits like a glove:

IMG-1819.jpg


IMG-1820.jpg


Hey, it works!

IMG-1822.jpg


IMG-1824.jpg


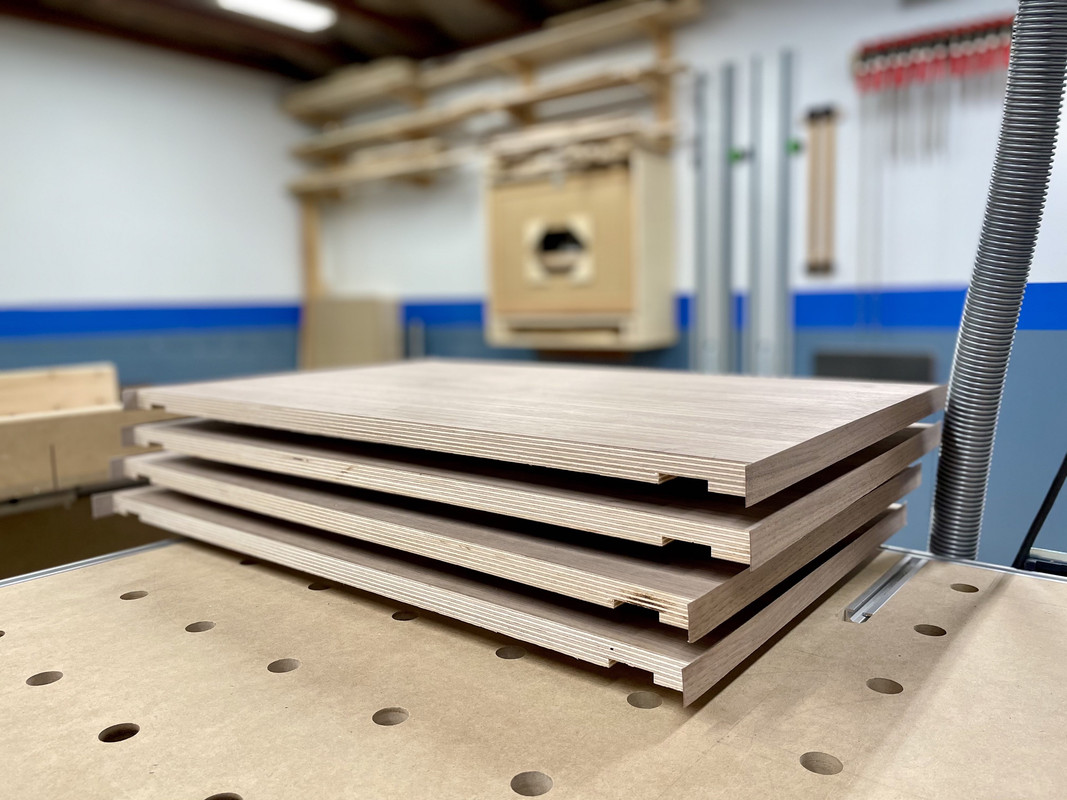
Confident it would be successful I dimensioned the walnut plywood doors. Can't lie, I had some anxiety during this part. I would have cried if I made an error.

IMG-1826.jpg


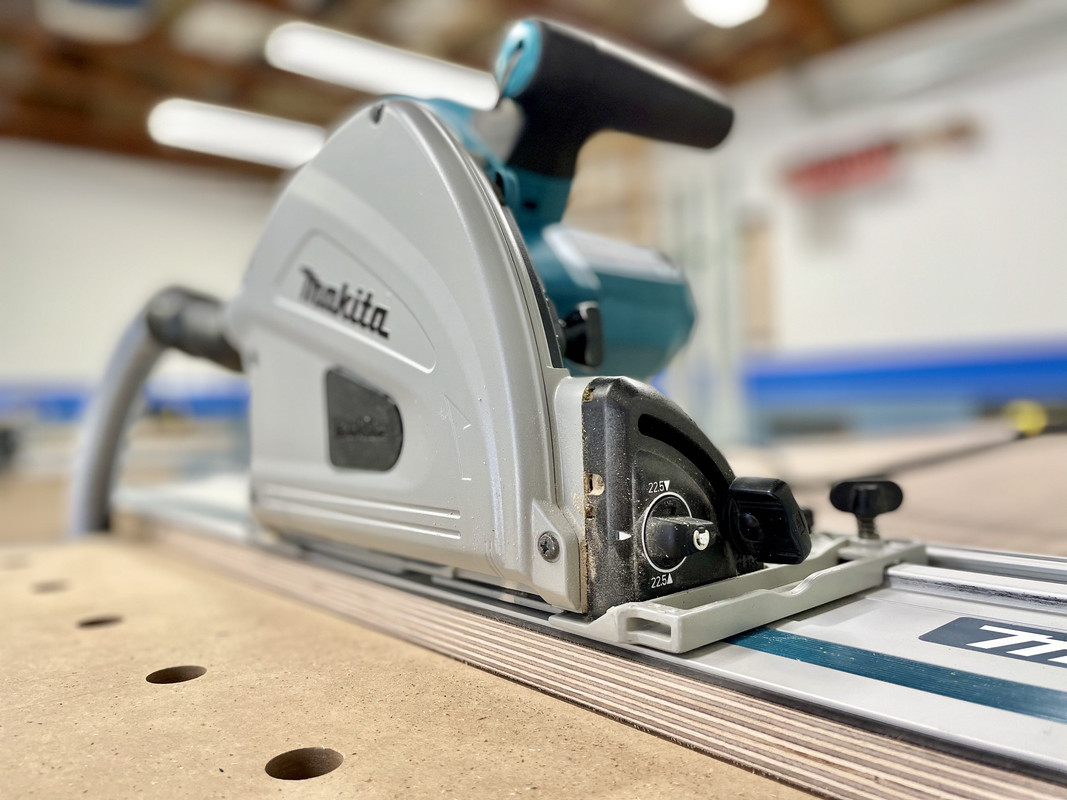
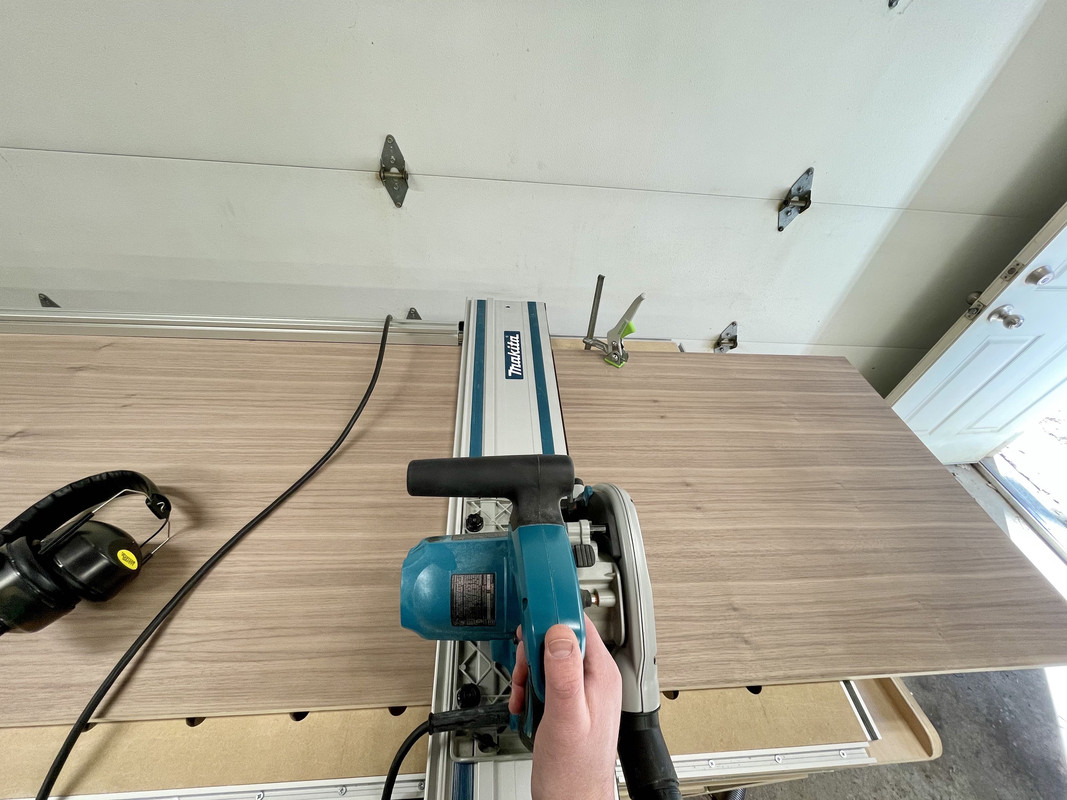
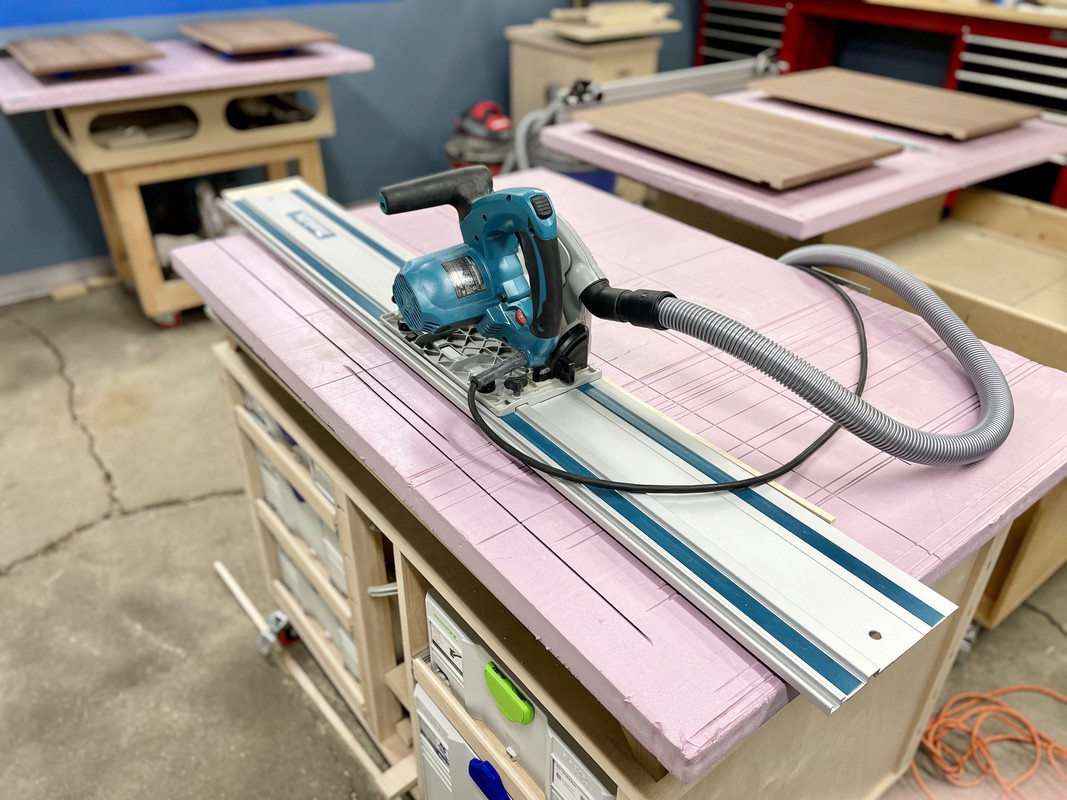
If you're astute you'll notice a new dust cover on the faithful and mighty track saw replacing the former painter's tape. Thanks Logan!

IMG-1827.jpg


POV view from the captain's seat:

IMG-1828.jpg


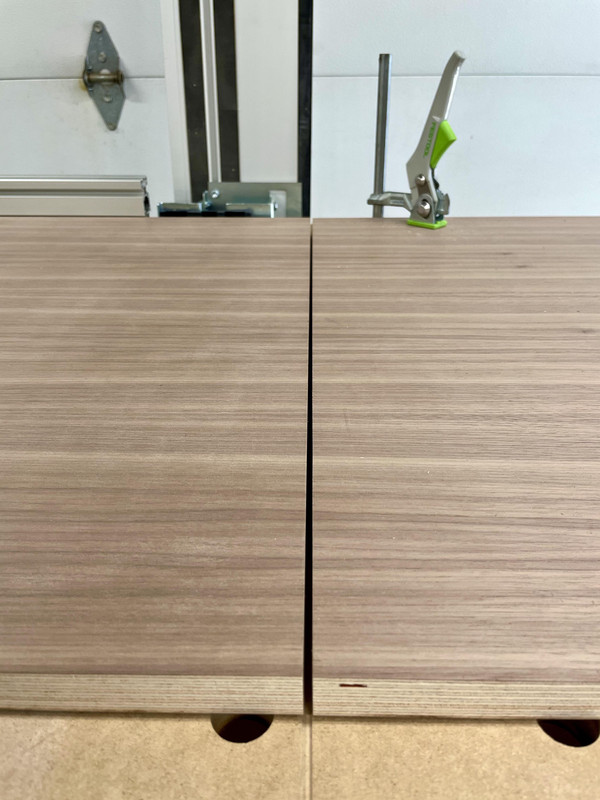
Mmmmmmm, like buttah.

IMG-1829.jpg


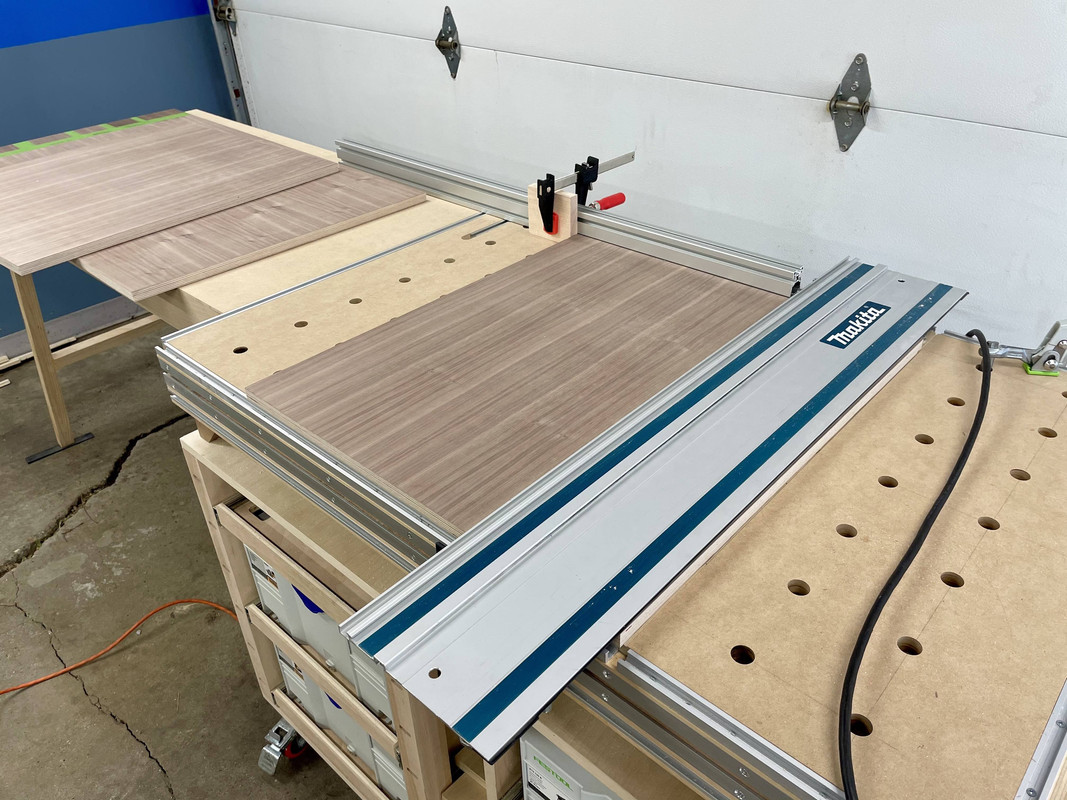
I squared three sides on the MFT, using stop blocks where necessary to control repeatability:

IMG-1831.jpg


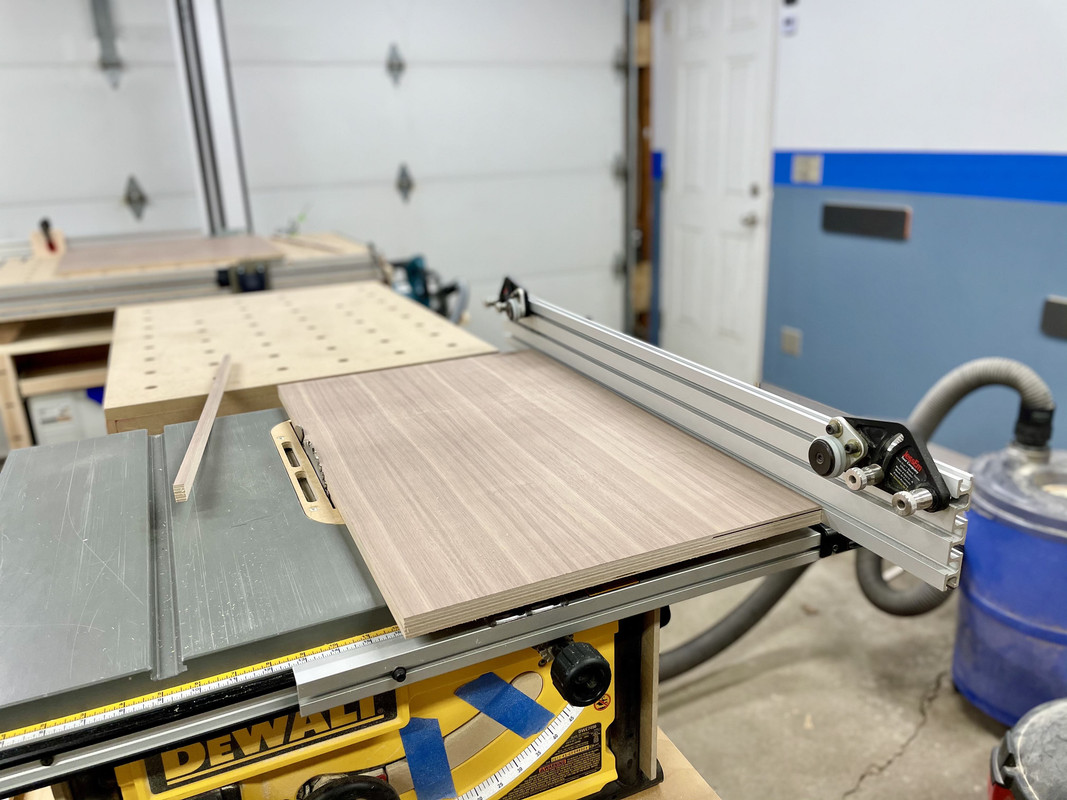
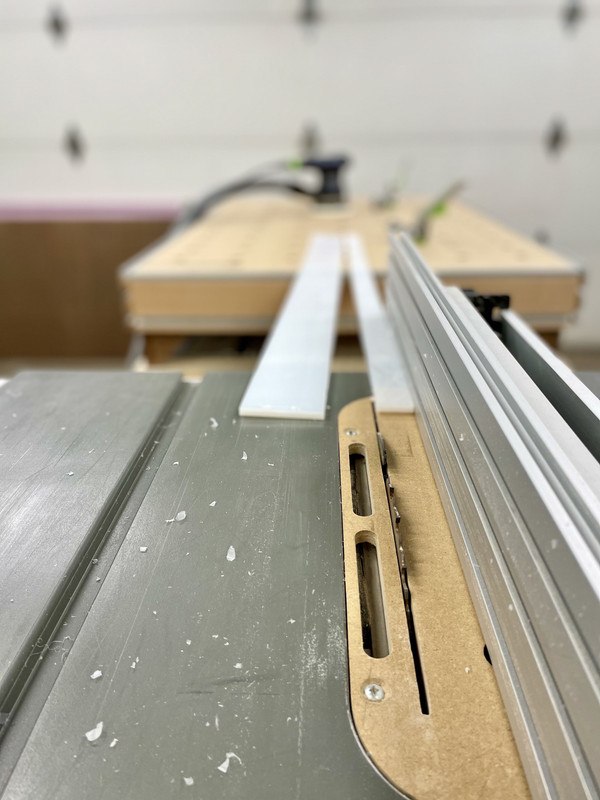
Then I did the final parallel rip on the table saw. Don't want the table saw to feel under-appreciated. Tools have feelings, too, ya know.

IMG-1833.jpg


Then I machined all 16 recesses in the walnut... wait, 16? Ah $%#! I only made 8 tabs. :mad: Math...

IMG-1842.jpg


I now present to you the most ghetto Home Depot chisel you've ever seen. To those who have given me hand tool advice, you'll notice I have unfortunately NOT been practicing my sharpening skills.

IMG-1843.jpg


But hey it worked so it's all good.

I'll come clean, I did get some help with the final assembly:

IMG-1849.jpg


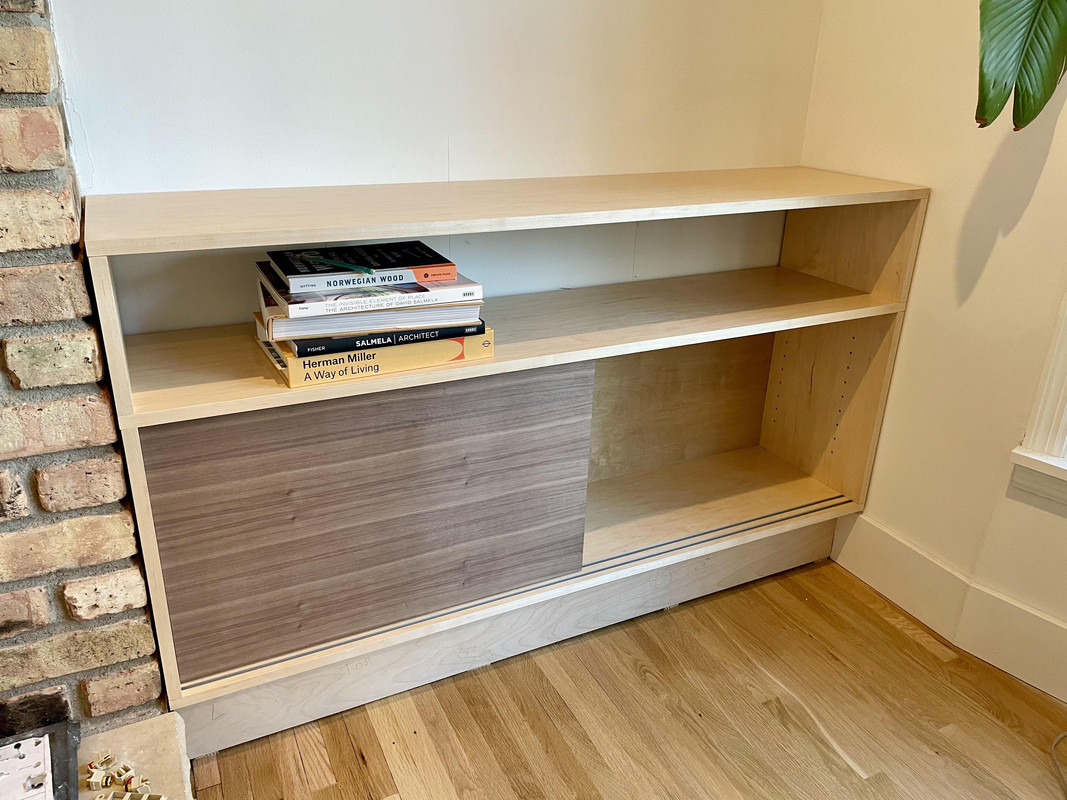
Keep in mind this is an early peak, but I am loving it.

IMG-1845.jpg


IMG-1846.jpg


IMG-1855.jpg


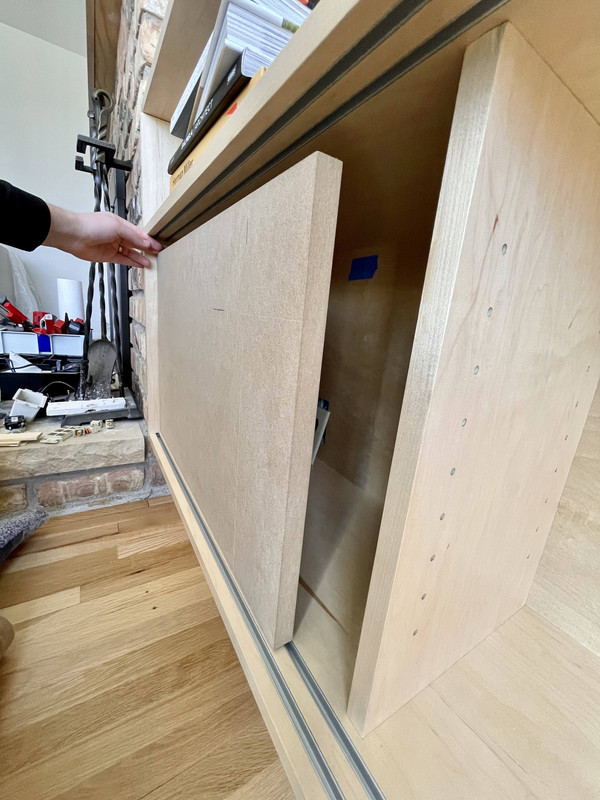
The best part is, they slide smooth! They feel really professional! In my mind they had to slide like something you bought from a furniture store, otherwise it would feel DIY. I can exhale a sigh of relief. Even all my dimensions worked out. I owe Sketchup a beer.

All in all it was a fun weekend, and all the major tools I have and have made accessories for came out to play - track saw, table saw, router, drill press.

IMG-1835.jpg


Cheers!

:beer:
 

Unruh

Well-known member
Joined
Aug 12, 2017
Messages
1,431
Location
Silverdale, Washington
Fortunately some glue and sanding did the trick.

IMG-1781.jpg

Do you have a link for that Scribe-O-Matic 3000?

Also I saw a guy on YouTube, basically do what you did with the glueing, but hid a screw underneath the thin layer. Glued it down and you couldn’t tell he had ever used screws to hold it together.

I gotta say that I appreciate seeing the mistakes and how you work through them. Seems like 60% of the time I make a mistake every time. Glad to see I’m not the only one looking for ways to correct them.
 

bj383ss

Well-known member
Joined
Sep 29, 2011
Messages
3,166
Location
TX
Nice work Nick. The Built-ins are starting to come alive. I understand the Anxiety on the Walnut plywood. I think in our minds we put too much pressure like we could never acquire these nice materials again. I know I have always saved every bit of hardwood and nice plywood. I am not sure what drives that. Maybe because early in my woodworking career I could barely afford materials and so if I made a mistake it was the end of the world. Not sure. I do know that I have not been to my local Hardwood dealer in over 11 years. That is just too long so I will be making a trip here soon to get some more Hard Maple and Birch plywood.

Thanks to you and another member here who owns a track saw and one of my favorite shops I went down the MFT rabbit hole last night watching Peter Millard. His little workshop drove me nuts as I can't wrap my head around how he gets anything done when there seems to be no space but his work speaks for itself.

The problem I am having is where I would incorporate and MFT. It seems having all those holes in the main workbench I would constantly be picking up bits up that fell through the holes. I will keep turning the gears. One crazy idea that is floating is to sell my first car. That would basically double the size of my workshop. It also might make my new wall obsolete.

Bret

 
OP
N

nicholam77

Well-known member
Joined
Dec 18, 2016
Messages
2,671
Location
Minneapolis, MN
Do you have a link for that Scribe-O-Matic 3000?

Also I saw a guy on YouTube, basically do what you did with the glueing, but hid a screw underneath the thin layer. Glued it down and you couldn’t tell he had ever used screws to hold it together.

I gotta say that I appreciate seeing the mistakes and how you work through them. Seems like 60% of the time I make a mistake every time. Glad to see I’m not the only one looking for ways to correct them.

Sure do, here's the link!

I think I saw that same YouTube video with the screw :)


Nice work Nick. The Built-ins are starting to come alive. I understand the Anxiety on the Walnut plywood. I think in our minds we put too much pressure like we could never acquire these nice materials again. I know I have always saved every bit of hardwood and nice plywood. I am not sure what drives that. Maybe because early in my woodworking career I could barely afford materials and so if I made a mistake it was the end of the world. Not sure. I do know that I have not been to my local Hardwood dealer in over 11 years. That is just too long so I will be making a trip here soon to get some more Hard Maple and Birch plywood.

Thanks to you and another member here who owns a track saw and one of my favorite shops I went down the MFT rabbit hole last night watching Peter Millard. His little workshop drove me nuts as I can't wrap my head around how he gets anything done when there seems to be no space but his work speaks for itself.

The problem I am having is where I would incorporate and MFT. It seems having all those holes in the main workbench I would constantly be picking up bits up that fell through the holes. I will keep turning the gears. One crazy idea that is floating is to sell my first car. That would basically double the size of my workshop. It also might make my new wall obsolete.

Bret
Thank you Bret.

Regarding the materials, yes, I was mostly nervous due to the cost of the plywood. Would be an expensive mistake to goof up. I'm a saver as well, sometimes I have to force myself to do a purge and come to terms with the fact that I probably will never go through 300 small blocks of plywood. I think one thing that drives it is it's handy to have stuff around vs. taking time out of a project to go to the store. I think another thing is woodworkers probably appreciate wood and don't want it to go to waste. And of course I think you're right about cost, too. Maybe you've seen this meme going around:

qb6m89yzc3o61.png


I've also wondered how Peter Millard operates in such a small space. He has a video about breaking down a full sized sheet good in his shop, and while possible, it looked difficult. I believe he mentioned he usually has the lumber yard break it down. But yeah, great channel, lots of good techniques and inexpensive jigs to make the track saw more useful.

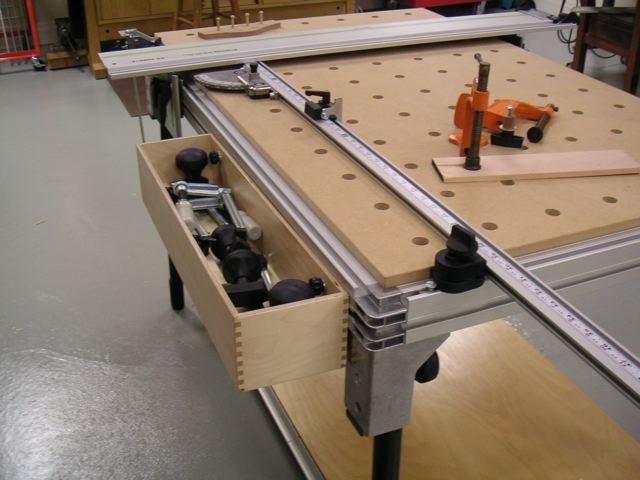
Of course you know I'm a big fan of the MFT concept. In my eyes it's kind of a hybrid modern power tool workbench. I think what I enjoy about it, especially the DIY ones, is their adaptability. They can really be anything you want them to. Traditional benches have their own benefits, I think it depends on the type of work you do which is better. Or like it sounds you're considering, why not both!

For me, with the holes, I haven't had much issue with stuff dropping through. Maybe the occasional screw but I usually have them in a little bin and not spread on the table. With my specific benches, there is a surface about 6" below the holey top, so anything that could fall through would not go all the way to the floor. But if you're worried about it, you could aways make a little accessory tray that hangs off the side to put stuff.

tray.jpg


Selling your car and doubling the size of your workshop would be a big move! If that ends up being a no-go, you could always make something that goes on top of your existing bench? Or something collapsible that you set up when needed?

Or you could always give your planer, bandsaw, jointer, and dust collector to me... that would free up some space for you! :lol:

Not sure if you've seen Dan Pattison's take on it, his "MPT" Multi-Purpose Table, but he has some nice ideas I think, too.

Dan Pattison MPT

Festool may have commercialized the idea, but I feel like there are sooooo many versions of viable homemade "MFTs" out there, there's probably an iteration that could suit any shop. You'd have to decide what you want it for... work-holding? Track saw use? Mobility? It's intended purpose might inform where you could put it or the design.


Fantastic on all counts!

:beer:

Thanks Mark, getting close to the finish line!

:beer:
 

WunTon

Well-known member
Joined
Jun 22, 2018
Messages
339
Location
My house in Purcellville VA
Nice work Nick! I'll have to take a picture of my sad story with a sheet of 1/4 walnut ply I recently had a bad day with lol. I was cleaning some stuff up in the garage so I had it laying down flat on the grass since it was a little windy until a huge gust came through and decided to pick it up and send it flying! It ended up snapped in half and completely useless for the bookcase I bought it for. Now I get to make another 104 mile round trip and spend another $90 for a new sheet!
 
OP
N

nicholam77

Well-known member
Joined
Dec 18, 2016
Messages
2,671
Location
Minneapolis, MN
That's pretty slick. Are those available?


A fellow forum-er 3D printed it for me... I wanted to give him credit here but I don’t think he has plans to sell them. I can send you a PM if you want to try and work something out.

This was a few months back when I couldn’t find any for the Makita saw, only Festool. Now, however, it looks like some people are printing and selling for Makita on Etsy so that’s another route. Like this one:

https://etsy.me/3rrgzWg

Or just Google “Makita track saw dust cover”.

If you have access to a 3D printer there’s a file for it on Thingiverse, too.

We have the same meme here in Argentina, but with gas stations :spit:


That works too!

Nice Job with all the improvements to both the garage and house. You gave me some ideas for mine lol.


Thank you, and thanks for checking it out!

Nice work Nick! I'll have to take a picture of my sad story with a sheet of 1/4 walnut ply I recently had a bad day with lol. I was cleaning some stuff up in the garage so I had it laying down flat on the grass since it was a little windy until a huge gust came through and decided to pick it up and send it flying! It ended up snapped in half and completely useless for the bookcase I bought it for. Now I get to make another 104 mile round trip and spend another $90 for a new sheet!


Thanks! Oh man that sounds super frustrating! Maybe you can add a line item for “surprise wind gust” in your final quote haha. Unless the bookcase is for yourself...

I’ve been following along with your stuff on Vortex, lookin’ good!


Sent from my iPhone using Garage Journal
 

loganb

ALLIANCE MEMBER
Joined
Dec 29, 2011
Messages
5,578
Location
Omaha, NE
A fellow forum-er 3D printed it for me... I wanted to give him credit here but I don’t think he has plans to sell them. I can send you a PM if you want to try and work something out.

The guilty party with the printer is me...thanks for not tossing it out initially Nick!

@Barker-PM me if you're interested, I'm working on some tweaks to make the retention a bit better, it's probably good as is but I'm not content with it yet.

@Jar-noticed you have tape on yours as well on one of your recent posts, if you're interested in something new hit me up as well on it.
 

west_perf

Well-known member
Joined
May 22, 2015
Messages
533
Location
SEMO - MOARK Line
Nick, it's been a few years but I got caught up with your builds and projects. They're very inspiring how much you get done, and your attention to detail.
All the best.
 
OP
N

nicholam77

Well-known member
Joined
Dec 18, 2016
Messages
2,671
Location
Minneapolis, MN
Living Room Built Ins - part 14 - remaining bits

Turns out I wasn't quite as close to done as I thought. But I have been busy, working on it here and there almost every day.

My additional 1/4" maple plywood order came in so I cut a new backing panel to replace the one I cut short:

IMG-1889.jpg


And tacked it on (of course not before 3 coats of finish!):

IMG-1940.jpg


Turns out I needed the extra plywood anyways, to use for the toe kicks, so it worked out.

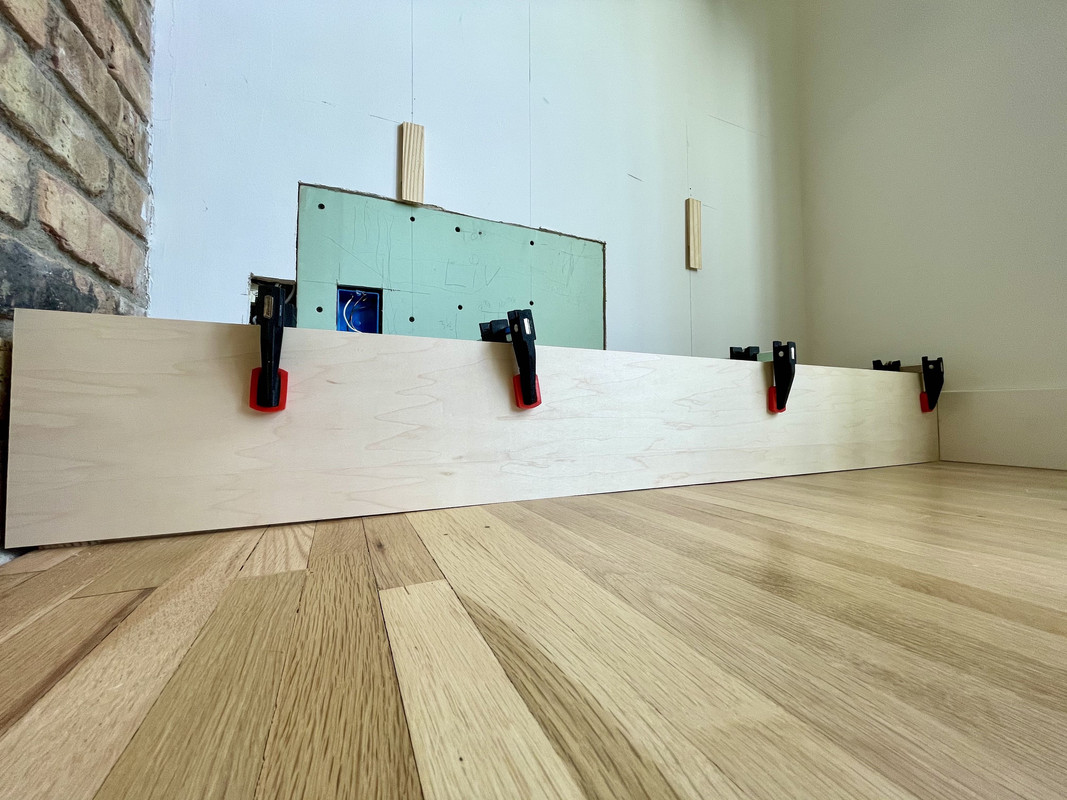
Knowing the floor is not flat, I cut the toe kicks tall, and scribed the bottoms. Here you can see the "before" where there are tight spots and gaps:

IMG-1938.jpg


After the scribe was completed, I held in place and marked the overhang to trim off the tops. Track saw was perfect for this, since the scribed edge is not straight and cannot be referenced on a fence.

IMG-1942.jpg


Then I made more of the plastic UHMW door track tabs since last time I only made half of what I needed by mistake.

IMG-1891-2.jpg


IMG-1892.jpg


IMG-1895.jpg


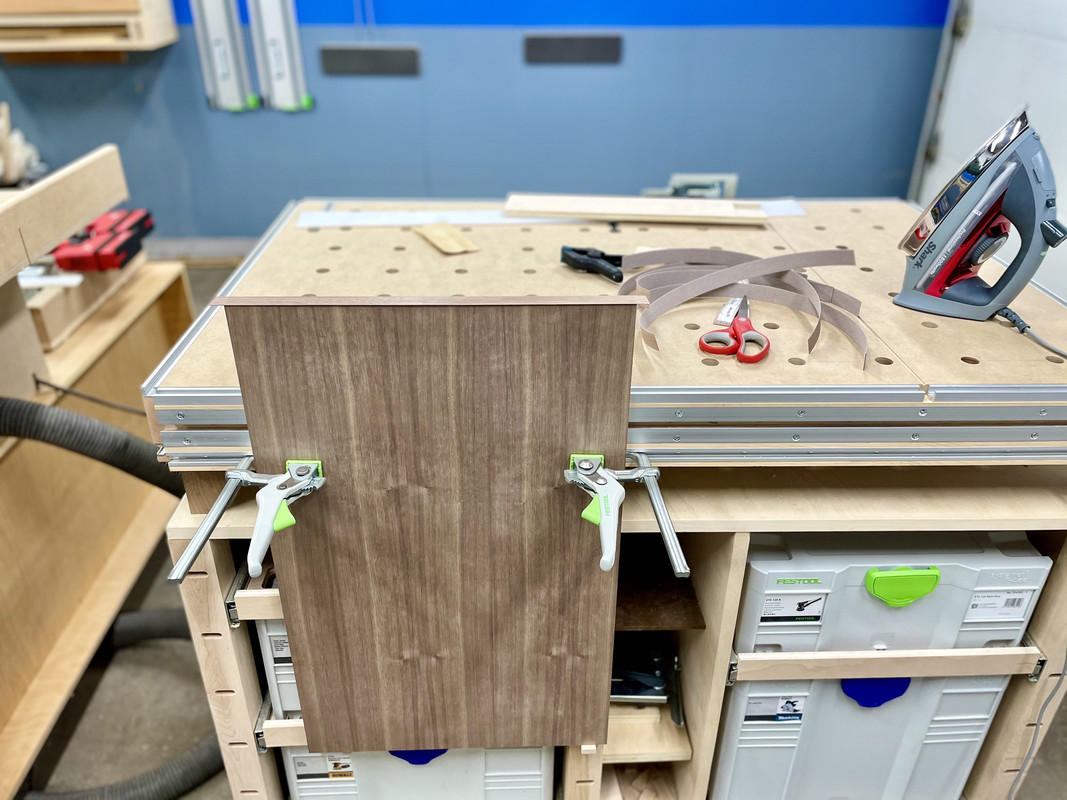
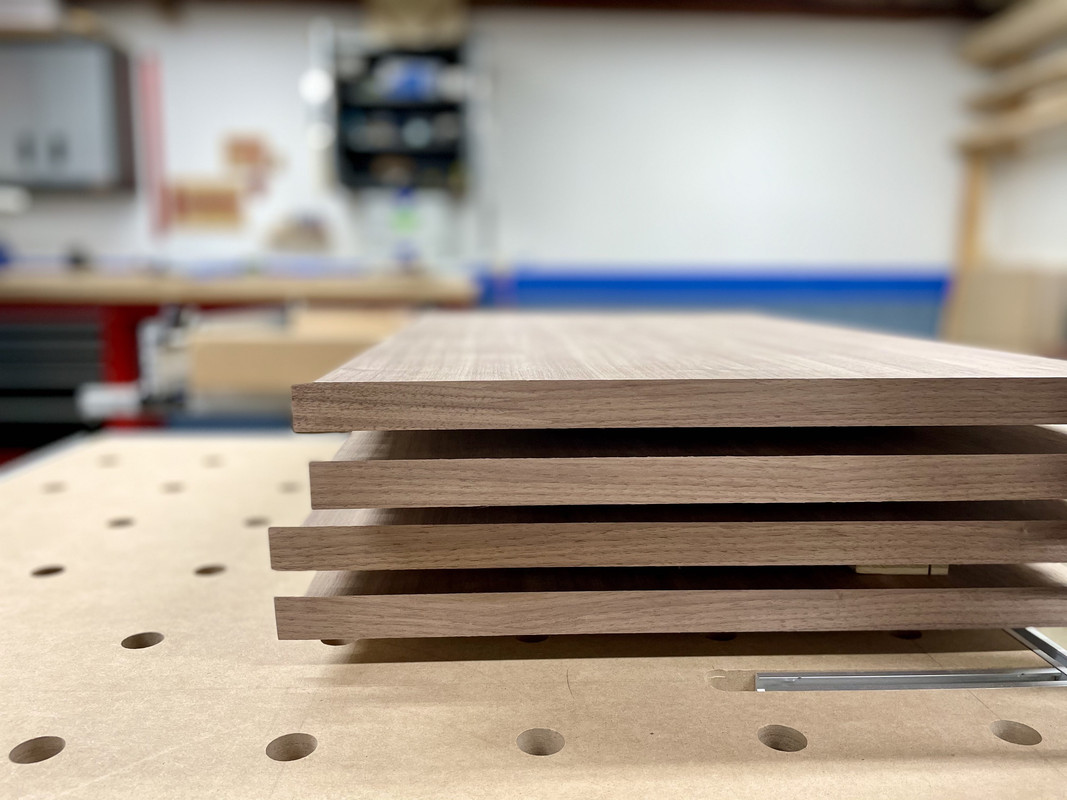
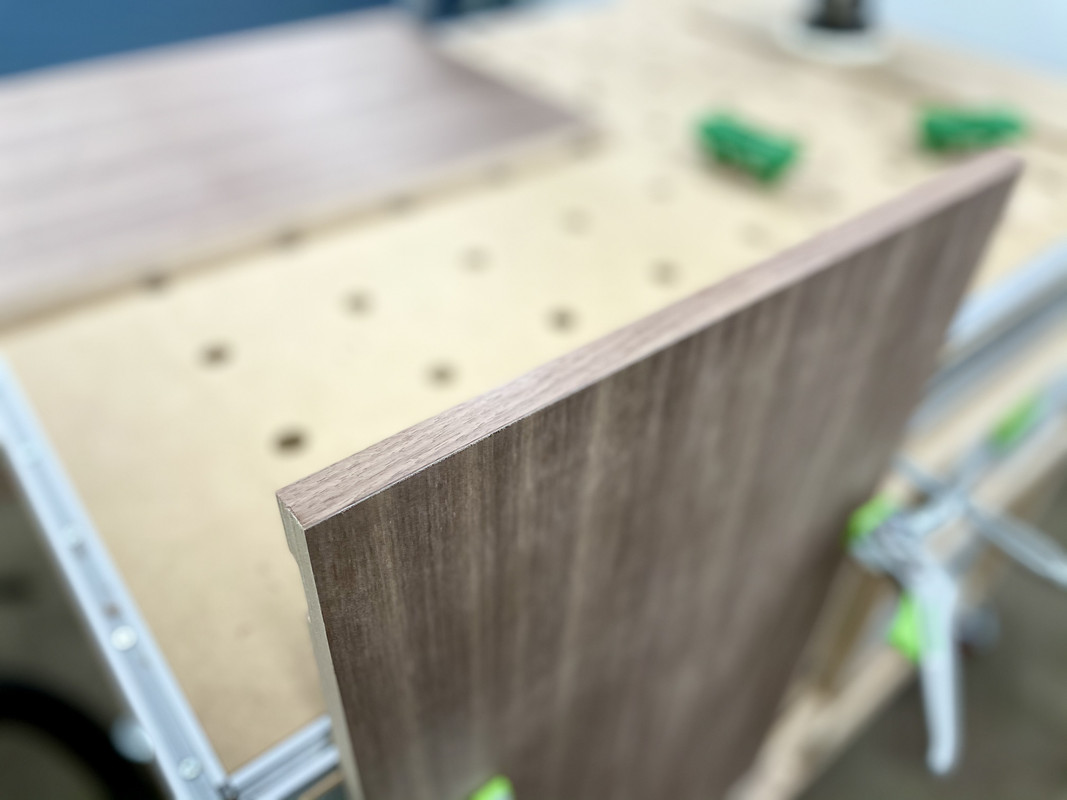
Next came edge banding for the sliding doors.

IMG-1906.jpg


IMG-1907.jpg


IMG-1908.jpg


IMG-1909.jpg


I only banded the visible (vertical) edges. I hope this won't be an issue with warping but the panels have been very stable so far.

Then sanding. The ETS behaved much better this round, not sure why but I was trying to be mindful.

IMG-1911.jpg


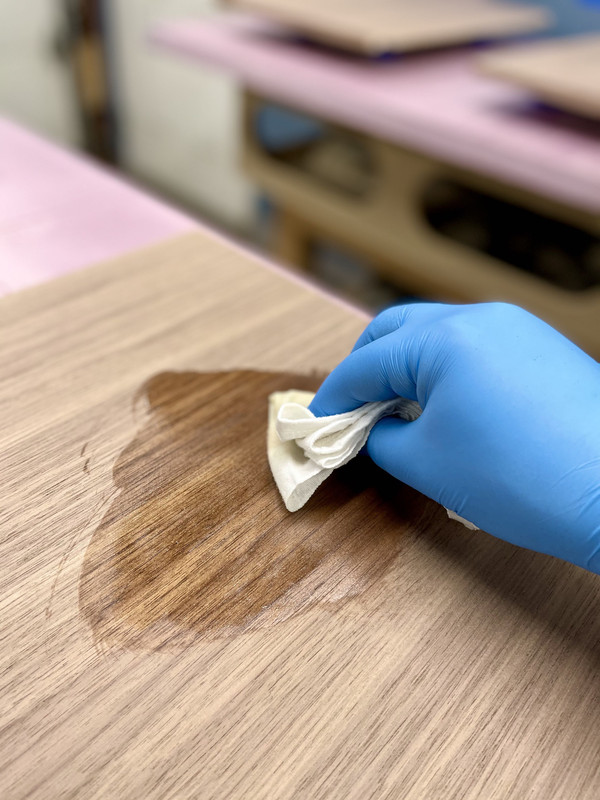
Lastly, I've started to put finish on the doors.

IMG-1925.jpg


IMG-1928.jpg


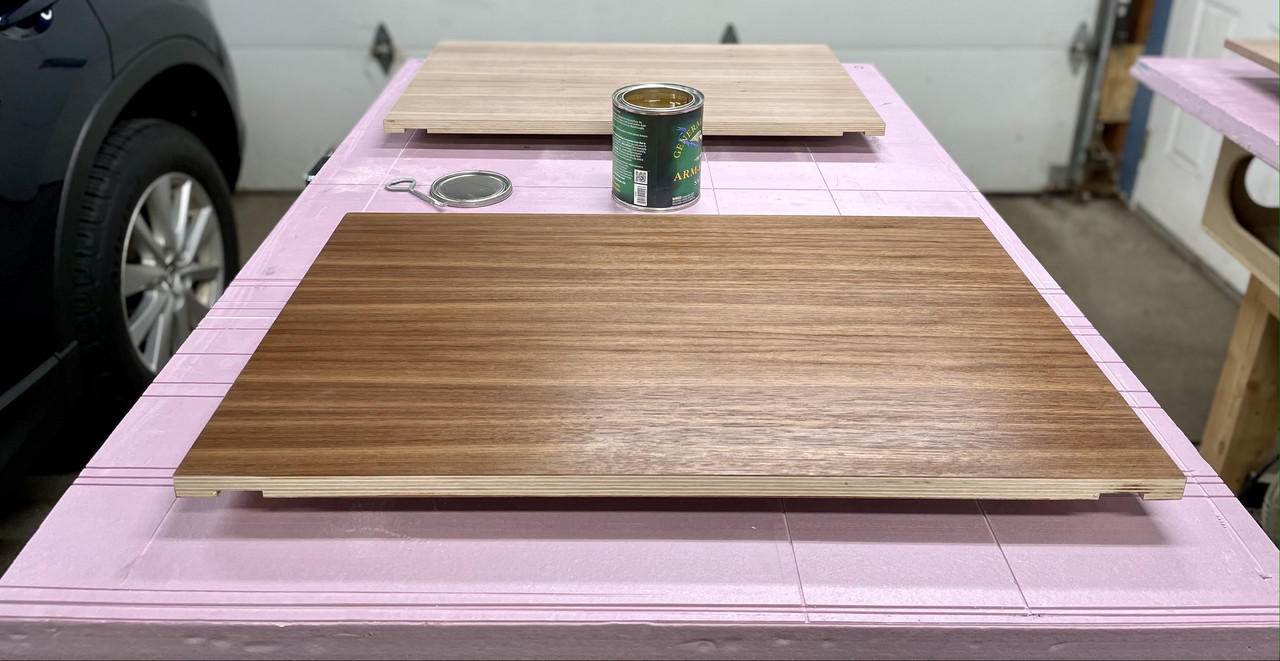
To those who suggested Arm-R-Seal, thank you, I am loving the way it looks and it is so easy to apply. I'm not sure how it would fair on light wood over time, but I'll have to do some tests. If good, I may never go back to water-based poly. :D

IMG-1930.jpg


IMG-1931.jpg


IMG-1936.jpg


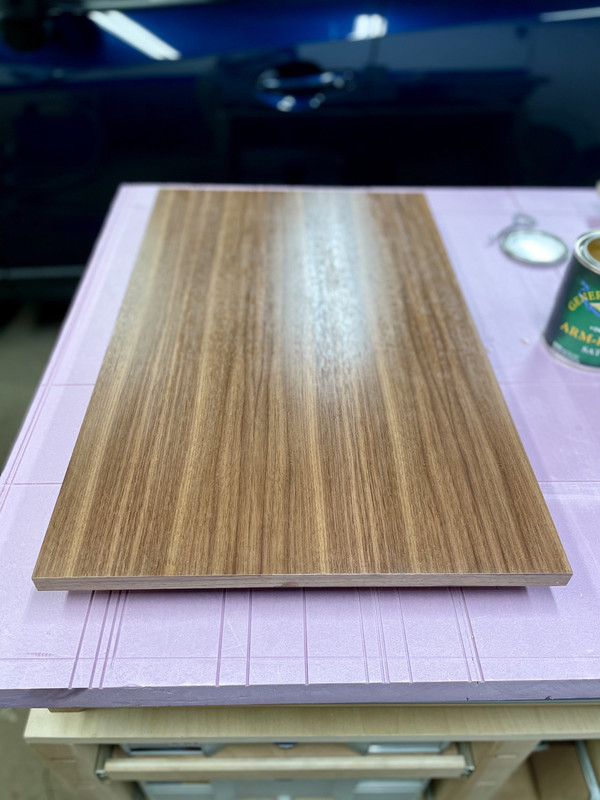
And... just got done with a 2nd coat tonight:

IMG-1944.jpg


It's wet in all these pics so probably will end up a bit duller, but after a 3rd coat I'll see how it's looking. The walnut ply was spendy, but seeing that beautiful straight grain come to life was honestly the most fun I've had finishing a project, maybe ever.

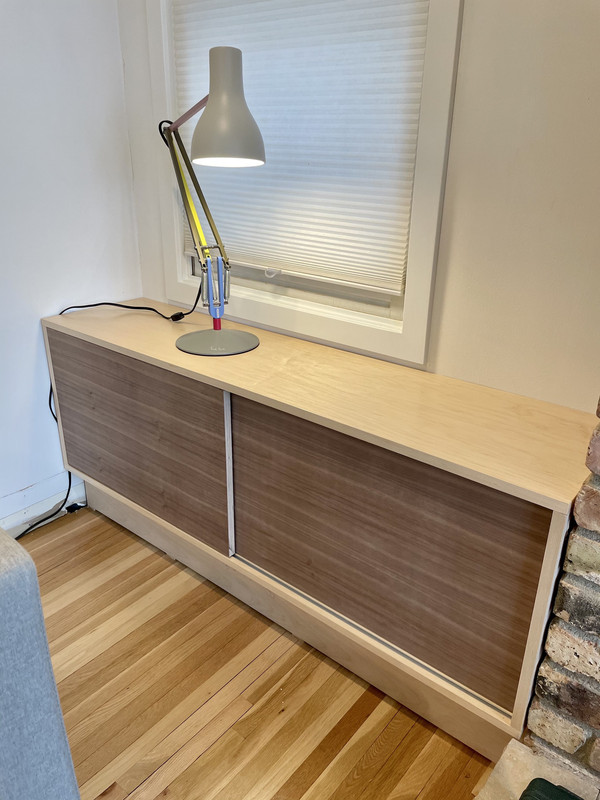
I have a few more little tasks I probably won't bore you with. The next post on this project might be the grand reveal. :D
 

topcok88

Well-known member
Joined
Jun 3, 2013
Messages
660
Awesome that the ARS is working good for you. My only suggestion is if you are planning on doing multiple costs to use ARS gloss for the initial costs and only use ARS satin for the last coat. Using multiple coats of ARS satin can leave the grain looking muddy.


Sent from my iPhone using Tapatalk
 
OP
N

nicholam77

Well-known member
Joined
Dec 18, 2016
Messages
2,671
Location
Minneapolis, MN
Awesome that the ARS is working good for you. My only suggestion is if you are planning on doing multiple costs to use ARS gloss for the initial costs and only use ARS satin for the last coat. Using multiple coats of ARS satin can leave the grain looking muddy.


Sent from my iPhone using Tapatalk

Thanks, that's a good tip. Too late for this project I think and I only bought the Satin as I tend to prefer more natural/matte looking finishes. I still think it's going to come out great. Next time...

One downside is the 24 hr dry time between coats (in ideal conditions). Which in my 50° F garage probably isn't. I'm used to being able to reapply in 2-4 hours haha. Do you wait that long when using it?
 
To avoid these ads, REGISTER NOW!
Top Bottom