mfg0772
Well-known member
Looks great! Can't wait to see the final product.


I love the style of those cabinets. Nice work!!
Holy Cow the inside of that wall is what nightmares are made of!
You work looks really good Nick. Good thing you made those nice cabinets to cover up all that mess.
Bret
 Now I know why they put those electrical boxes where they did.
Looks great! Can't wait to see the final product.
Every one of my projects are like this. There’s always a hidden “challenge” from work done by previous owners and sadly from past professionals.
The built ins are really starting to take shape. Nice work! This the final 10% of the project that’s taking 90% of the time!
I can’t believe you don’t have a stud finder!
I got mine at Costco, I don’t remember brand but I believe it was a private labeled version...it’s 8” wide, blue, with multiple lights that will shows the full stud width. It has been extremely accurate for me even through plaster walls. It’s got a small ruler and level on it to which is also helpful. It was around $40.
Should have mentioned re: stud finders - I've had several over the years always opting for the cheap one. They all sucked. Then, listening to the Fine Homebuilding podcast, they mentioned Franklin Sensors. Once I heard about it there, I found lots of other great reviews. I finally ponied up for one and it was worth every penny.
Way to persevere on the shelf and built in units. It's surprising when you monitor time on this stuff and realise how long it takes outside of the efficiency of mass production
I find myself carefully contemplating this trade off when making decisions, more recently purchasing Ikea cabinets vs making them. That said, I have a few maple/birch built in for the daughter's room, now 18 years old, and they still look great and work perfectly. So you do get that "time" back in longevity when you take the quality approach
But I do get enjoyment out of making stuff and for me the biggest advantage is custom design. I like designing stuff and in the case of the built ins they needed to be fit to the space. Yes, you can pay a professional to do that but it's so expensive. This way I have control over the details myself and only myself to blame if it doesn't turn out. I've had a few situations with contractors where I felt like I paid way too much money for a result I wasn't completely happy with. But it's definitely something that should be evaluated on a per project basis I think. Sometimes it just doesn't make sense to DIY.I’ve got nothing great to add, save that a sharp block plane and some practice might give you a fast and quiet way of flushing up the shelf trim before sanding.
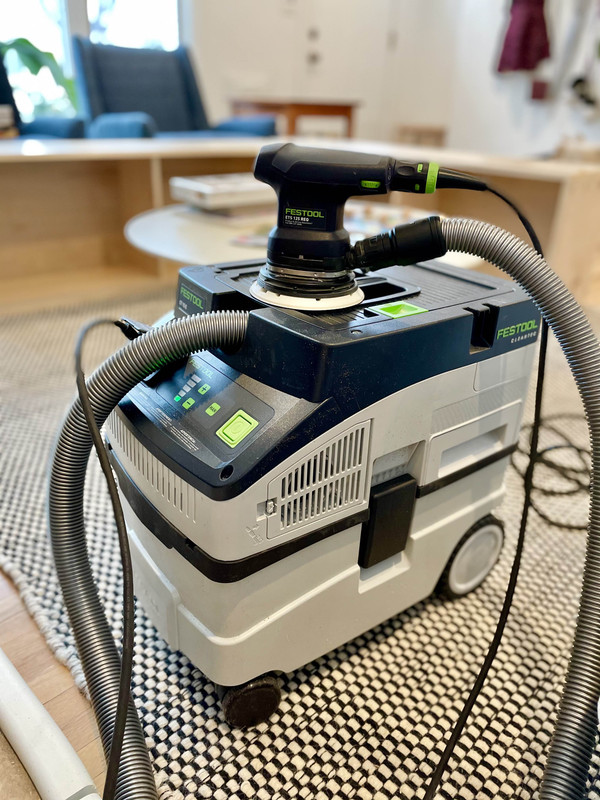
Kudos on the new vac, I’ve got the same.
Reiterating another poster’s question, I’d love some info on your camera and photo set up. Every time I enjoy your posts I kick myself for investing the time and energy in a proper camera, post-processing, and lighting.
Nick,
I just got caught up on all of your progress. Too many great updates to comment on each of them specifically, but as always, I love reading along. I have to give you credit for sharing the mistakes along the way, too! I have never been good at that, but that is certainly how we learn. I also feel your pain out there working in a winter coat. Gotta make that garage heat happen someday, it will change your life!
I am always jealous of the pictures you post inside your house, it appears as though you have a ton of natural light! What is that a function of, large windows? House orientation? Bright interior colors? All of the above? Whatever it is, I dig it.
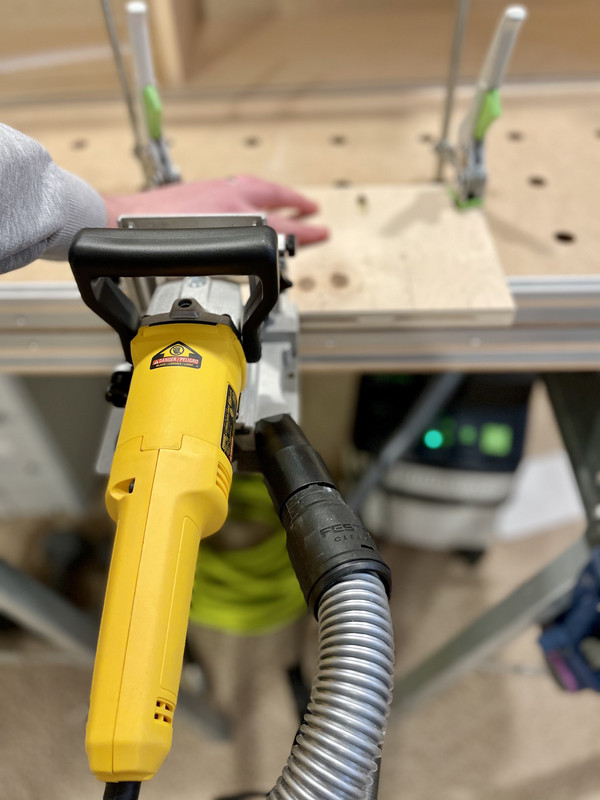
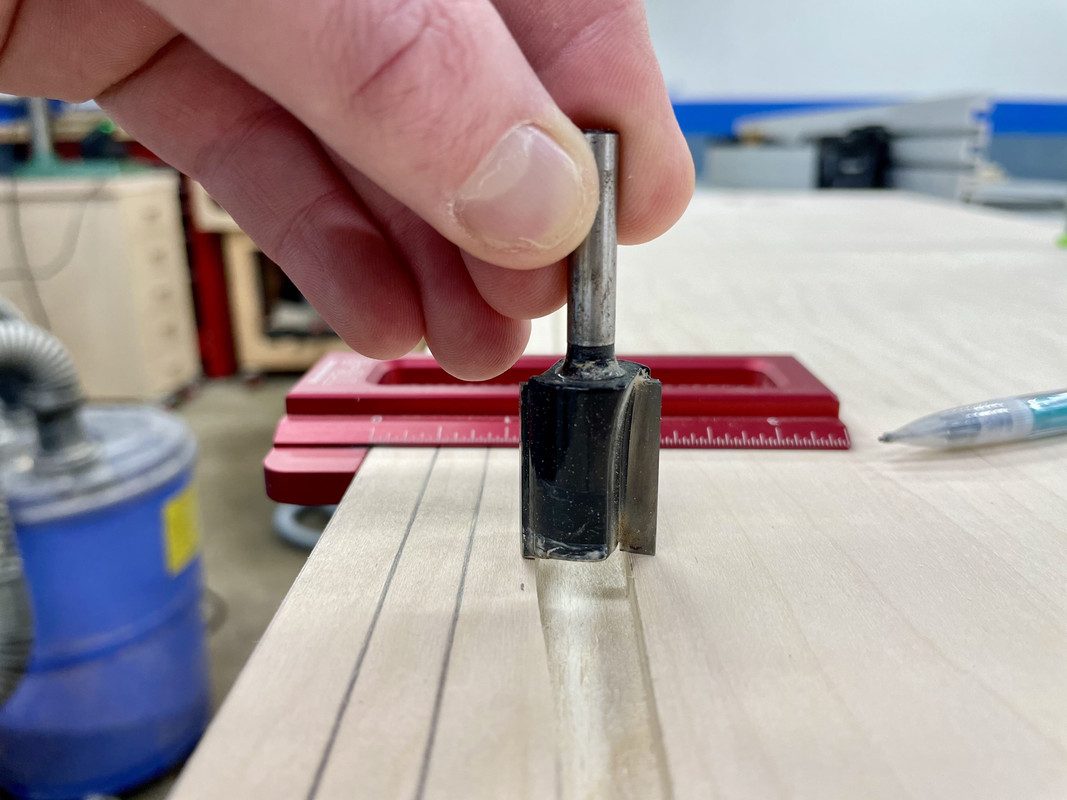
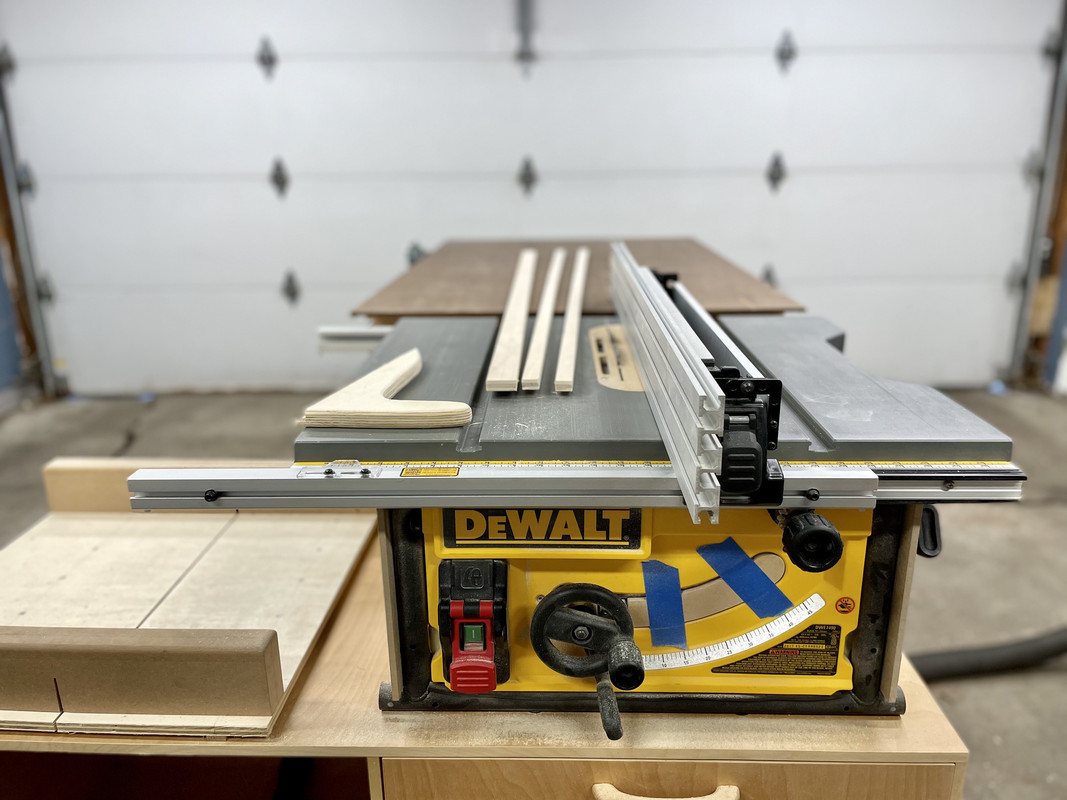
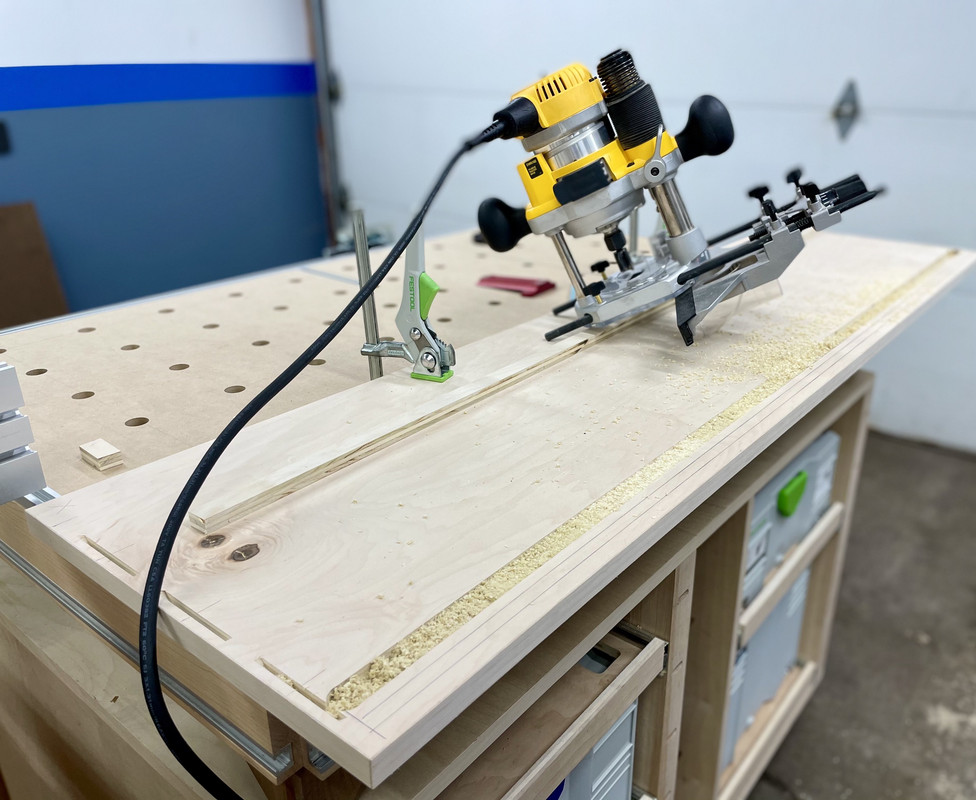
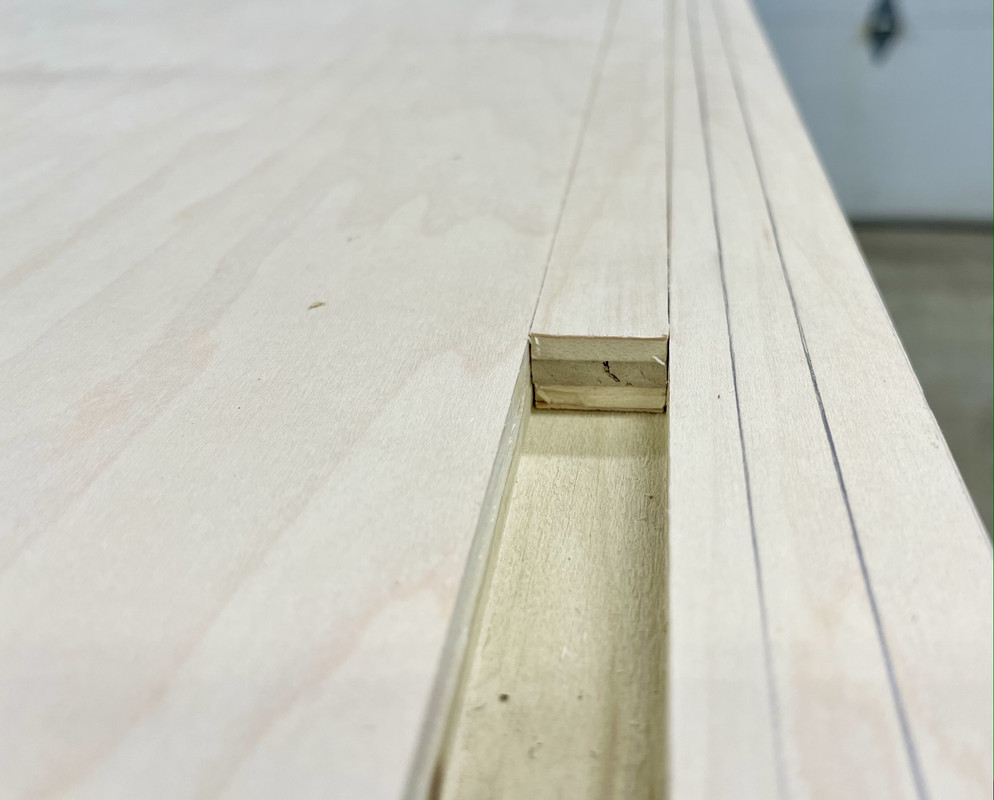
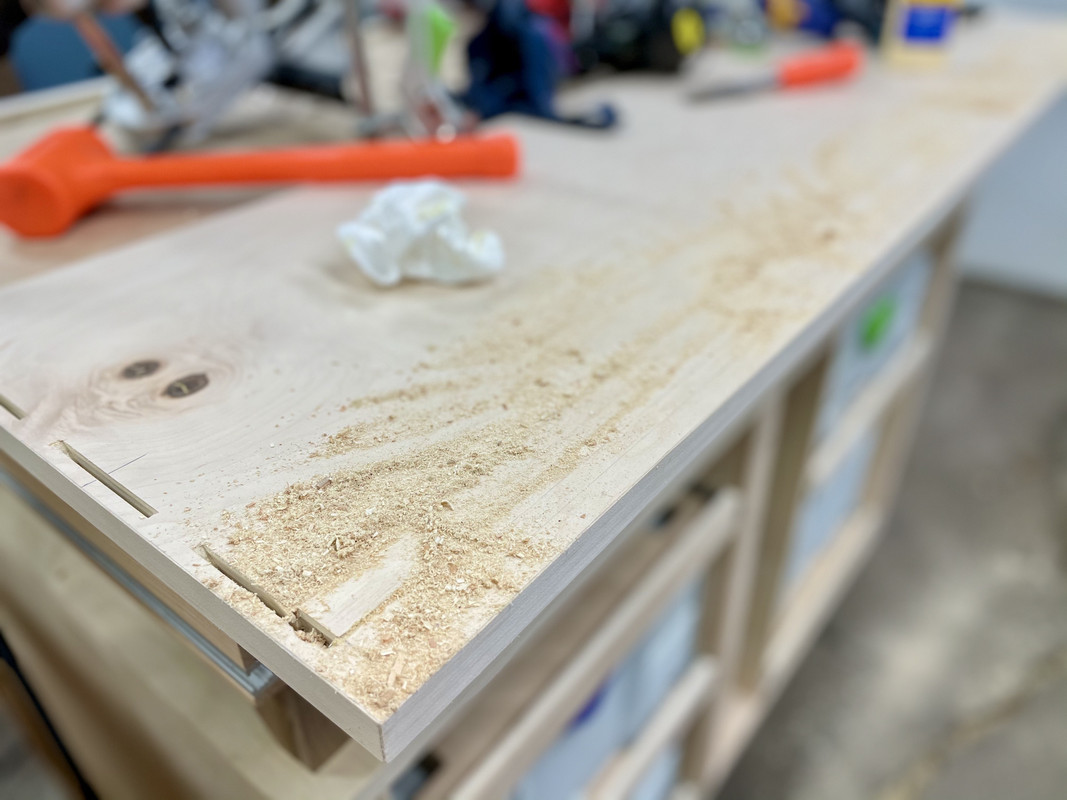
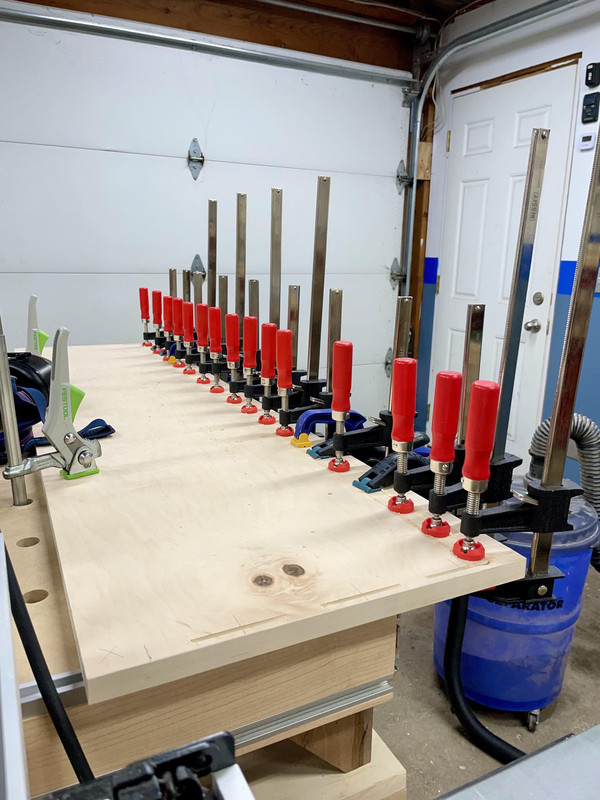
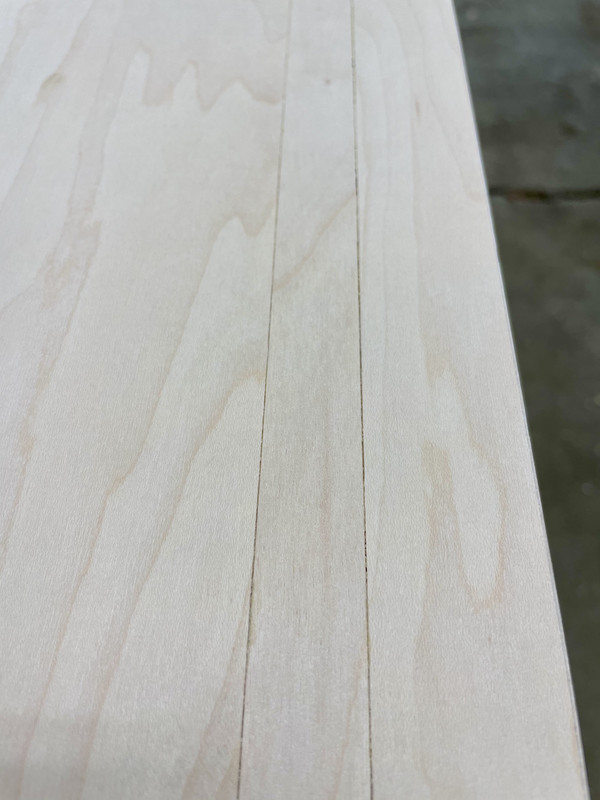
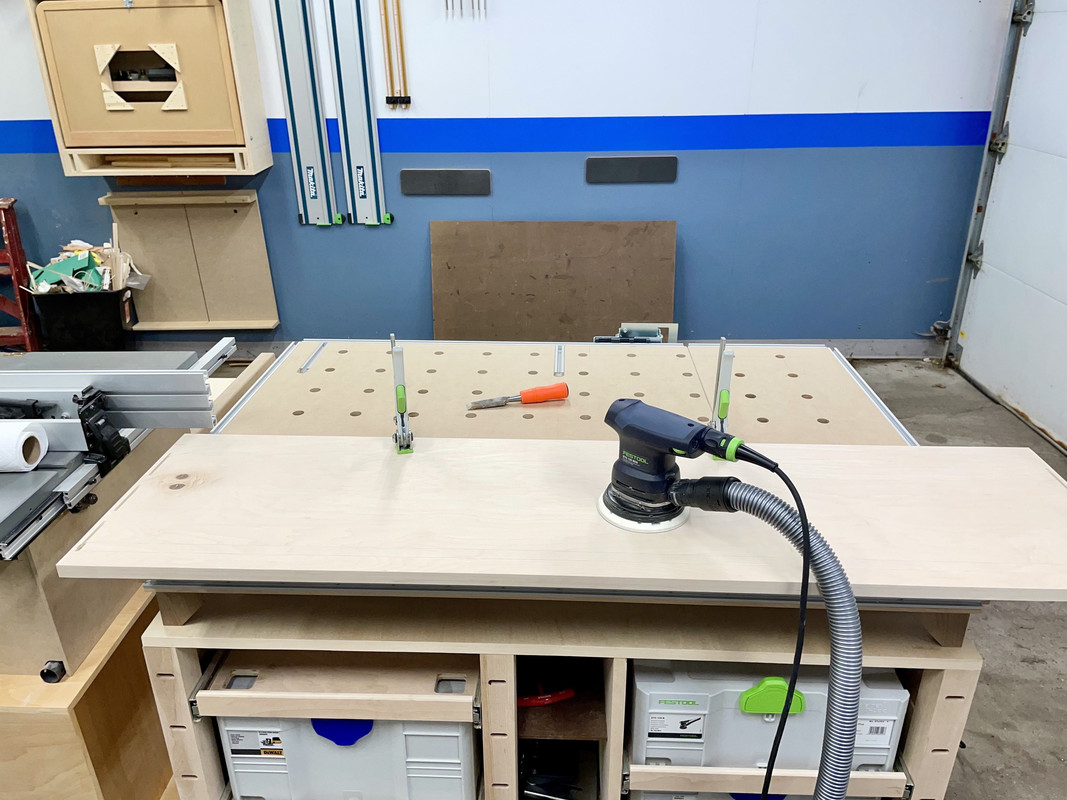
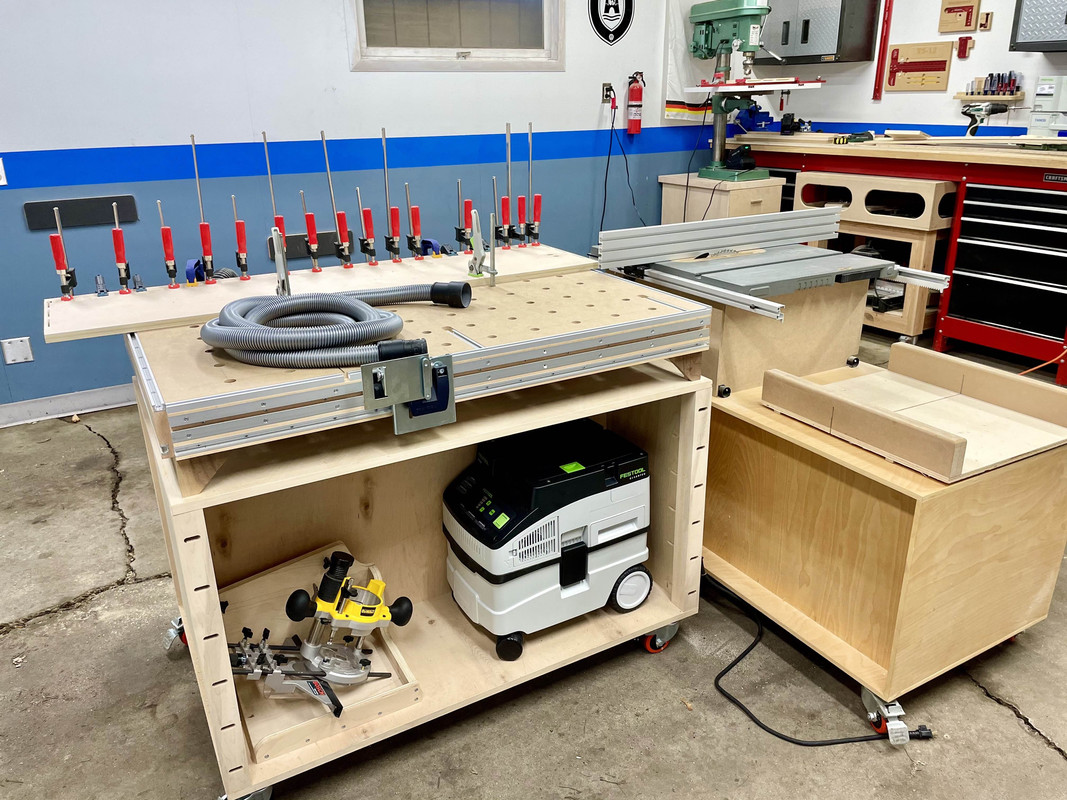
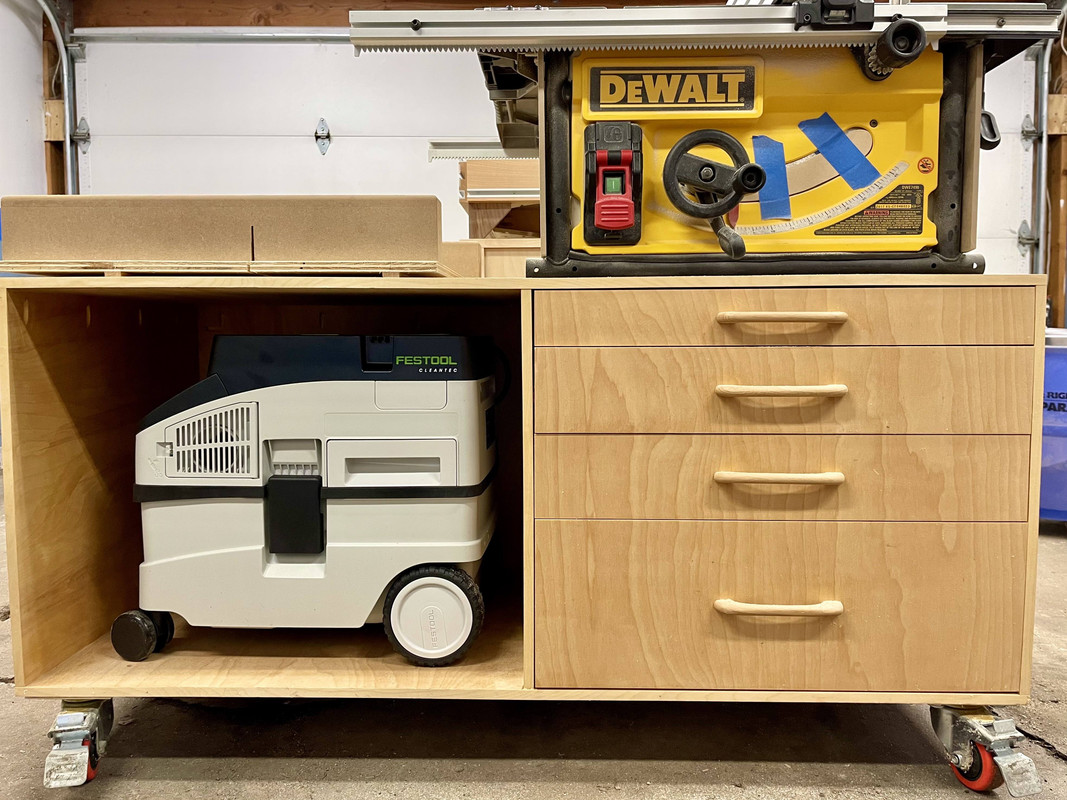

Looks like your repair worked out well Nick. After a few years you will forget it is even there.
Bret




20 years later, and gifs still get me in forum posts like these
I think I'll never grow up
Thanks Nick
It’s looking great and I’d much rather read about the mistakes along the way than only an after photo.
Keep it up, even if it’s slow and steady progress.
I need to keep my progress (and spirits) up working the same 9pm+ project hours. It’s hard some days.
Can’t wait to see it all come together.
The room has a great feel already.
I bet your wife can’t wait for it to be done, too!
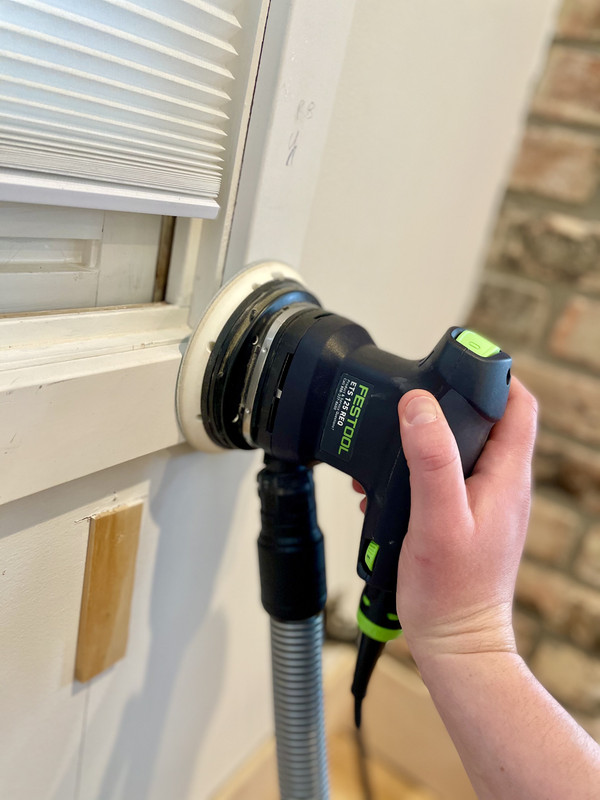
The first couple times I used my Festool Rotex 150 it was like wrestling a bag full of angry weasels. I thought I'd made a terrible choice, but over time I got to understand its nature and how to let it work. They've got a lot of torque and the way their weight is distributed once the paper grabs on a high spot it's going to really dig in and throw it around. The key for me was to understand that the initial sanding passes were going to reflect the nature of the uneven surface, and modulating the pressure (I often take weight off the beast to keep 'er from getting too skittish) and sandpaper grit selection are important. Keep using it, pay attention to what it is telling you about the surface, and use that to get a perfect plane. You already noticed that once things get flat it settles down, that is a great indication of the state of the job (and when to go up in grit.)
Basically just keep using it and you'll get more comfortable with what it is trying to tell you. When it gets grabby you'll be able to feel what area it is grabbing on and center the disk there so it has a more symmetrical contact. You bang down all these (invisible to the eye) high spots and then can do a quick leveling pass. If it doesn't grab anywhere you know you're pretty much flat.
Another thing that helped my workflow/process was buying all the different backing plates. I find myself using the hard one almost exclusively. That’s helps a tremendous amount from skidding all over.
Great work Nick! You know difference between a good and great carpenter is how good you hide your mistakes. You definitely define to the "great" category
I could do a thread about hiding mistakes
Love your house pictures and great helper you got there!
Thanks Roboto!
I will admit, this is kind of a loaded question for me! I actually wish my house had more natural light, and it's something I feel really strongly about. Here in Minnesota we get a lot of cloudy days in the winter, and honestly a good amount of rainy days in the summer. My mood is always elevated when it's bright and sunny, I think it's just essential for a healthy life to have sun.
My house has a fairly small footprint on a small urban lot. It's oriented East-West with the front facing West. Along the South side my neighbors house towers 3 stories above and we draw all the shads for privacy all the time. It's a bummer. Mostly the same on the North side to block the adjacent house there, too.
We have a large window in the back of the kitchen (East) and a large bay window in the living room (West), so in the first half and second half of the day, respectively, these do bring in a good amount of light. But when one is brighter, one is darker.
All of our window treatments are semi-translucent so they still let some light through even when closed.
A big reason for painting all the interior walls white was to reflect light and brighten the relatively compact spaces, so you are correct about that!
I don't often share wide shots of the house interior because I'm not happy with the way it all looks yet, so you often get a selective peek. And I definitely wait until the sun is adequate for pictures.
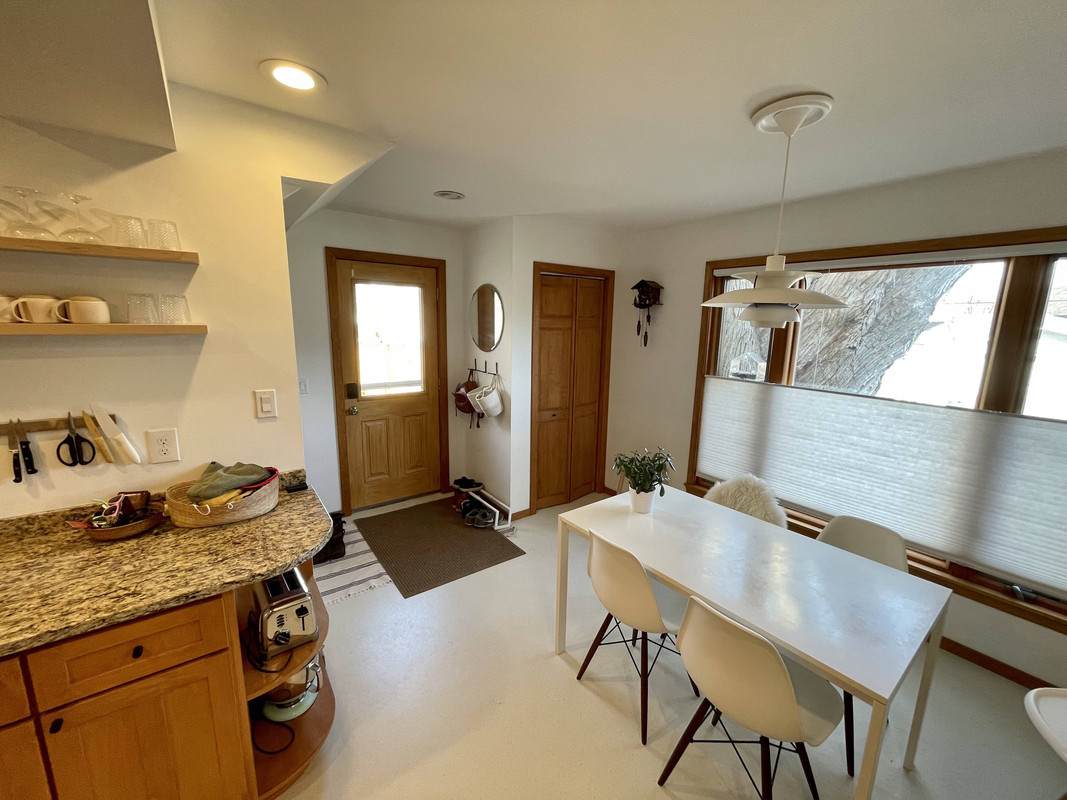
But... this is the back of the house / kitchen:
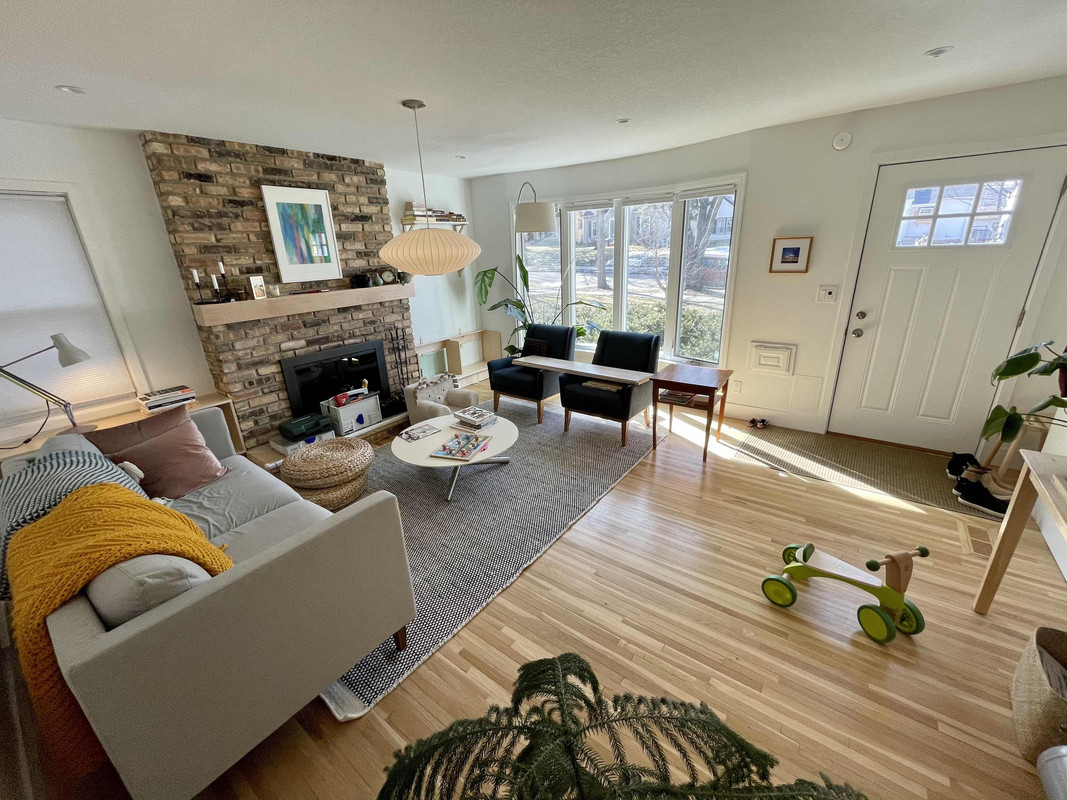
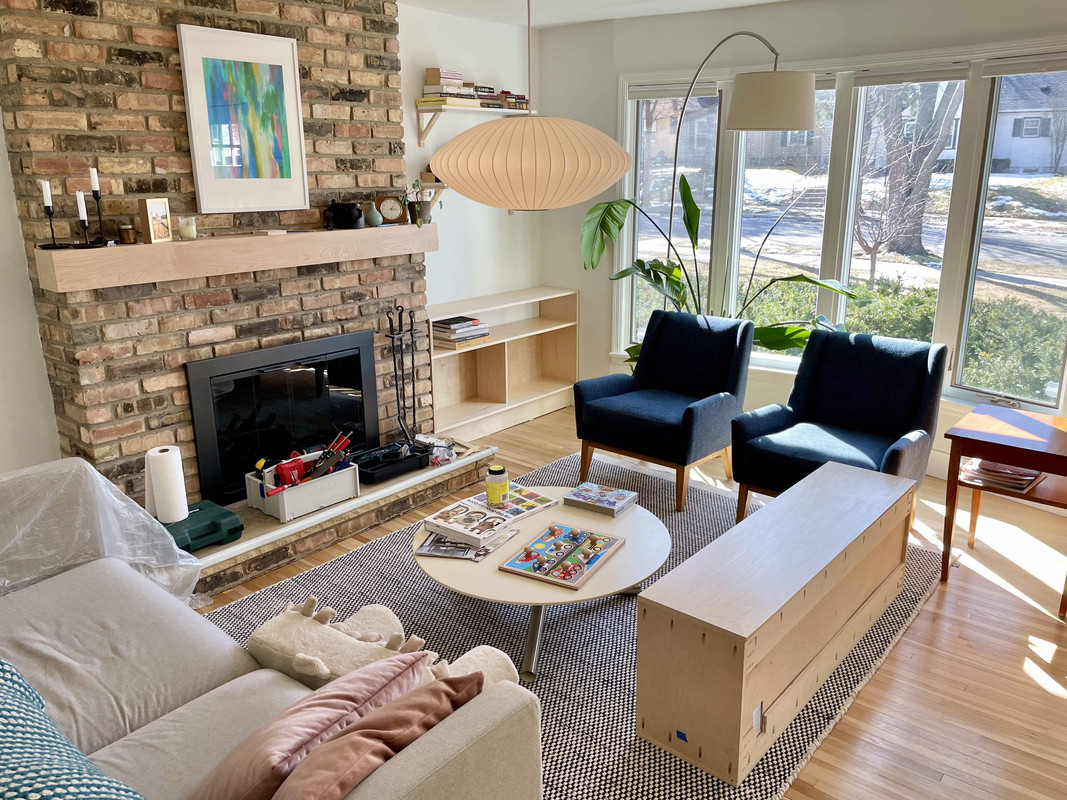
And this is the front / living room:
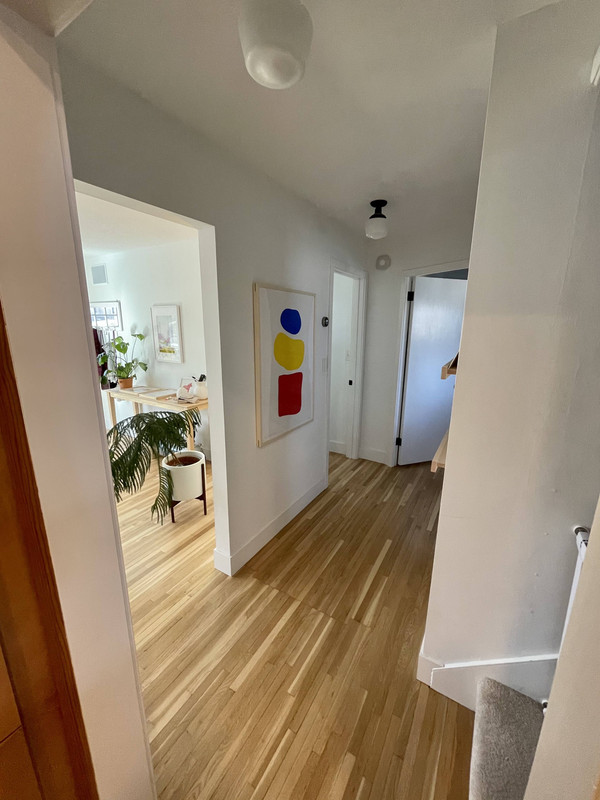
Where it falls apart a bit is in this hallway:
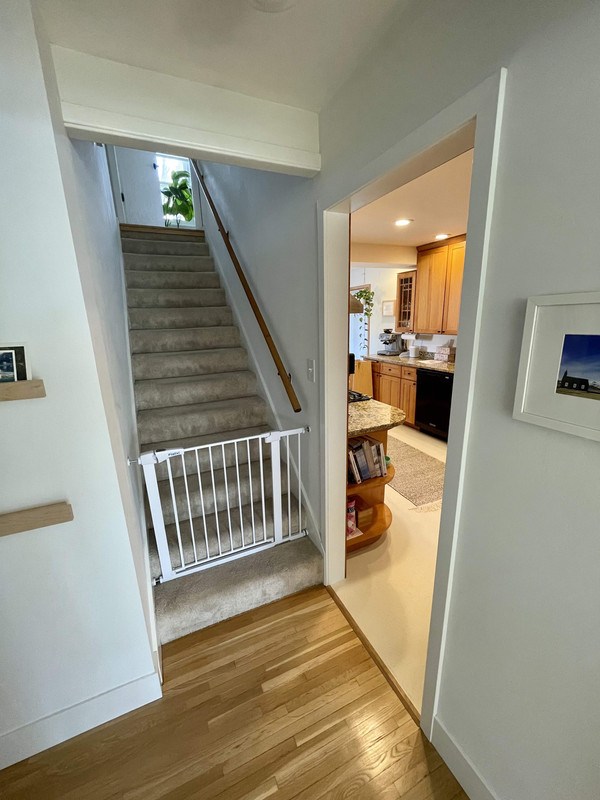
And in this stairwell:
It may not look it in those pics but at certain times of the day it's just way too dark for my liking.
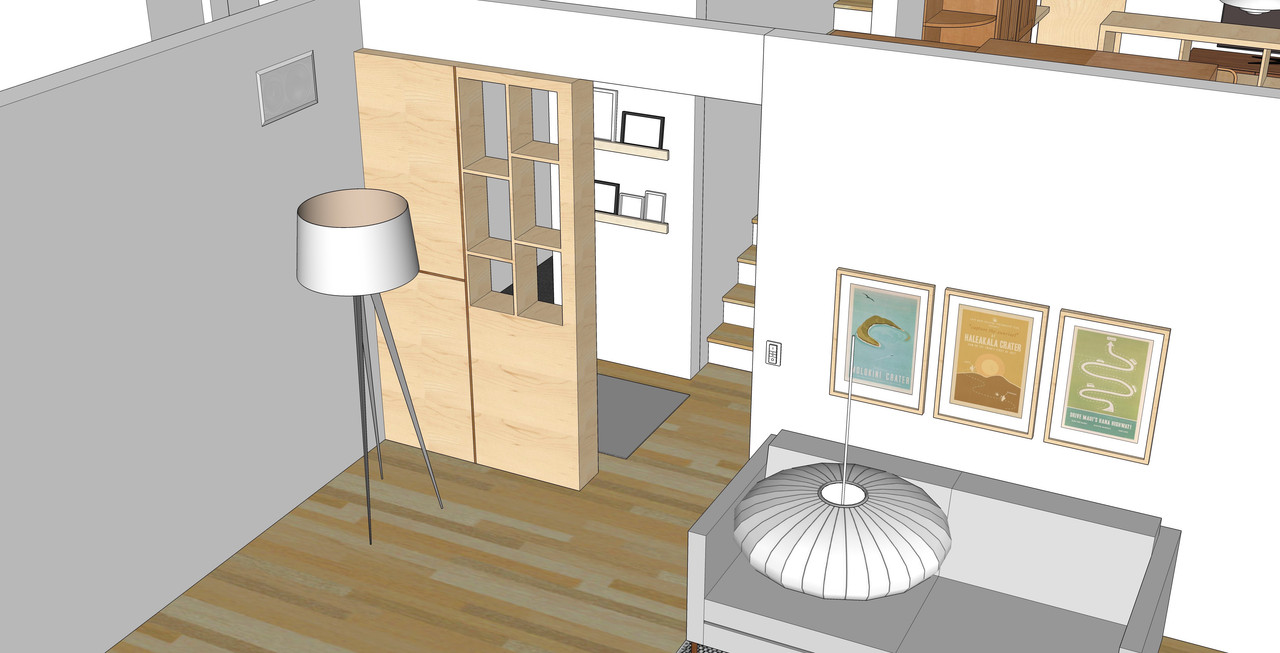
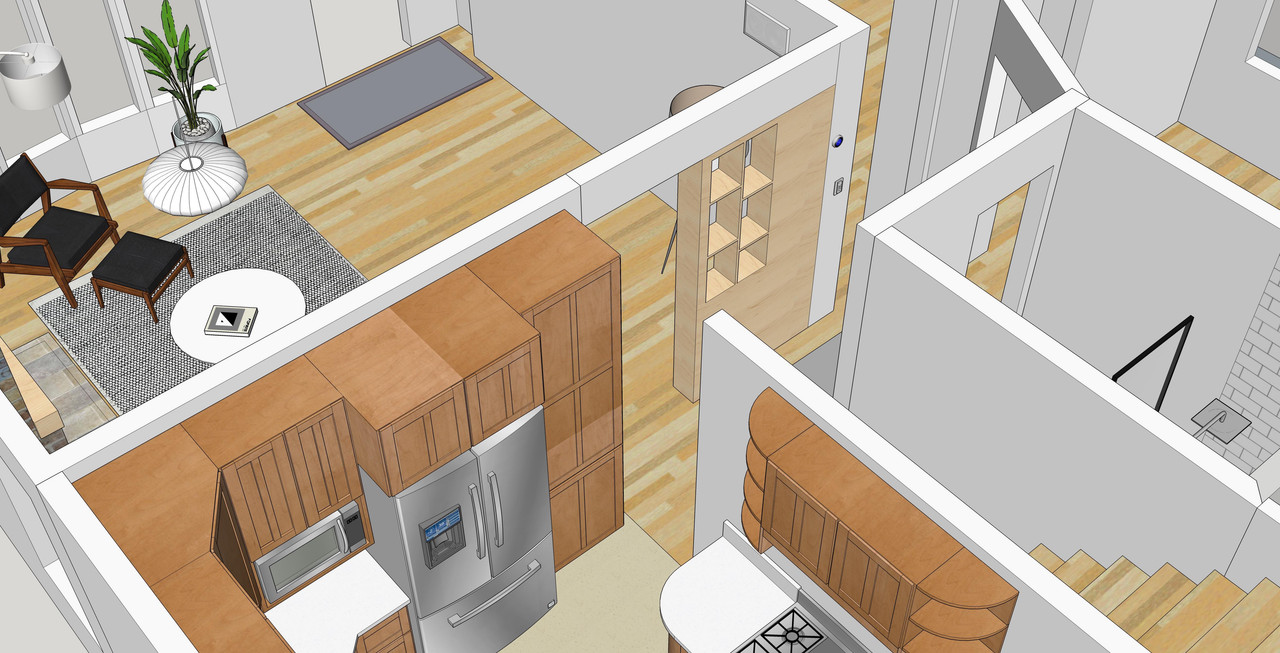
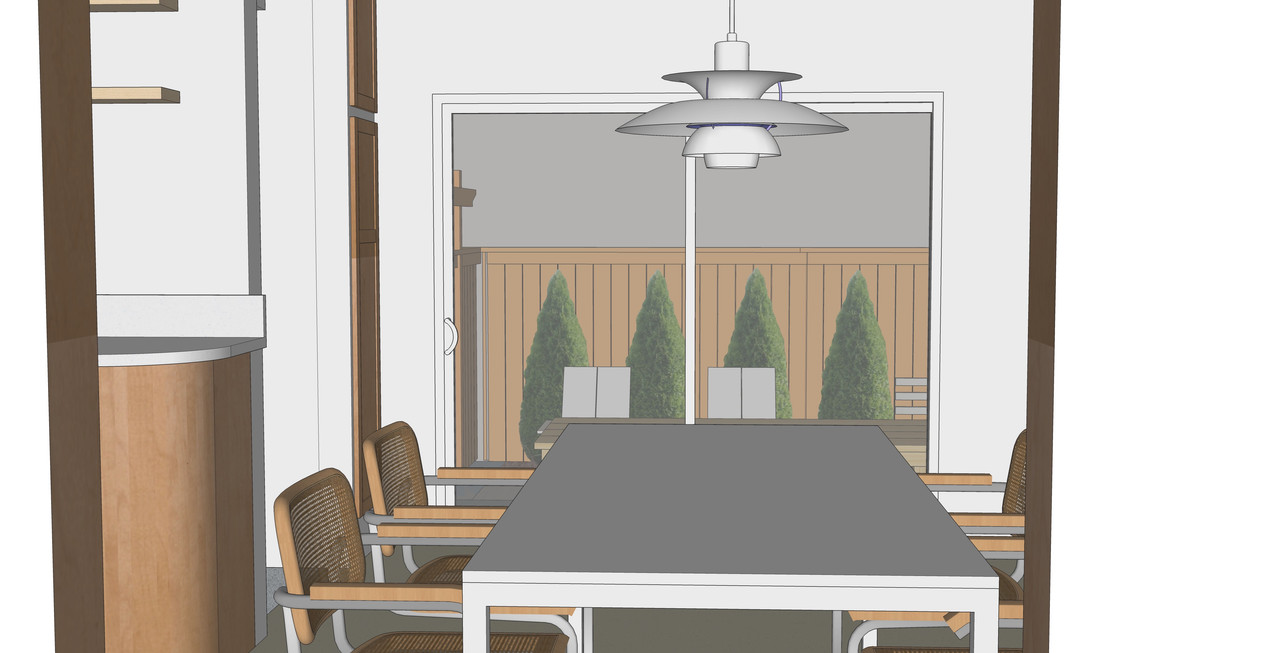
I have no idea structurally what's possible but I've toyed with various "creative" plans for the house, and a major thought behind those is maximizing interior light. One idea I had to get more light into the hallway is to make a partially see-through shelf thingy:
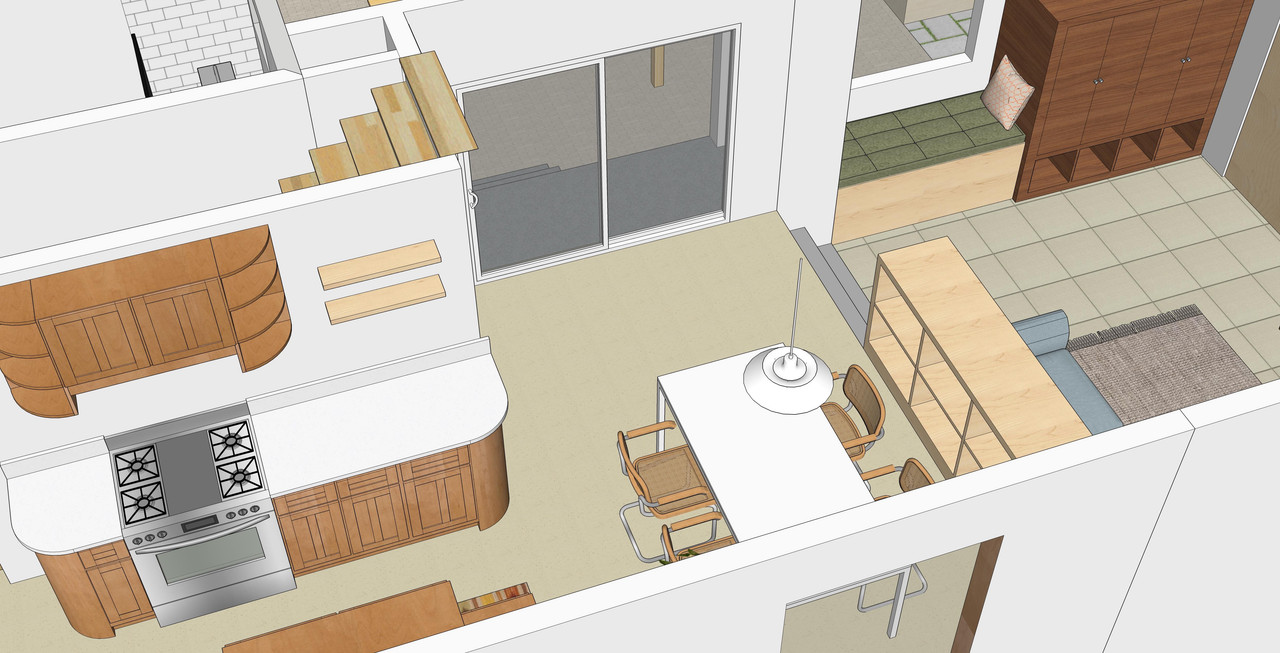
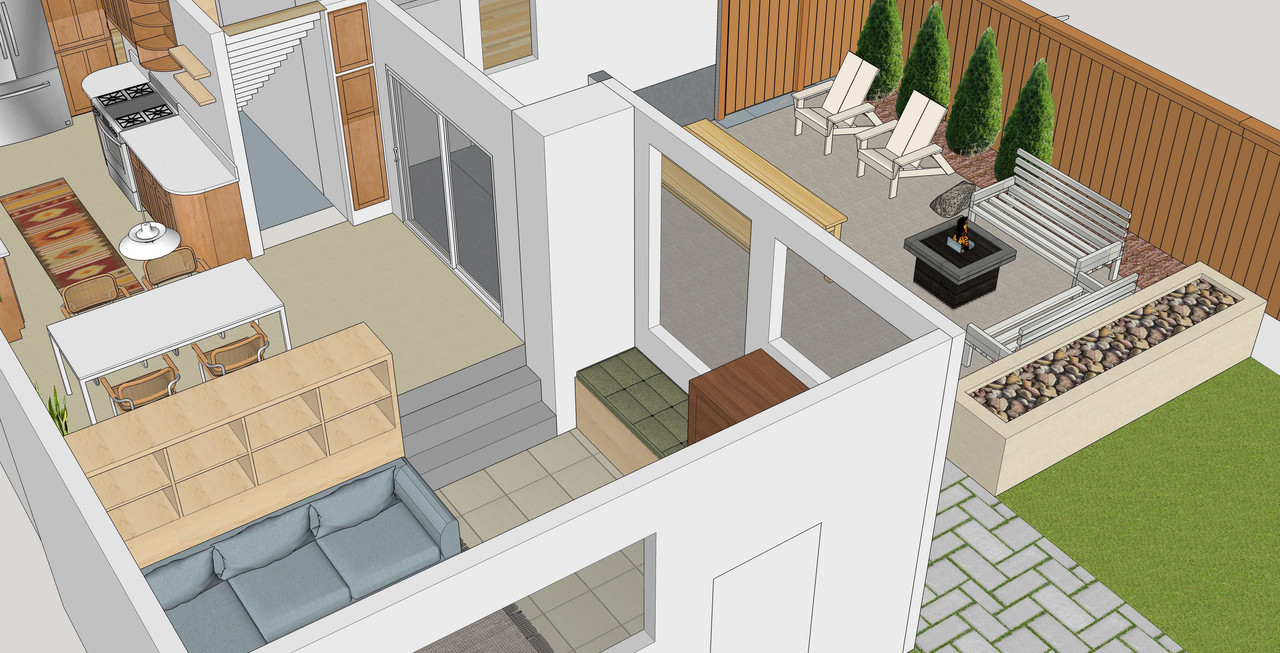
I've also drawn up some ideas for an addition off the back of the house (kitchen), and turning the back door and closet into a much larger sliding door aperture to the patio area which faces North.
Another idea I have with the stairs is to do floating treads to let some light pass from the front to the back of the house and vice versa.
Anyways these are all hypothetical but just to illustrate it's important to me and I think about it often...
Well, from 1,000 miles away here in NH, the lighting looks great! haha. I can see how important it is to you, and see how much though you've given it. Those renderings look great too for the potential additions. Do you think you'll think about pulling the trigger on something like that someday? It certainly would be a cool addition.
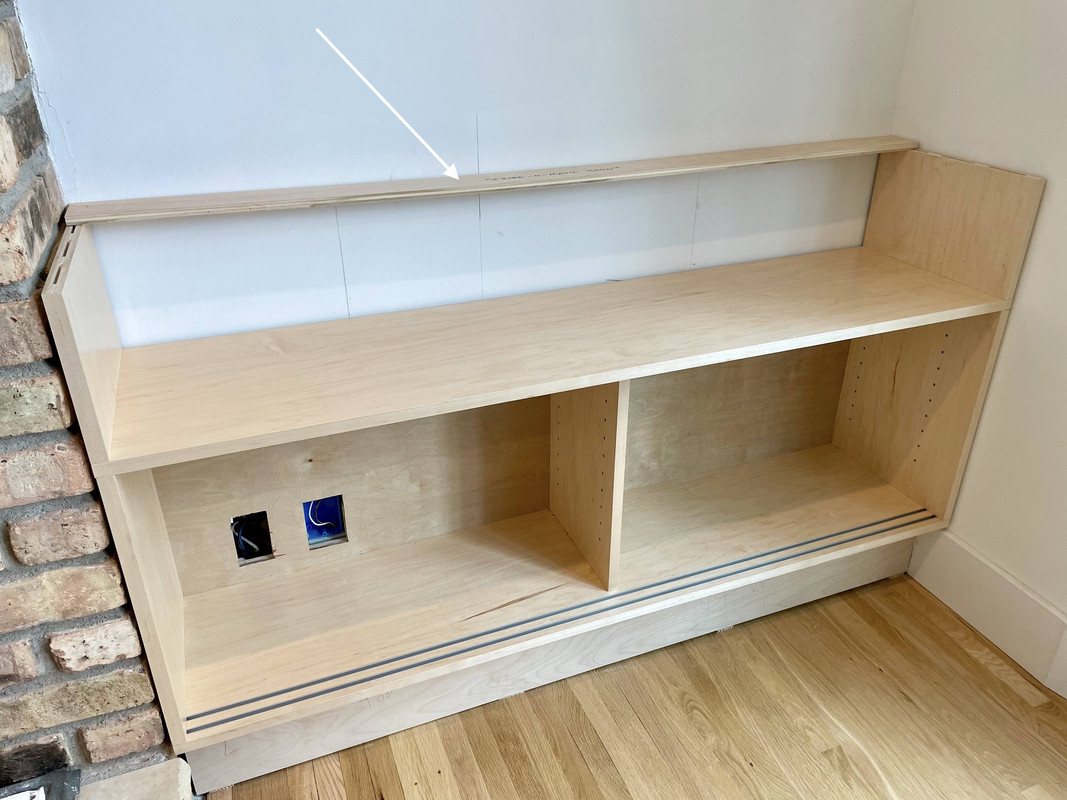
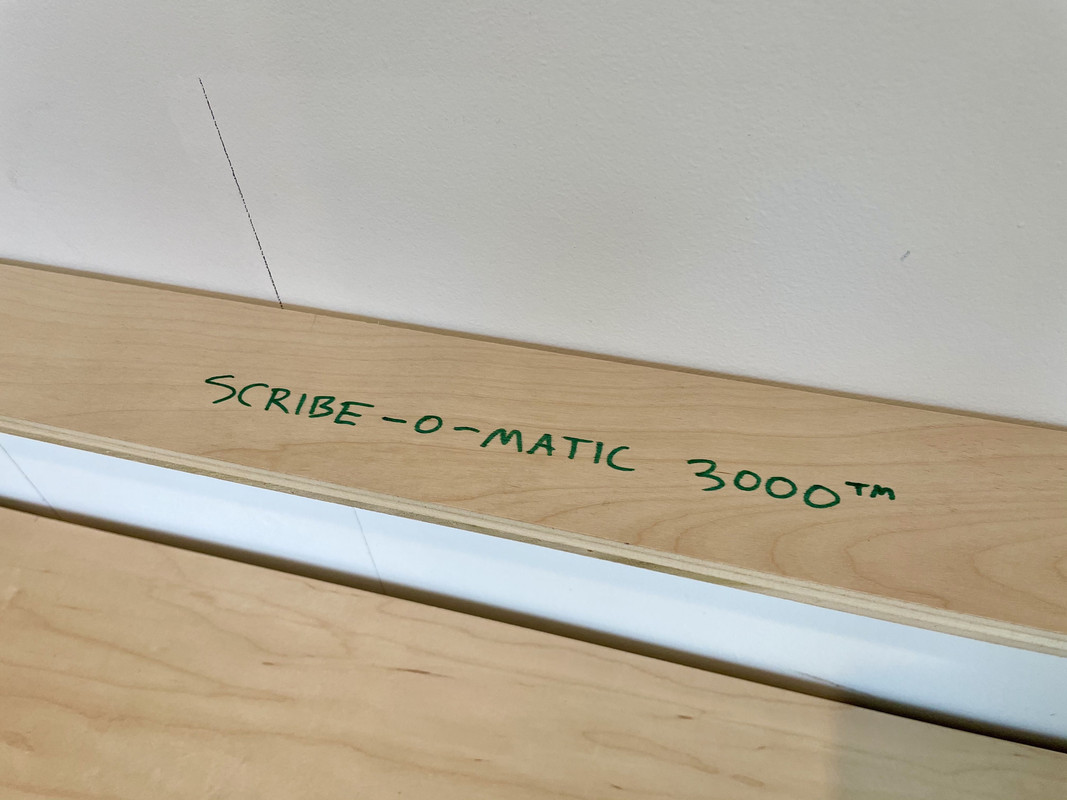
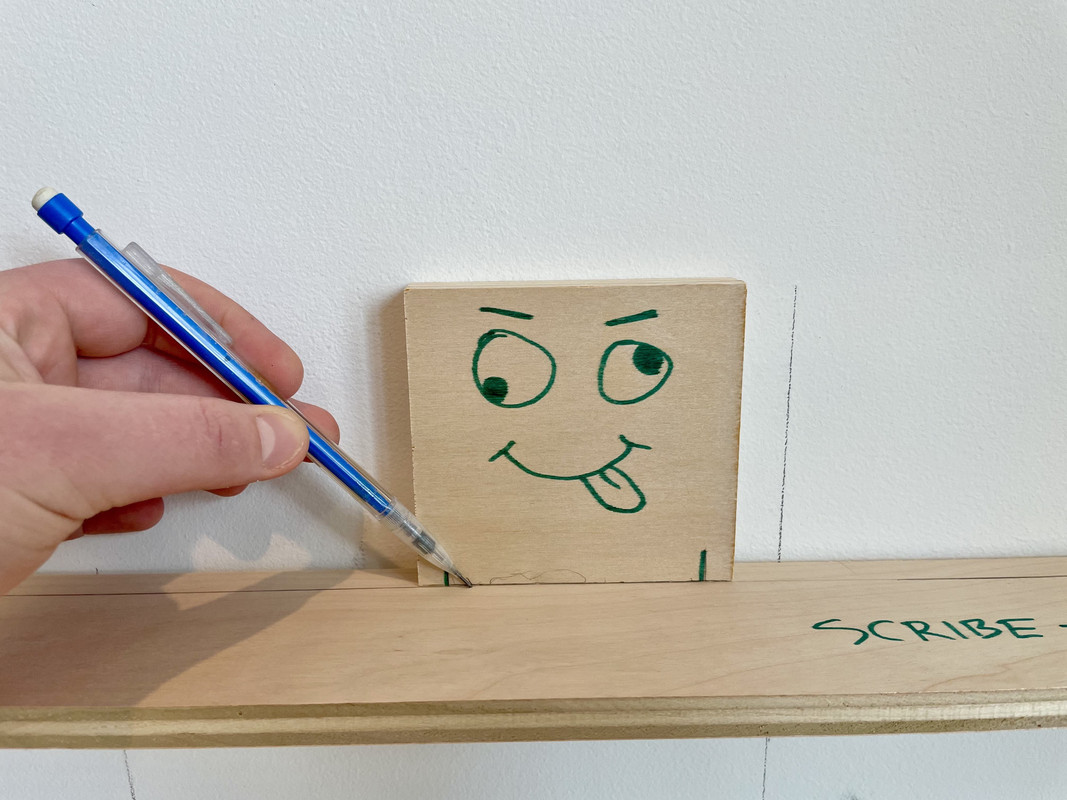
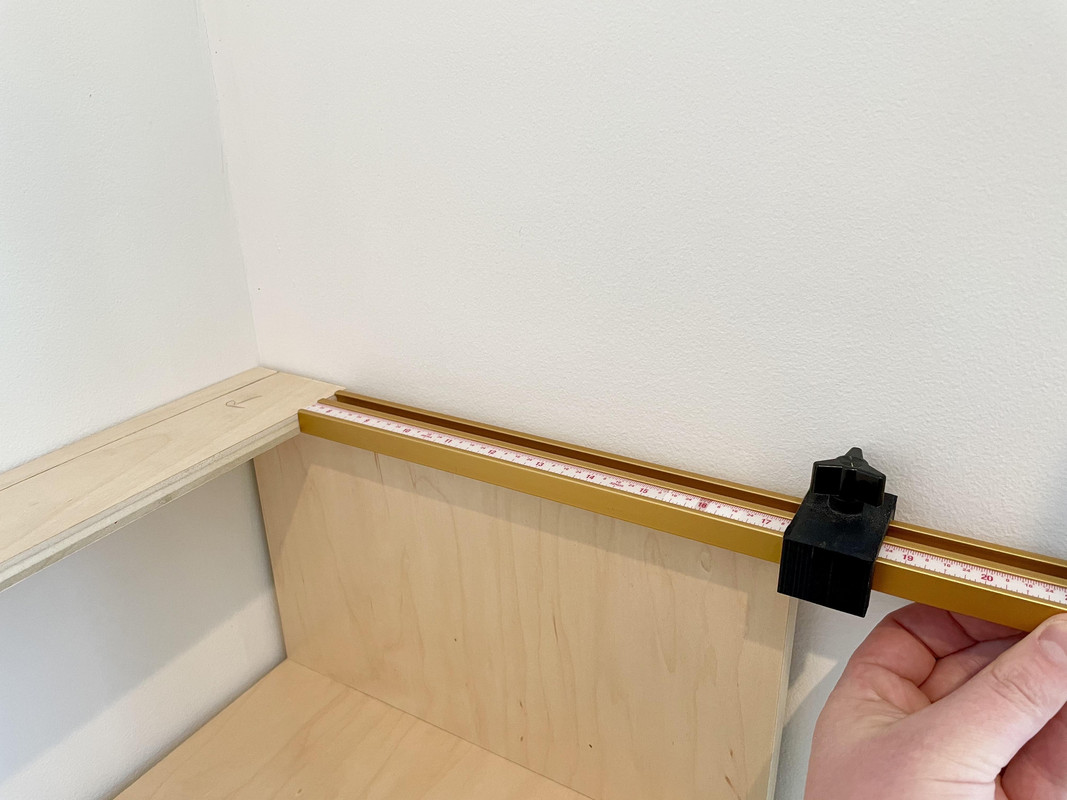
Also, where may I acquire a scribe-o-matic 3000? It seems a worthy addition to my toolbox!
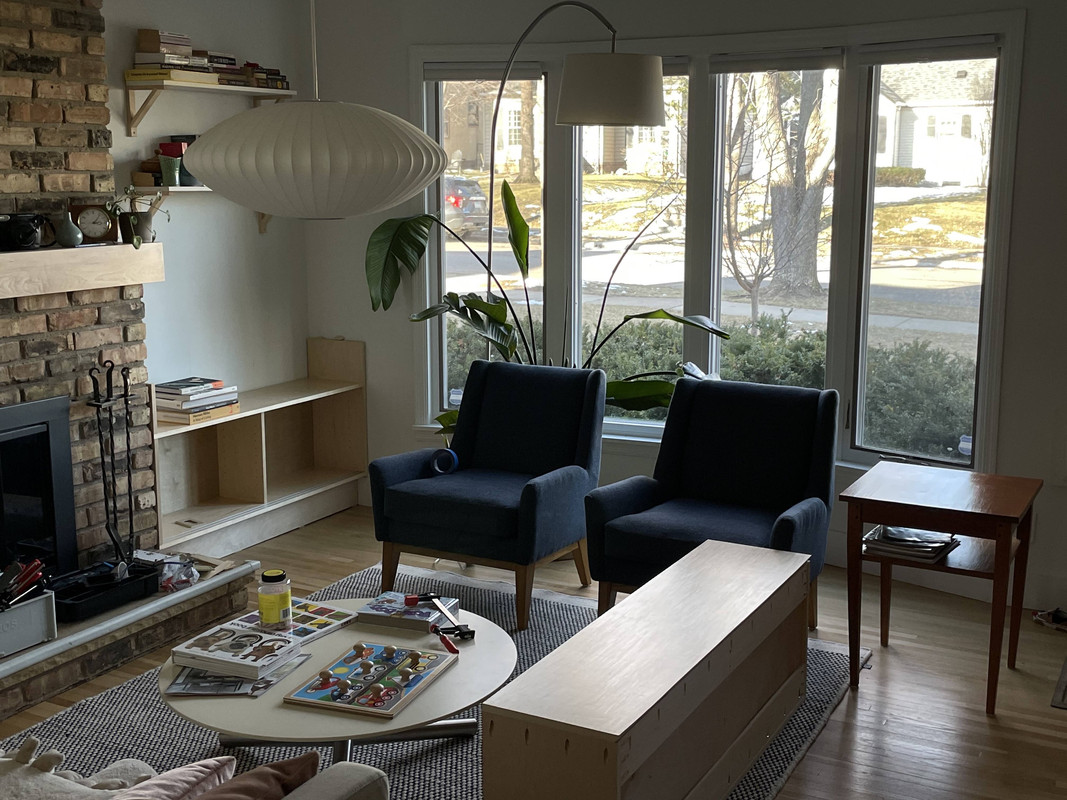
I mostly use the Rotex in Orbital mode, where it has a very similar action to yours. Your unit has a tighter orbital stroke since it is targeted more for finishing, but that means is that the motor is delivering its power over a smaller path so it will feel more willful if you try and fight it.
{snip}
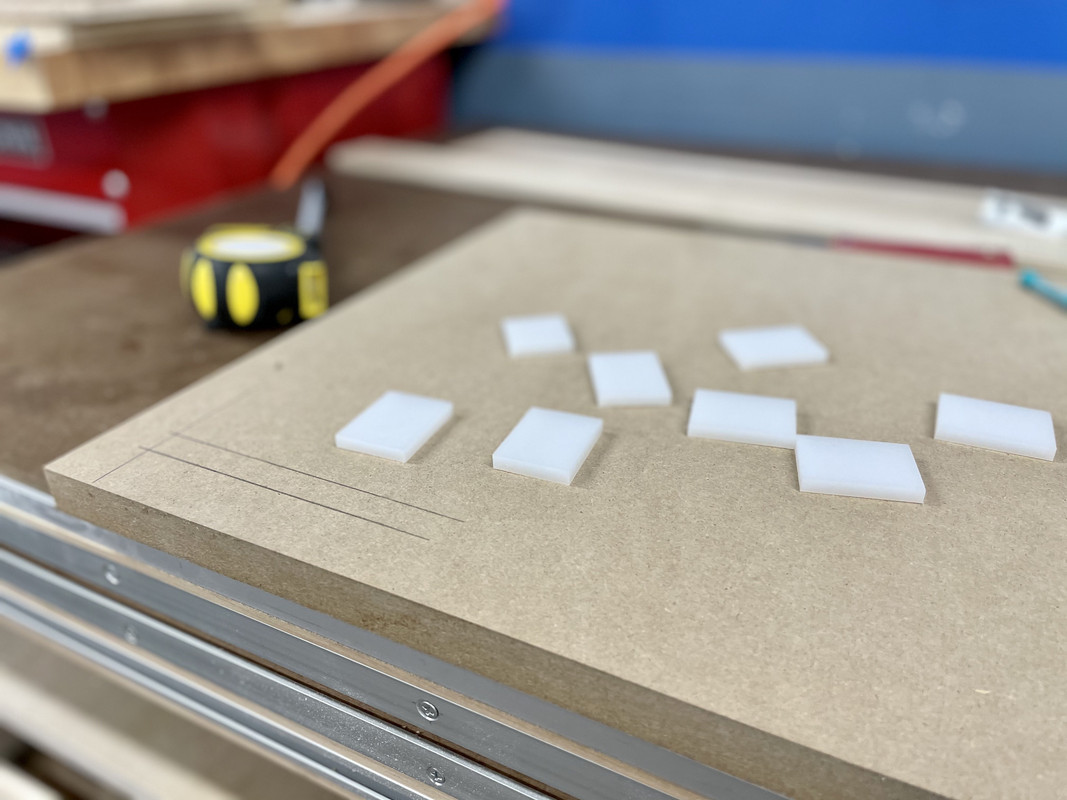
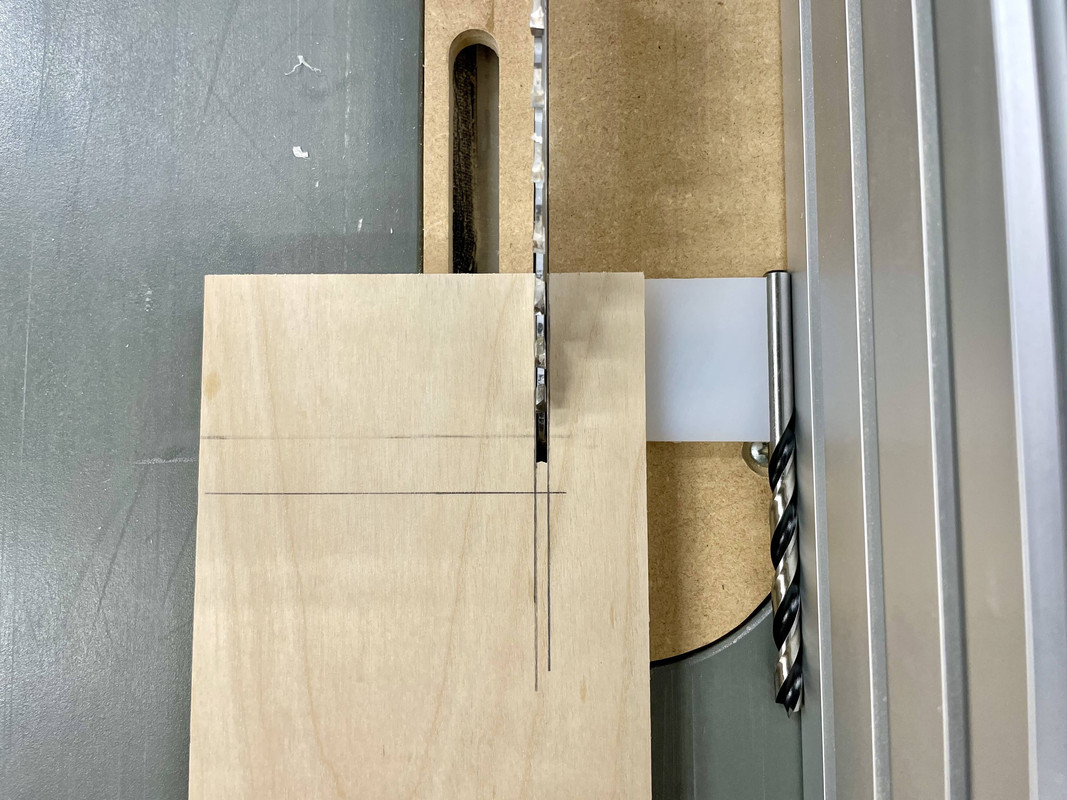
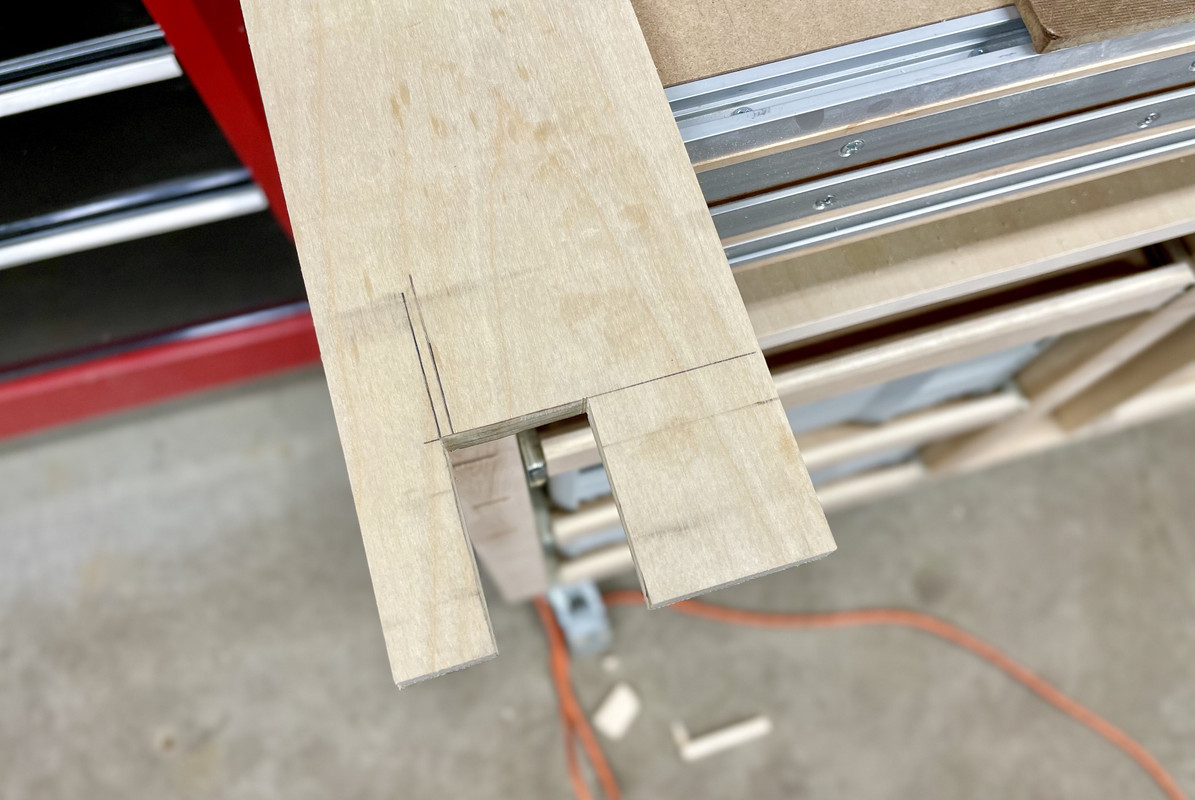
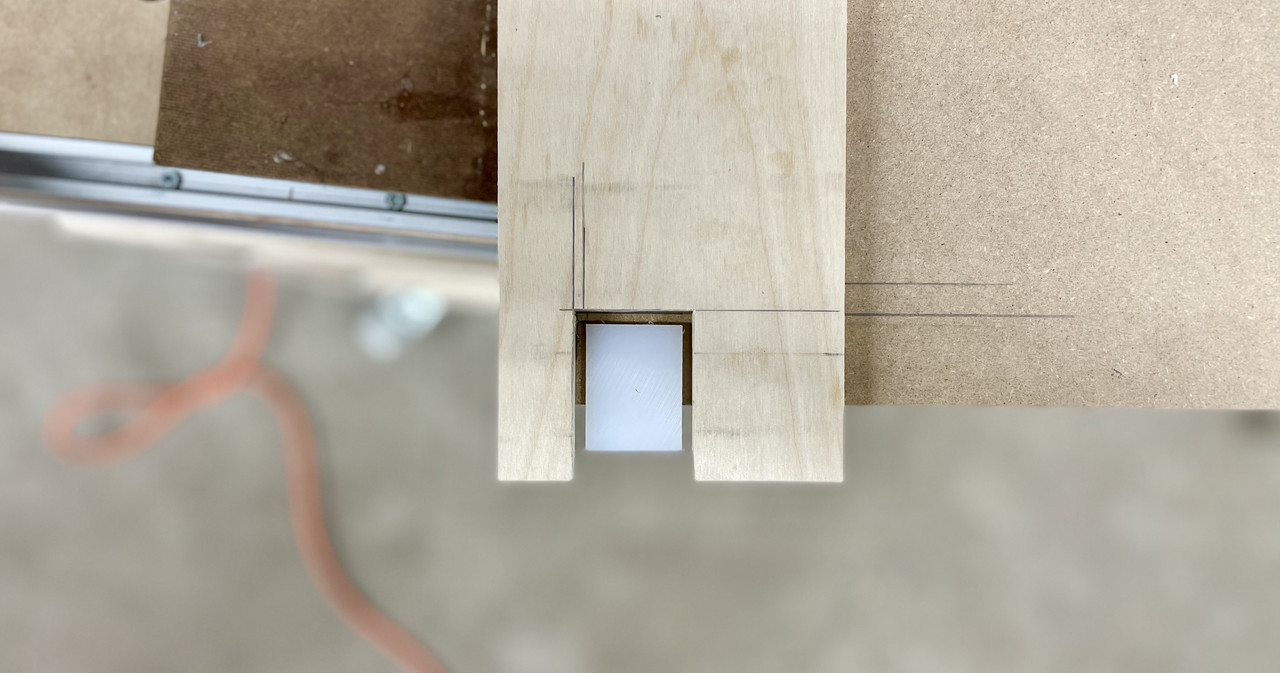
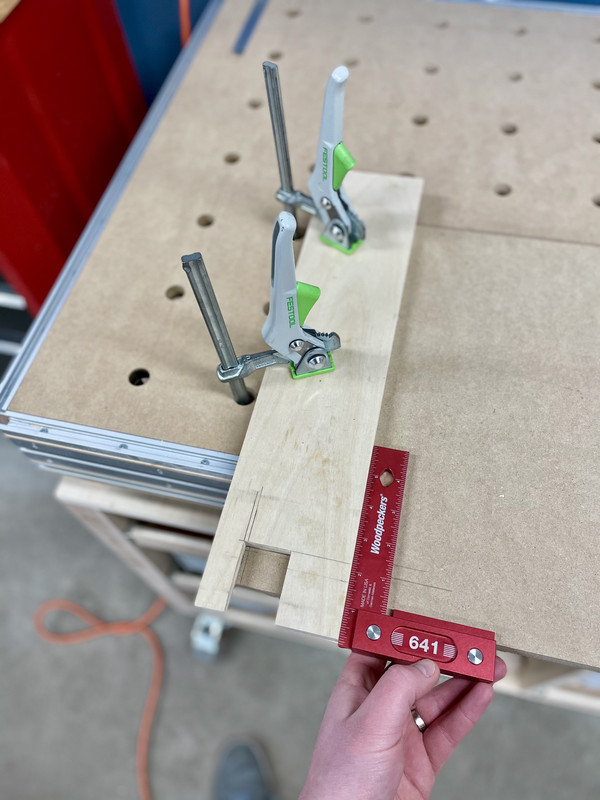
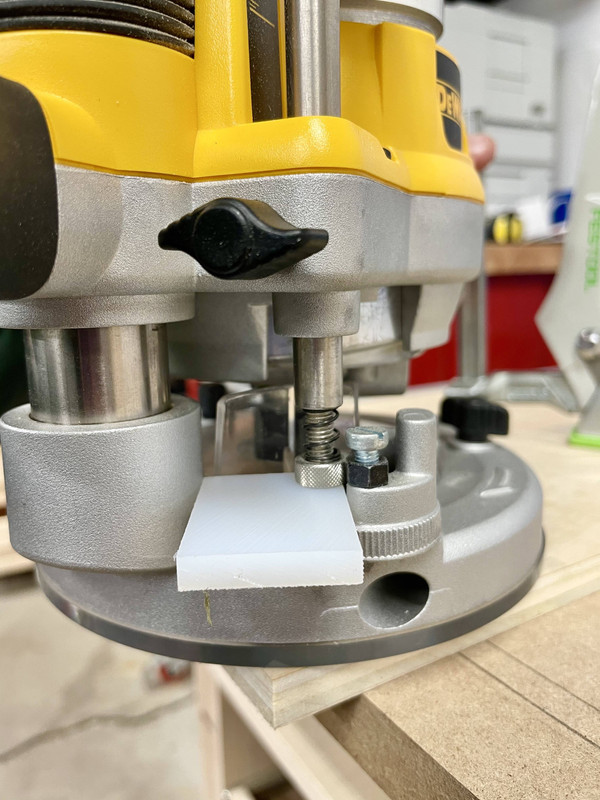
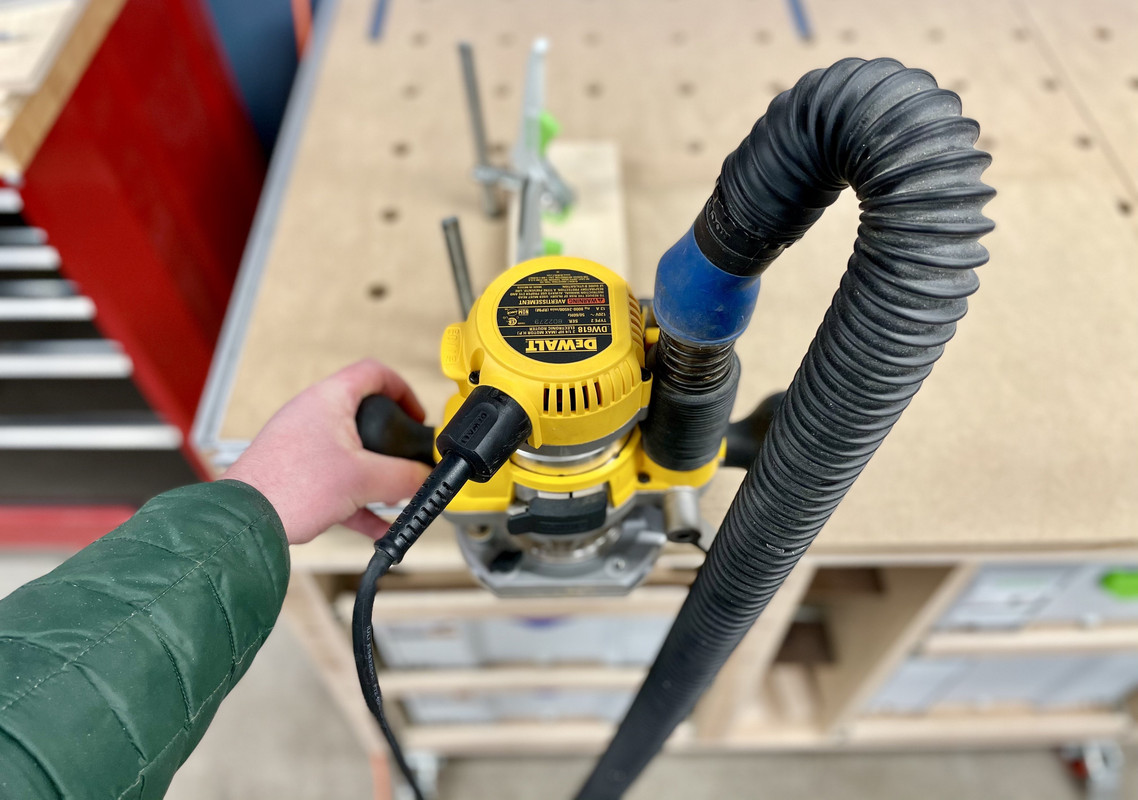
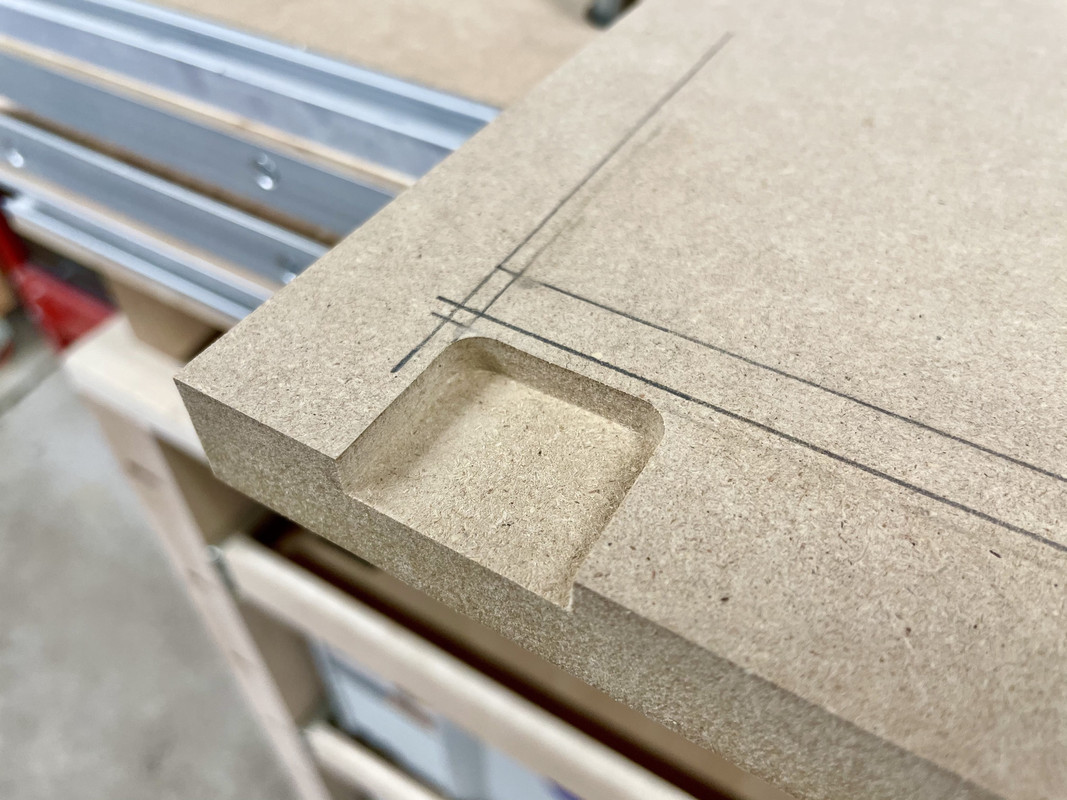
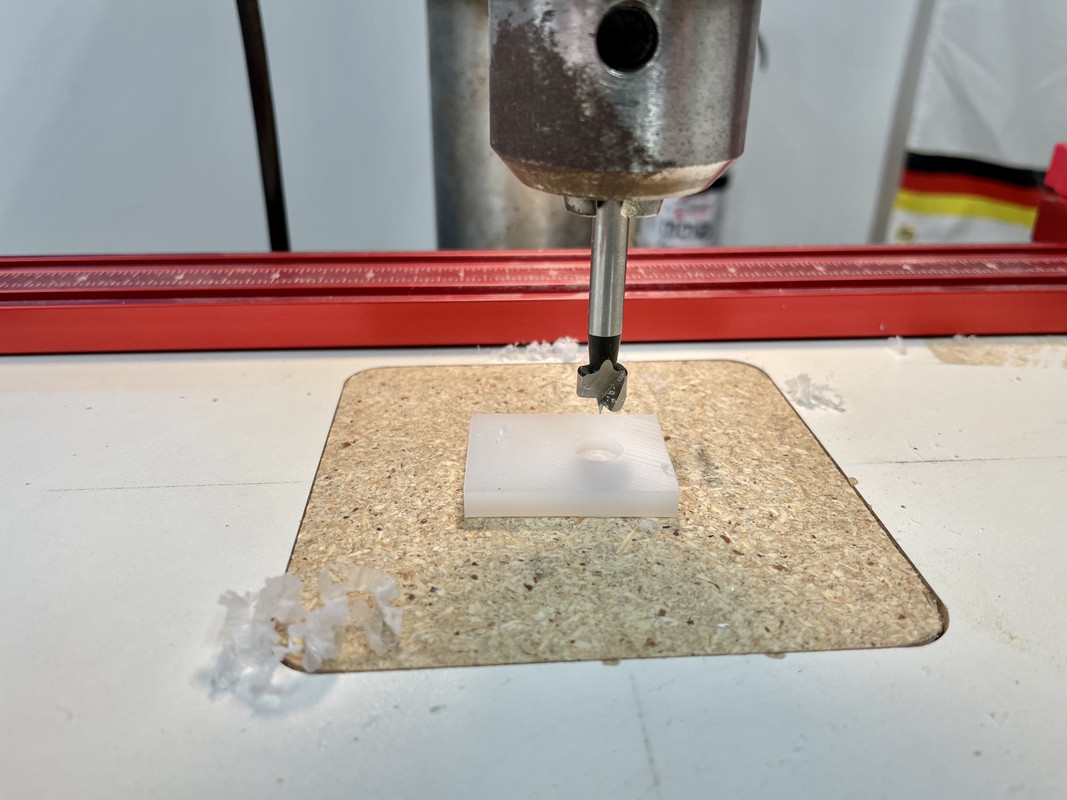
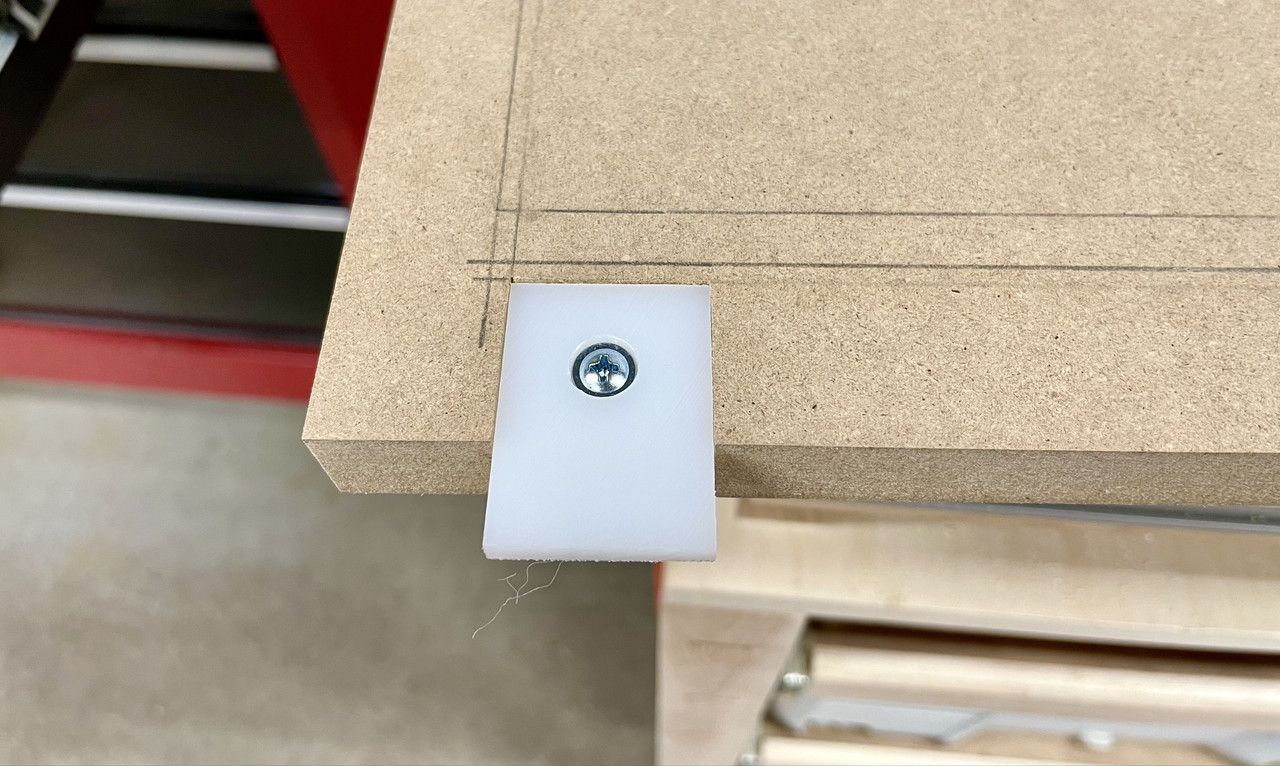

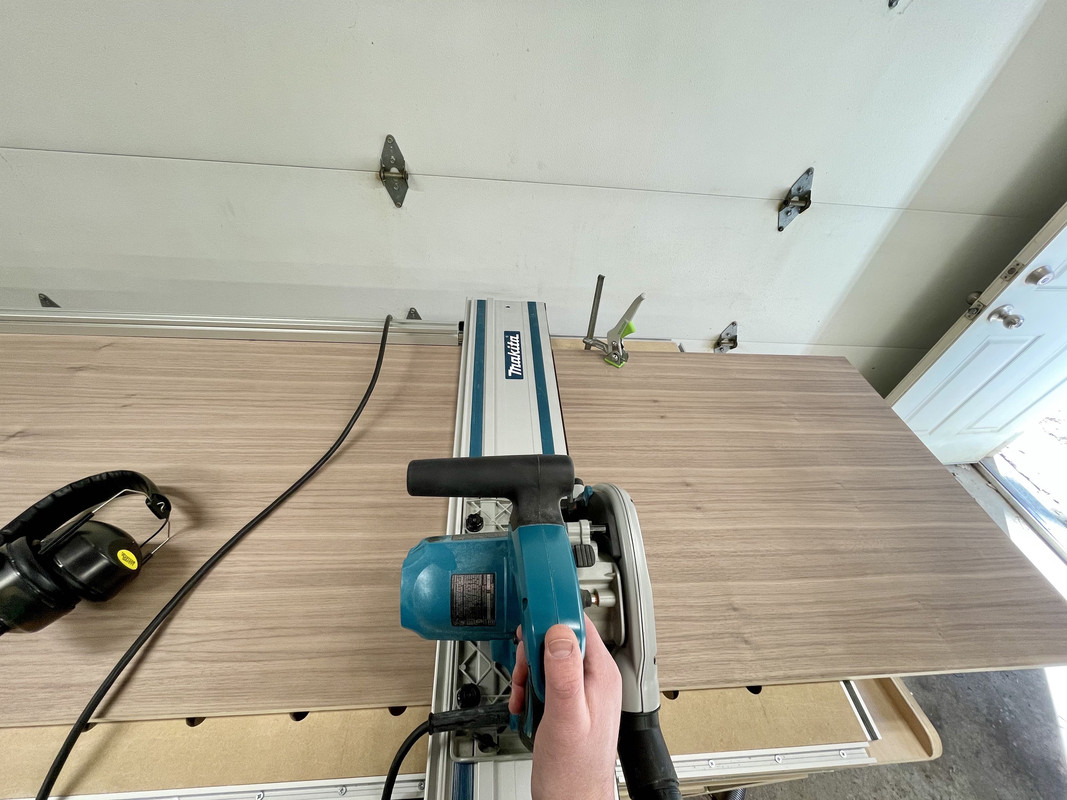
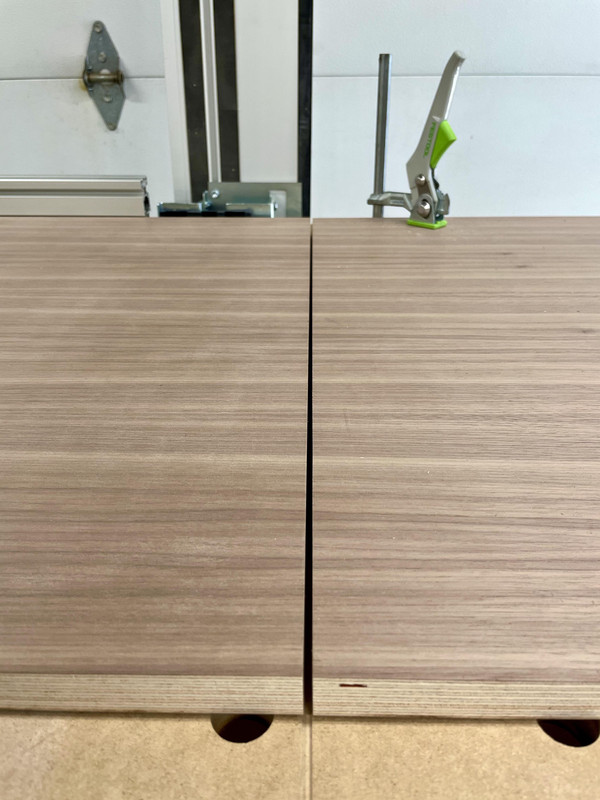
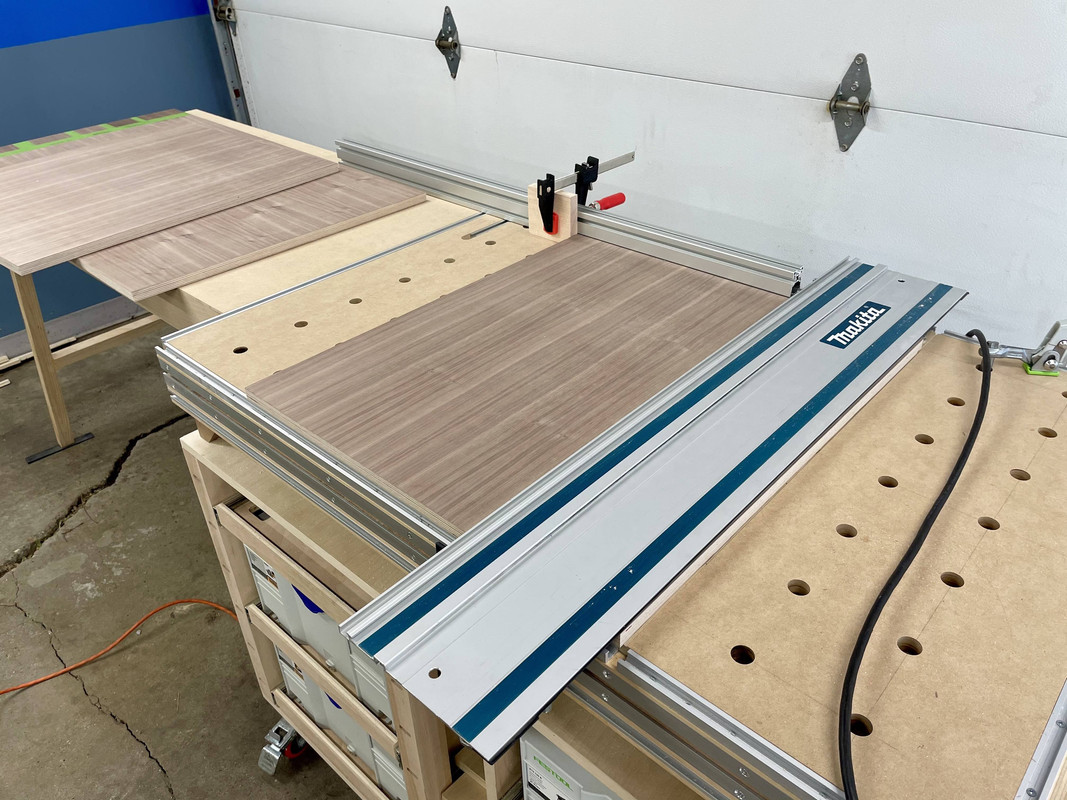
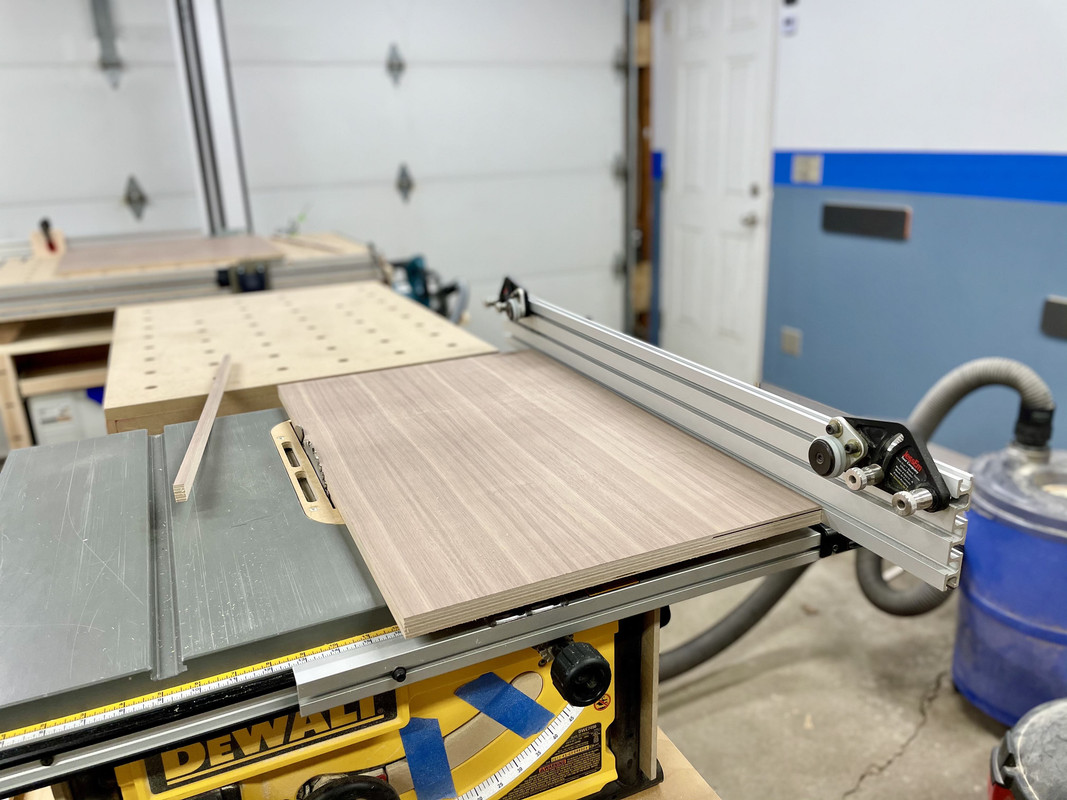 Math...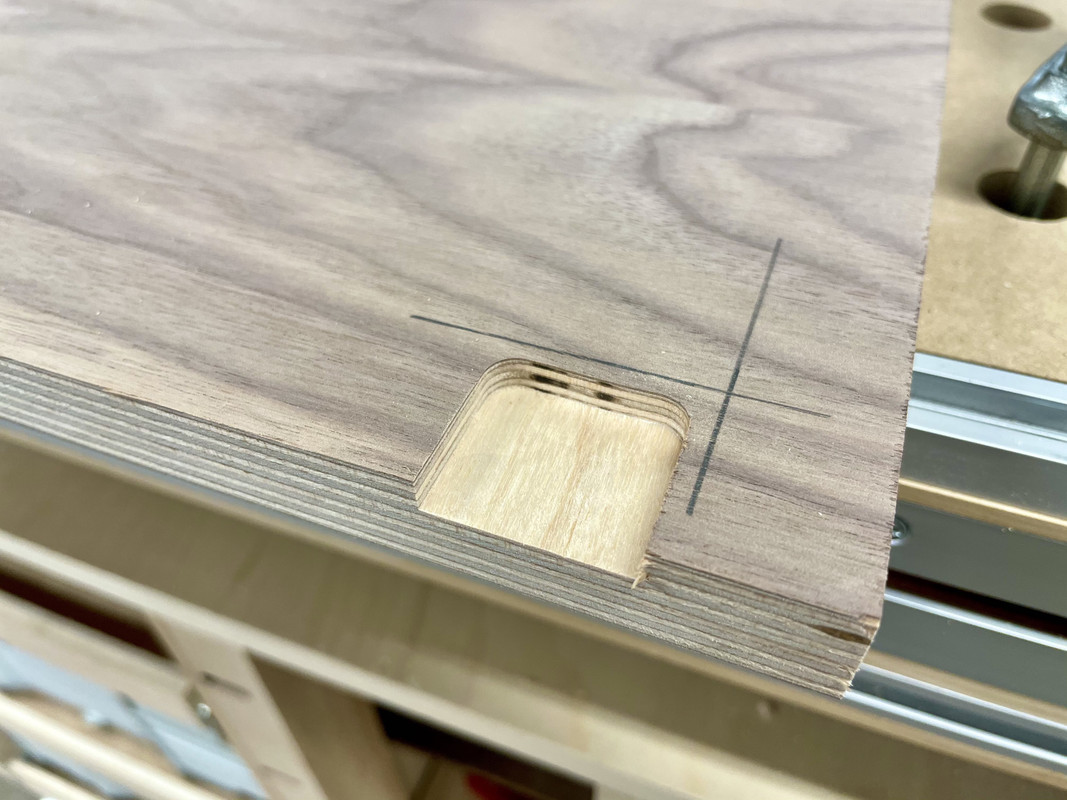
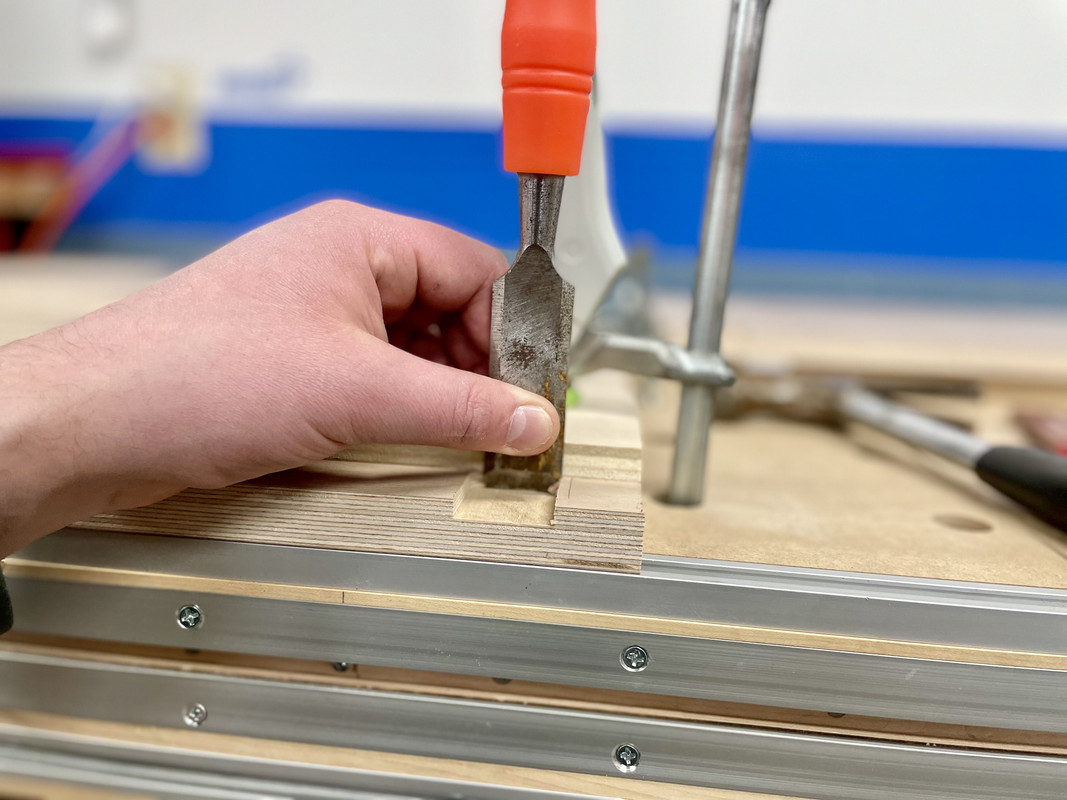

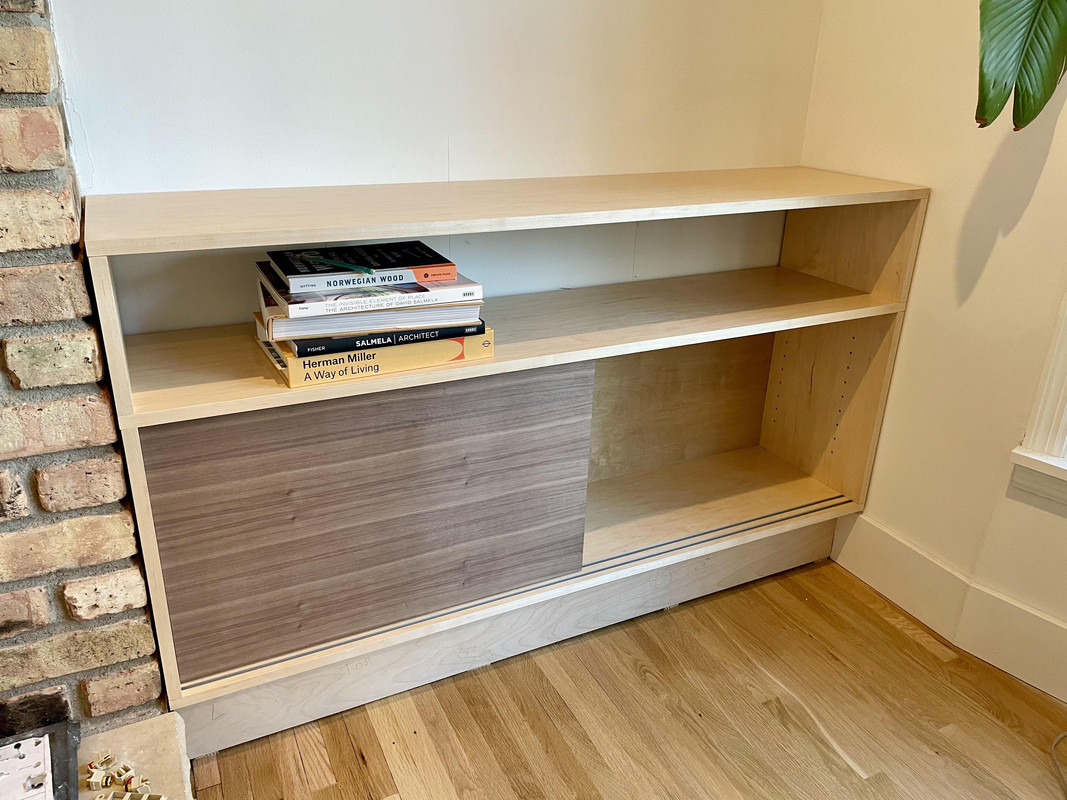
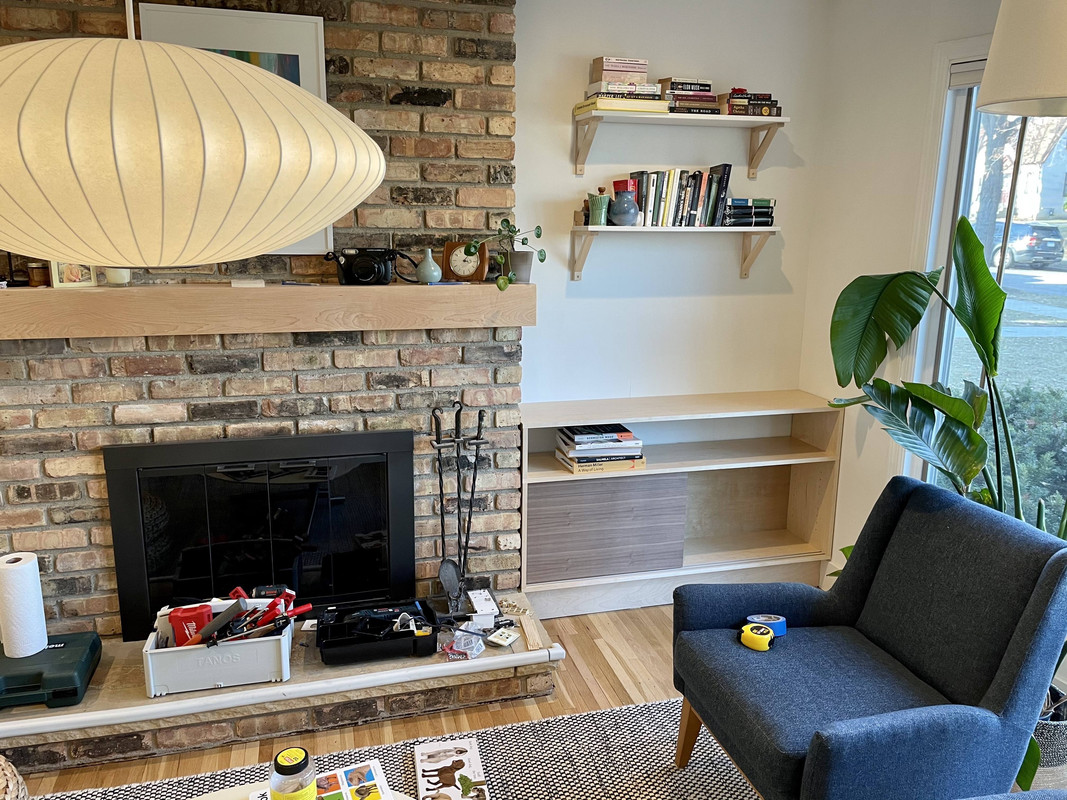
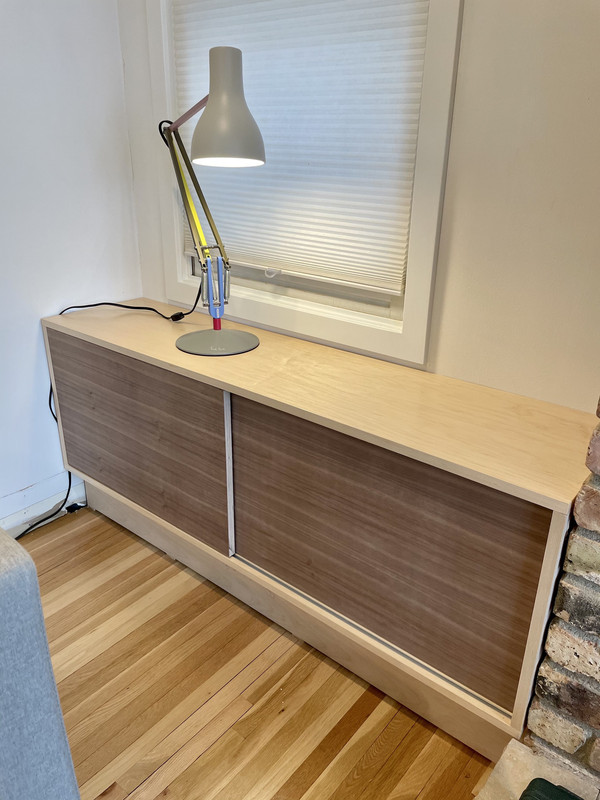
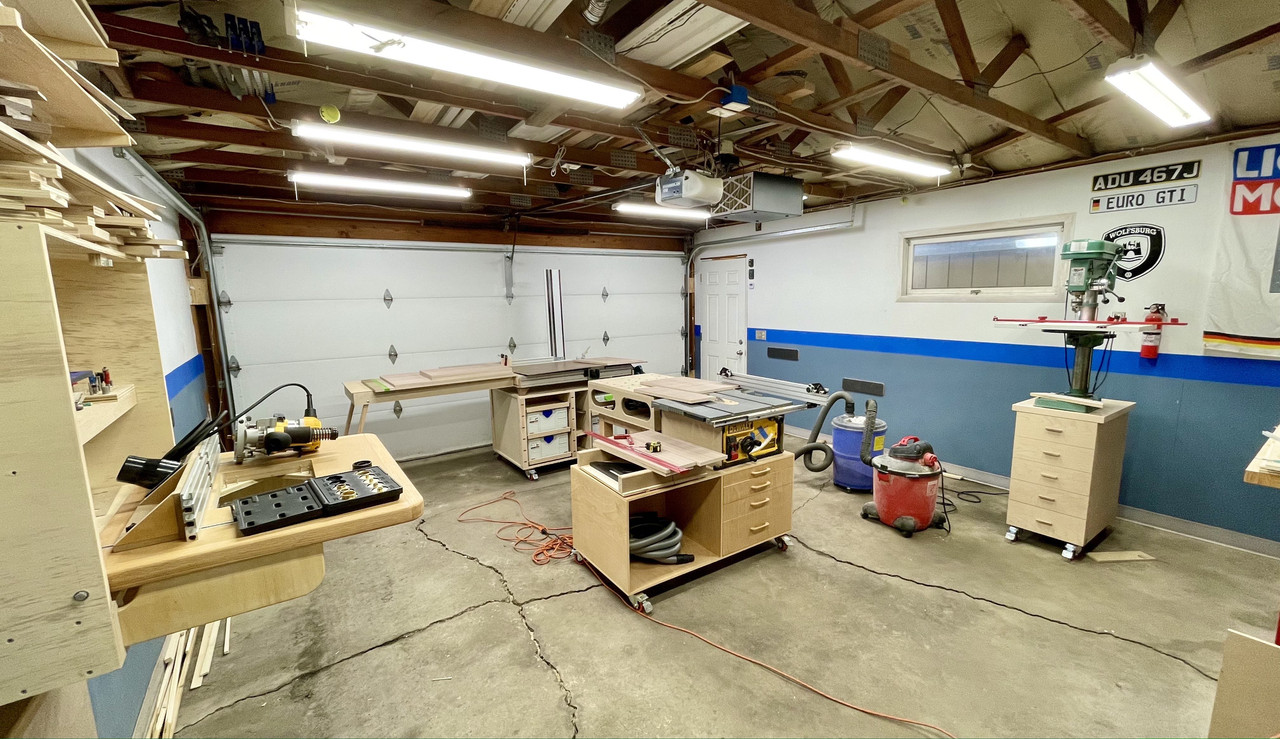
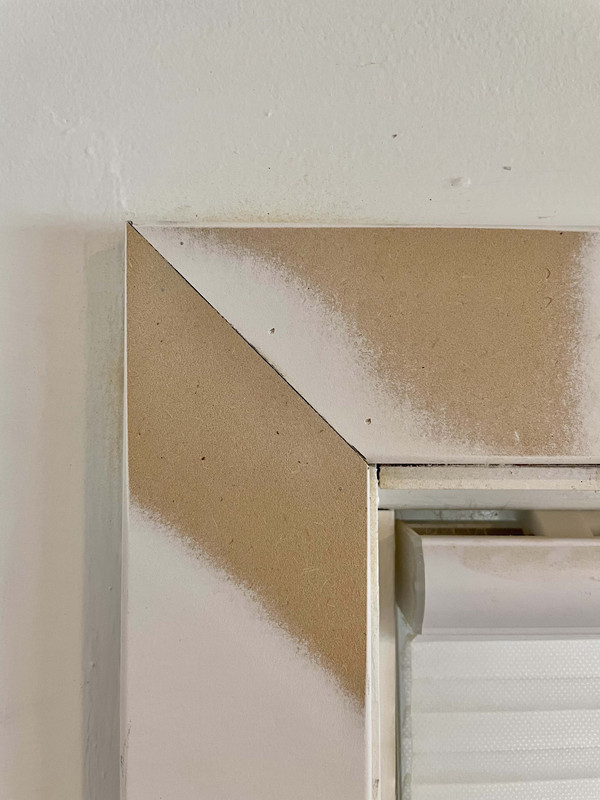
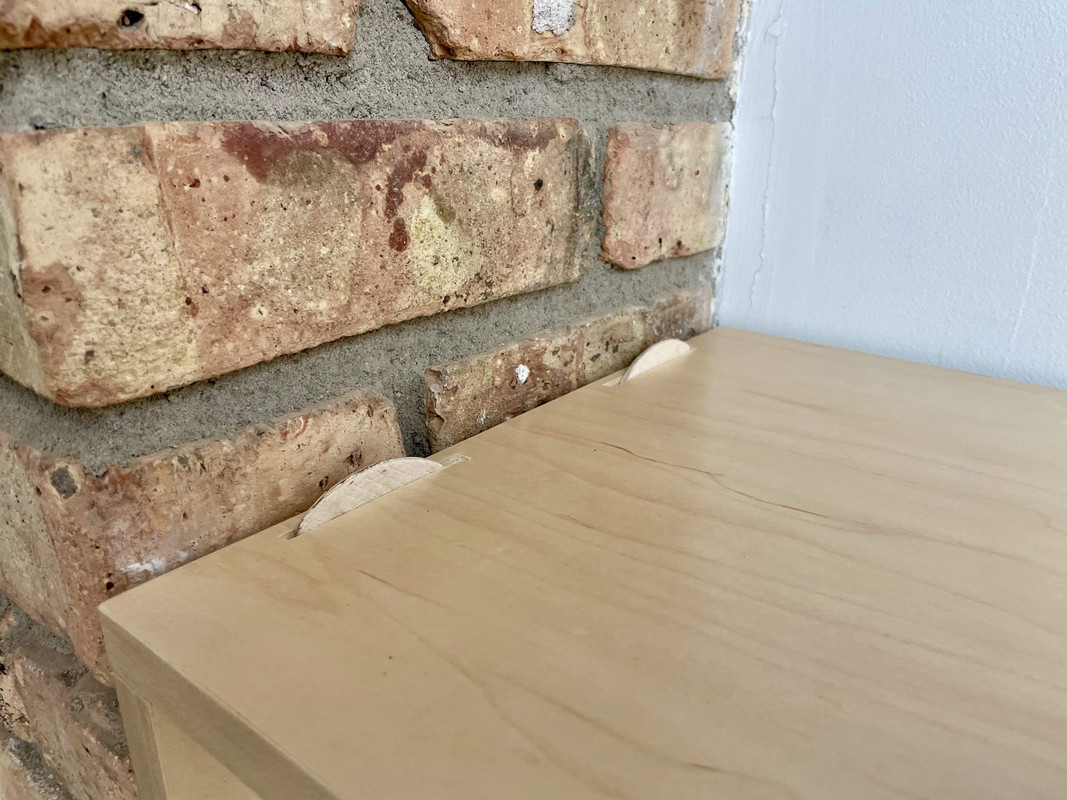
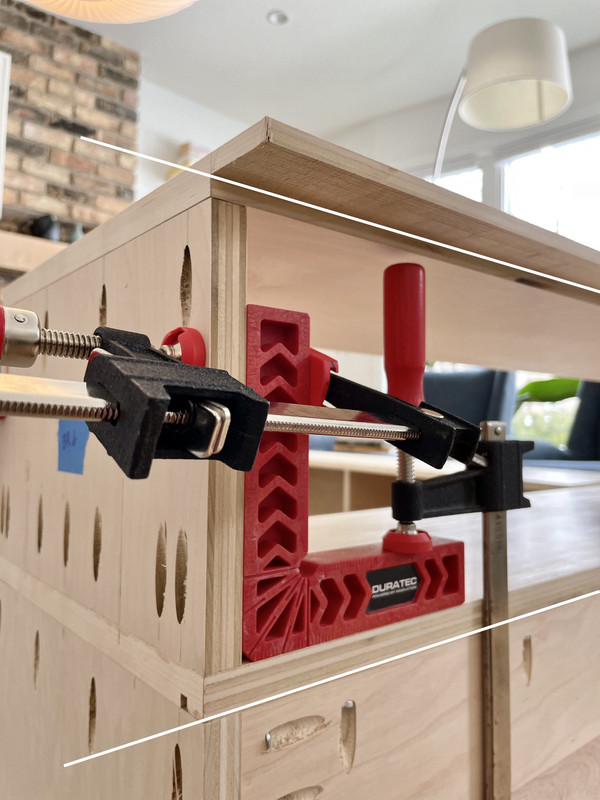
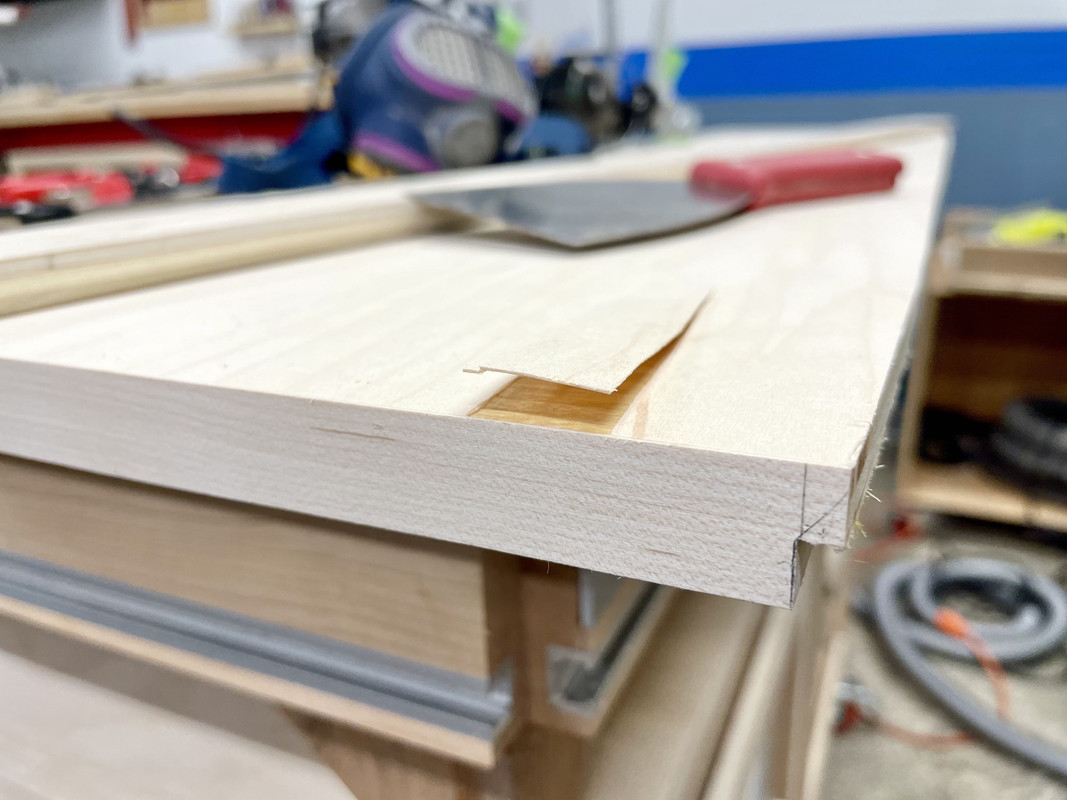
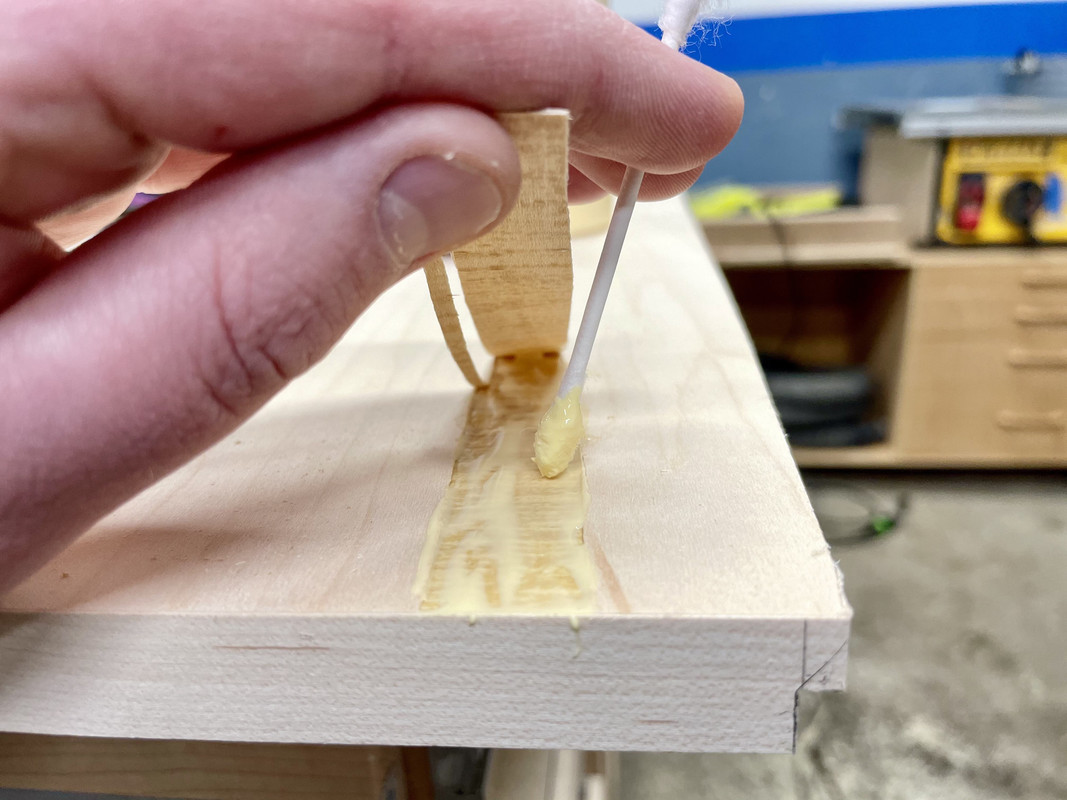
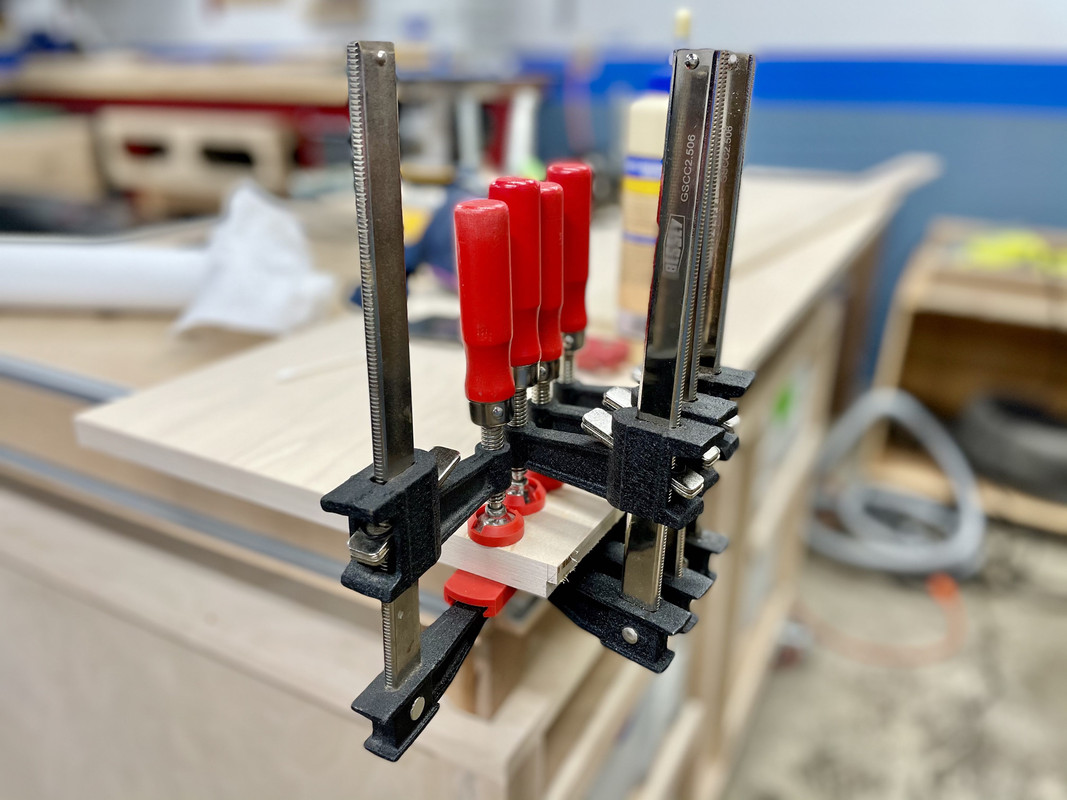
Fortunately some glue and sanding did the trick.
Do you have a link for that Scribe-O-Matic 3000?
Also I saw a guy on YouTube, basically do what you did with the glueing, but hid a screw underneath the thin layer. Glued it down and you couldn’t tell he had ever used screws to hold it together.
I gotta say that I appreciate seeing the mistakes and how you work through them. Seems like 60% of the time I make a mistake every time. Glad to see I’m not the only one looking for ways to correct them.
Nice work Nick. The Built-ins are starting to come alive. I understand the Anxiety on the Walnut plywood. I think in our minds we put too much pressure like we could never acquire these nice materials again. I know I have always saved every bit of hardwood and nice plywood. I am not sure what drives that. Maybe because early in my woodworking career I could barely afford materials and so if I made a mistake it was the end of the world. Not sure. I do know that I have not been to my local Hardwood dealer in over 11 years. That is just too long so I will be making a trip here soon to get some more Hard Maple and Birch plywood.
Thanks to you and another member here who owns a track saw and one of my favorite shops I went down the MFT rabbit hole last night watching Peter Millard. His little workshop drove me nuts as I can't wrap my head around how he gets anything done when there seems to be no space but his work speaks for itself.
The problem I am having is where I would incorporate and MFT. It seems having all those holes in the main workbench I would constantly be picking up bits up that fell through the holes. I will keep turning the gears. One crazy idea that is floating is to sell my first car. That would basically double the size of my workshop. It also might make my new wall obsolete.
Bret

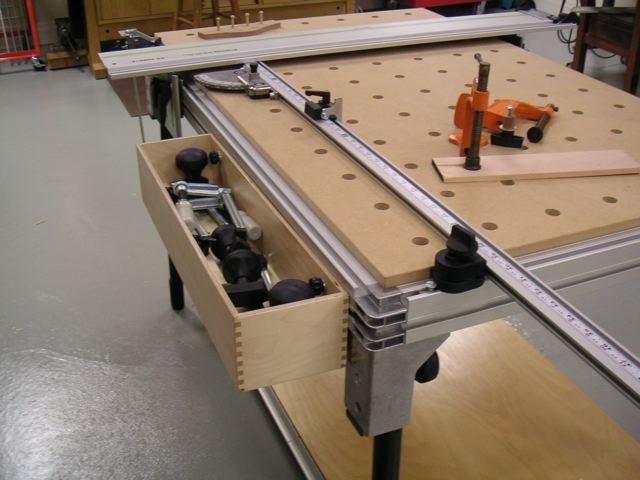
Fantastic on all counts!
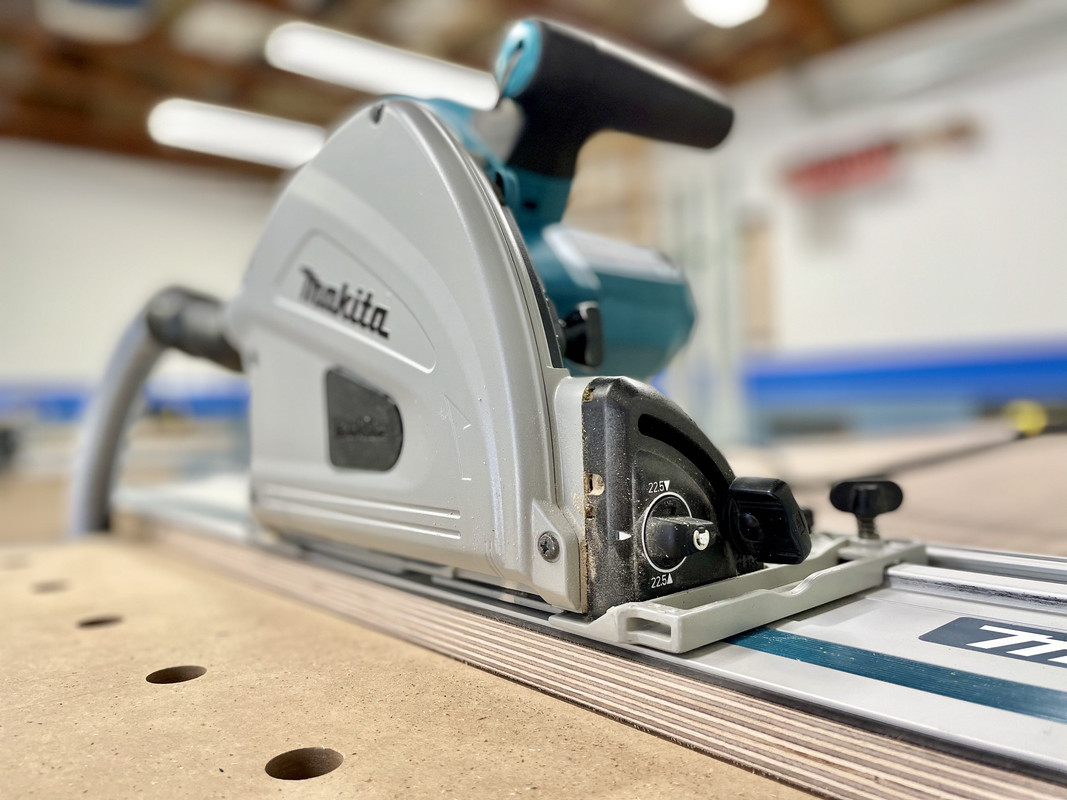
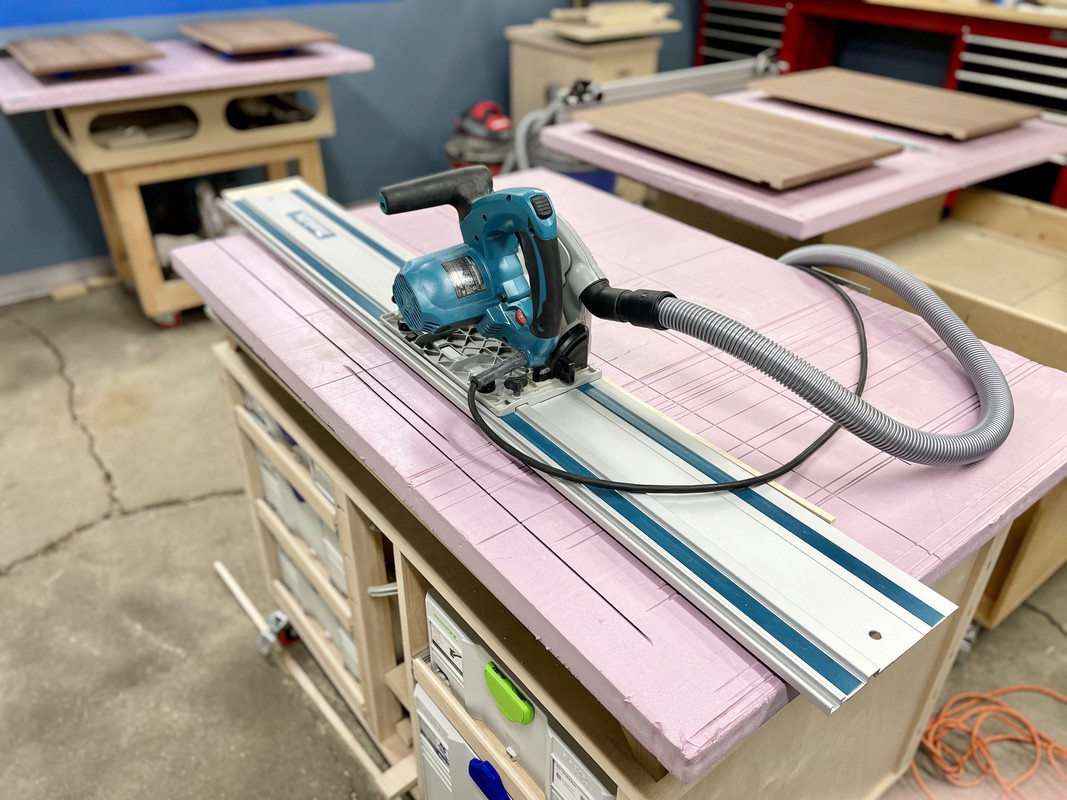
If you're astute you'll notice a new dust cover on the faithful and mighty track saw replacing the former painter's tape. Thanks Logan!
Now I get to make another 104 mile round trip and spend another $90 for a new sheet!
We have the same meme here in Argentina, but with gas stations

Is there really nothing closer up there? I assumed local wood had plywood.
That's pretty slick. Are those available?
We have the same meme here in Argentina, but with gas stations
Nice Job with all the improvements to both the garage and house. You gave me some ideas for mine lol.
Nice work Nick! I'll have to take a picture of my sad story with a sheet of 1/4 walnut ply I recently had a bad day with lol. I was cleaning some stuff up in the garage so I had it laying down flat on the grass since it was a little windy until a huge gust came through and decided to pick it up and send it flying! It ended up snapped in half and completely useless for the bookcase I bought it for. Now I get to make another 104 mile round trip and spend another $90 for a new sheet!
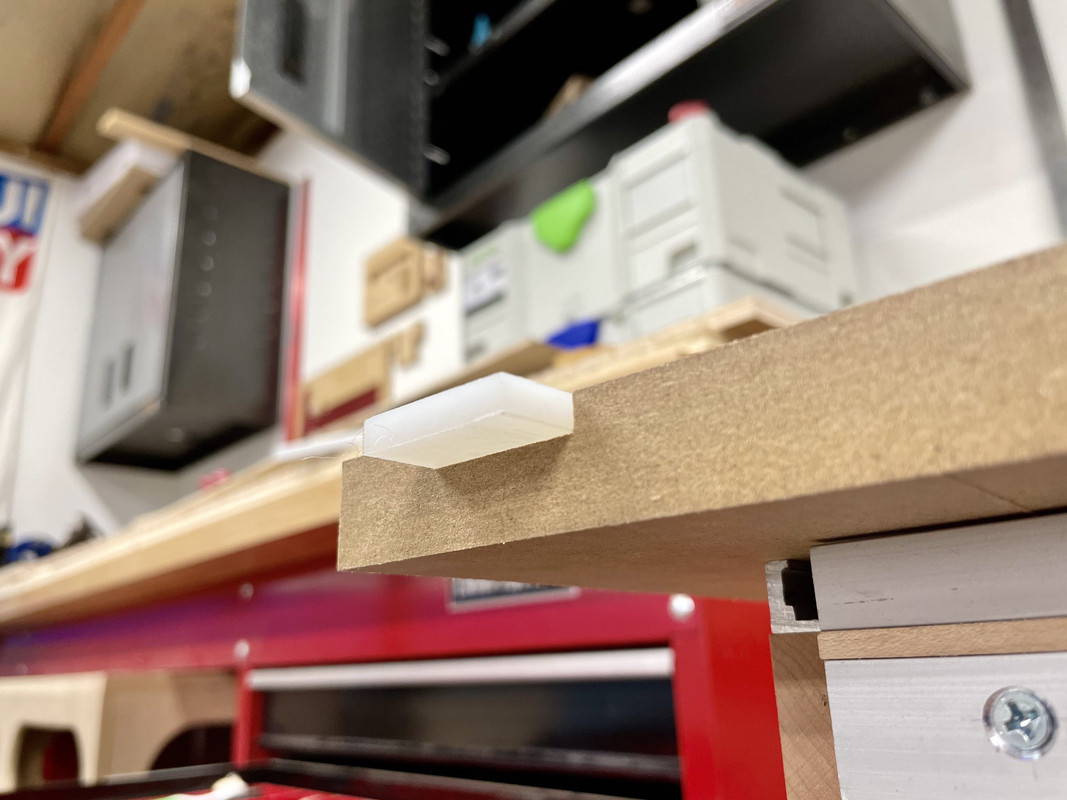
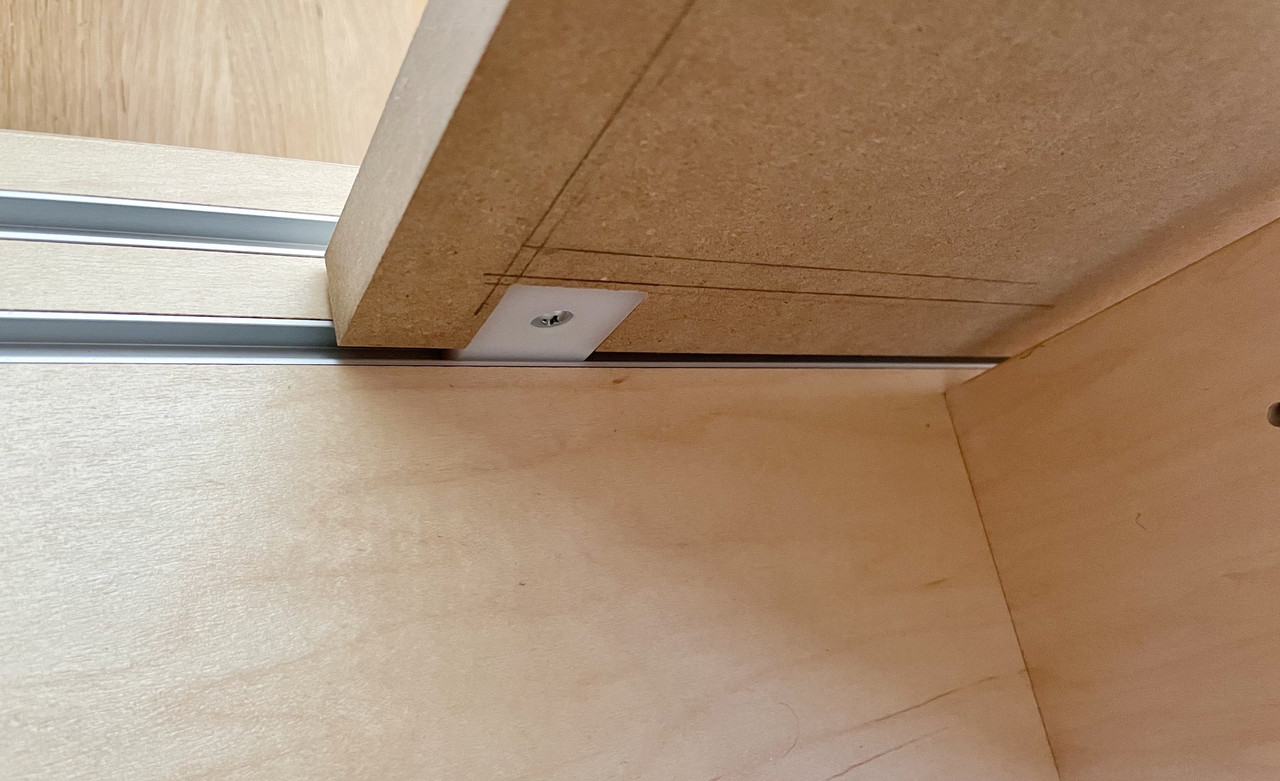
A fellow forum-er 3D printed it for me... I wanted to give him credit here but I don’t think he has plans to sell them. I can send you a PM if you want to try and work something out.
Nick, it's been a few years but I got caught up with your builds and projects. They're very inspiring how much you get done, and your attention to detail.
All the best.
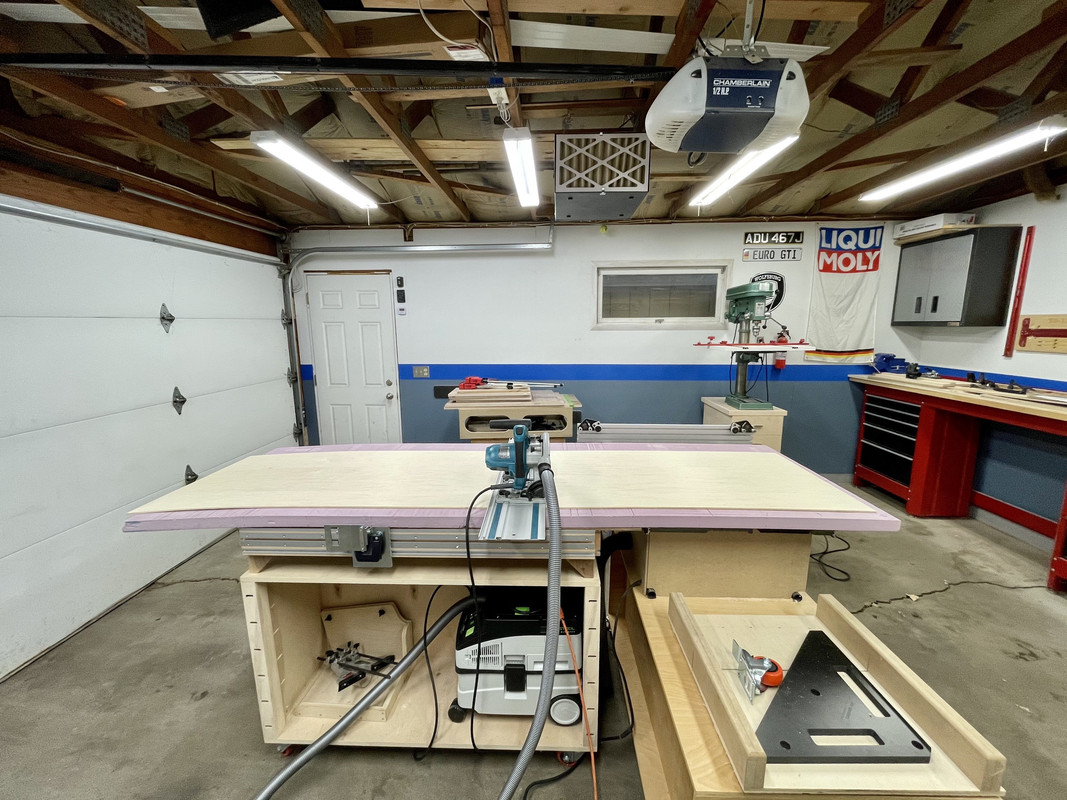
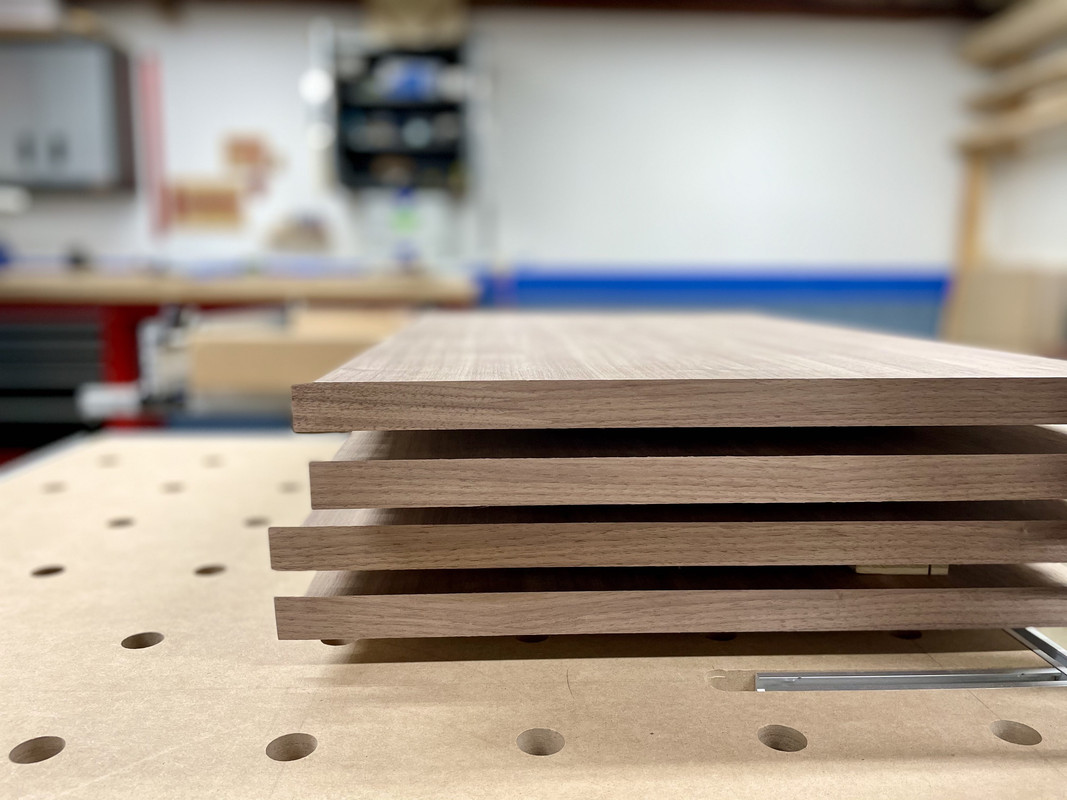
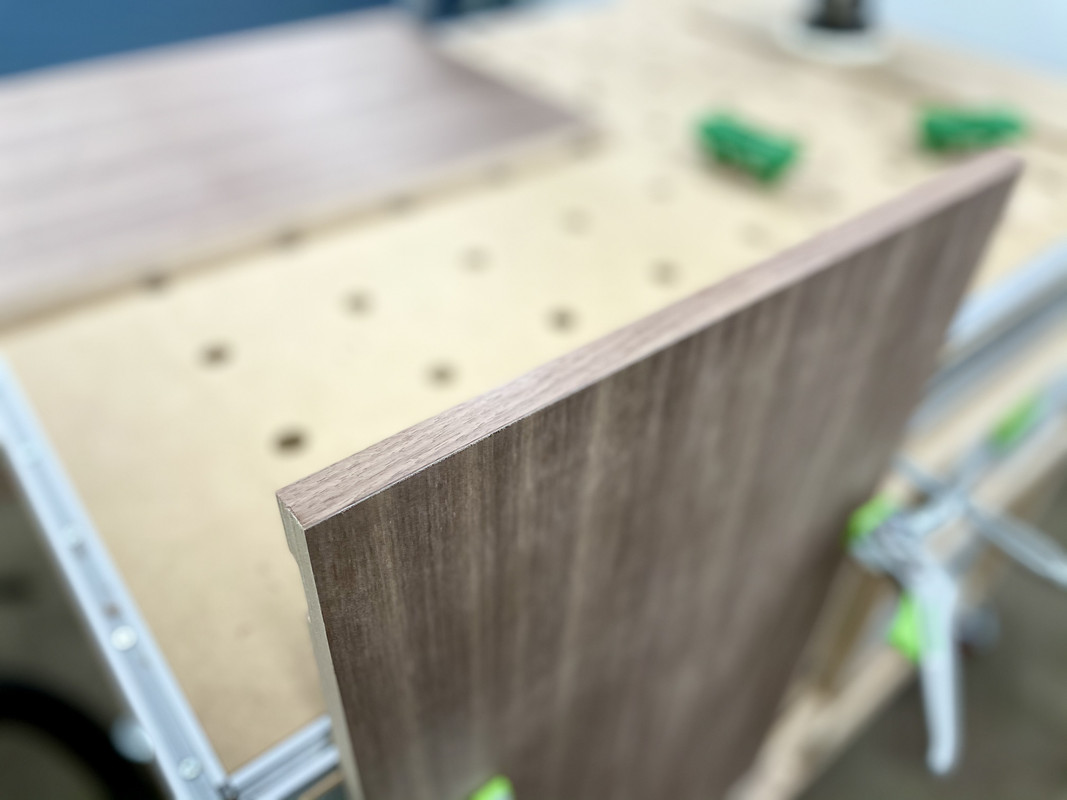
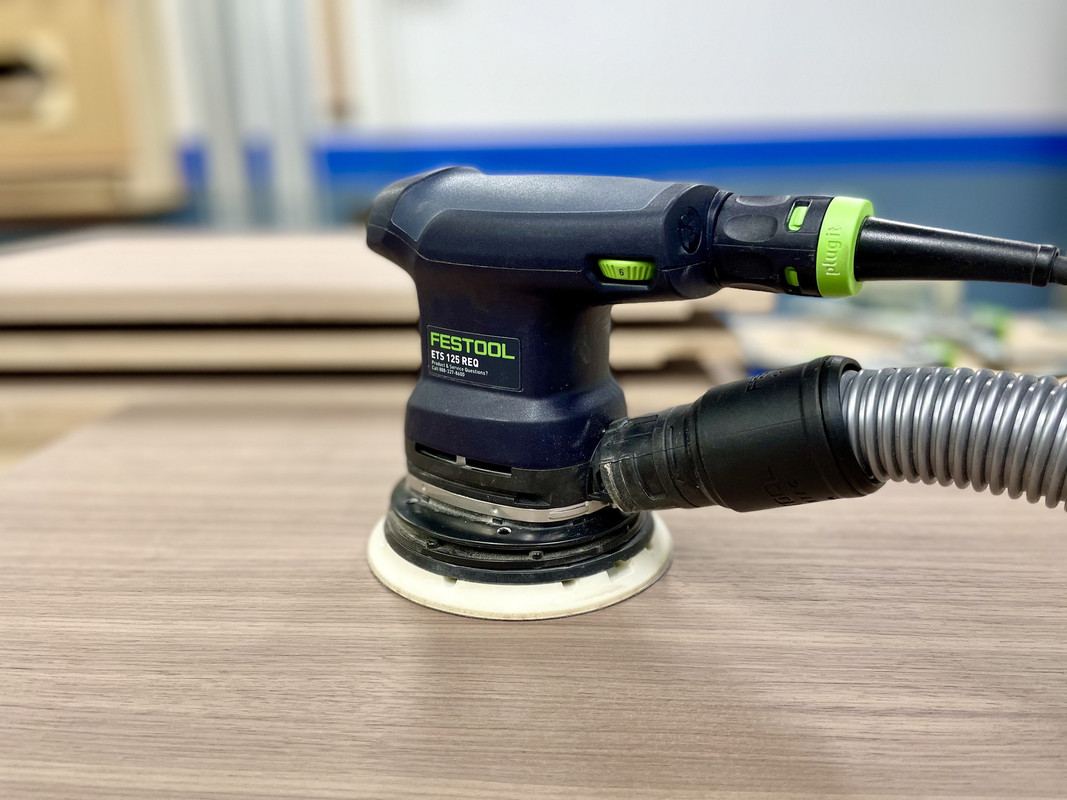
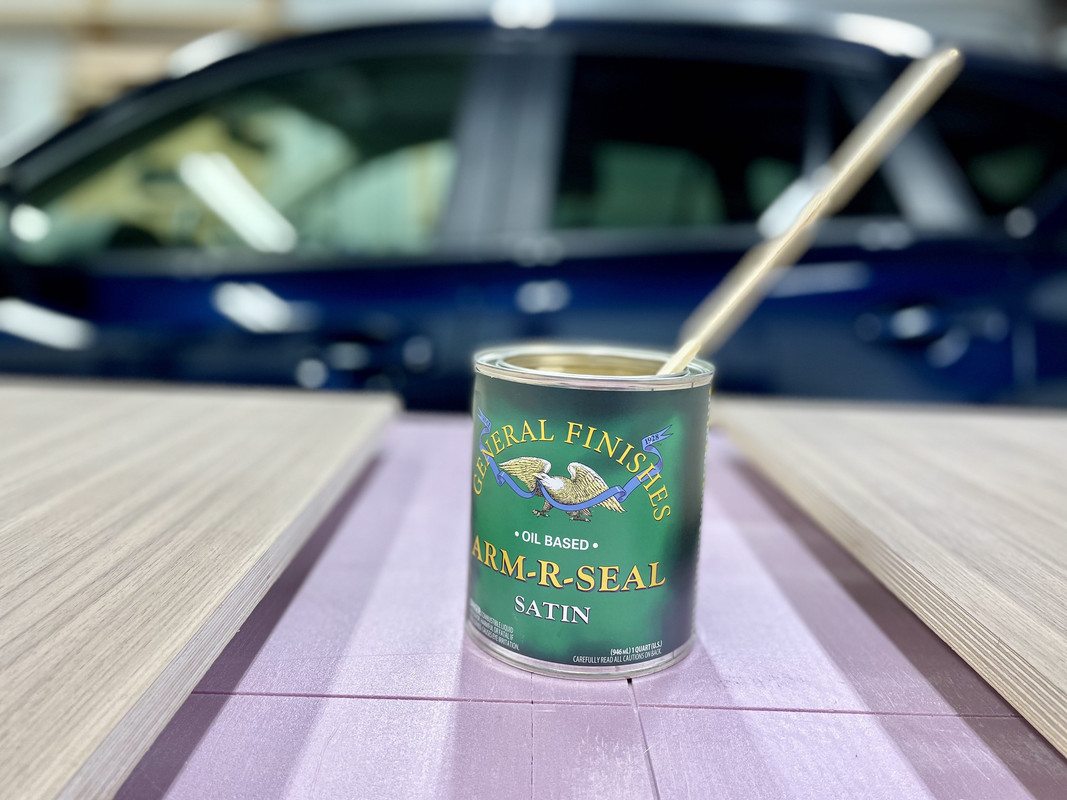
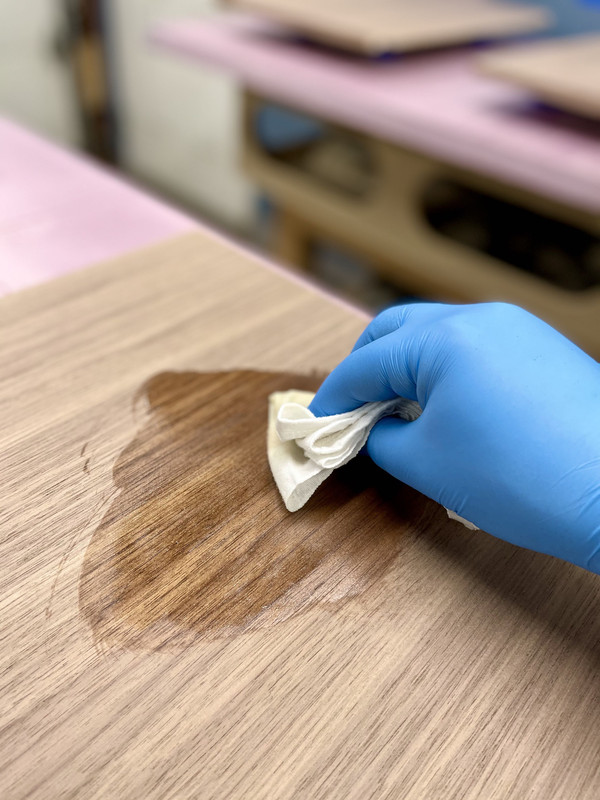
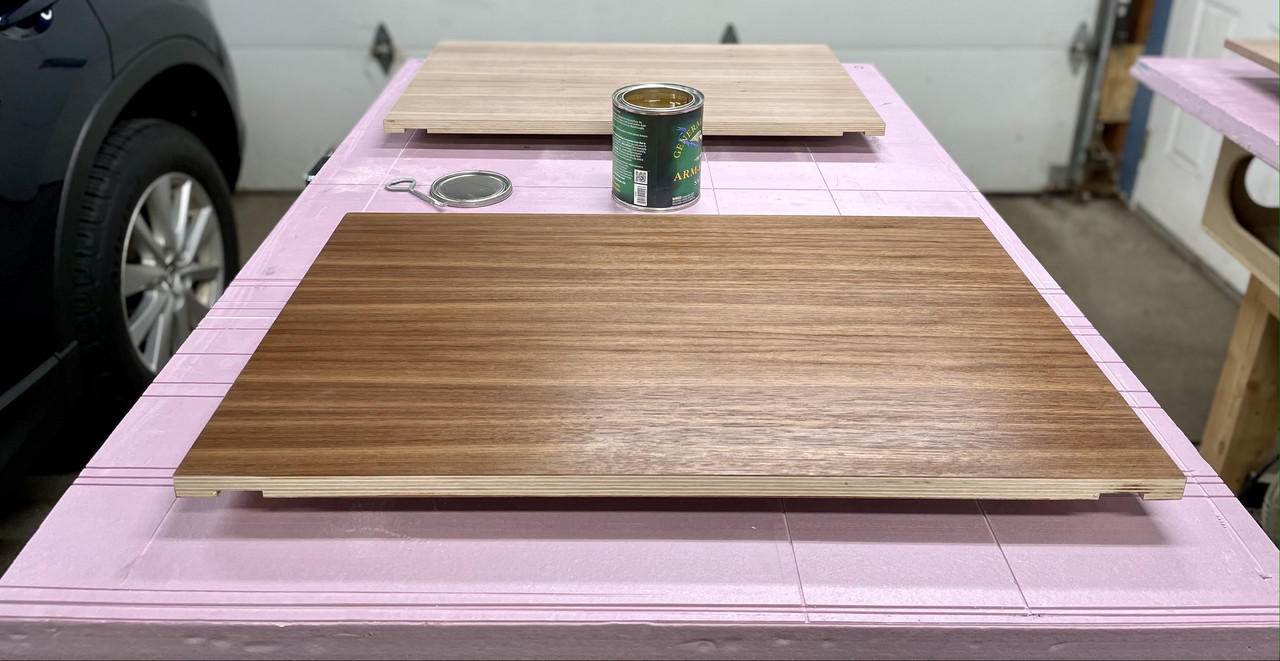
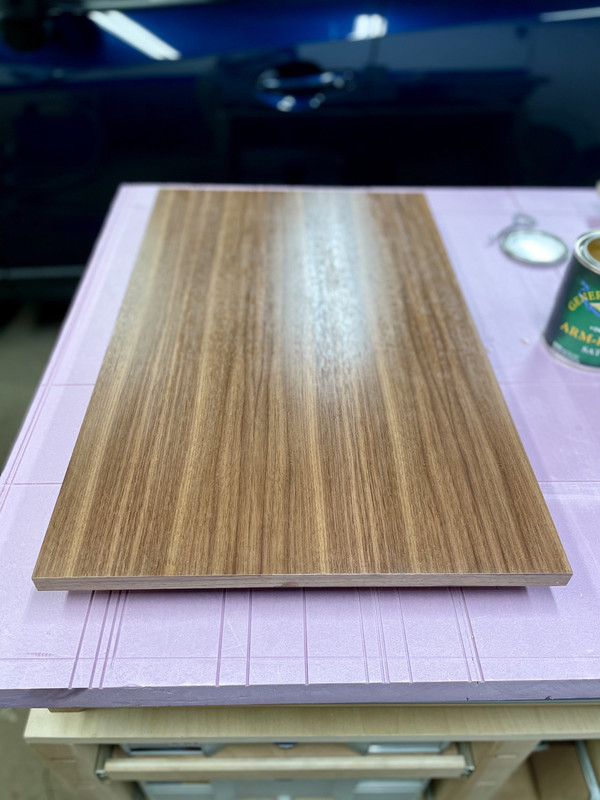
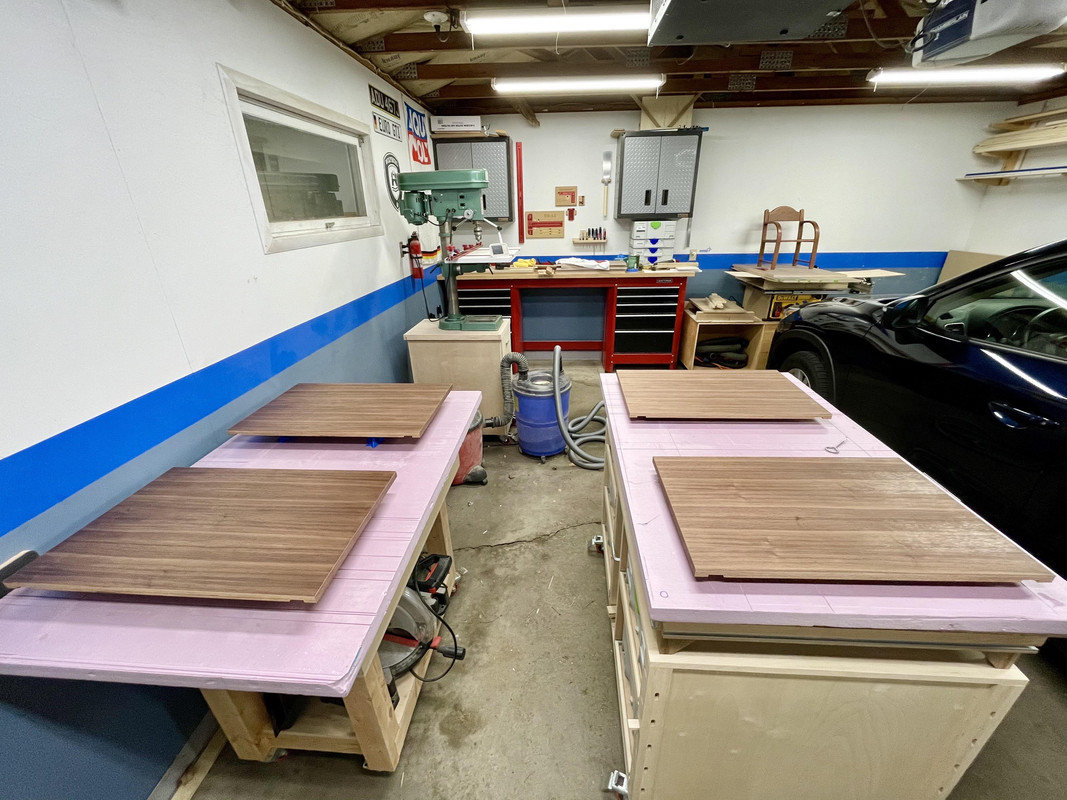
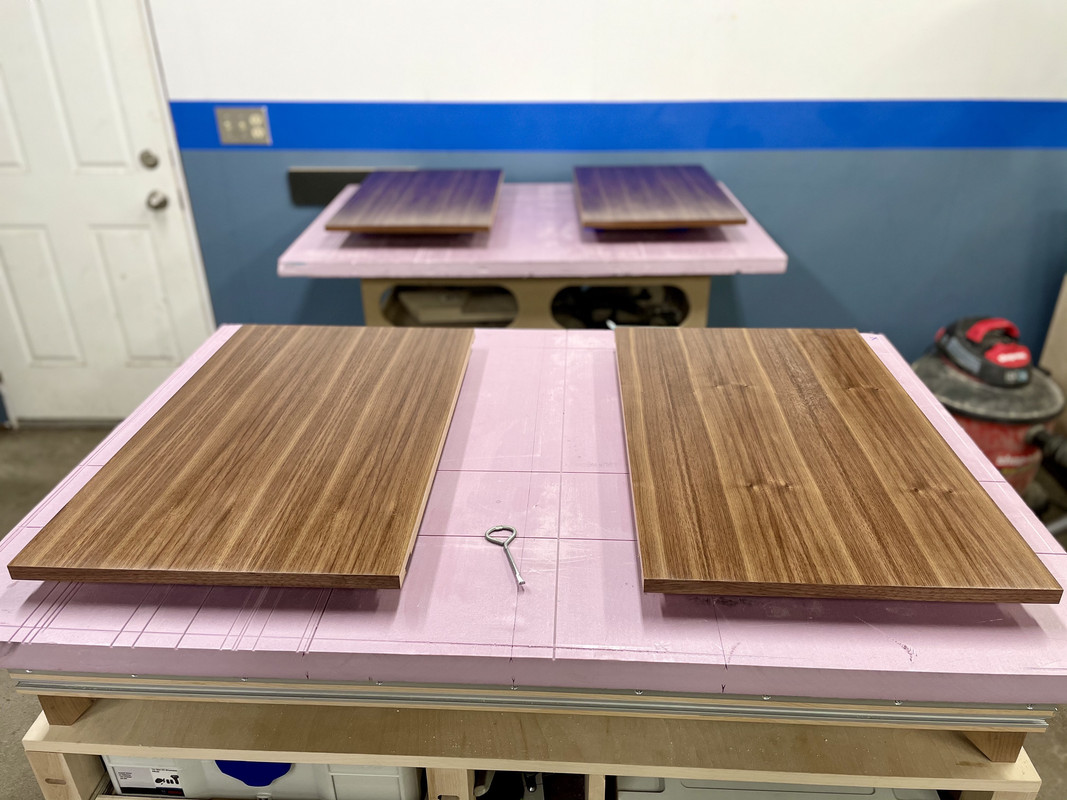
Awesome that the ARS is working good for you. My only suggestion is if you are planning on doing multiple costs to use ARS gloss for the initial costs and only use ARS satin for the last coat. Using multiple coats of ARS satin can leave the grain looking muddy.
Sent from my iPhone using Tapatalk
