To avoid these ads, REGISTER NOW!

Raising the Rat Shack

Vintage Veloce

Well-known member
Joined
Feb 27, 2015
Messages
1,076
Location
San Diego
This is fantastic. I lifted (6") and restored an old garage on our property (90 years old), so I can relate to this.
One thing, that beam the previous owner put in, that was level but is now uneven... that would make me crazy. Of course, it adds "character". ;-)
 
To avoid these ads, REGISTER NOW!
OP
P

Platonic Solid

Well-known member
Joined
Nov 29, 2014
Messages
3,587
Location
CT-USA
I'll build the floor from back to front, putting the plastic vapor barrier under the joists. I'm using tar paper under the plastic to reduce the risk of puncturing the plastic when I walk on it.


It took me half an hour to unwrap the plastic roll as they had an insane amount of duct tape on it and I wanted to be sure not to cut into the roll.


I'm only using half of the 50' roll for this project. The rest is slated for a future home project. So the cost of half the roll of plastic used for this project ends up being $100.


Working with the plastic this way is a bit awkward, but hopefully worth it in the long run. I'm trying to keep the floor low to maximize headroom so I don't end up hitting my head on the open garage door.
 
Last edited:
OP
P

Platonic Solid

Well-known member
Joined
Nov 29, 2014
Messages
3,587
Location
CT-USA
This is fantastic. I lifted (6") and restored an old garage on our property (90 years old), so I can relate to this.
One thing, that beam the previous owner put in, that was level but is now uneven... that would make me crazy. Of course, it adds "character". ;-)

After I finish the floor I'll be removing that crooked center beam. It's a giant cluster f...

 
OP
P

Platonic Solid

Well-known member
Joined
Nov 29, 2014
Messages
3,587
Location
CT-USA
Floor Progress


Discovered my prior dirt/gravel level would interfere with the joists so removed most of the gravel and tamped. Took more time than expected to get it right - being 100° in there doesn't help either.


Working around the 45° 4x4 supports is a challenge. Added second 4x4 cross support to simplify things a bit.


Installed 2x8 ledger boards, joists and hangers. Ledger boards bolted with 3 5/8 LedgerLok bolts (which I have plenty left over from the lifting frame). Joists are 16" OC, double 2x8s spaced 4ft OC made with 1 full length and a couple shorter lengths glued and screwed - adds strength and gives me more screw surface for plywood install.


Last edited:
OP
P

Platonic Solid

Well-known member
Joined
Nov 29, 2014
Messages
3,587
Location
CT-USA
I don't think I need blocking, but is it worth doing at say 4' centers?

Any thoughts on load rating of the 2x8 10.75' span section after I glue and screw (or nail) 3/4 T&G plywood to it? All PT joists purchased in Connecticut HD.

Also, on the last hanger one of the holes landed on a knot, so I drilled a 1/16" pilot hole to get the 10D nail in. Is this acceptable practice? (FWIW: 16D nails used on the double 2x8 hangers)
 

FMC1959

Well-known member
Joined
Feb 9, 2014
Messages
2,305
Location
Montreal, Canada / Upstate NY
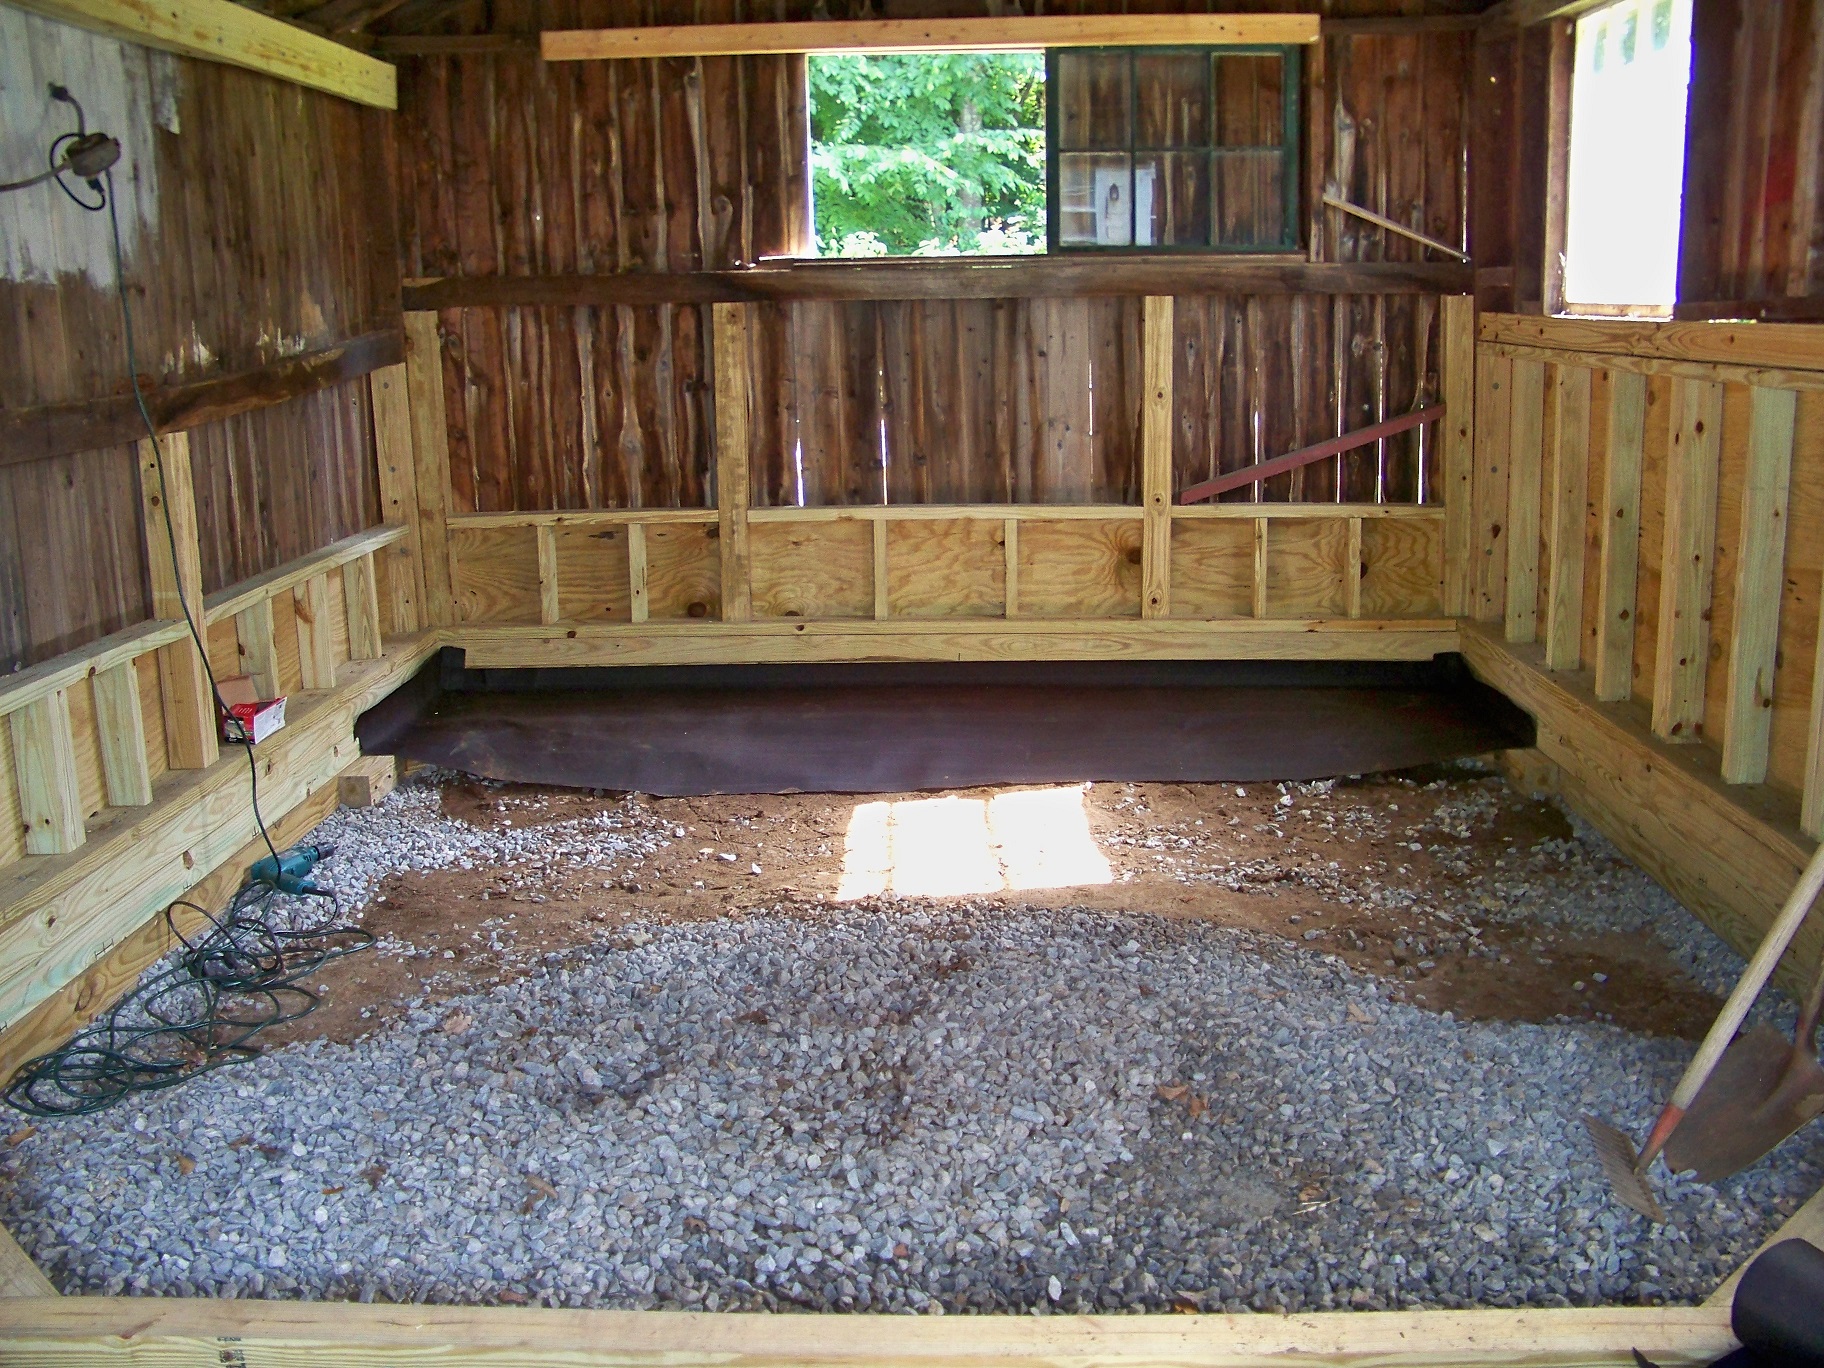
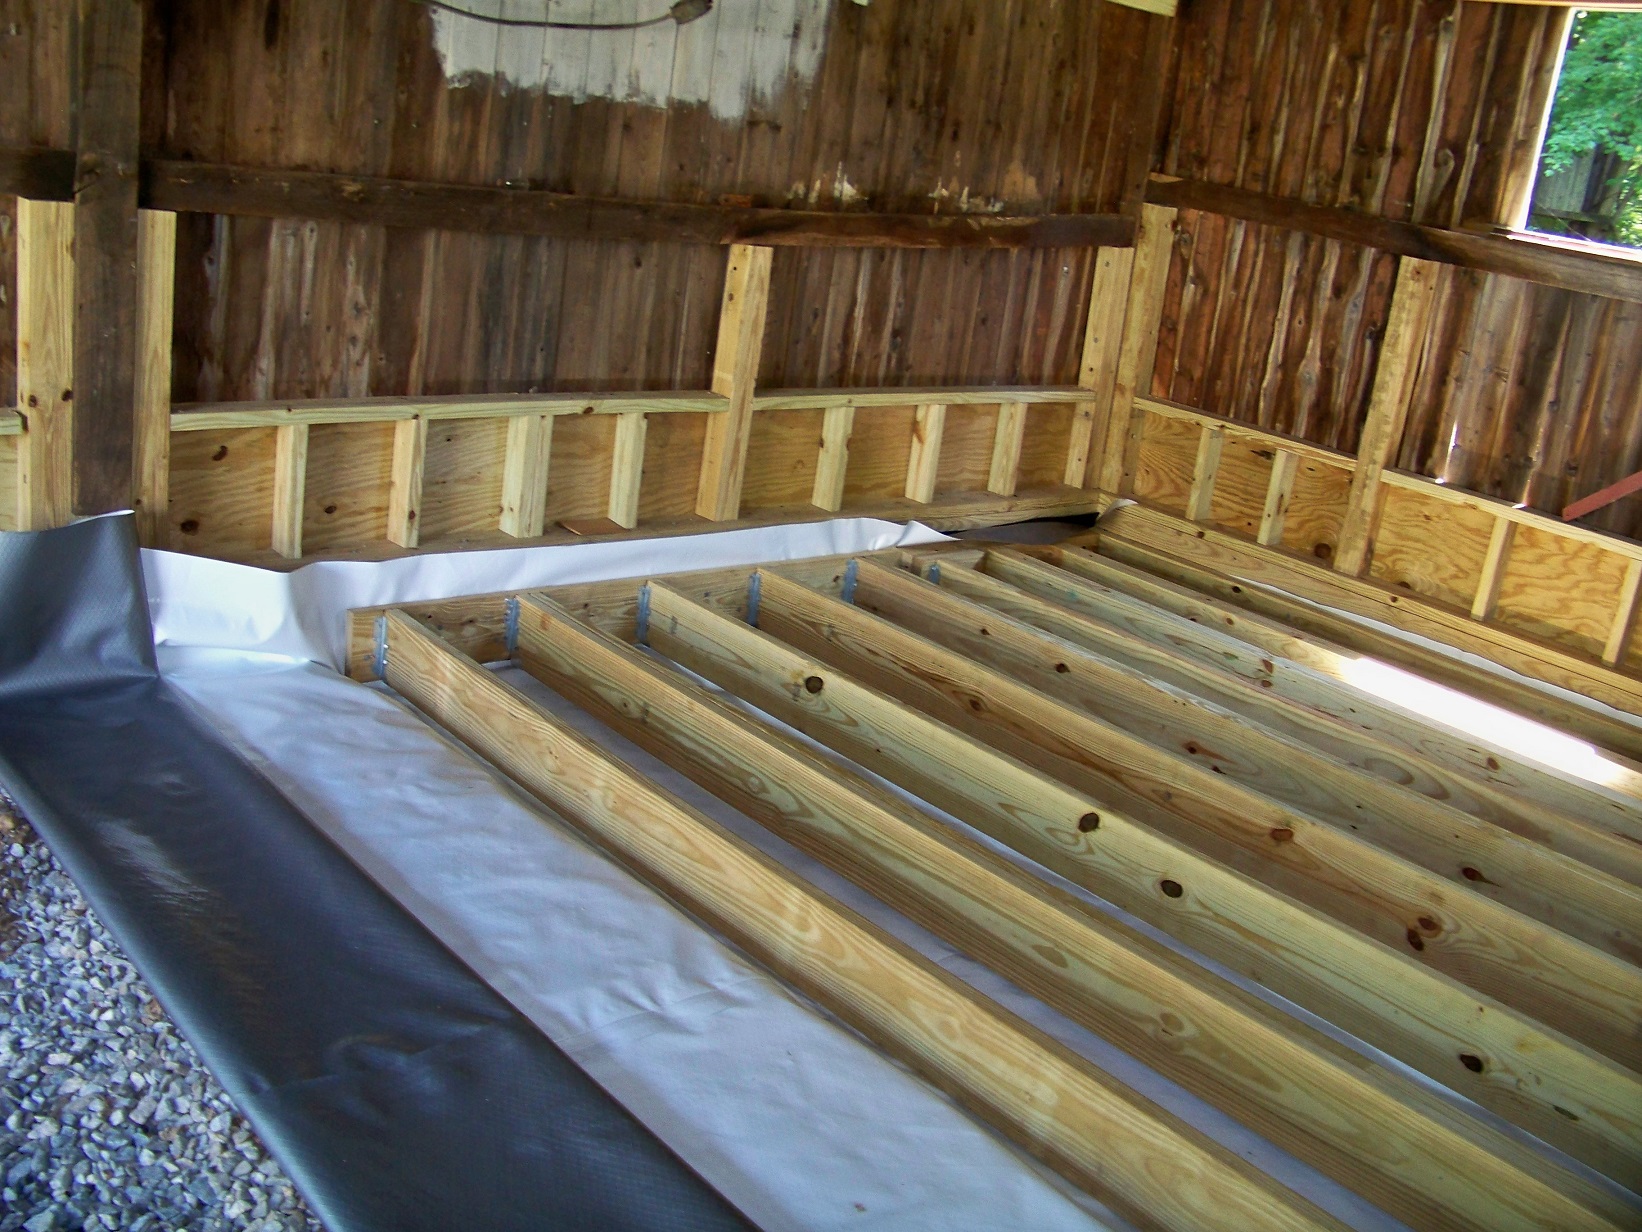
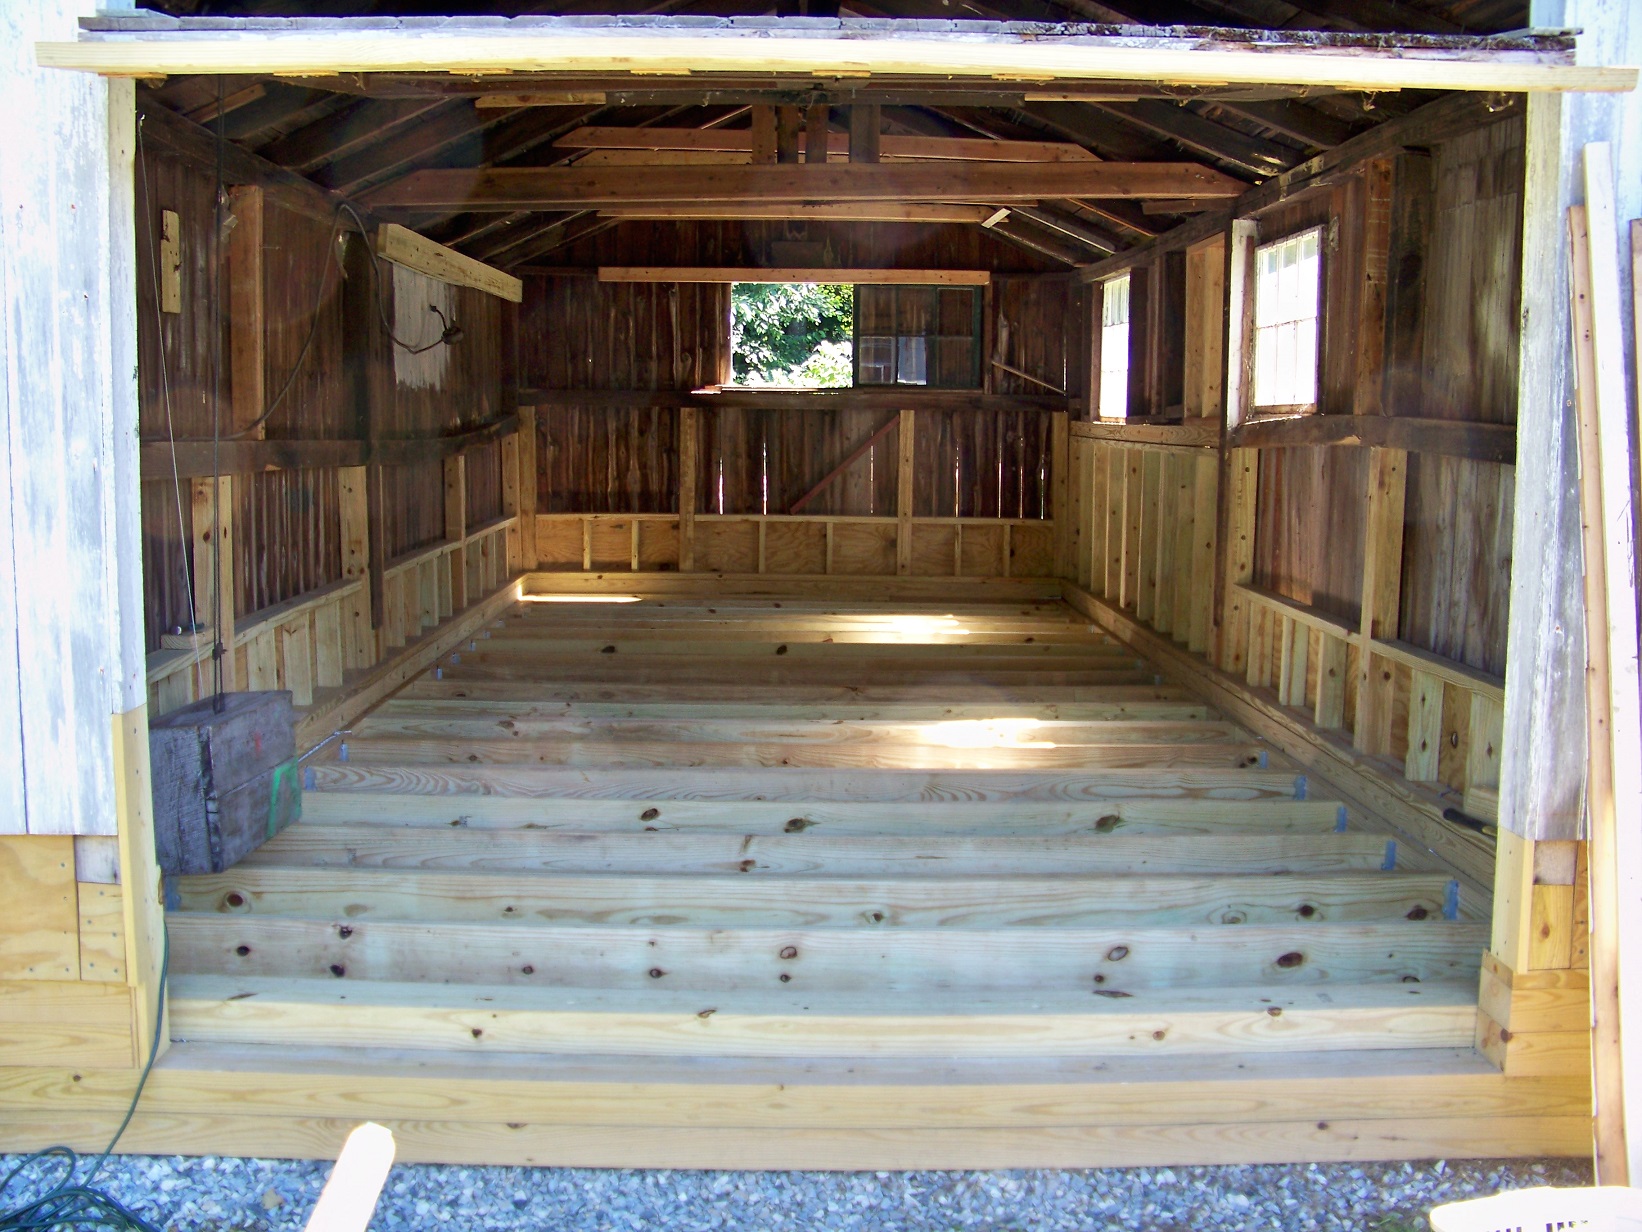
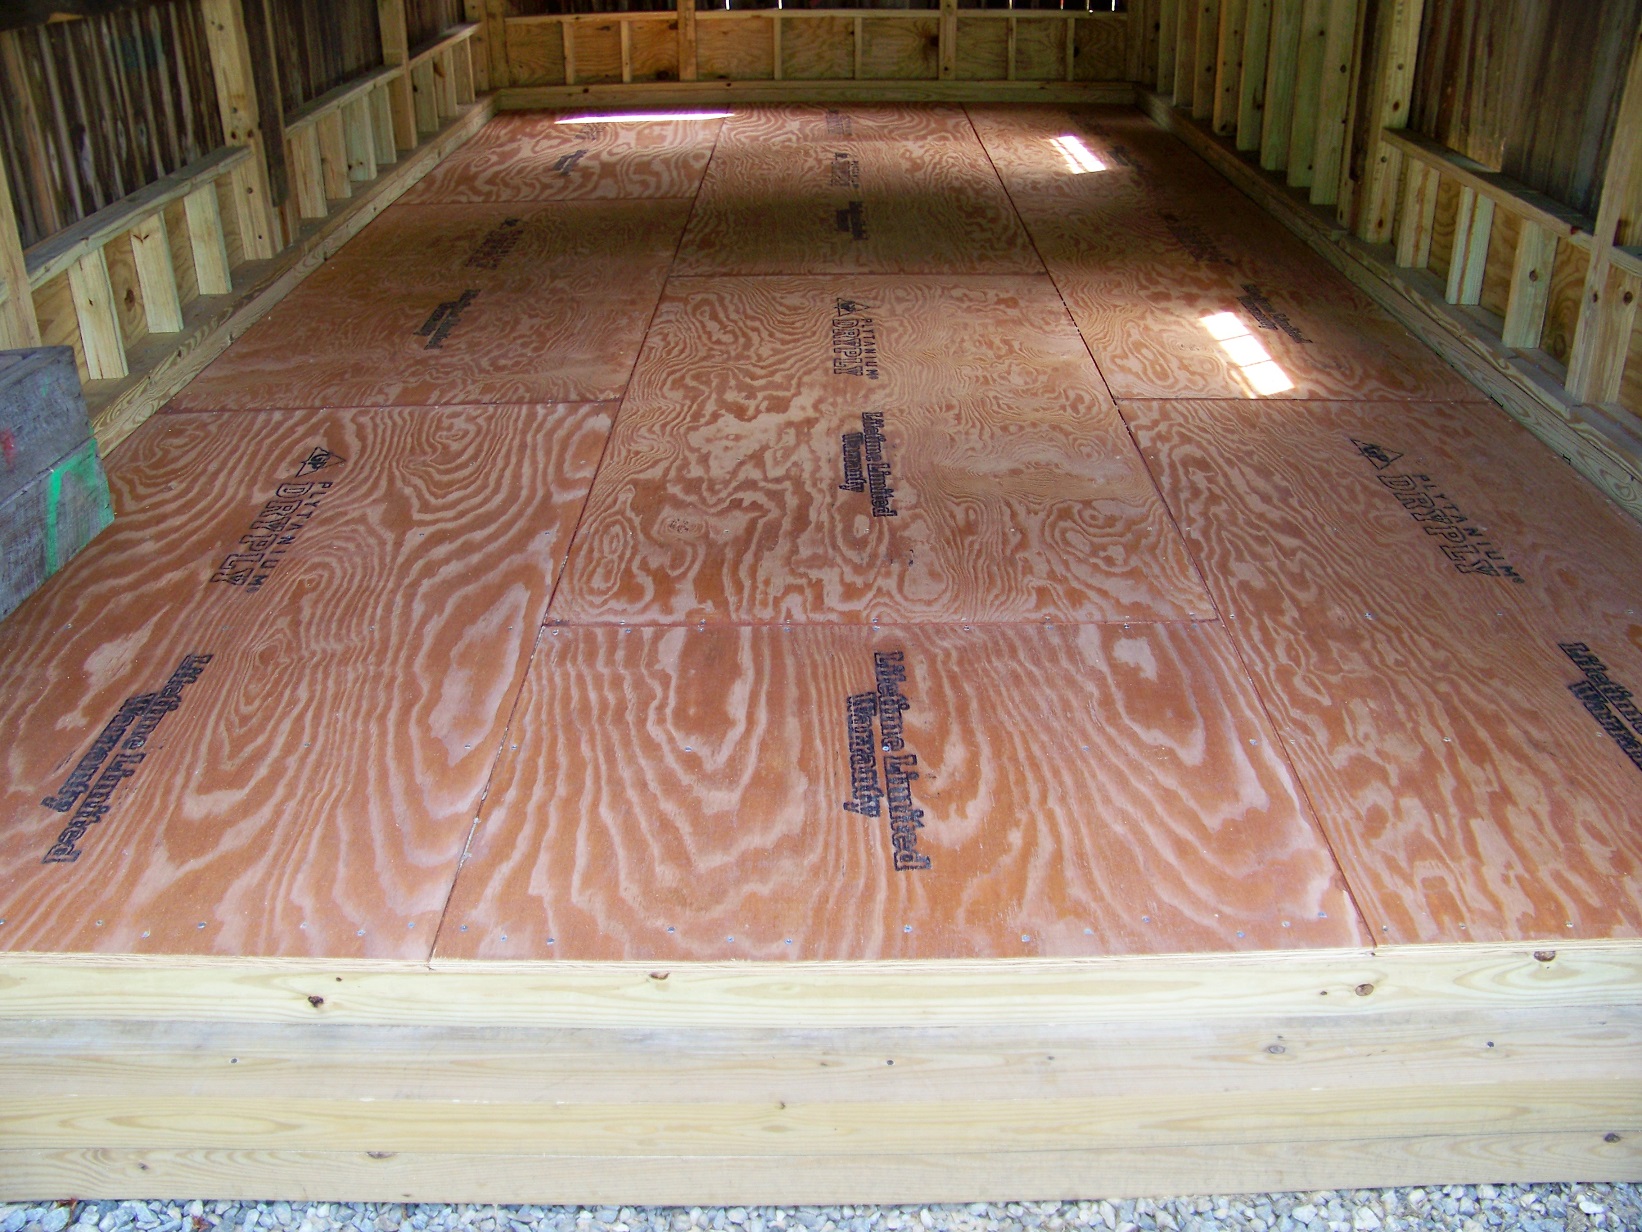
You are doing a heck of a job, much more overbuilt than most sheds. I commend you on all the time and effort you are putting into this shed....great work.

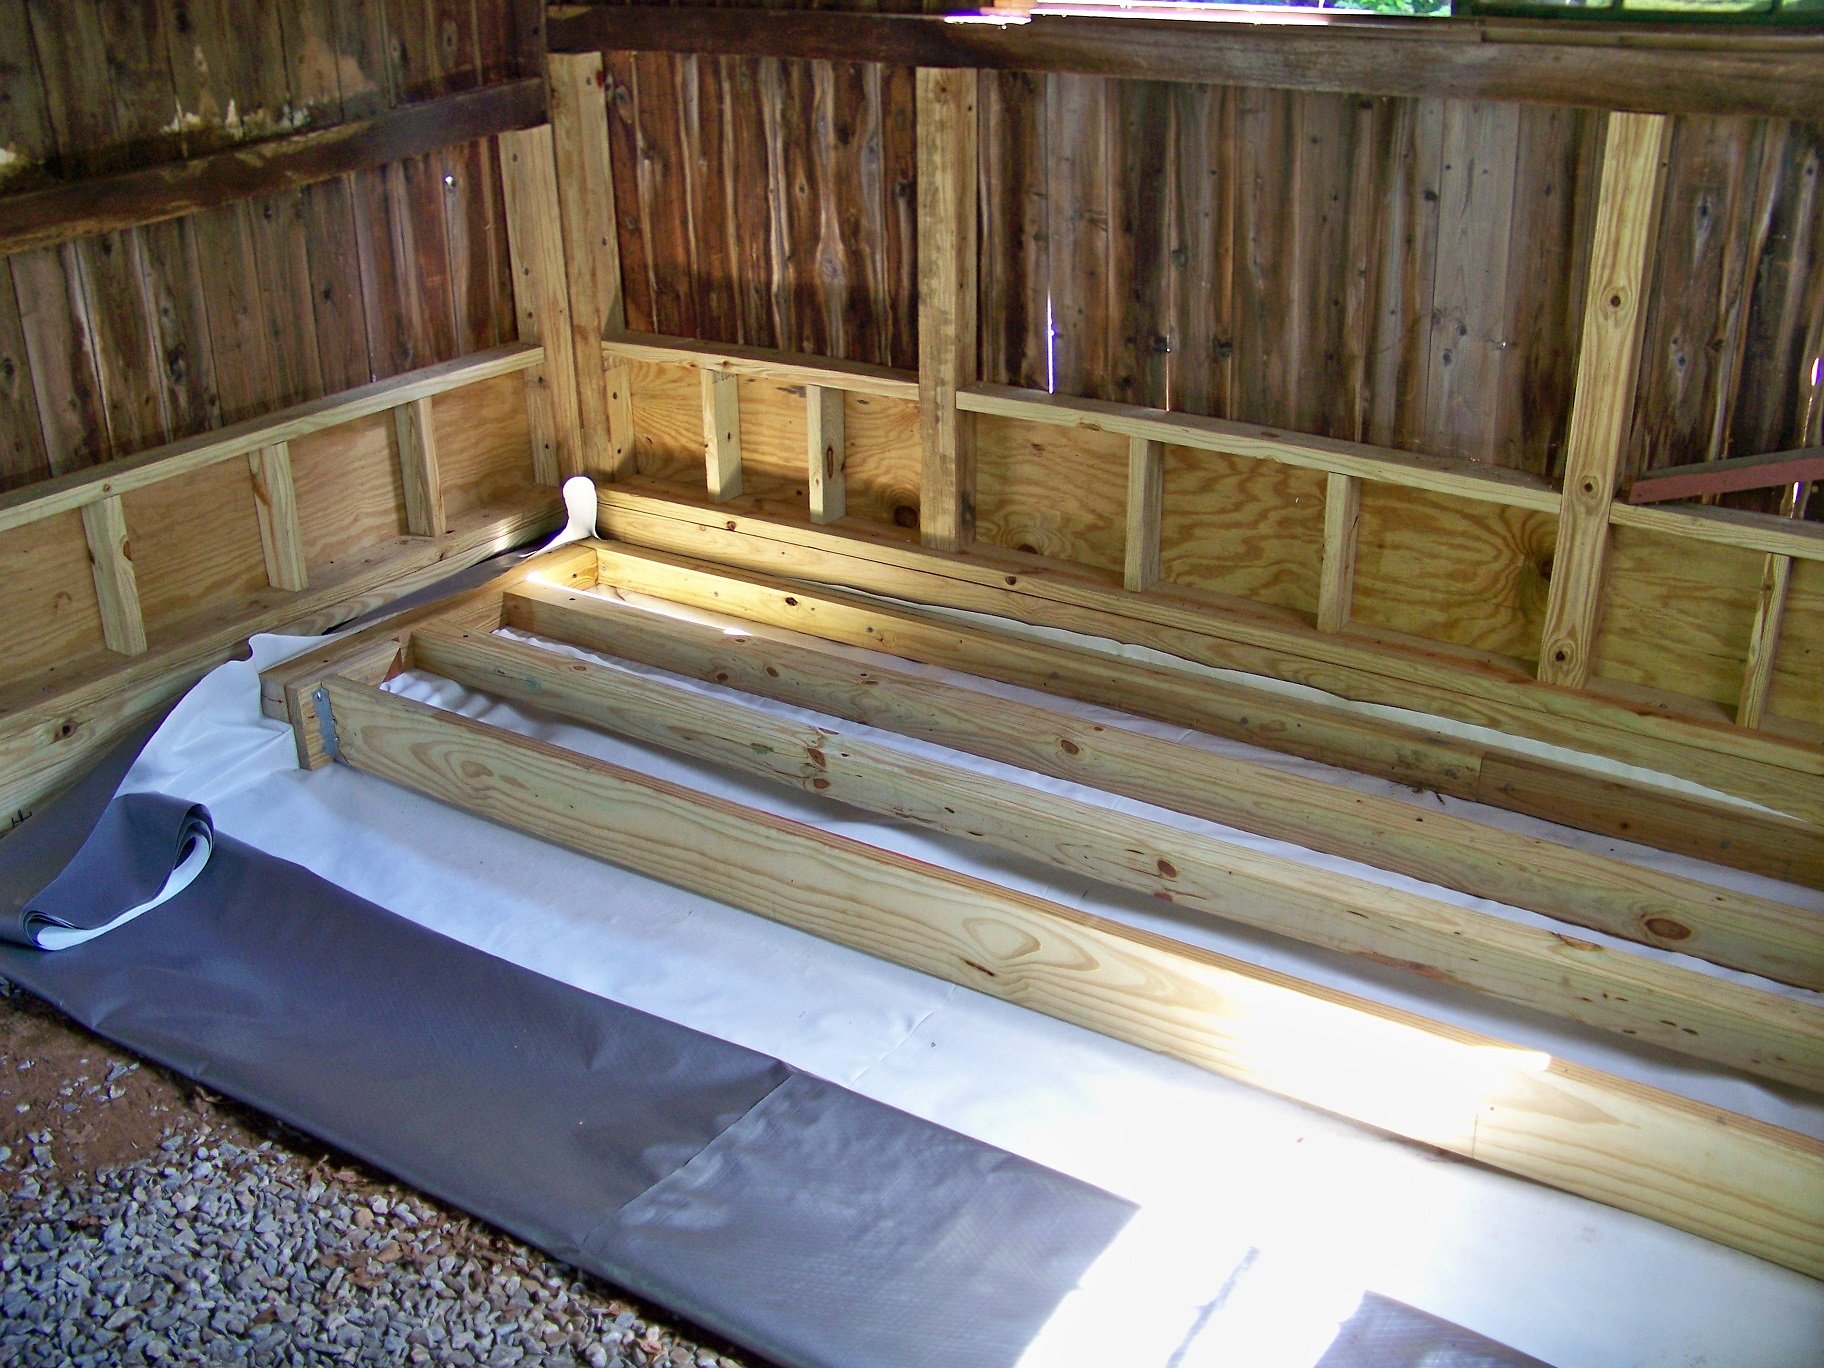
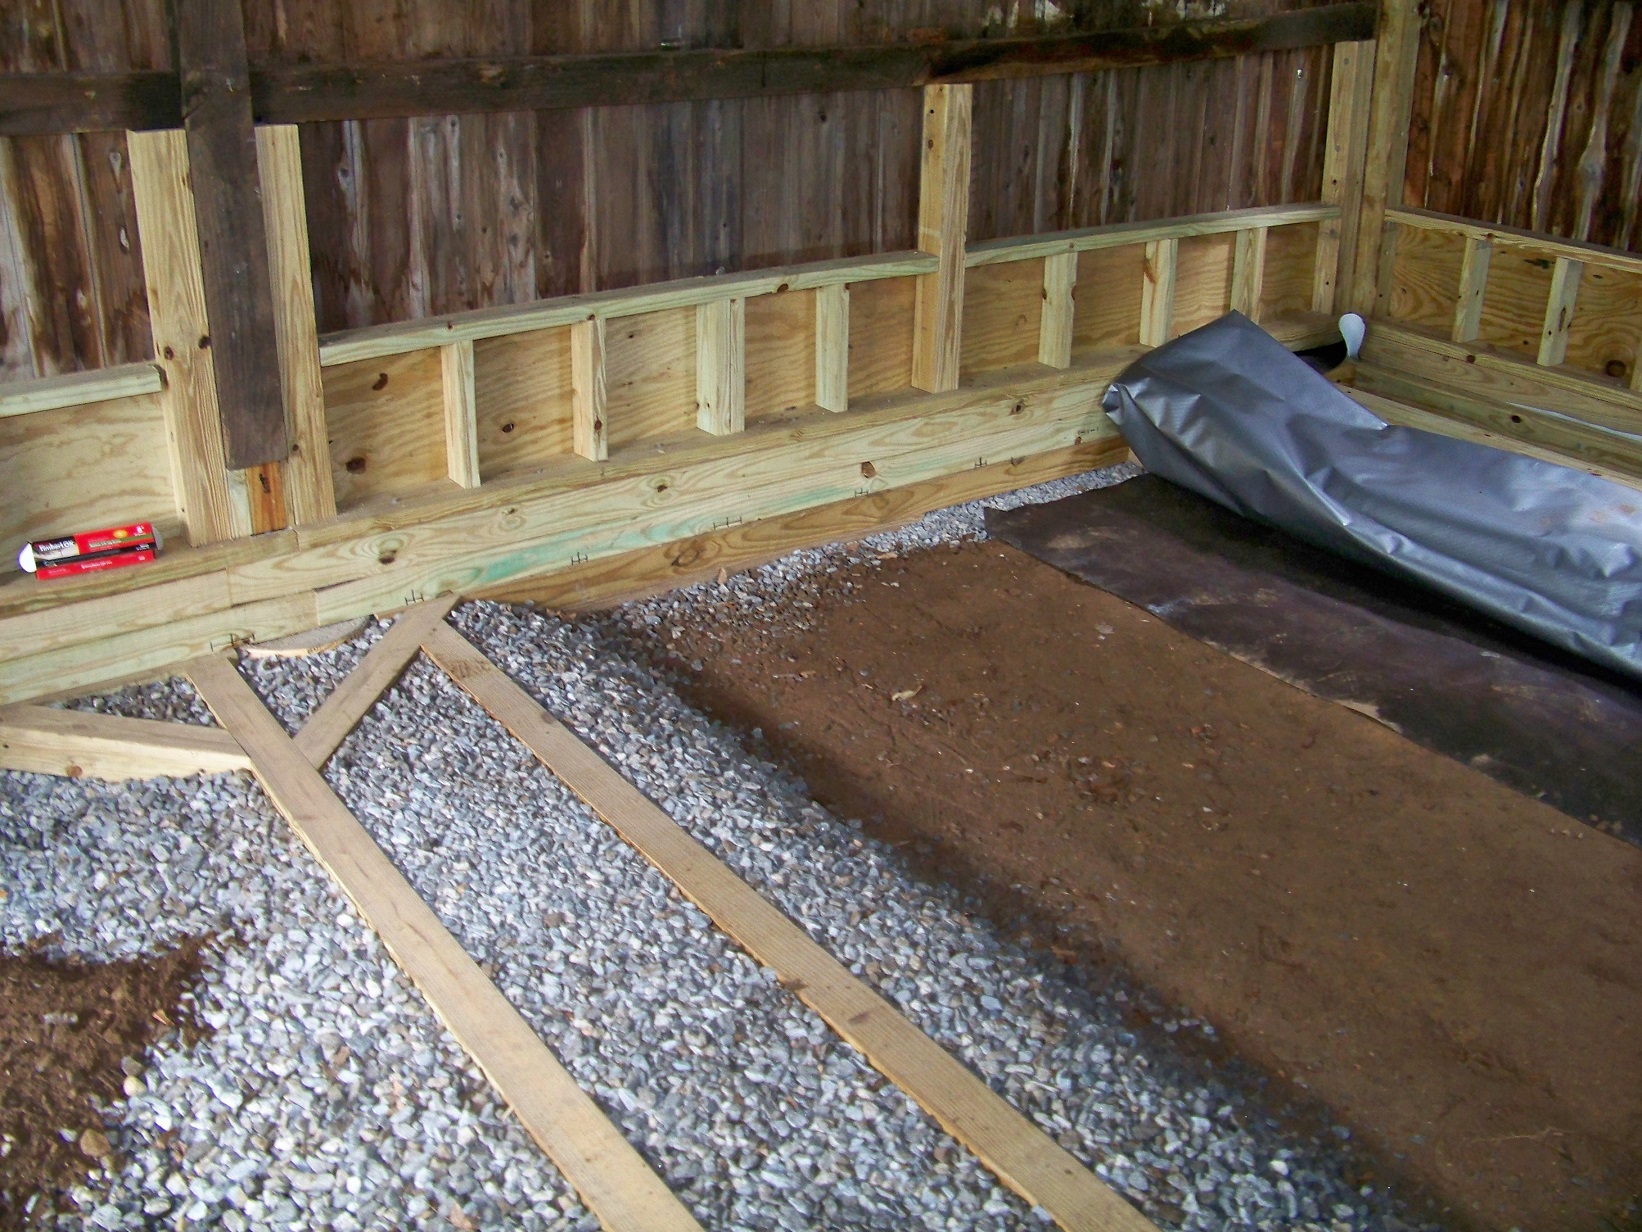
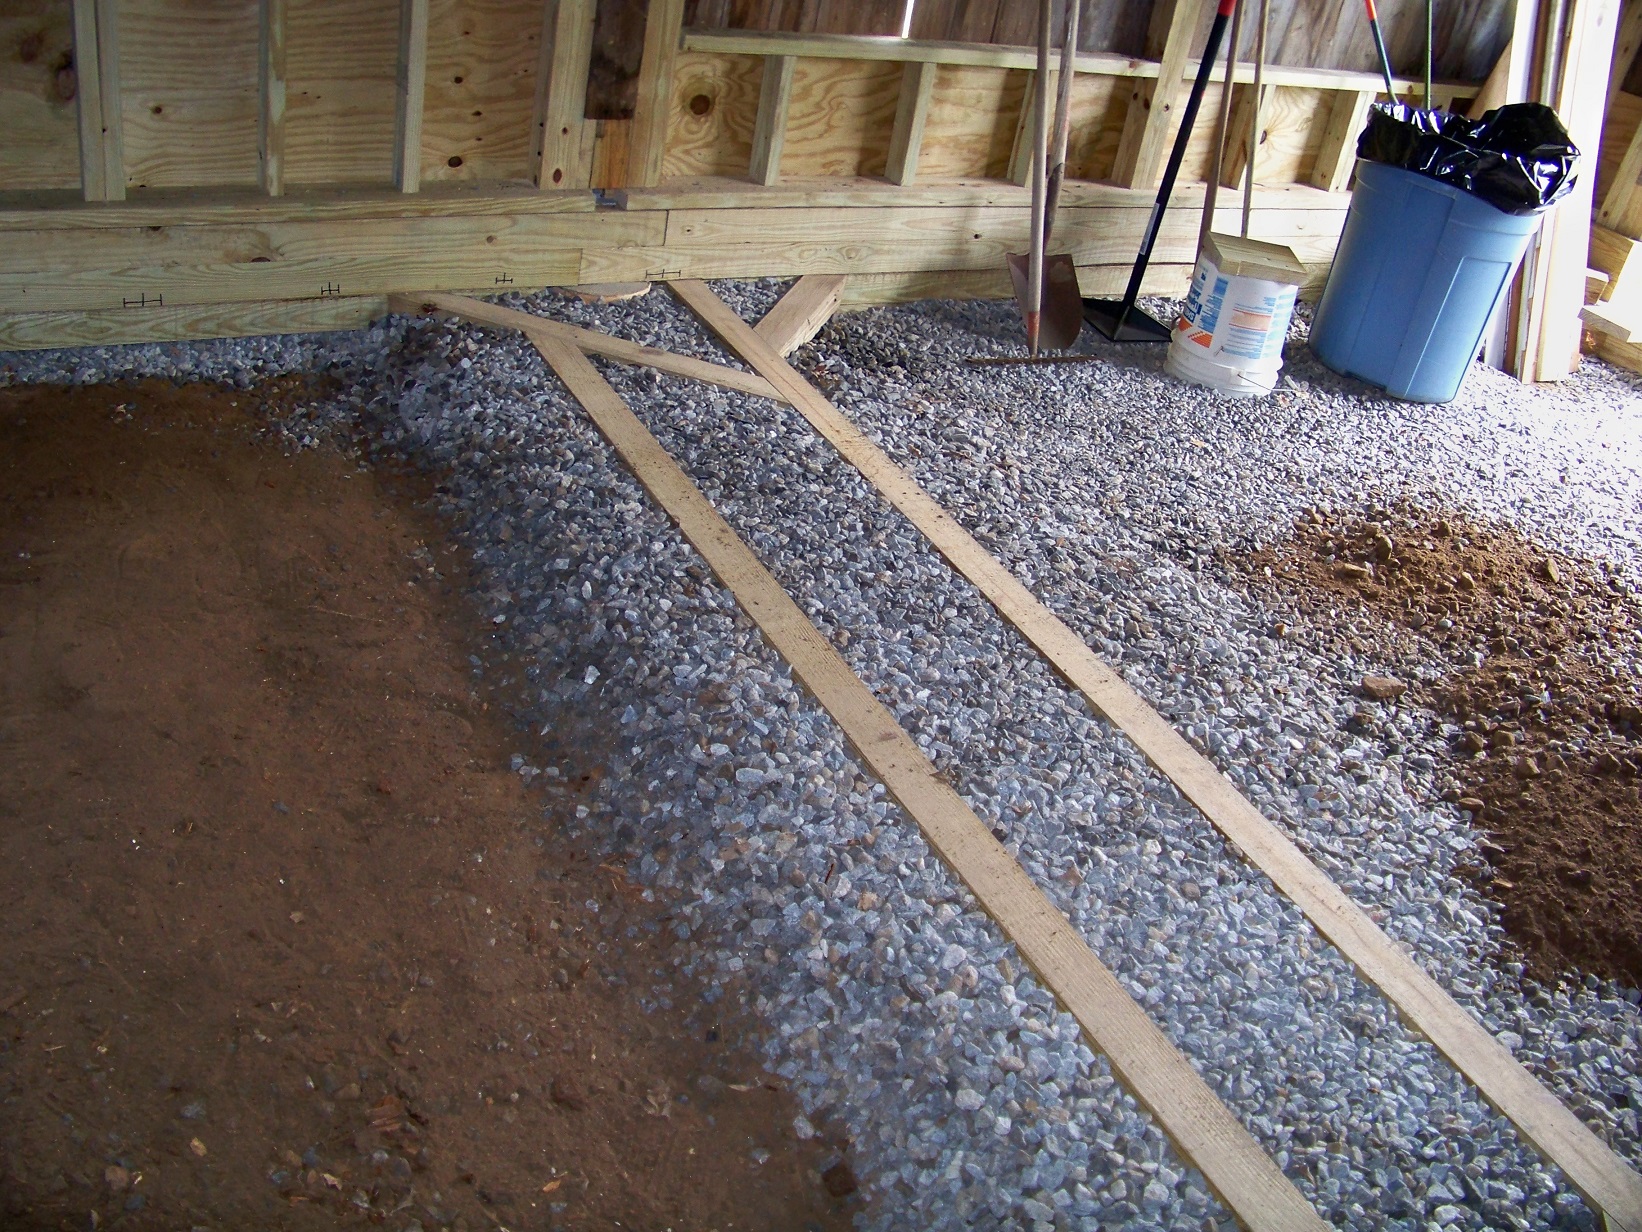
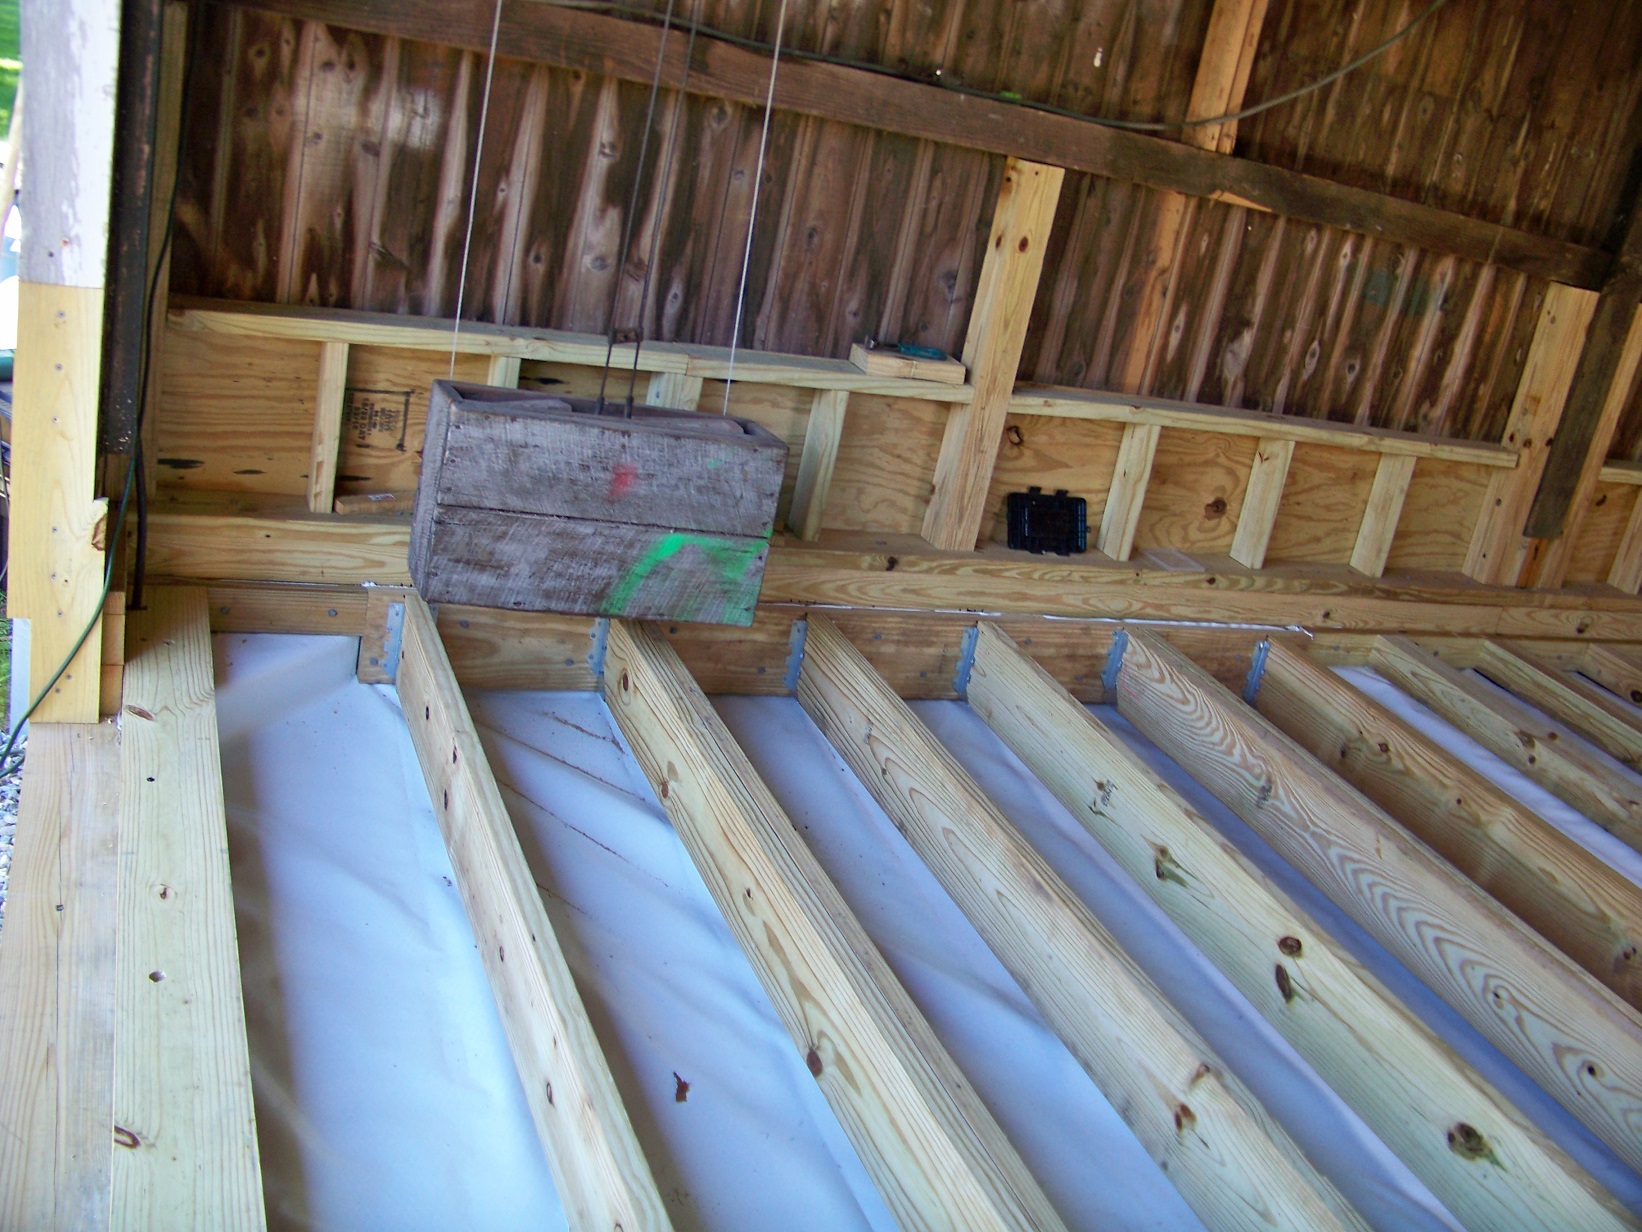
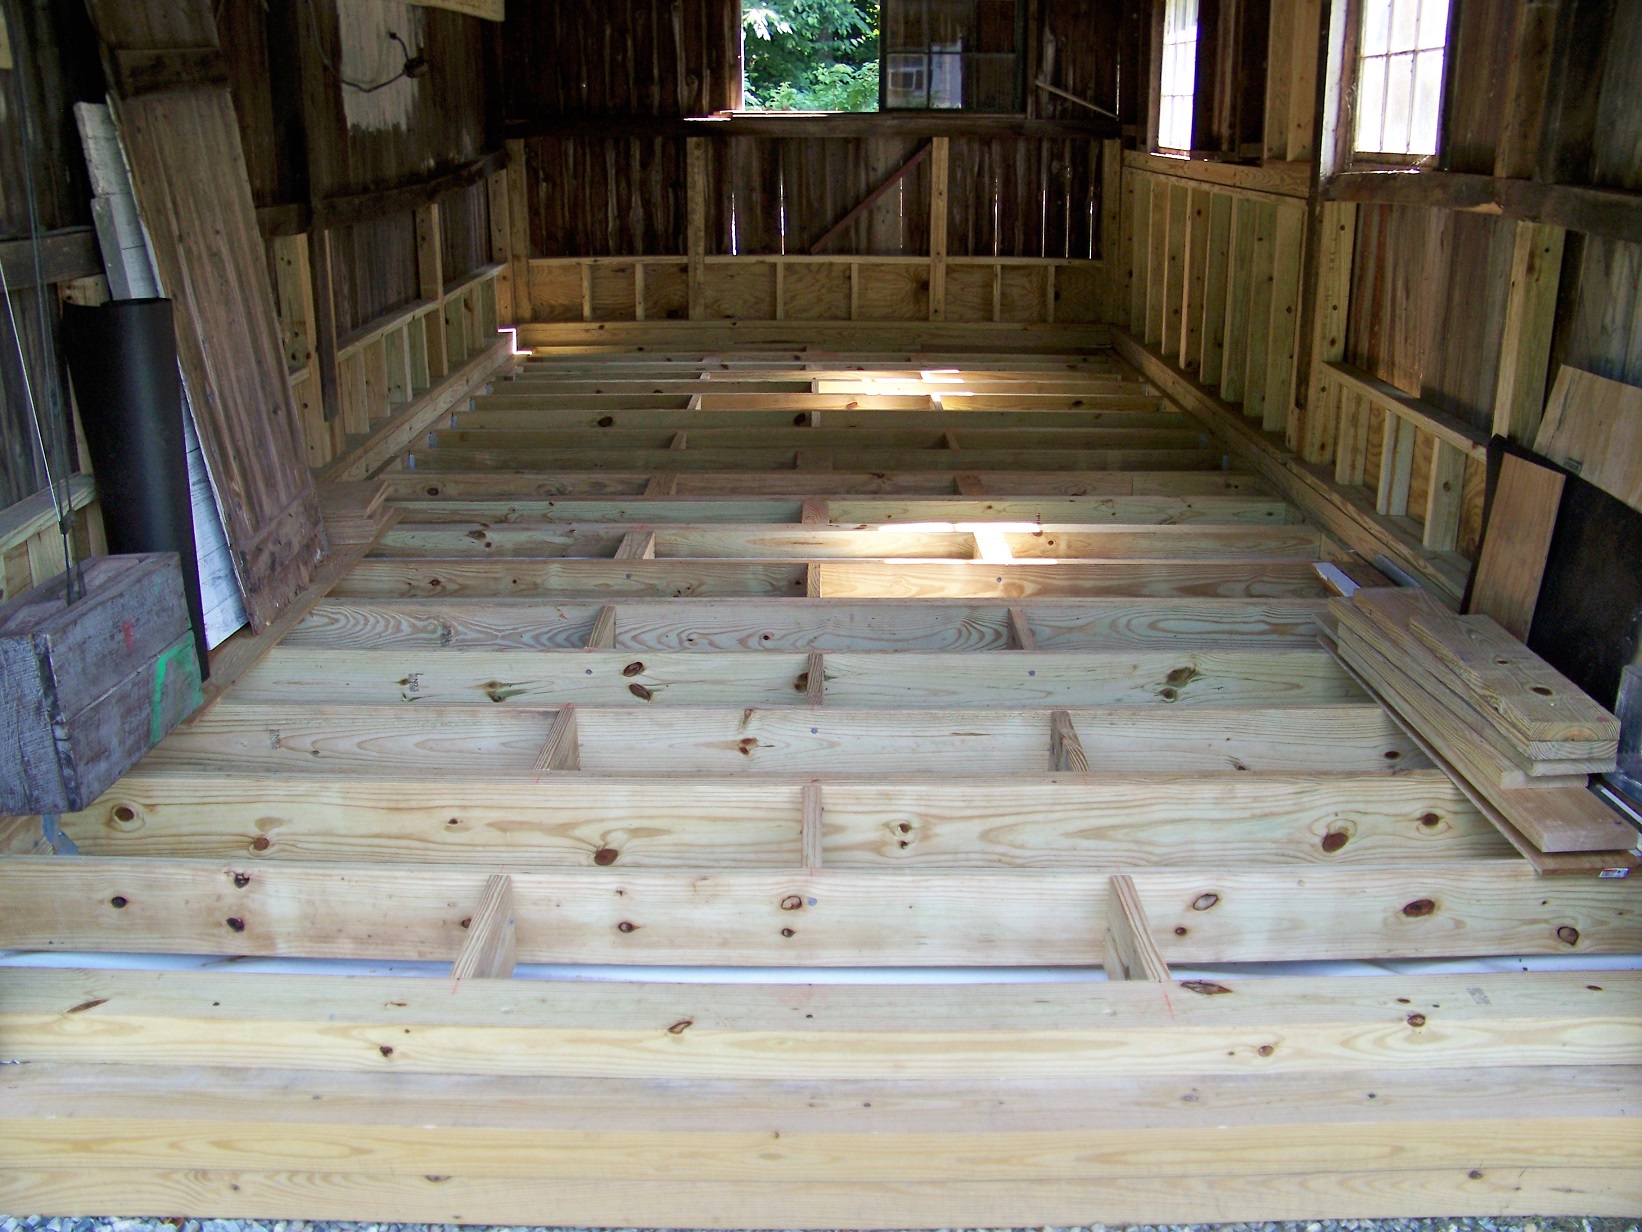
Blocks would not be necessary, but your criteria and tolerances have been so high till now, it certainly would not hurt. PT can be medium to very wet, so putting in blocks could help down the road, preventing any twist or warpage, although this would be minor. If you do it, stagger the blocks....example, first row put a block at midway (5 ft mark). Next row, put 2 blocks at 3 & 7 ft marks, and continue next row at 5, then next at 3 & 7....till the end.


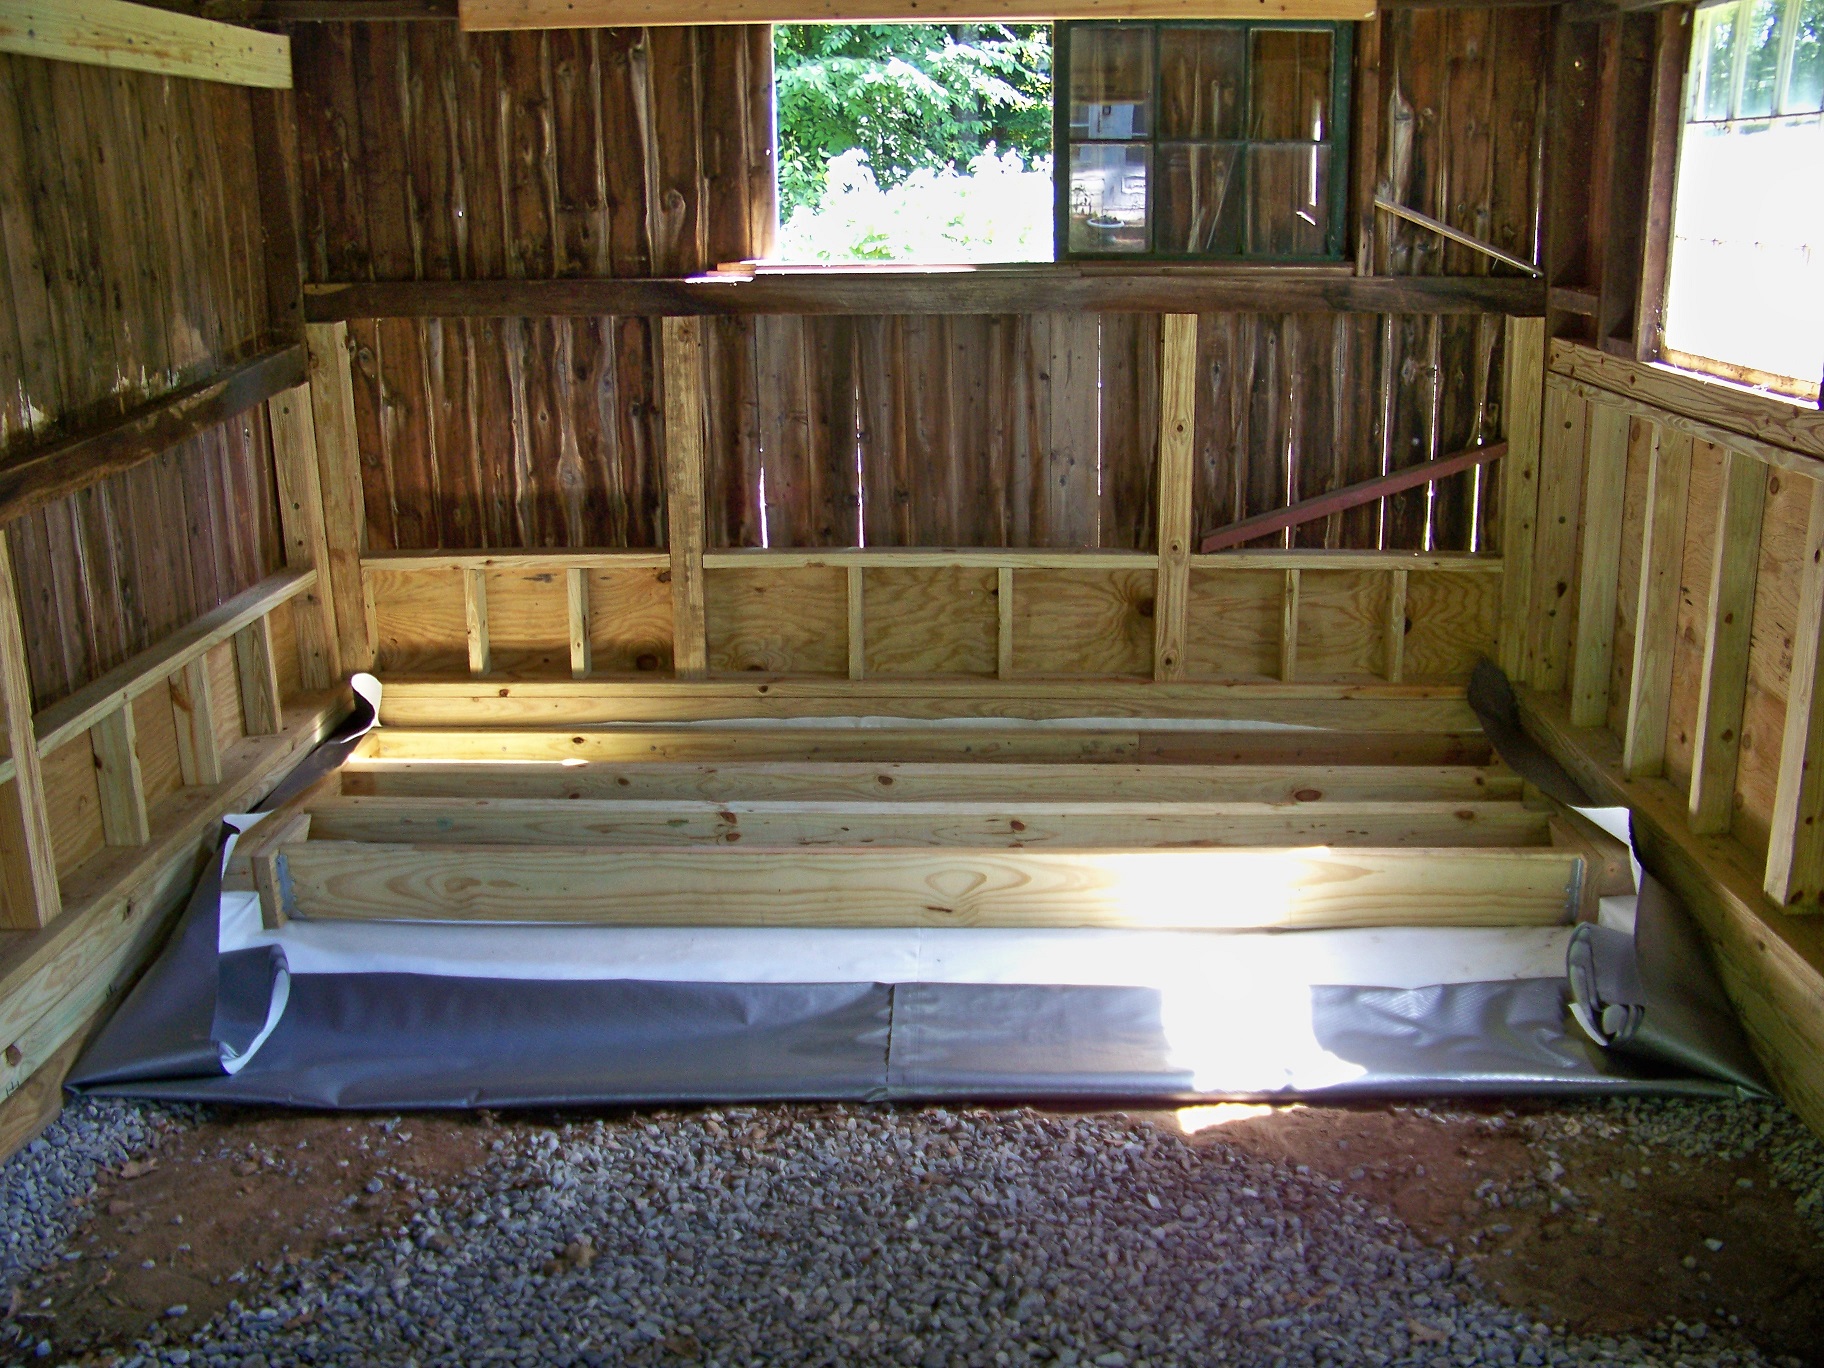
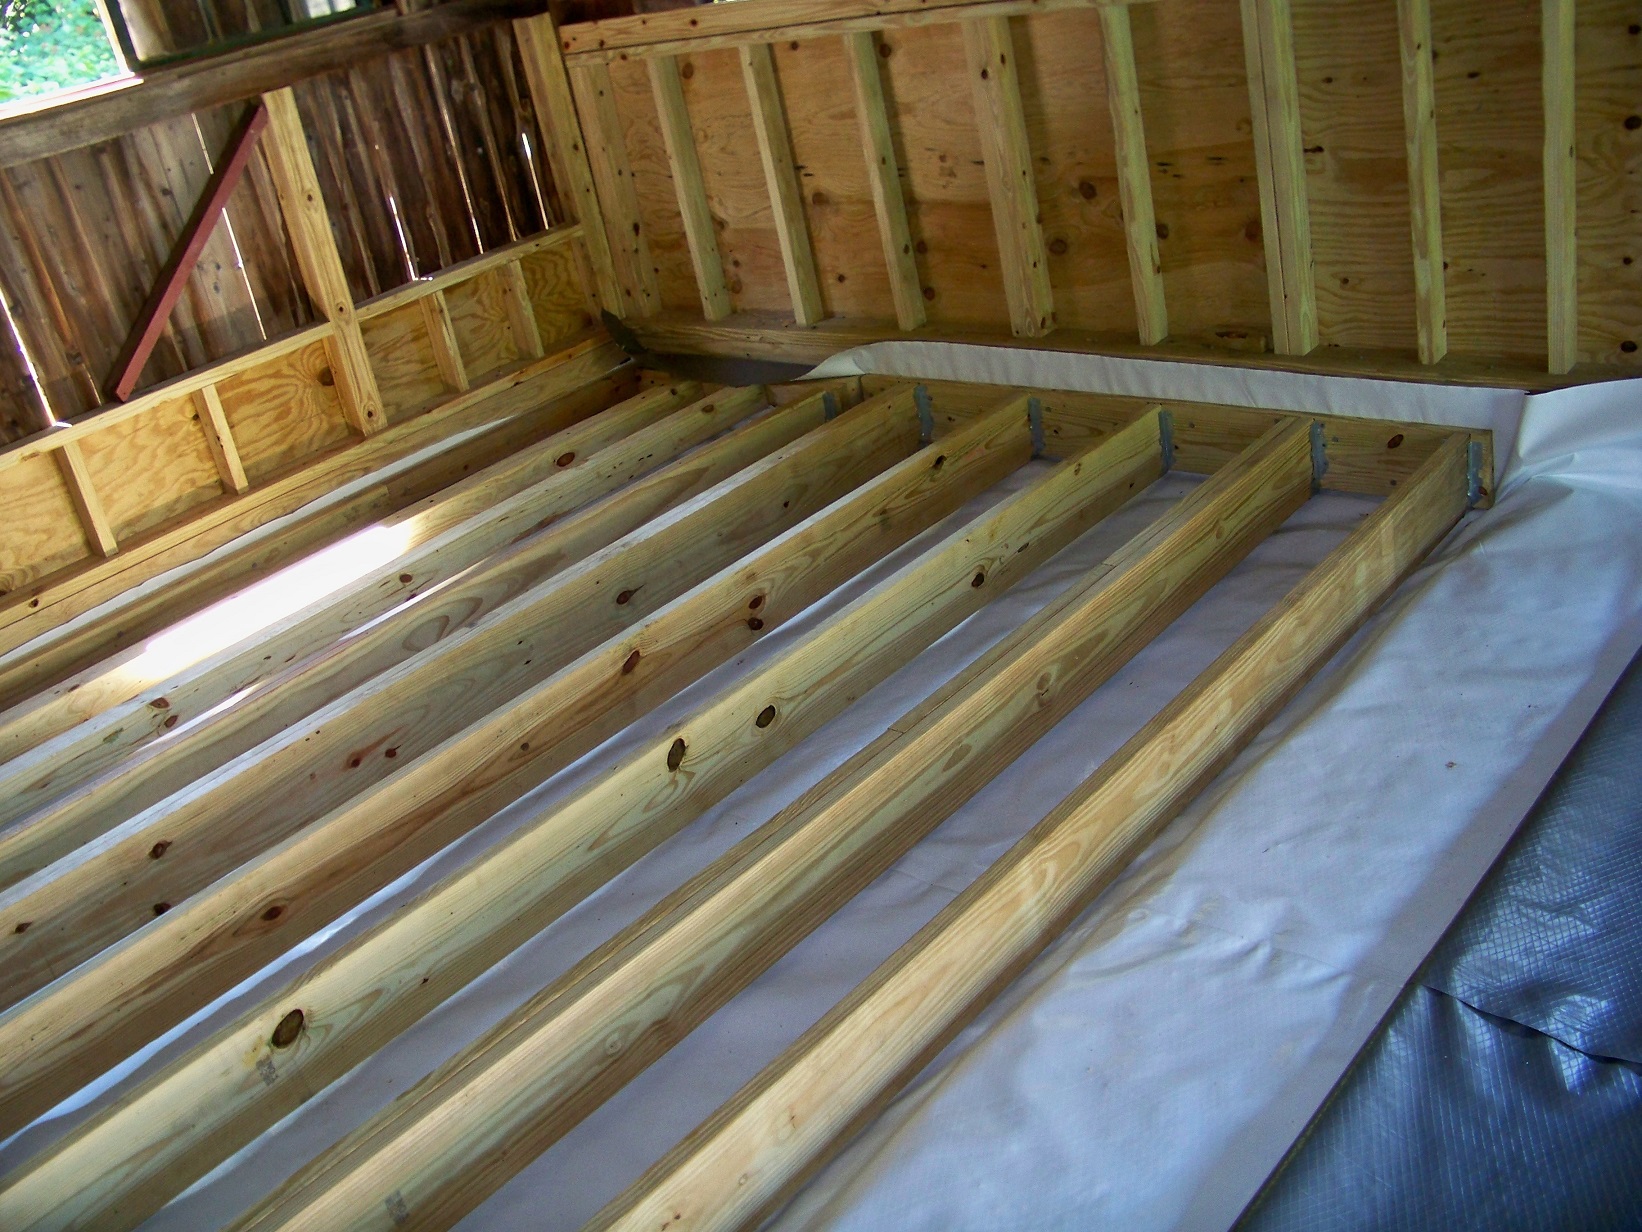
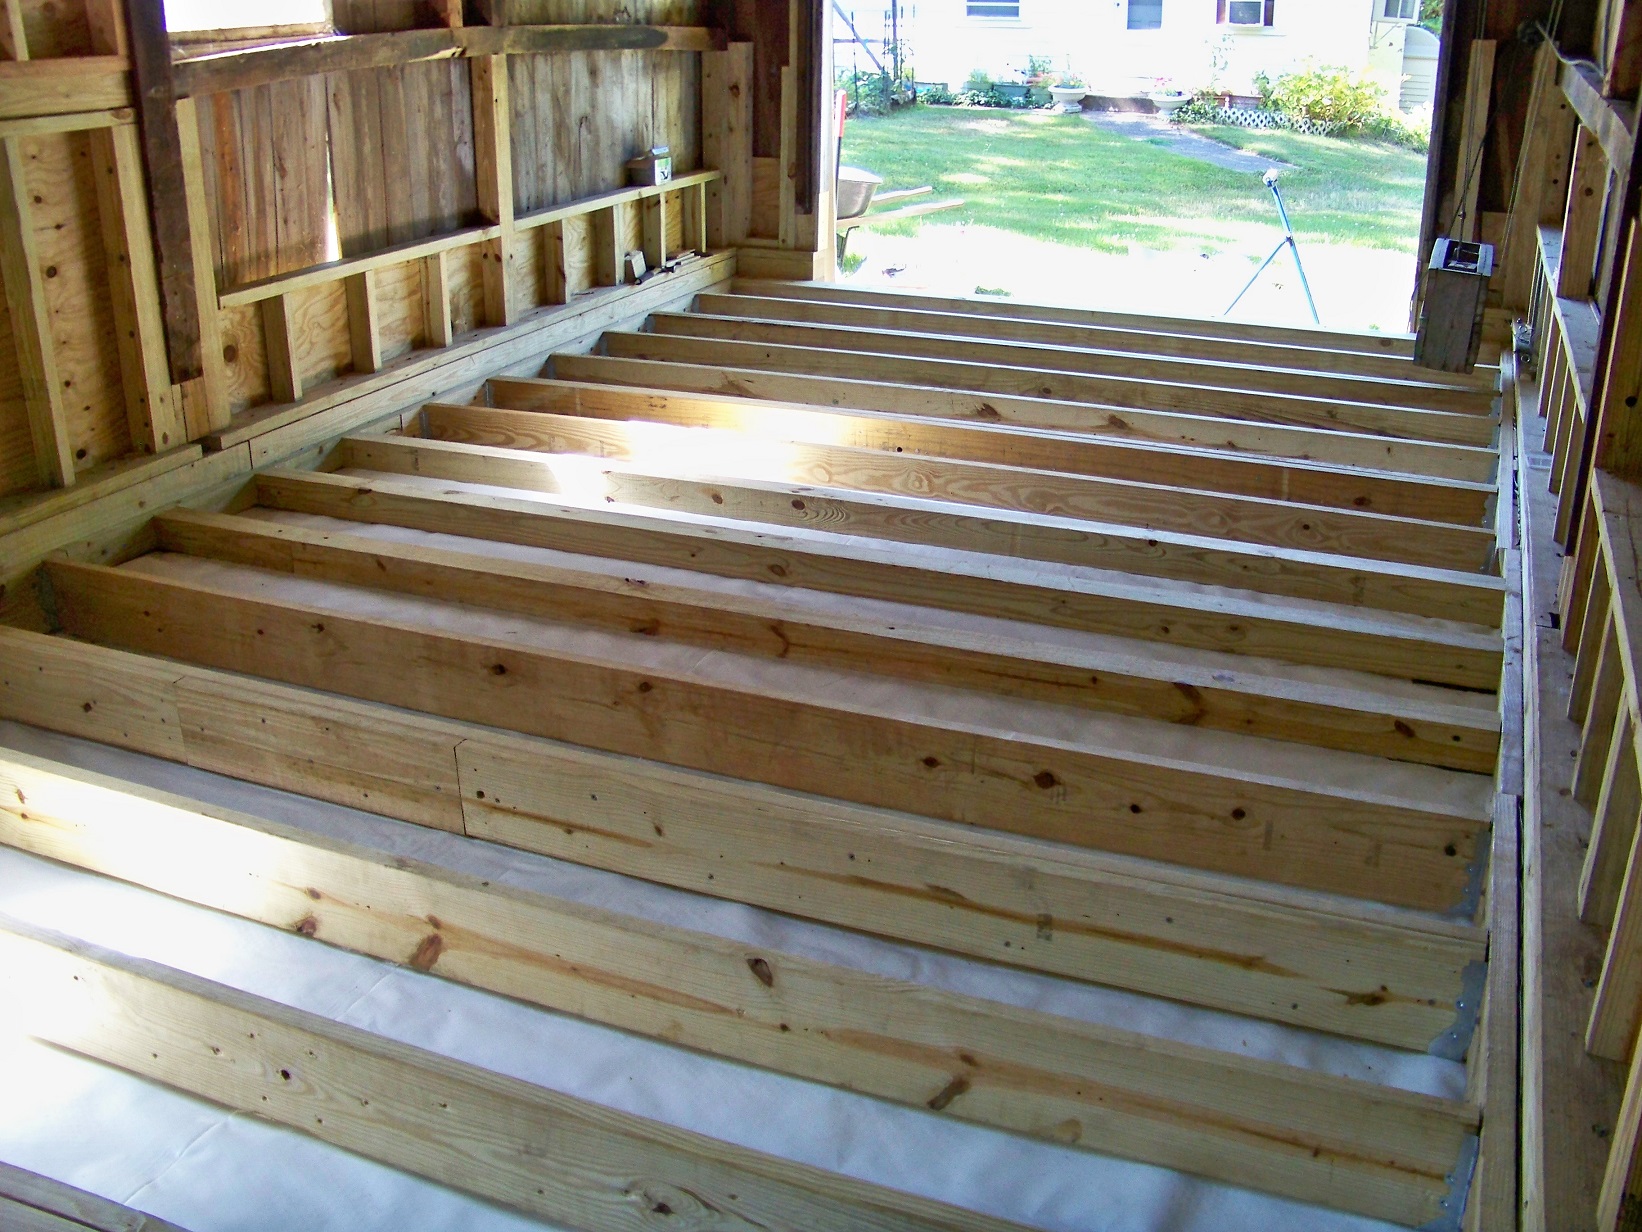
For the span, most PT is typically pine or fir, or similar. If you check spanning charts, 2 x 8's at 16" centers should be good for at least 12 ft.....here's an online chart
https://www.awc.org/codes-standards/calculators-software/spancalc

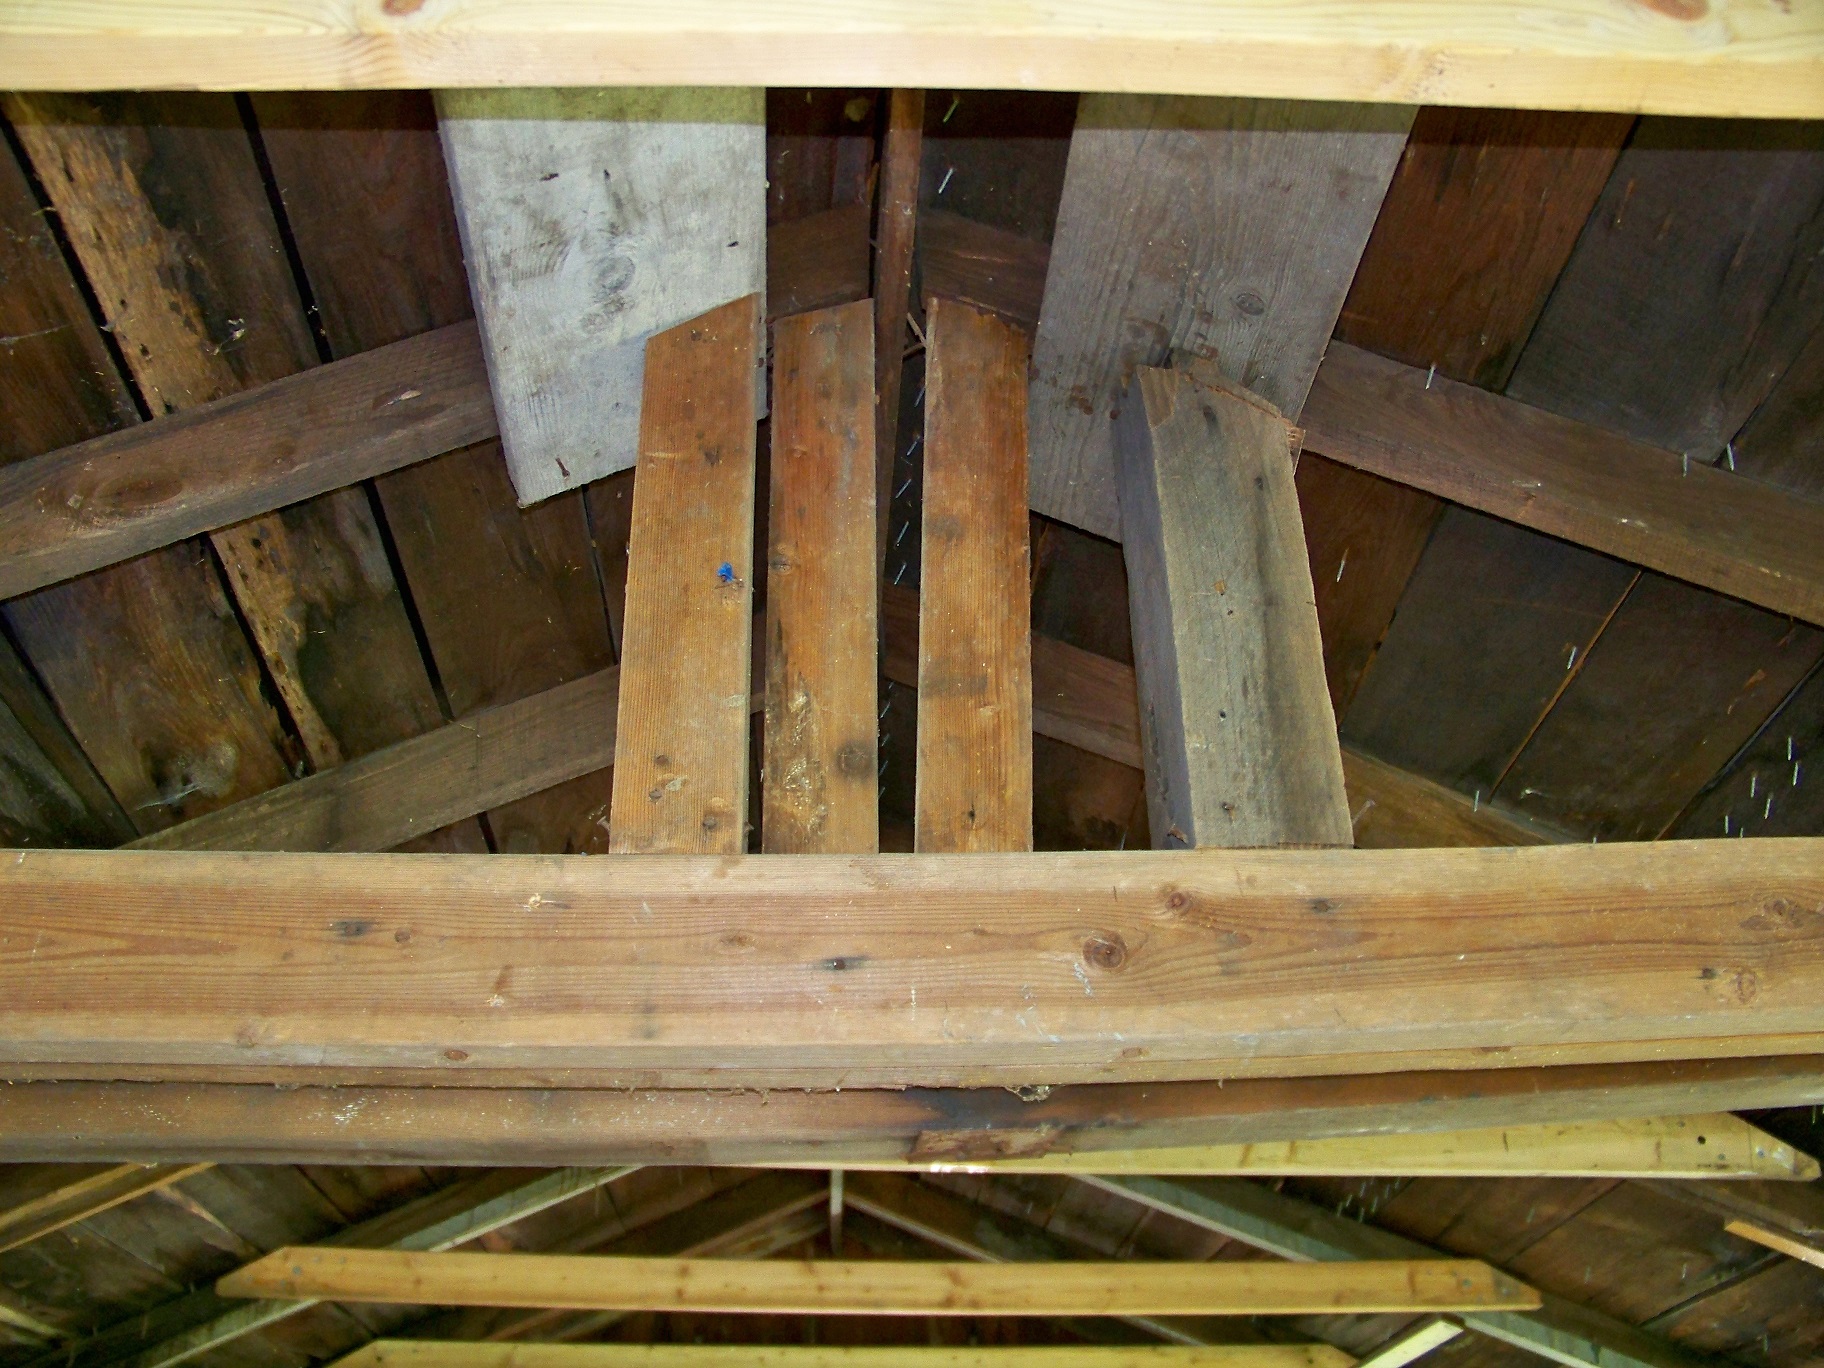
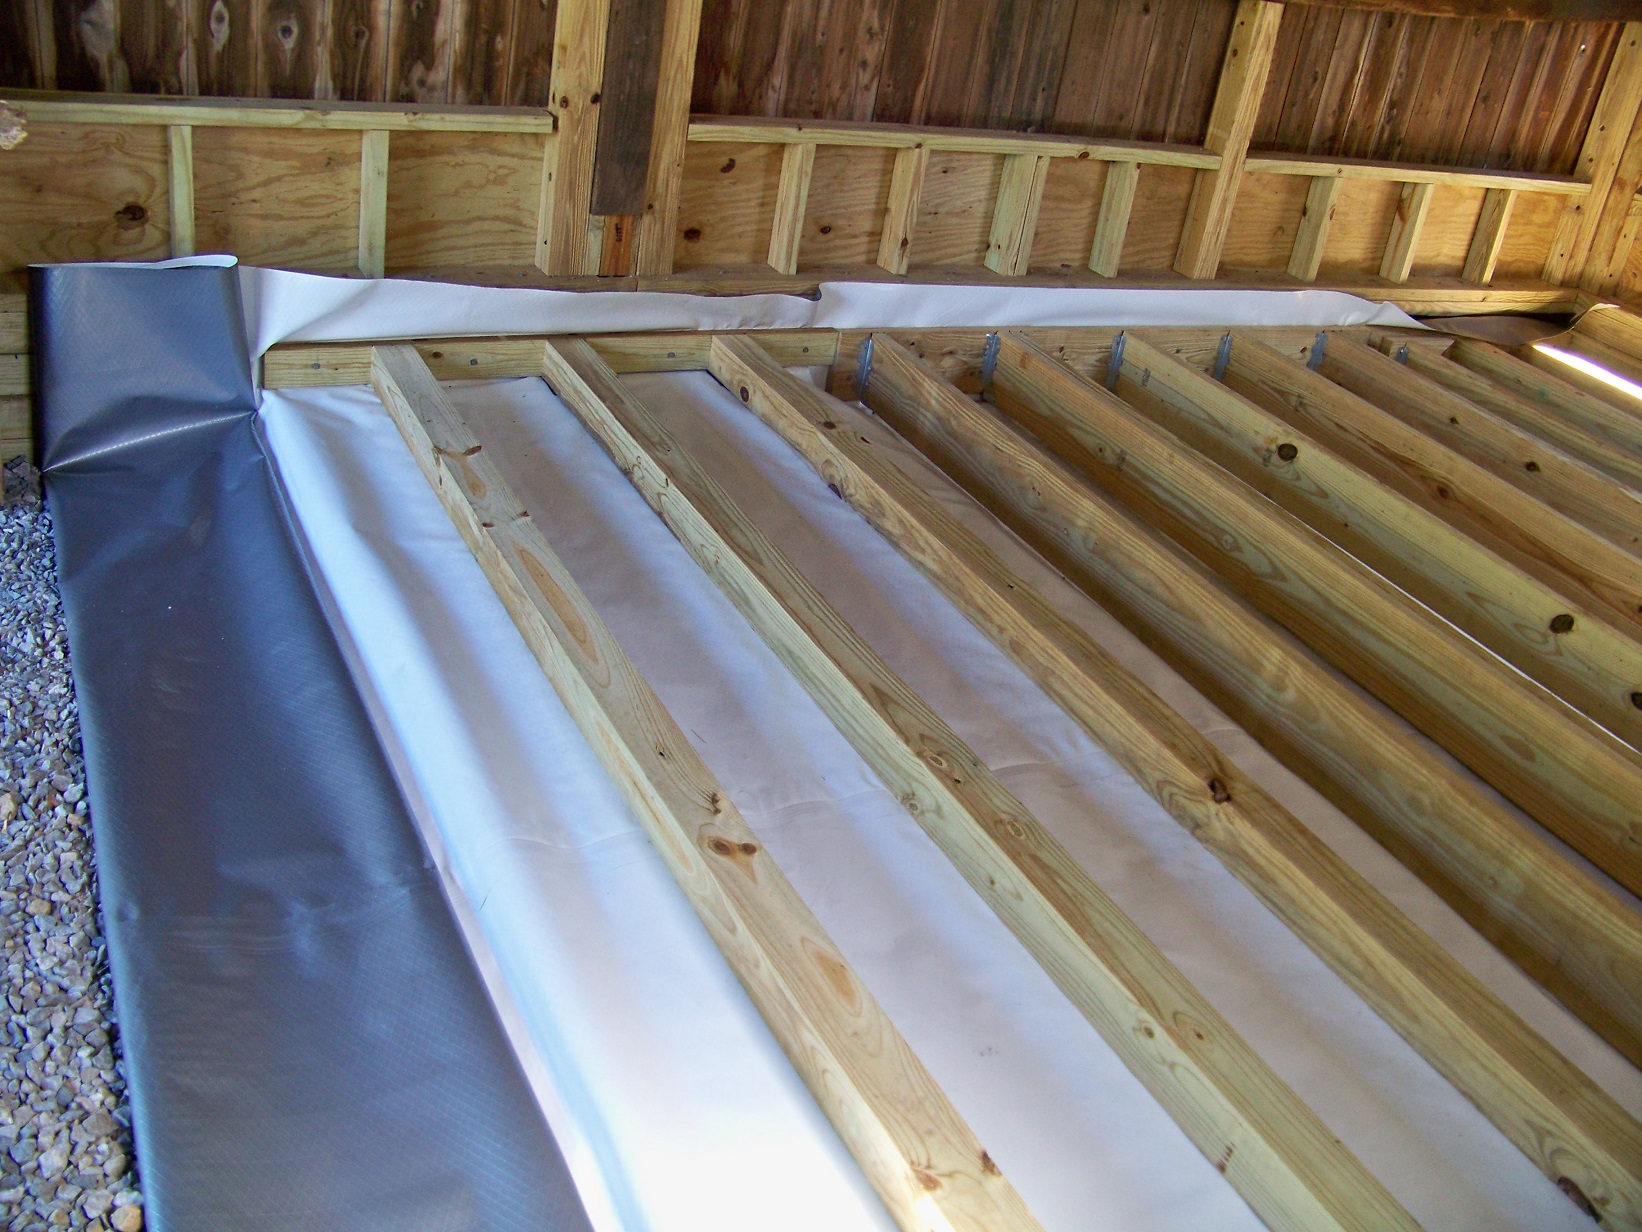
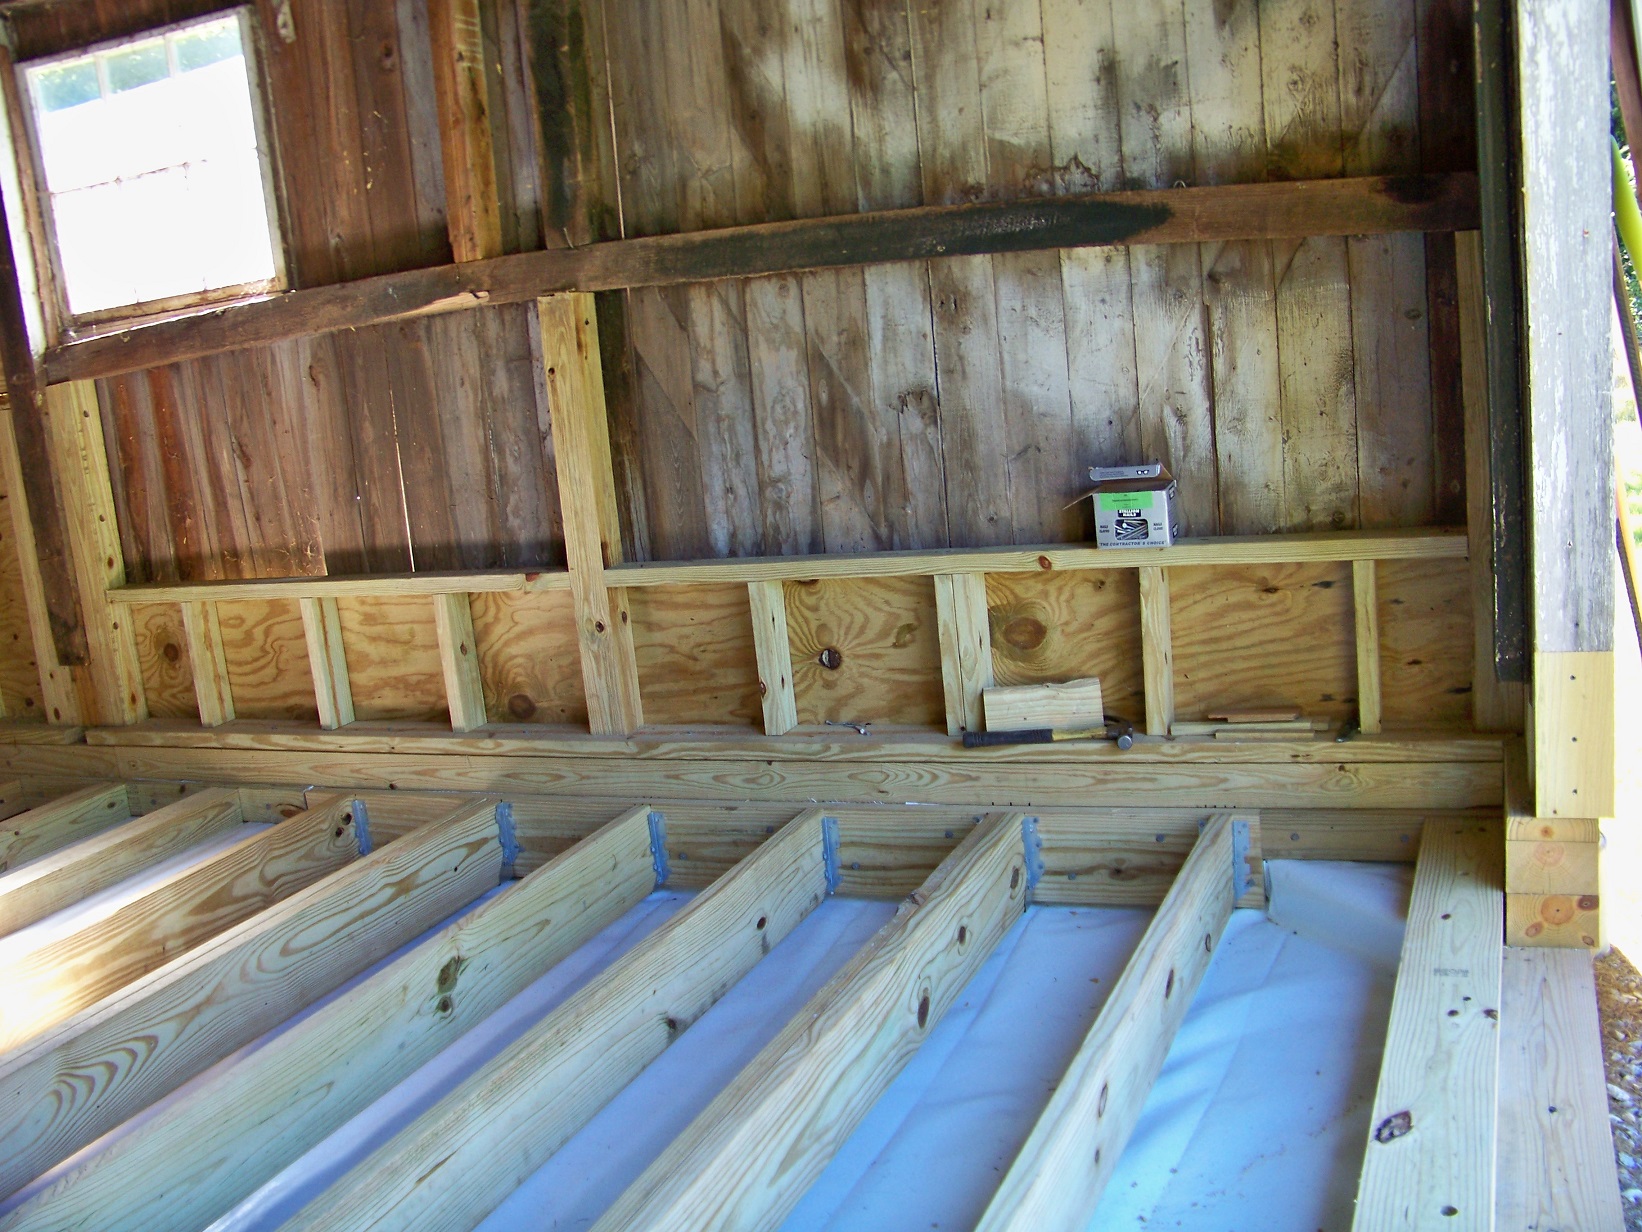
As far as the knot goes, I think most framers would hammer through it. If they couldn't, they would move the nail an inch either way to avoid it. I think what you did is fine. If you really worry about these things, drive a screw within an inch of the knot, to avoid it. This would be only for **** people like me, that worry because knots do dry up and shrink, which might cause the nail to lift.


Great work so far. I think you will be very proud of the finished product.


EDIT, I just re-read and noticed the knot was for a hanger...just leave as it is, should be no problem.
 
OP
P

Platonic Solid

Well-known member
Joined
Nov 29, 2014
Messages
3,587
Location
CT-USA
Progress Pics:


Added a couple 45° supports so I could make use of a 10ft 4x4 I had.


Top 4x4s attached to 4x4s under plastic.

 
OP
P

Platonic Solid

Well-known member
Joined
Nov 29, 2014
Messages
3,587
Location
CT-USA
Progress Pics:


Finished installing floor joists.


There's a 4x4 bolted to the structure underneath the 4x6.


I almost managed to do the entire floor from the pile of leftover lifting frame lumber. I did end up having to buy two 12ft 4x4s. All the screws used were recycled from the lifting frame. Next step = blocking.

When the time comes, I've decided not to glue the T&G plywood to the joists. If the roof ever leaks and damages the floor, I want a fighting chance of replacing a section. I'll still glue the T&G to each other.
 
Last edited:
OP
P

Platonic Solid

Well-known member
Joined
Nov 29, 2014
Messages
3,587
Location
CT-USA
This is definitely termite land. I had to gut and rebuild the interior of the house on this property due to termite damage. I figured using PT lumber was good enough.
 

Vintage Veloce

Well-known member
Joined
Feb 27, 2015
Messages
1,076
Location
San Diego
Sorry, it wasn't obvious to me from the pics that it was PT. (You probably mentioned this and I forgot.) I have no idea how effective that is, but I bet PT is pretty good. Only my sill plates were PT and I sprayed much of my trusses with Bora-Care, but wish I had done the whole frame.
 
OP
P

Platonic Solid

Well-known member
Joined
Nov 29, 2014
Messages
3,587
Location
CT-USA
If I follow CT deck building code, all PT cuts shall be treated with copper naphthenate. I have not done this, but could do it to the exposed exterior cuts. Your Bora-Care suggestion is probably better.

Edit - Just reading the Bora-Care instructions: One gallon of Bora-Care will treat approximately 100 lineal feet of 2 x 4 stud wall. This includes sill plate and header. Typically, one gallon of concentrate Bora-Care will treat 800 square feet of a 2x4 stud wall, and 500 square feet of a crawl space or attic. If I use their lineal feet method I'd need 2 gallons just for the floor joists. If I use their 500 sq.ft./gal. method I'd only need 1/2 gallon for the joists. :wtf:

Edit #2 - I figured out what's going on. The 100 lineal feet must be diluted product whereas the rest states concentrate.
 
Last edited:
OP
P

Platonic Solid

Well-known member
Joined
Nov 29, 2014
Messages
3,587
Location
CT-USA
Finished blocking. Excellent use of all those otherwise useless scrap pieces I had laying around. Floor feels rock solid now.


Picked up 9 sheets of 3/4 (23/32 actually) T&G Plywood (link). This stuff is so good it has two snazzy names: Plytanium DryPly. Sounds more like a Marvel comic character than a building product.

 
Last edited:
To avoid these ads, REGISTER NOW!
OP
P

Platonic Solid

Well-known member
Joined
Nov 29, 2014
Messages
3,587
Location
CT-USA
Progress:


It's official! The Rat Shack now has wall to wall T&G Plytanium flooring! That sentence alone should increase resale value at least $1,000 over uninspired regular no-name plywood sub-flooring. :)

Now onto the walls. Seeing as how there are plenty of gaps in the vertical siding, I need to do something about that . . . tar paper, Tyvek, plywood . . . not sure what yet, but something.
 
OP
P

Platonic Solid

Well-known member
Joined
Nov 29, 2014
Messages
3,587
Location
CT-USA
Yes, no bounce, no flex, feels great. I'm sure it's safe to put a motorcycle in there. Not sure I'd put a car in there (not that I intended to do that anyway).
 

ambenz

Well-known member
Joined
Dec 12, 2010
Messages
4,236
Location
NW Chicago Suburbs
Looking good!
Will be interesting to see the outside getting some finishing touches.
Did your nesting/pecking bird issues go away with the flags?
 
OP
P

Platonic Solid

Well-known member
Joined
Nov 29, 2014
Messages
3,587
Location
CT-USA
I didn't get around to putting up flags to deter the woodpeckers. I'll have to pay more attention and see if the pecking damage has gotten any worse.
 
OP
P

Platonic Solid

Well-known member
Joined
Nov 29, 2014
Messages
3,587
Location
CT-USA
Interior walls:

I was thinking of using 2" EPS foam board (link) cut to fit the openings between the post and beams. I believe the foil faced side should be towards the interior, but would rather have the white side in for the light reflectance value. Not sure it matters in a shed that isn't heated or cooled. Purpose is primarily to keep the interior dry without causing unanticipated moisture issues on existing siding (plus, detering a few bugs and spiders wouldn't be the worst thing that could happen).

I was also thinking of using tar paper between the EPS and existing siding. Not sure if I should provide an air gap between the siding and EPS. I could make an air gap easily enough using vertical strips of 1" EPS between the siding and 2" EPS.

Felt/Tar paper would be attached to interior siding - then 1" EPS air gap strips - then 2" EPS board.

Also, after reading the EPS Installation Guide (link) I see it states: "Do not allow highly solvent extended mastics, coal-tar products or their vapors to come in contact with INSULFOAM R-TECH." which makes me question if tar paper falls into that category.

My current thinking is to fasten the EPS to the siding with screws and washers like these:

Plasti-Grip 1.75 in. ci Prong Washer (link)
or
Thermal-Grip 2 in. ci prong washer (link)

My intention is to use Polyurethane adhesive for all seams.

Any thoughts or alternate suggestions appreciated.
 

bored350

Well-known member
Joined
Mar 17, 2011
Messages
222
Location
Arkansas
Interior walls:

I was thinking of using 2" EPS foam board (link) cut to fit the openings between the post and beams. I believe the foil faced side should be towards the interior, but would rather have the white side in for the light reflectance value. Not sure it matters in a shed that isn't heated or cooled.

Any thoughts or alternate suggestions appreciated.
My 2 pennies worth: from what I recall, you do not plan to make this into a mouse proof building so I believe you would be doing yourself a great disservice to use anything non rigid that can be easily chewed or torn into bedding by rodents. I can attest to the fantastic reflective abilities radiant barrier offers from personal experience. I have a 12'x24' wood frame metal sided and roofed storage building that has radiant barrier backed OSB installed on the walls along with foil bubble foil radiant barrier roll used on the ceiling and the building stays within 5° of ambient without mechanical ventilation.

I would look for a solid inexpensive material to install between the studs such as hardboard Masonite and attach it using PL adhesive, if you want to close off the cracks. Buy it by the sheet and rip it to size as needed.


Sent from my Moto G (5) Plus using Tapatalk
 
OP
P

Platonic Solid

Well-known member
Joined
Nov 29, 2014
Messages
3,587
Location
CT-USA
bored350 - Good point. I am going to make a valiant attempt at making this building mouse-proof. Whether I succeed is a different story. With respect to rodents, having an air space between the EPS and siding is more apt to give them a nice hiding space. I'm guessing I could skip the air space without issue since the building isn't heated/cooled.

Cutting anything less forgiving than EPS to properly fit the curved beams is more hassle than I'm willing to deal with on this structure.
 

sbosecker

Well-known member
Joined
Sep 25, 2012
Messages
3,539
Location
Peachtree City, GA
...is more hassle than I'm willing to deal with on this structure.

Platonic Solid,

After watching the massive - and exceedingly well done!! - effort to rehabilitate the Rat Shack, I will admit that I chuckled a bit at this statement.

Ha!

Don't take my remark the wrong way - I admire the work and appreciate the documentation of this amazing project!

Best regards,

Scott
 
OP
P

Platonic Solid

Well-known member
Joined
Nov 29, 2014
Messages
3,587
Location
CT-USA
sbosecker - No offense taken. I'm starting to look forward to putting a period on this project and moving on to better things.
 
OP
P

Platonic Solid

Well-known member
Joined
Nov 29, 2014
Messages
3,587
Location
CT-USA
Decided to fix the garage door which hasn't worked right for many years. This is what actually started the raising of this structure as I kept hitting my head on it. I figured now that the structure is raised it was worth fixing the messed up pulley setup.


Previous owners just wedged pieces of word in there to keep it from tilting even more. There is a hole in the rafter for the cable, but someone decided that wasn't necessary and allowed the cable to cut a significant grove in the rafter.


Below is "fixed".


Emptied all the sand out of the weight cause it was leaking all over the place. Put a heavy weight plastic bag in there and put it all back plus some gravel and a couple bricks as even with the pulleys fixed the door still doesn't stay open all the way. It's oddly worse than before I "fixed" it. :wtf:

 
OP
P

Platonic Solid

Well-known member
Joined
Nov 29, 2014
Messages
3,587
Location
CT-USA
Last fall I attached an 8'6" 2x10 pressure treated board to the bottom of the garage door to take up the large space. I figure this is too much weight for the counter weight to handle.

Previously posted Last Fall pic


Removed the 2x10 and cut the bottom straight.


This solved that full open issue, but then one of the rollers pops out of the track and I discover it has no bearings - like they all fell out long ago. Which would account for why it doesn't operate smoothly.


I managed to pop it back in the track using a pry-bar and clamps. (Yeah I know that's not he way it's supposed to be done, but was way too frustrated to do it right). So now I'm searching for an 80-something-year-old replacement roller. Can't seem to find anything like it anywhere. It's a 2 inch roller with a 3/4" threaded shaft.


If I'm lucky enough to find the rollers I should probably replace the center roller mechanism too.


If I can't find replacement rollers it may be easier to just put a new sectional door in. I'll try posting my quest in the general section and see if anyone has any sources.
 
Last edited:

bored350

Well-known member
Joined
Mar 17, 2011
Messages
222
Location
Arkansas
If I can't find replacement rollers it may be easier to just put a new sectional door in.
If you can't find replacements and can either provide a good part or a drawing, I'm certain my machinist could make you some replacements. Let me know if I can help.


Sent from my Moto G (5) Plus using Tapatalk
 
Last edited:
OP
P

Platonic Solid

Well-known member
Joined
Nov 29, 2014
Messages
3,587
Location
CT-USA
If you can't find replacements and can either provide a good part or a drawing, I'm certain my machinist could make you some replacements. Let me know if I can help.

:beer:

I'm chewing on my options. Though I like the aesthetic and the idea of resurrecting original mechanical functionality, when all is said and done, this single panel door design is near impossible to create a decent - rodent deterring - seal.
 

Vintage Veloce

Well-known member
Joined
Feb 27, 2015
Messages
1,076
Location
San Diego
You could use a Holmes door opener. No tracks! But still not a great seal. But they are vintage style. And a bit dangerous with pinch points and exposed springs.
G33Krc

https://goo.gl/images/G33Krc
 
OP
P

Platonic Solid

Well-known member
Joined
Nov 29, 2014
Messages
3,587
Location
CT-USA
You could use a Holmes door opener. No tracks! But still not a great seal. But they are vintage style. And a bit dangerous with pinch points and exposed springs.
G33Krc

https://goo.gl/images/G33Krc
Now that's creative and kinda cool in a deadly sorta way. Probably more deadly as I'd guess the door is right around the openers 350 lb max capacity.

Here's a thought - Take existing door and hinge at bottom so it becomes an entrance ramp. Maybe use the existing counter weight to assist, but then there'd be hazardous cables to avoid and prematurely letting go of the door when closing it could be rather damaging.

OK that would require hydraulic cylinders to be safe and using the door as a ramp would look like crud in no time.

Another option is to cut the door in half vertically and turn it into regular swinging doors.
 
Last edited:

Vintage Veloce

Well-known member
Joined
Feb 27, 2015
Messages
1,076
Location
San Diego
I had the Holmes opener on our 90 year old garage, I'm guessing it was installed in the 70s. It really wasn't so bad. But it is true I didn't like walking by the exposed springs and would be concerned about kids near the mechanism.
It had the "feature" that the door swung up and out... so that if you parked to close to the door *on the outside* you couldn't open it because the door would hit the car!
 
To avoid these ads, REGISTER NOW!
Top Bottom