e-tek
Well-known member
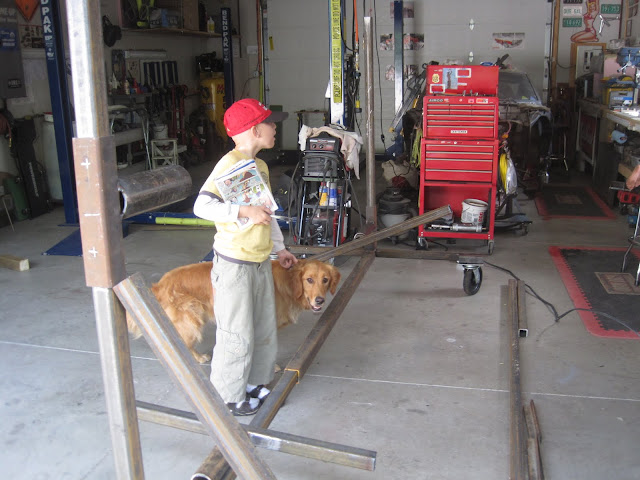
Rotisserie (after espousing the virtues of the "Incredible Tip-Over Wooden Jig" which I also love!)
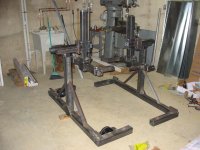
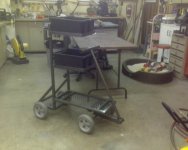
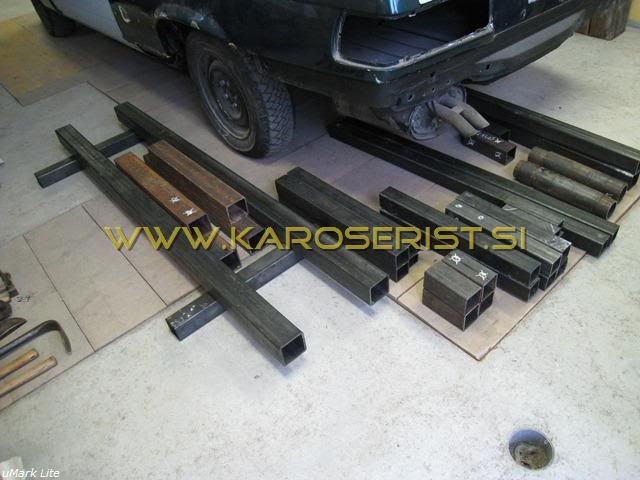
Went from this:
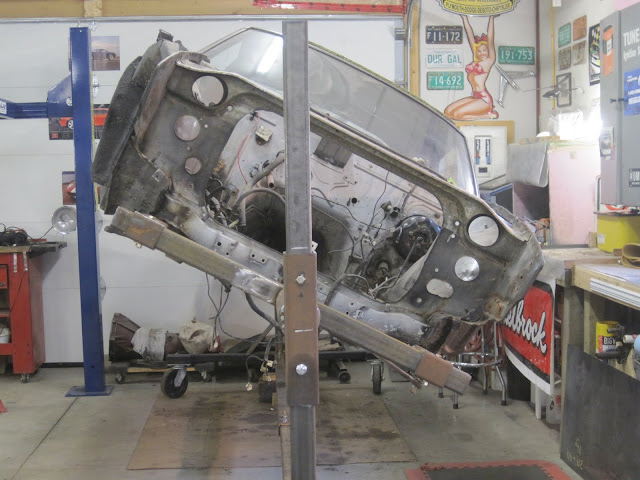
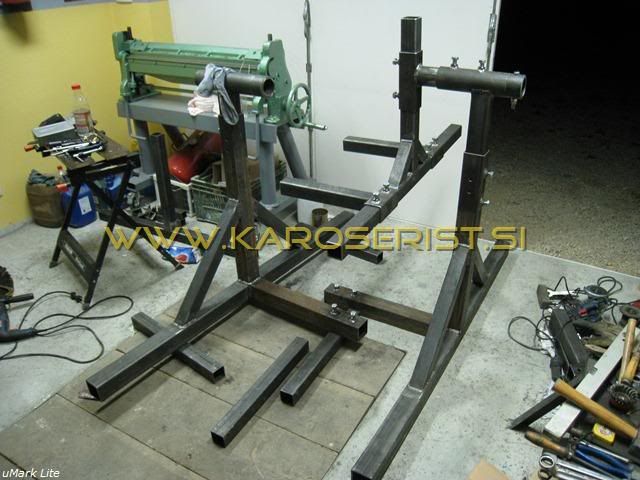
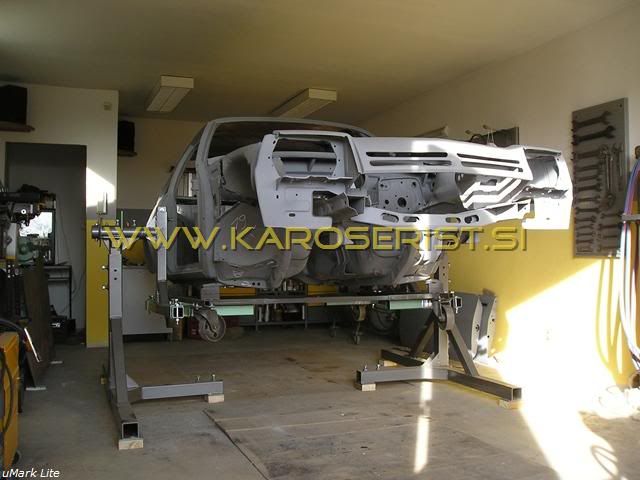
To this:
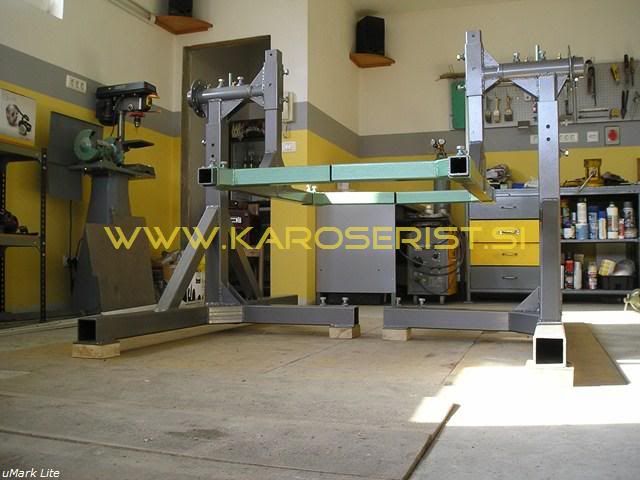
To this:
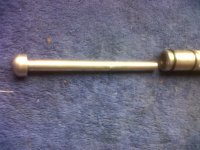
Brake caliper reversing tool (for the newer screw-back calipers)made on a Sunday when I couldn't buy one:

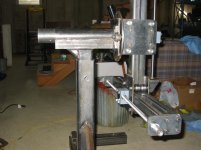
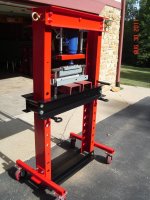
Stand for my Brake:

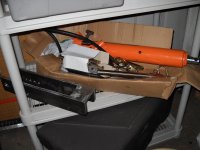
Two items in this shot (neither are overly technical!) Under-lift Oil Collector and OA trolley made from a hand truck and bungee cords. (I can't believe they put chains on these things!):

Dual-light tool tray - gets the light where you need it!

Small parts paint booth - filters overspray & fumes though HEPA filter duct fan on top:

Air capture tube to activate lift locks without compressor (joint venture...):

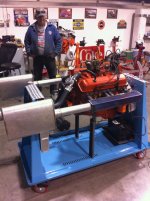
Engine Test Stand:


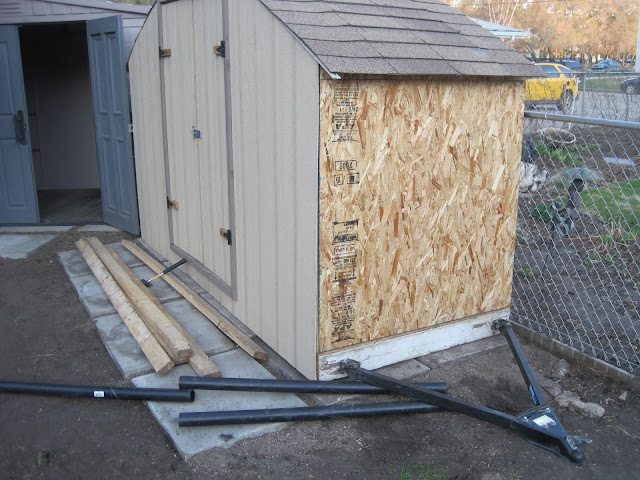
Not a tool, but a process....shed moving apparatus. I had started a thread asking how to move this heavy wooden shed I bult across my yard (ithour tearing it up) and this was what ended up working best. as even able to make a 3-point turn:
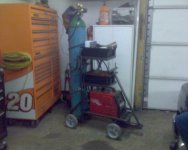
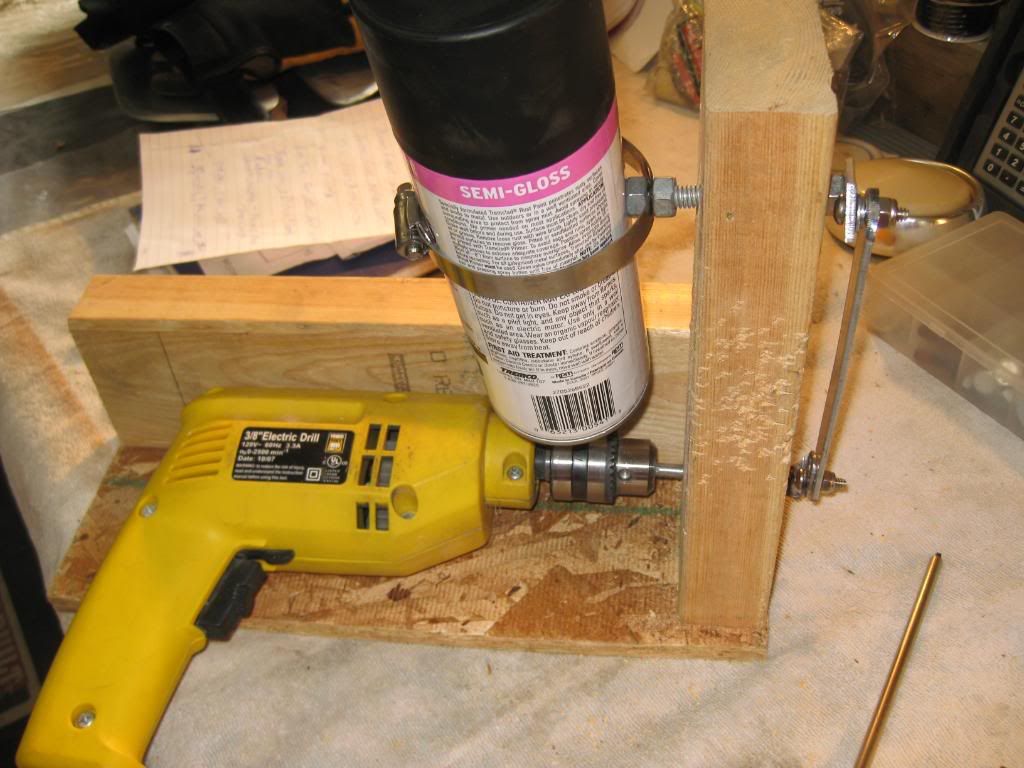
AND, le piece de resistance.....automated spray-can paint shaker (I've since added quality connectors):

Went from this:
To this:
To this:
Brake caliper reversing tool (for the newer screw-back calipers)made on a Sunday when I couldn't buy one:
Stand for my Brake:
Two items in this shot (neither are overly technical!) Under-lift Oil Collector and OA trolley made from a hand truck and bungee cords. (I can't believe they put chains on these things!):
Dual-light tool tray - gets the light where you need it!
Small parts paint booth - filters overspray & fumes though HEPA filter duct fan on top:
Air capture tube to activate lift locks without compressor (joint venture...):
Engine Test Stand:
Not a tool, but a process....shed moving apparatus. I had started a thread asking how to move this heavy wooden shed I bult across my yard (ithour tearing it up) and this was what ended up working best. as even able to make a 3-point turn:
AND, le piece de resistance.....automated spray-can paint shaker (I've since added quality connectors):


") )
)

 good luck with your project