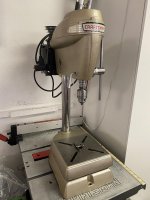
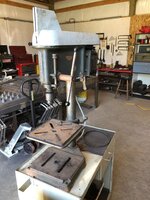
In the rare department, although it was not a 100, from what I have read here the rare one appears to be a 1941/42 Mohawk floor model 103.0304 which Cruzan80 stated never appeared in a catalog, which I found interesting.
Correct, the .0304 is speculated to only have been shipped to stores in 1942. The 42 and 43 catalog show the bench versions. There are two numbers associated with the bench model, .0303 and .0305 (anecdotally, it seems like there are more .0305 around). There are some differences between the two, and the .0304 I have matches heads with the .0303 I have. The last catalog I have seen is a small 1943, and then in 1948, it starts the "100" series. I have a motor dated 4/47 on mine, and I have heard of motors from Jan 47, but not earlier (found on a 100 series drill press). IIRC, some people have found Atlas-made Craftsman drill presses with war-time date codes, but I don't recall any King Seeley models.
While I hesitate to use "rare" on mass-produced machinery, this is one of the harder to find models out there. Others include the Atlas-made Cabinet saw, the 20" (or 24", can't remember) Parks LARGE planer, Comet 12" radial arm saw,and the 5198 6" swivel vise. I hesitate to put the 18" Parks bandsaw in this category, as it seems to pop up more often than the others (wood/metal being rarer than just wood). Maybe "uncommon"?
In toolboxes, that is a whole different ballgame. There have been various "deluxe", "super duty" and "commercial" pieces at various time, all of which are rarer than the traditional heritage or Chevron logos. The Crown top badged AMD boxes were only available for two years, 58-59, before switching to Waterloo.
I know this is drifting a bit, but hope this helps.
Sent from my IN2015 using
The Garage Journal mobile app