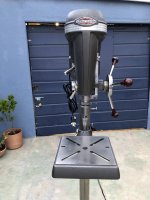
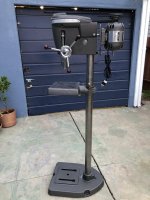
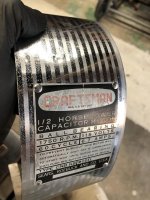
Good day, Frank. I discovered this forum while looking for some information about a drill press that I inherited from my father-in-law about 20 years ago. The drill press in question is a 1950s vintage Craftsman model 103.23140 floor model. My father-in-law was a mechanic and used it in his garage business for many years. I am a hobby woodworker and anticipated using it for purposes other than those that it was used for in its earlier life.
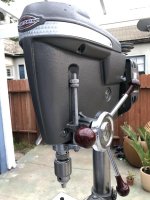
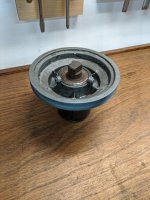
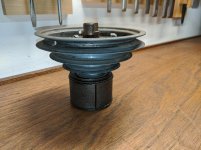
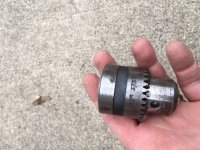
I acquired a mortising attachment for it and discovered that in order to attach it to the bottom of the quill, where the depth stop is mounted, I must remove the chuck because the OD of the chuck is larger than the ID of the mortise attachment.
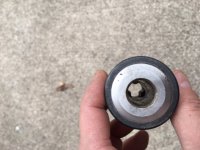
The problem that I have is that since I have removed the chuck and mounted the mortising attachment, I’ve not been able to seat the chuck so that the friction between the socket on the chuck and the taper on the quill is sufficient to hold the chuck and prevent it from coming loose while it is being used. In the middle of cutting a mortise in a piece of wood, the chuck falls off the quill and the boring action ceases.
From what I have read on this site, you seem to be the guru for Craftsman Drill Presses. What do you suggest? How can I remount the chuck firmly? The other possibility that I’ve thought of is to purchase a smaller chuck that will fit through the hole in the mortising attachment.
Thanks,
Bob Elser
Welcome Bob!
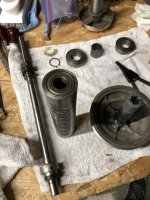
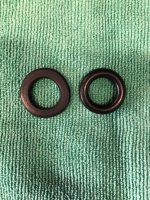
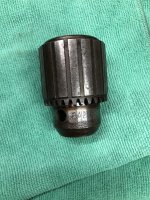
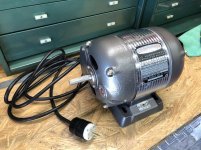
It sounds like you have an early machine with the Jacobs 6A chuck without the safety collar. Later machine came equipped with the Jacobs 633C chuck.
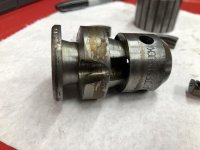
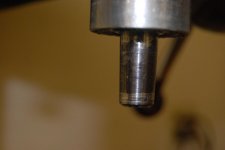
First, inspect the mating taper surfaces for damage.
When installing any chuck, the spindle taper and the female chuck taper must be VERY clean. I usually wipe off the spindle with lacquer thinner and spray out the chuck taper with a cleaner and then compressed air. IIRC, the
manual says to lightly coat the spindle taper with oil and tap the body of the chuck from below with a piece of wood.
Obviously, this procedure is not possible with the mortising attachment. To improvise, you could loosely chuck the largest wooden dowel possible (1/2"?) that fits through the mortising chisel attachment and strike that from below.
Another option would be to make a small "bridge" from scrap that fits sideways through the attachment below the chuck and use the feed handle to press on the chuck.
If the chuck still falls off, the taper may be damaged.
Also, review the conversation starting
here how member 11B30B4 (Jeff) used a sharpie to determine the fit of the spindle taper to the chuck taper.

 Very late heritage badged atlas made dp with belt cover and lift..... Someone really *****!


 You need to be using era correct =v= tools on this restoration not more modern v era... I guess we will let this slide this one time...
")