Re: E-tek Resto's 56 Chevy Truck
Todays weather: STINKING GROSS!! We had an early season blizzard here in Saskaberia, so instead of driving out to see an account of mine 2 hours away, I spent 6 hours in the shop - much more cozy and relaxing!
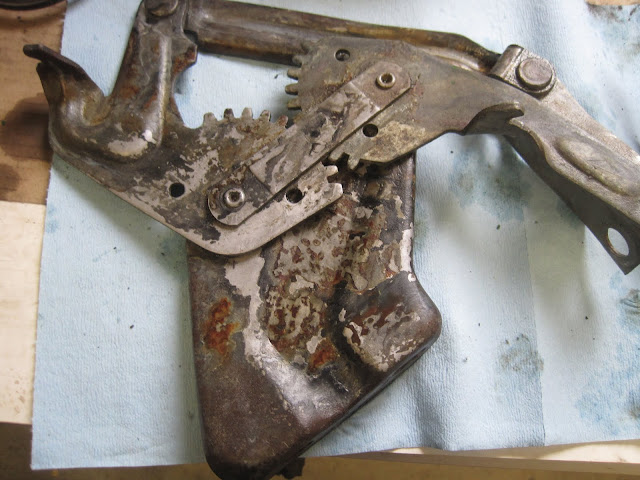
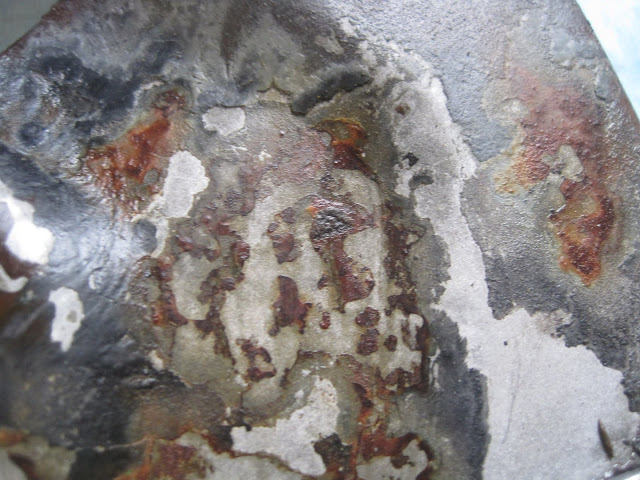
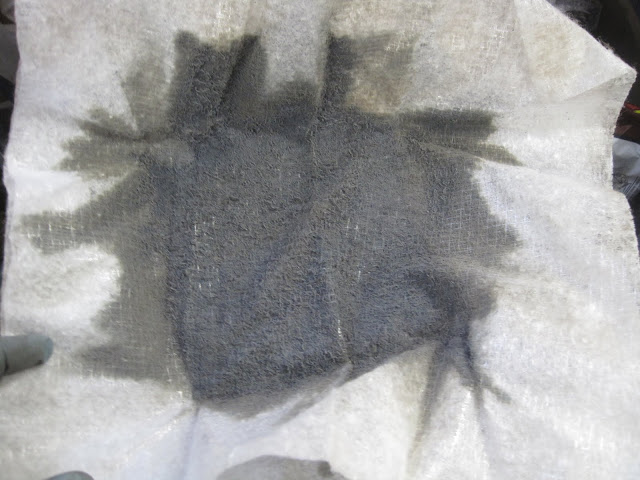
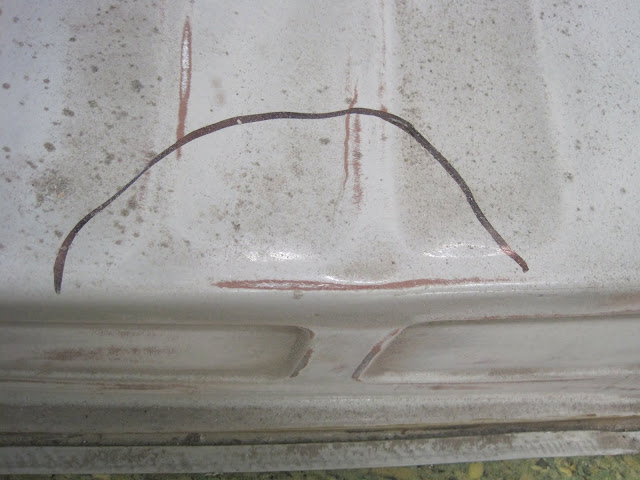
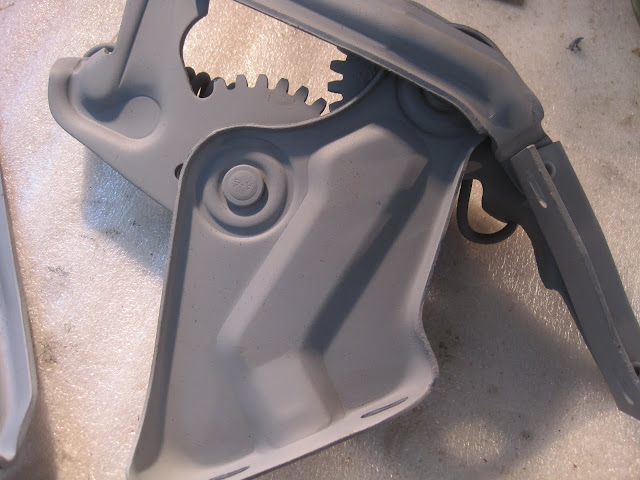
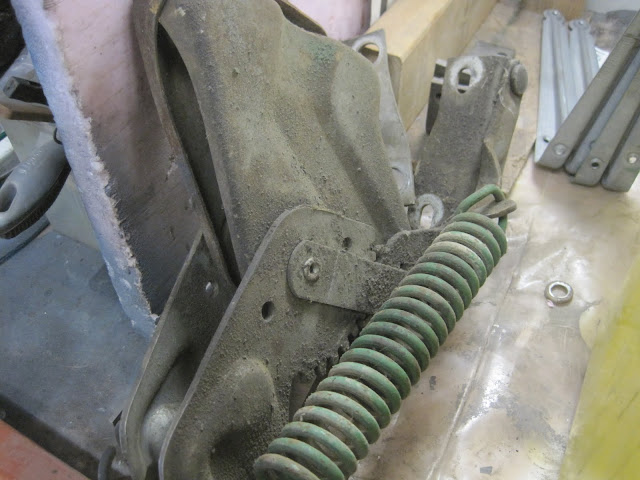
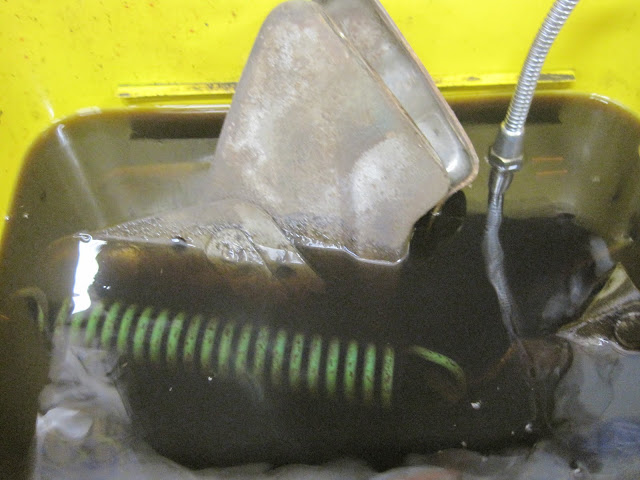
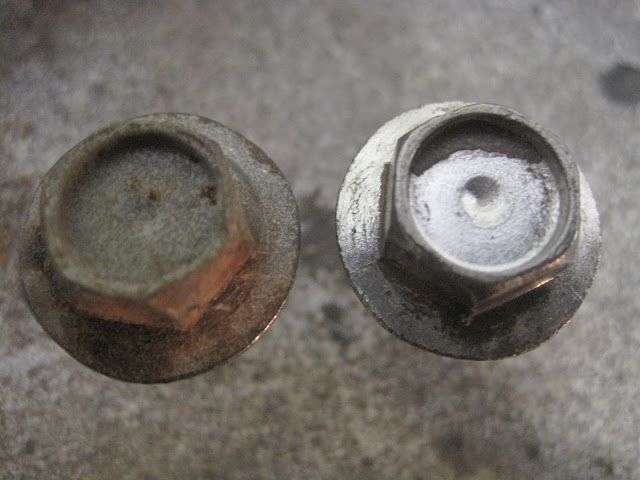
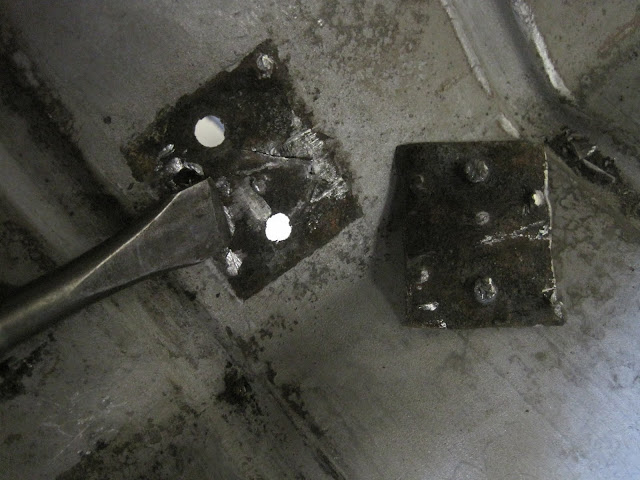
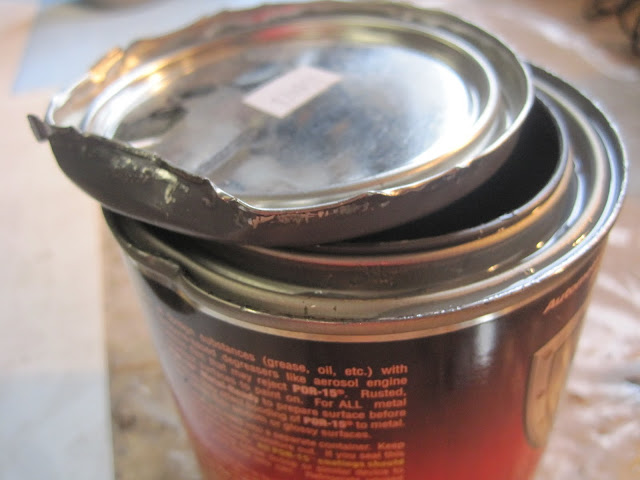
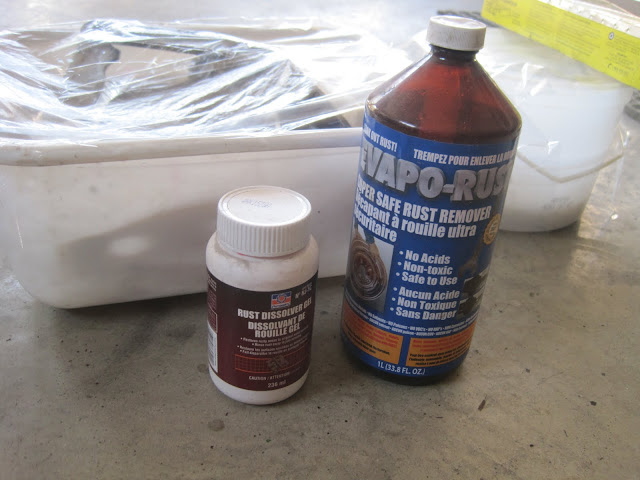
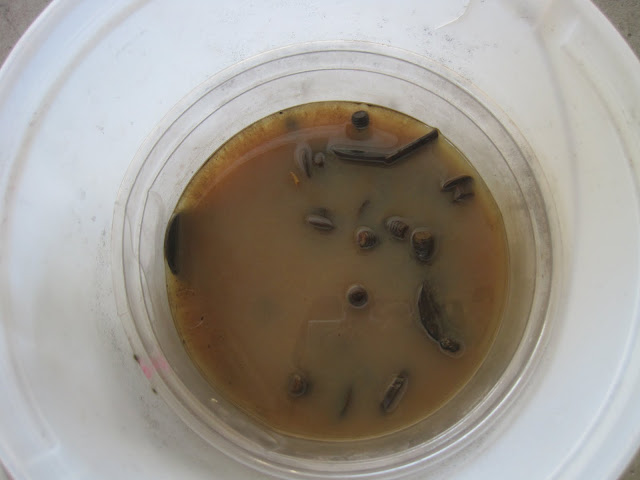
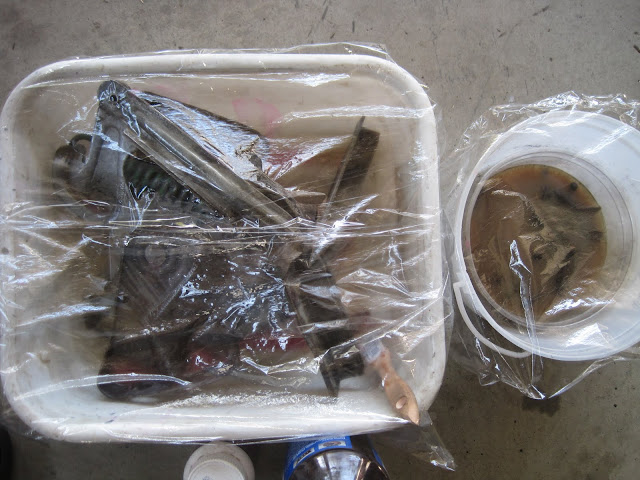
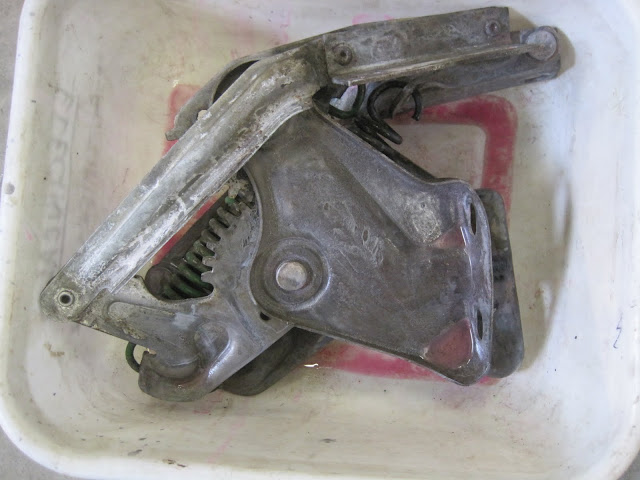
First off, sandblasted all the hardware that I had soaked in the Evapo-Rust and/or brushed with Permatex' Rust Gel - two products I CANNOT recommend. Check out how the hinges came out after trying to clean off these rust preparations:
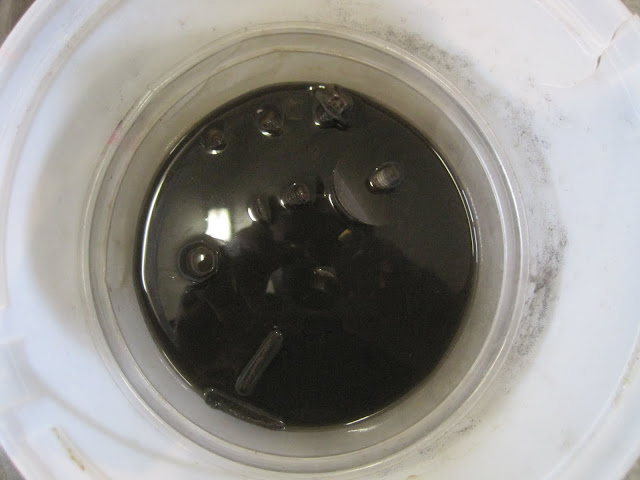
Close up of the mess left behind:
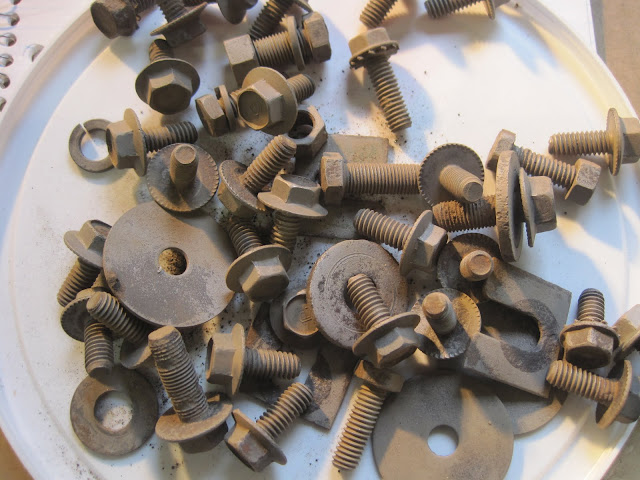
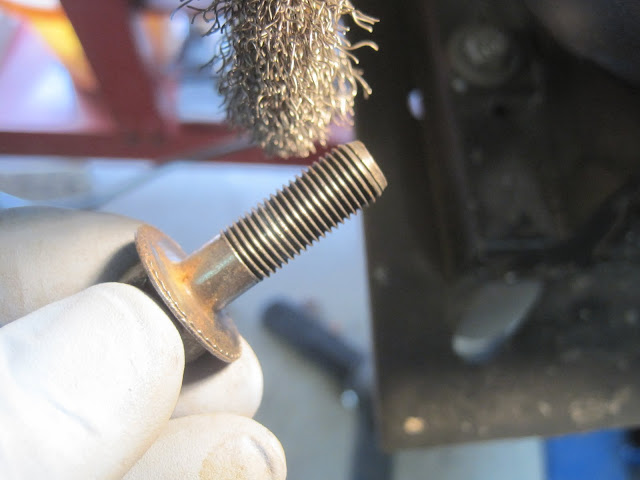
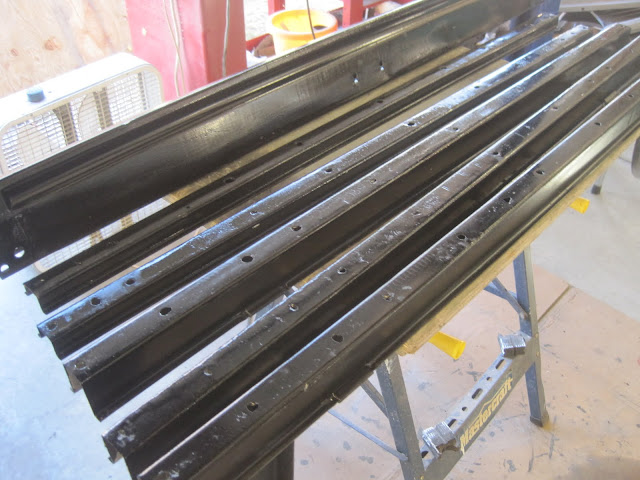
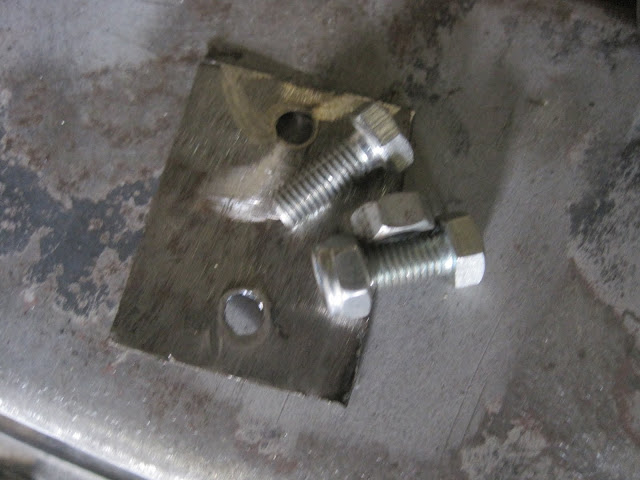
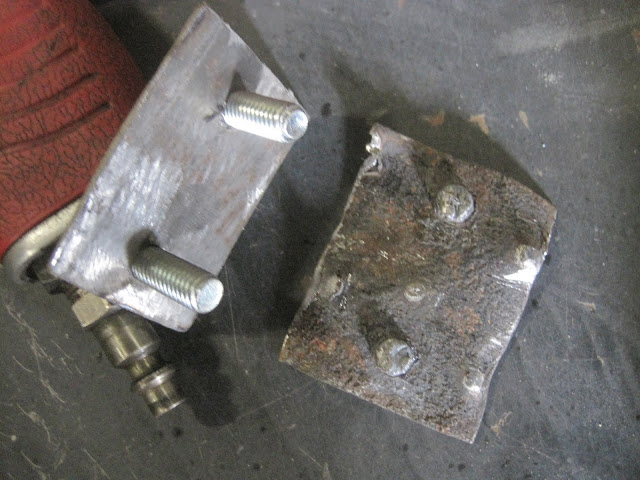
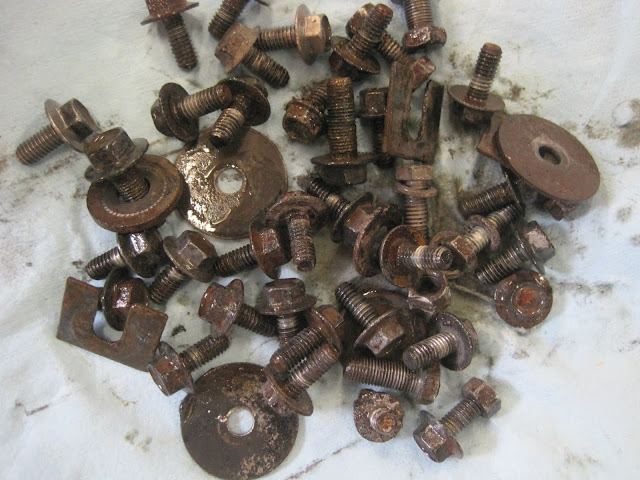
Sandblasted fasteners:
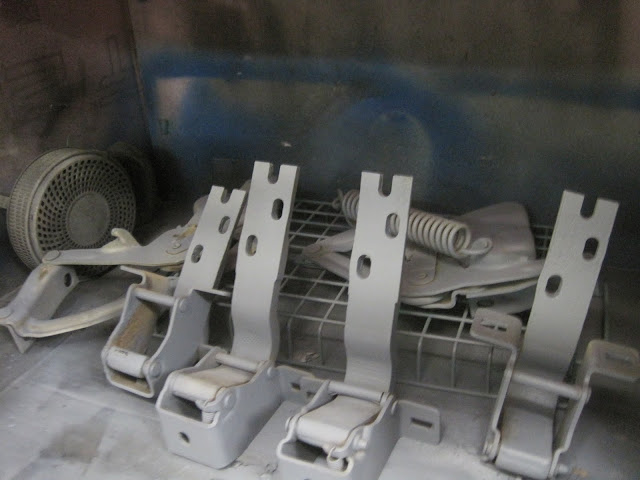
I then put all the blasted parts in my small-parts paint booth/fume hood, ready for Etch primer:
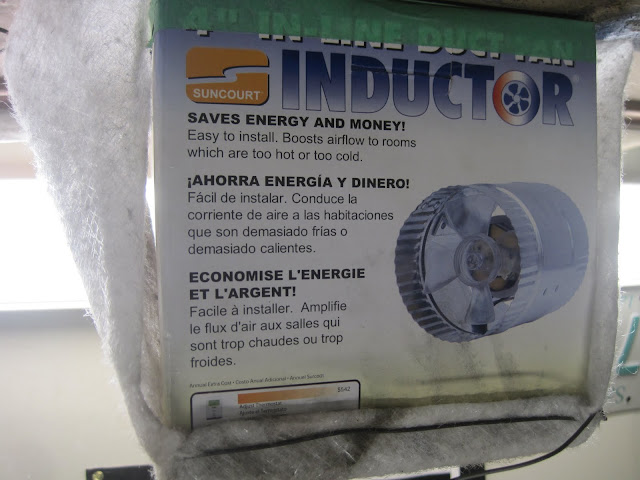
For those that haven't seen it before, here's a shot of the fume-hood, the duct fan I use to exhaust the overspray, as well as the filter medium as I changed it out (works well!):
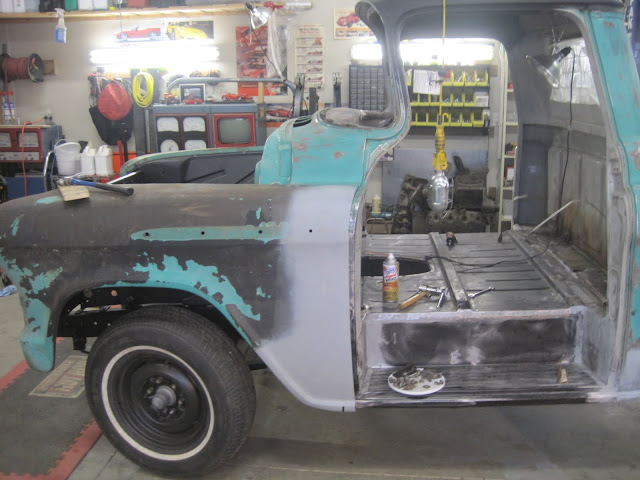
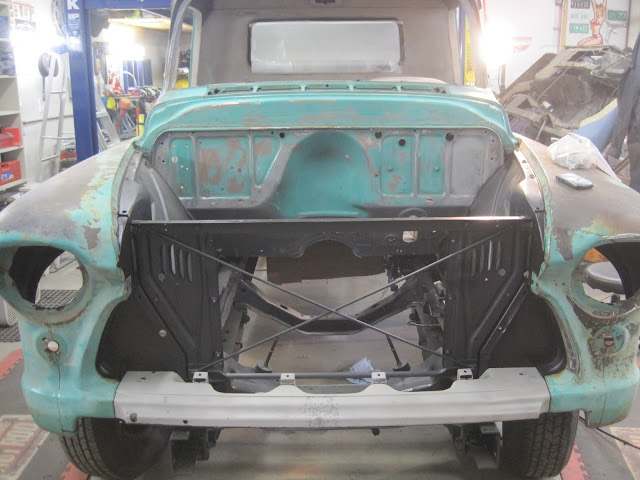
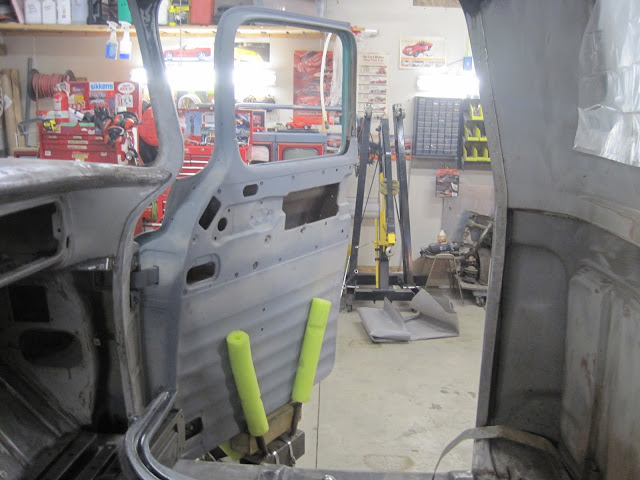
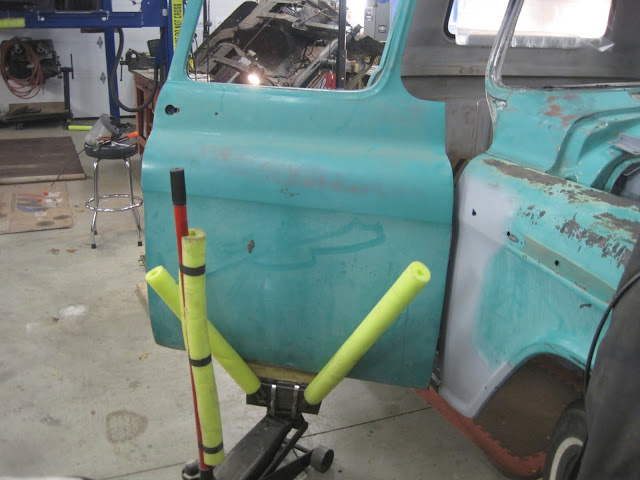
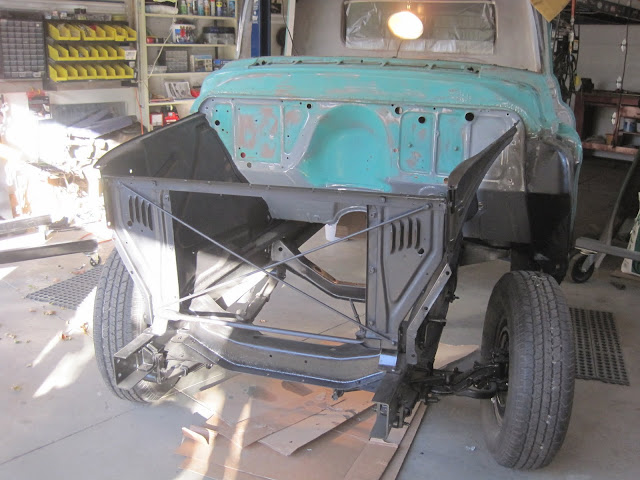
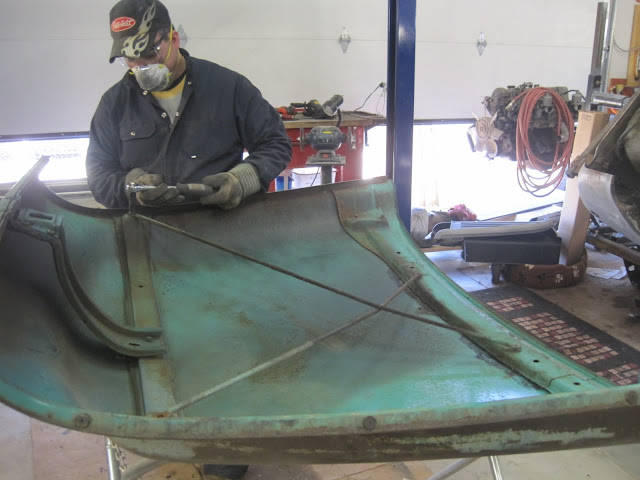
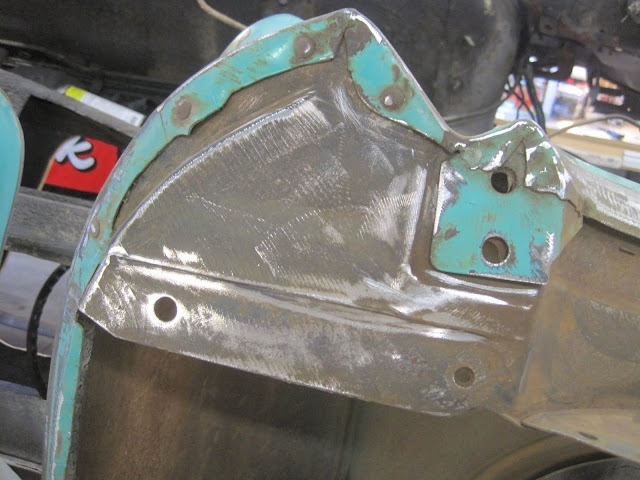
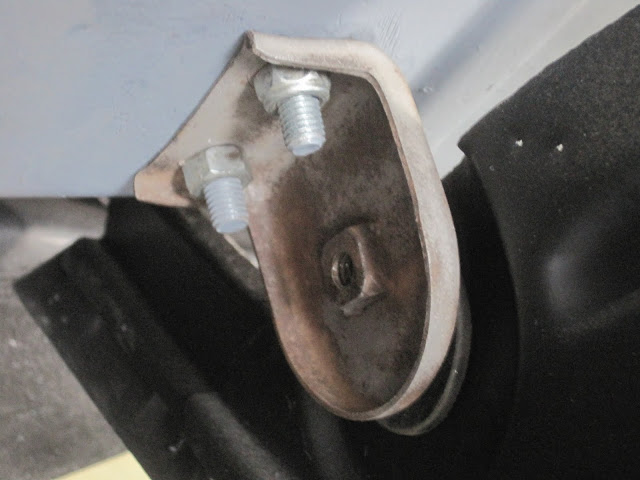
Bolting up the fenders - took an hour to align the left one due to the inner fender brace touching the A-pillar where I made some repairs - that's why it's SO important to bolt everything up before paint.
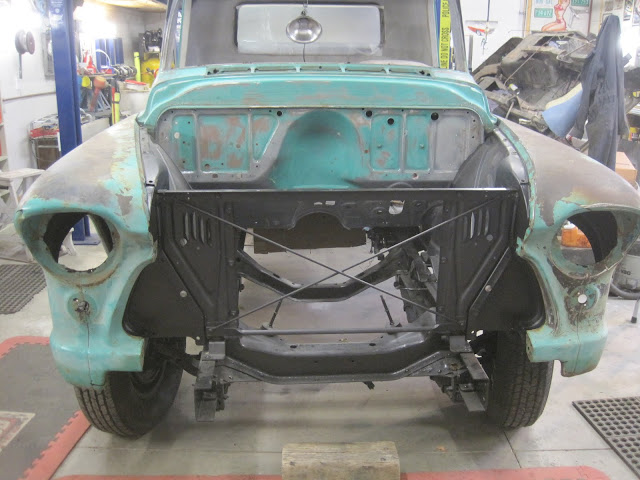
Front-end looks straight!
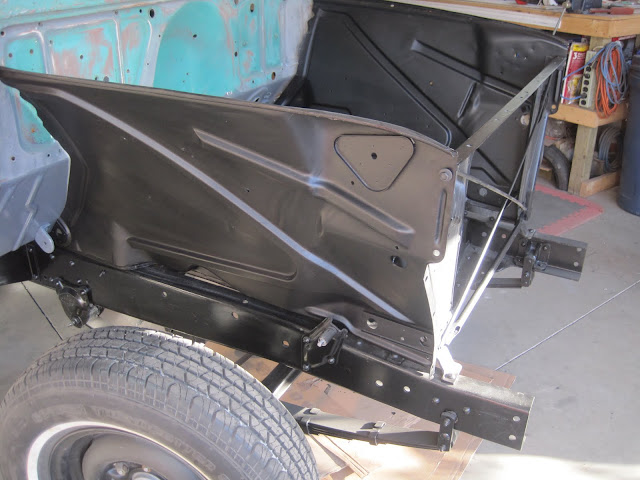
Front-end with filler attached:
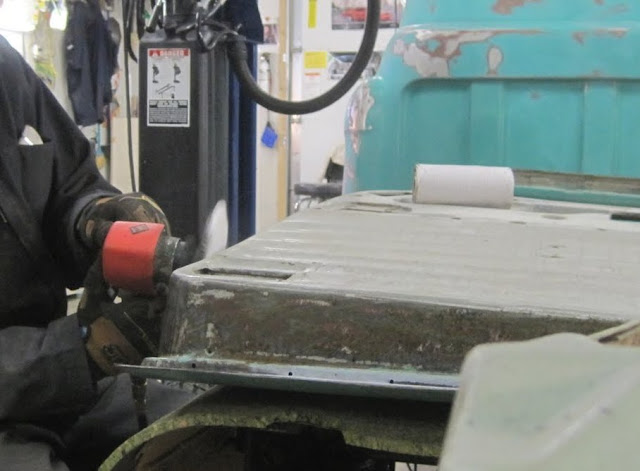
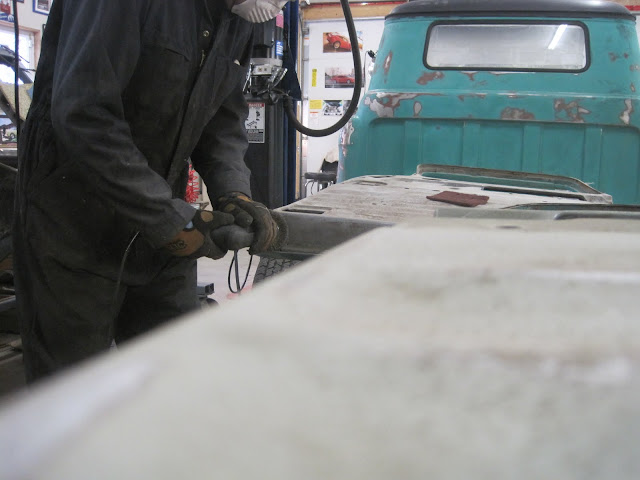
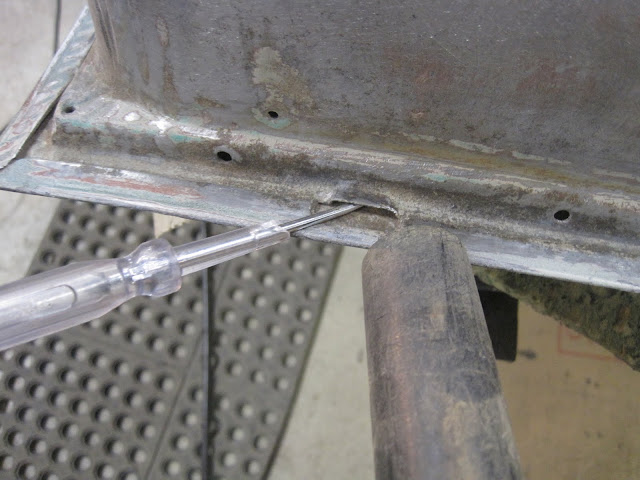
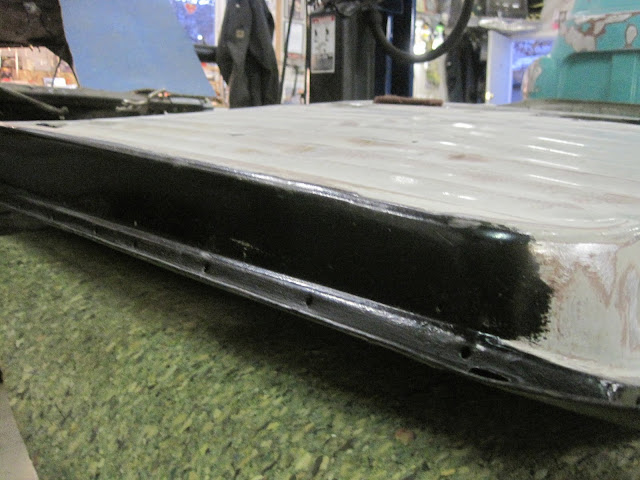
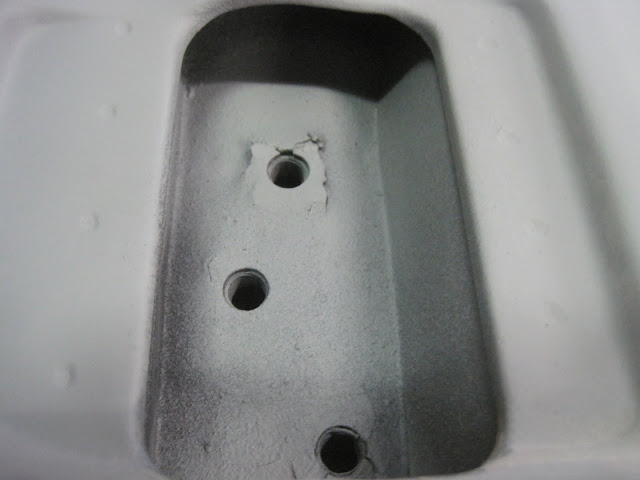
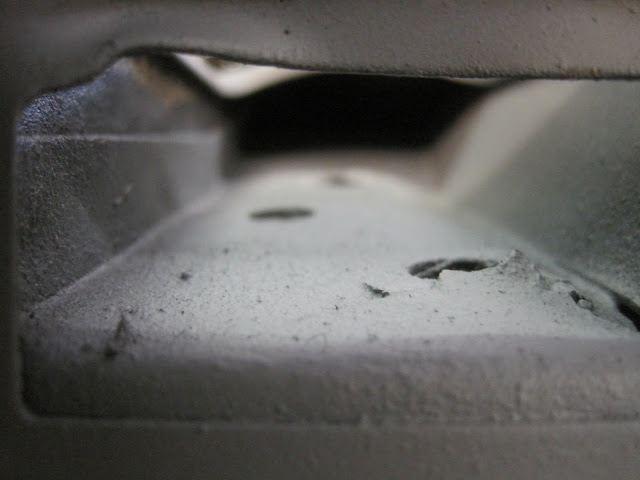
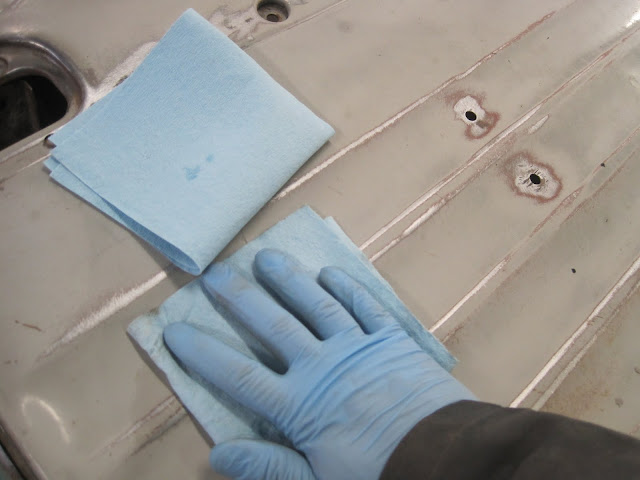
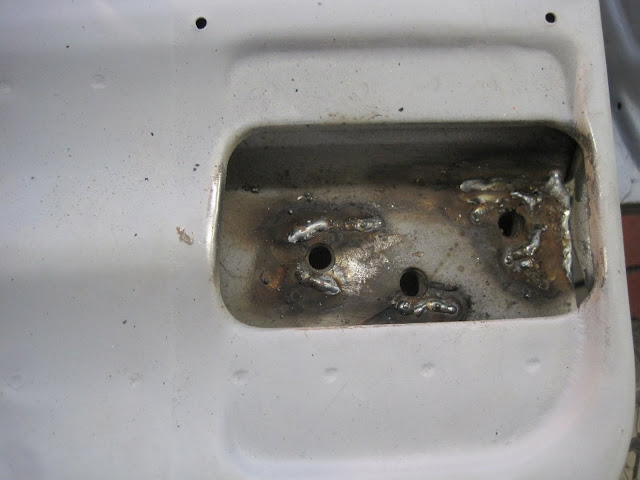
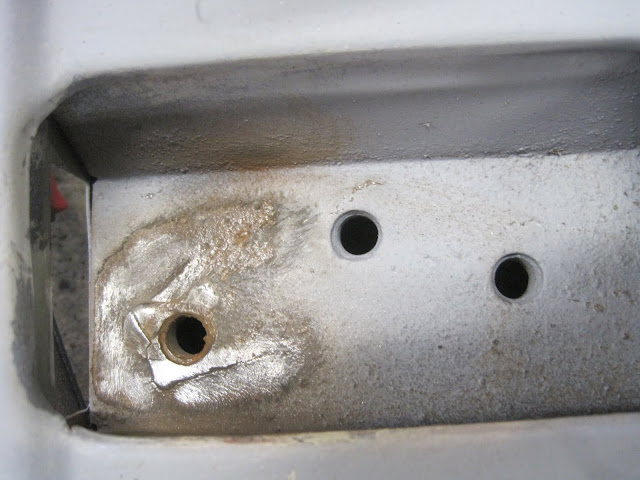
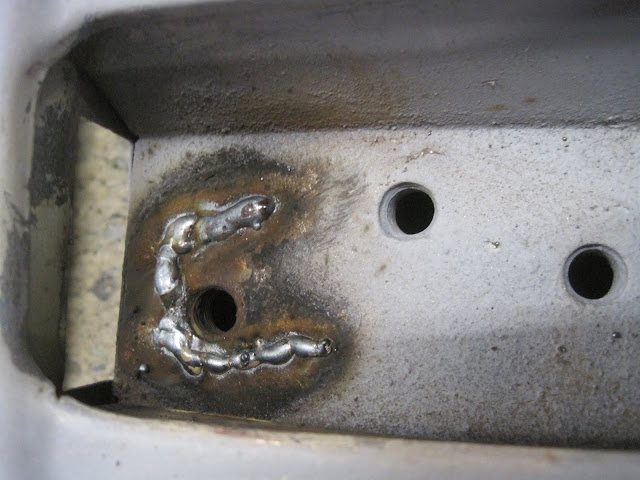
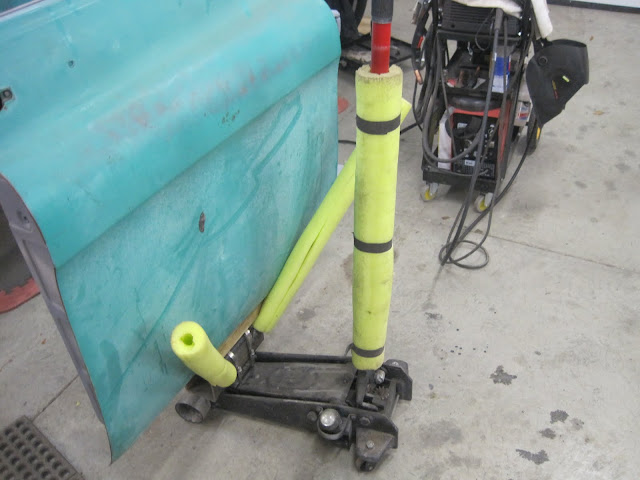
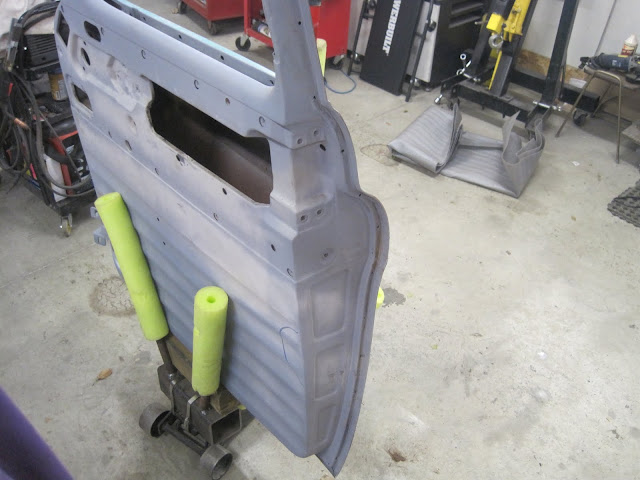
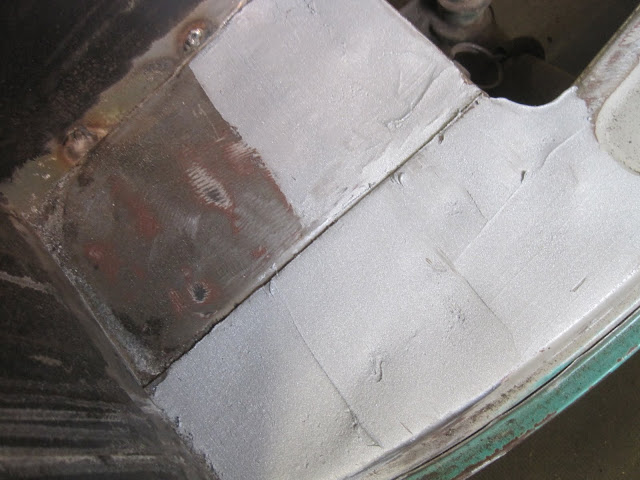
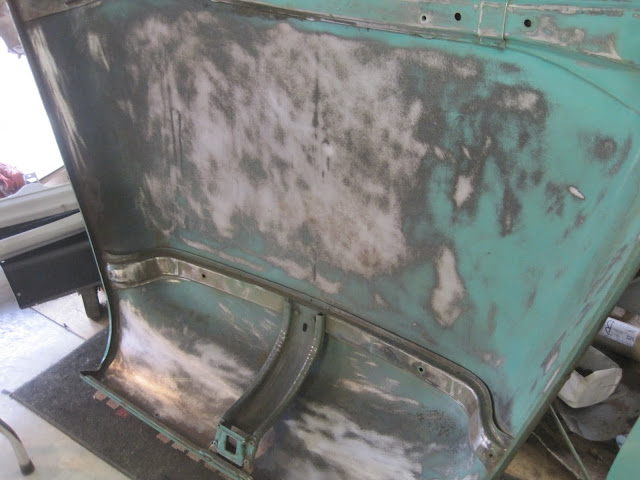
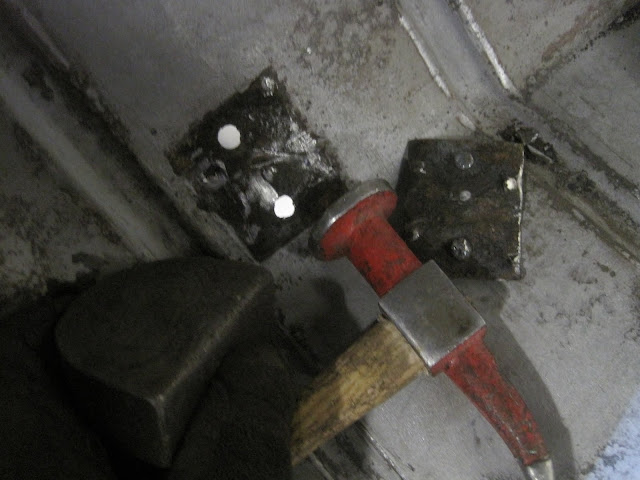
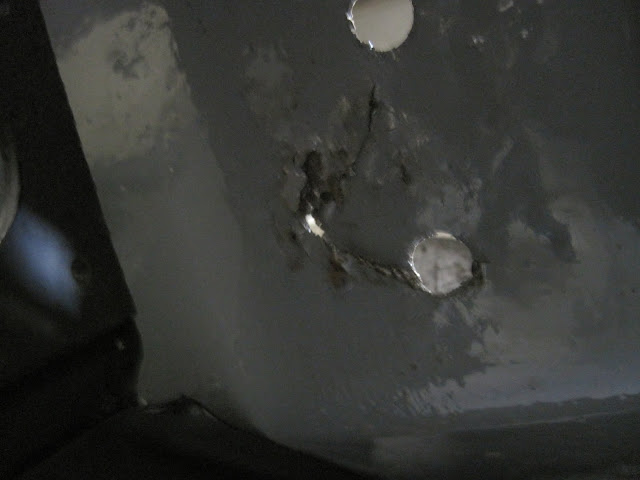
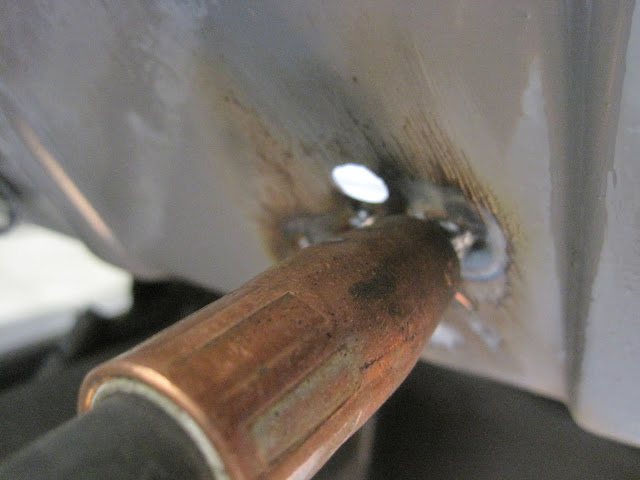
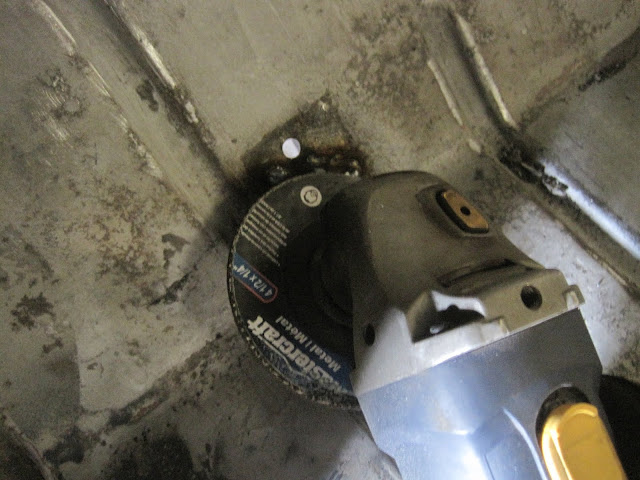
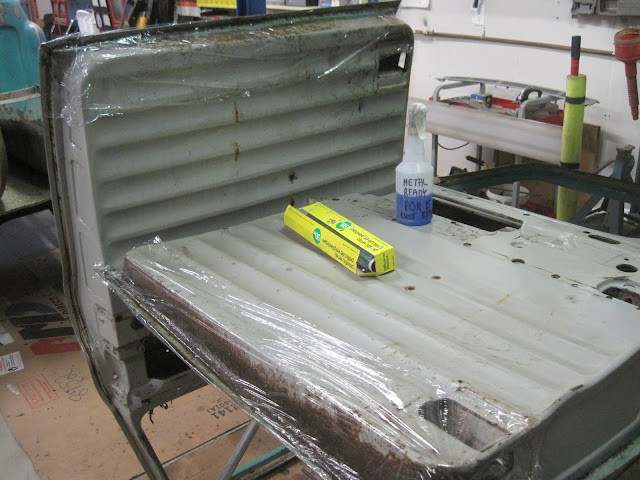
As well, I ground down the rust on the door bottoms and sprayed them again with MetalReady. While doing so, I found a couple small rust-through spots that will need repairing.

 But you're right, there's much more money in collision work, so shops don't do much rust owrk/restoration anymore.
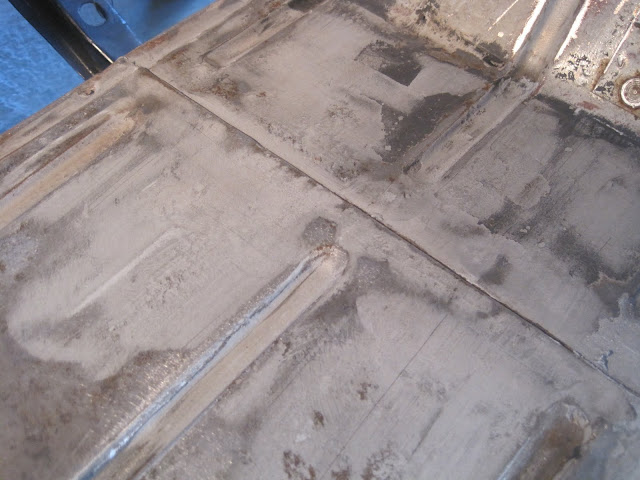


 Thank you sir!