PCO6
Well-known member
Sounds like good weather for the Grey Cup ... although I'm sure it's a bit warmer in Regina.Yes sir - it's minus 20 with half a foot o' the white **** outside...tho maybe on the next sunny day....


Sounds like good weather for the Grey Cup ... although I'm sure it's a bit warmer in Regina.Yes sir - it's minus 20 with half a foot o' the white **** outside...tho maybe on the next sunny day....
Kinda what I think too, but now they're all over there....so whatever...
 having so many topics here in this section is so much easier to follow them given they have so many interesting ideas on fabrication and they are not just an every day run of the mill type project.
 There's one answer...but I wonder how many people (especially newer members) will find these threads 'by accident' in Fabrication....not too many I suspect...
It is working.
Most that join the forum explore and see and find what is on offer. If you have subscribed to the topic then you should be informed any time a new post is made.
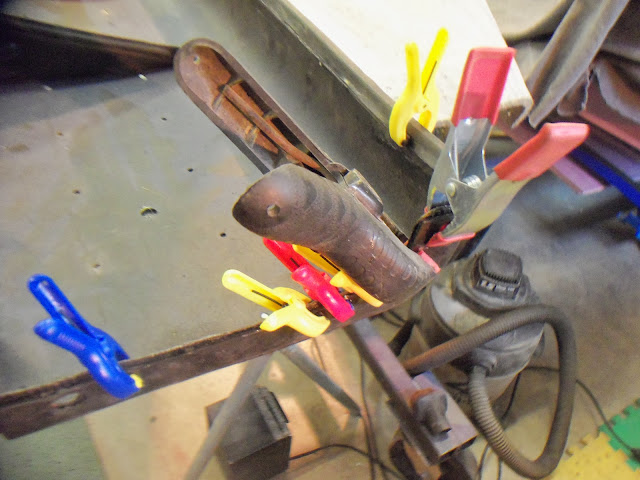
Did my photo help with the lights Ed ? Remember my lights have to dip from high to low to the left as we are right hand drive and yours should dip to the right as you are left hand drive. The pattern on the glass will or should show this.
I agree!... GO RIDERS!!!
 Still can't believe the Ticats knocked my Argos out.
Hmmm - me thinks Simon is correct. even after an hour I can see this section growing FAST in interest. I've been on several threads here already and see several others have as well, so they'll all be at the top in New Posts where anyone else will see them as well.
Yes, your photo helped Simon - i have to go out and double check the lines now. I also re-visited your truck thread, but was sad to see so many broken links.
Photo host I used failed me. Still I have some new photos to add now. .Kevin, Ed is working on a 40 Standard, the green one is a 40 Deluxe


Hi Kevin - I was thinking about a gasket while I was making it, but it'll be a summer driver, so I'm sure some cork sheet or thin rubber stock will suffice. As for access - I'm sure the upholstery guys can trim out the carpet so as to leave access.
That's what I was thinking. Maybe something with Velcro to hold it in place.
ANd get the driveway shoveled out so we can see an outside pic in the sunshine!!!!


Ed, while the glove box shape is in limbo, does the owner plan on a DIN (or other) radio install? Could be a place to put one out of sight....


 ), but these retro-fit items get you signals and park lights.
I didn't think SoCal actually MADE them.....
Ever have "one of those" days?
 . Something about not tightening two of the fender bolts before you mount the grille . I was told after I had got it back.
About the grille. Having owned an Aussie built 1939 Ford Sloper I am aware there is an easier way to put the grille in but you always get told after you have done it.
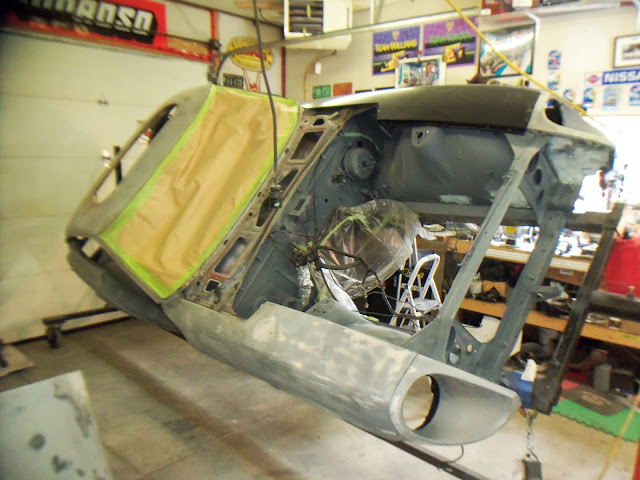
I have to say that 40 is looking great and the Customer must be loving what you have done for him.
Ed, re: the extra holes, were they used before, and was it the center section that has the issue? I believe the center piece is also the same as used on the 40-41 pickups, perhaps the extra holes are for the pickup installation..
I really appreciate the comment Simon - I'm hoping he's happy!


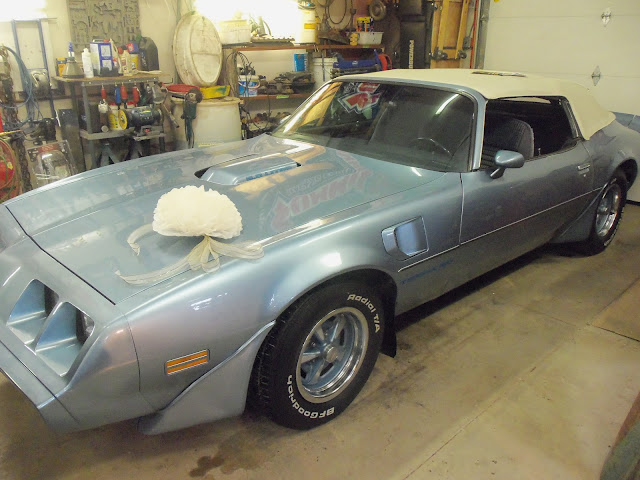
 there's presents. Jewlery? Of course. But lucky for me, Mrs E-tek is also into cars: