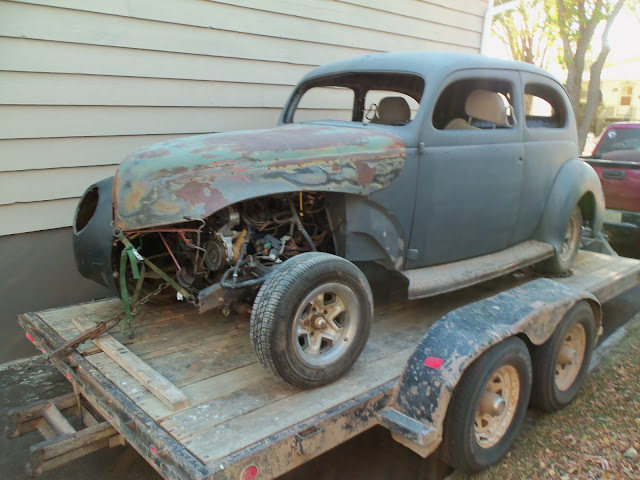
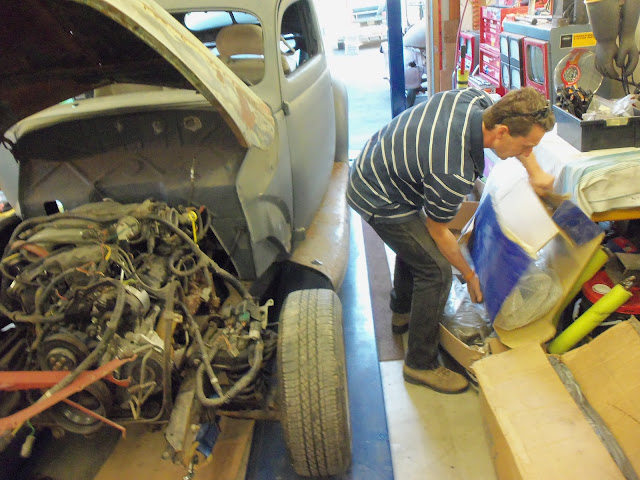
Talking about "multiple-restos", it's gonna be a BUSY long weekend for me!
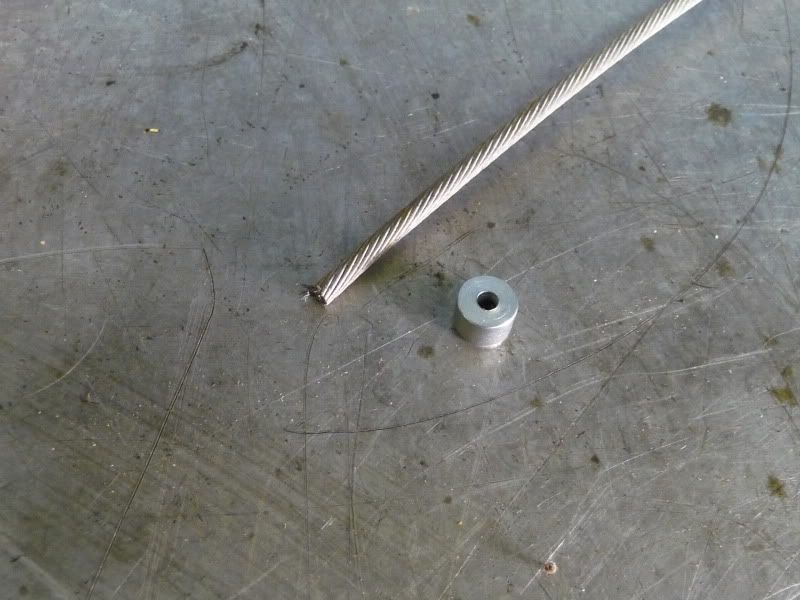
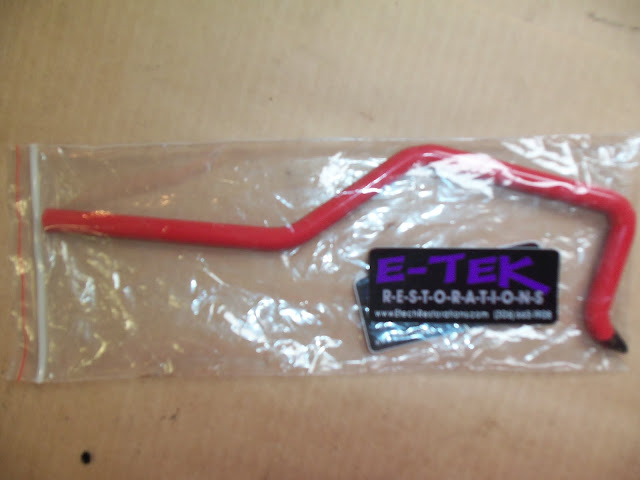
Got all the materials needed to build the brake lever and e-brake system, as well as template material for some brackets needed, wiring for battery re-location and much more on the 40 Ford. On that note, check this GREAT way of making a lug on a length of cable to make your own e-brake cable lengths:
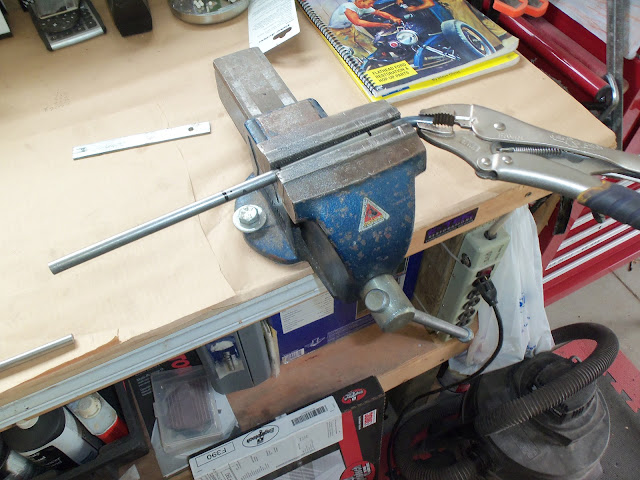
Cut a piece of rod or bolt, drill a 3/16" hole thru centre:
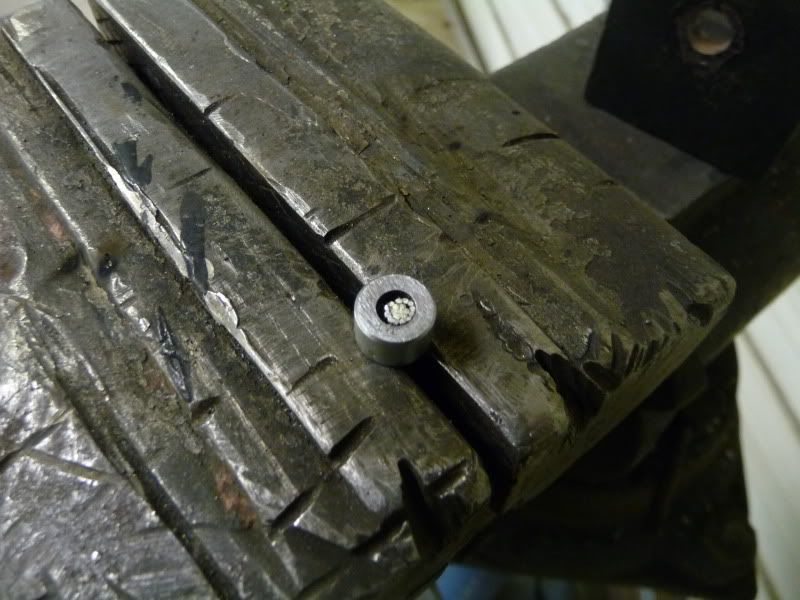
Clamp it in a vice and drop a MIG weld on it:
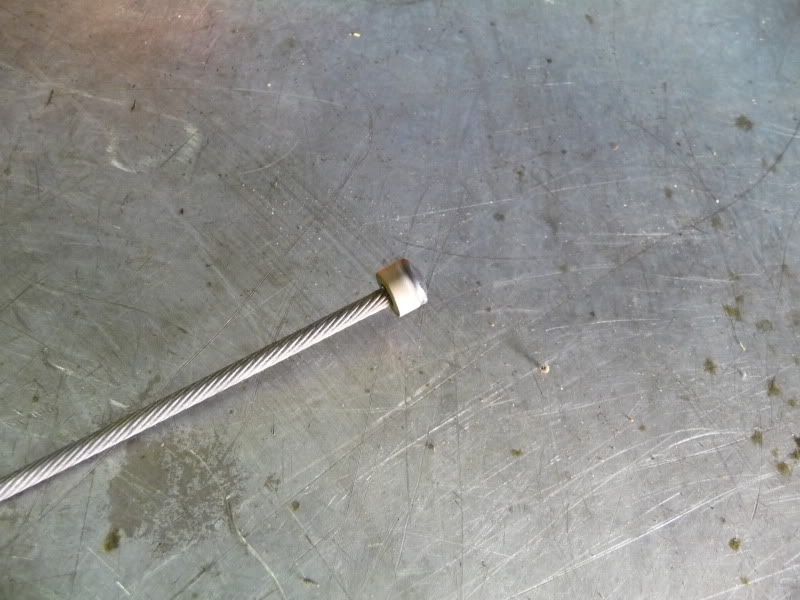
Viola - custom cable end!
Way better than using a set-screw!
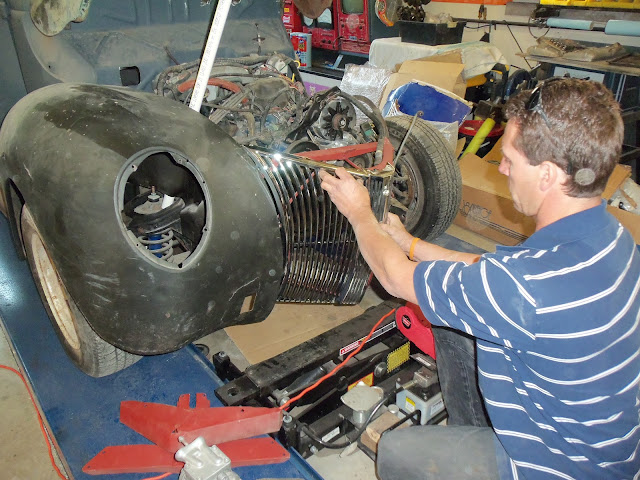
Once I get the engine and brake bits sorted out I'll start on the interior - of which a custom console will be the most interesting part, from a build standpoint.
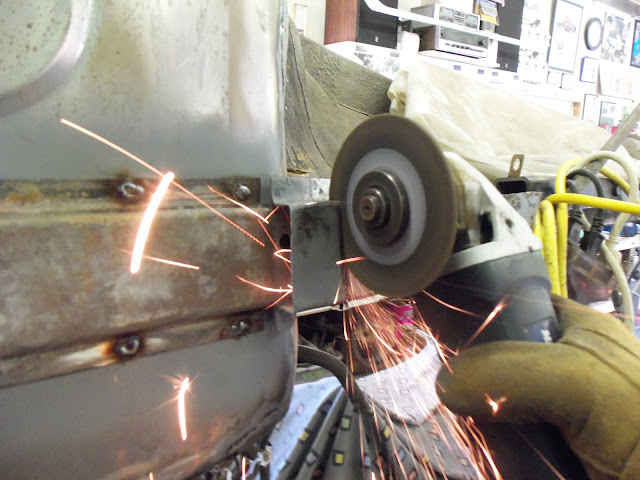
Plus, I plan to do the inner fender under the battery box on the 240Z. Interestingly, I was looking at
383 240z's pics of a 240Z he did years ago and this photo of his is the EXACT job I'll be doing on mine - guess they all rotted here.
Then I'll cut out the quarter panels and inner fenders.
Oh ya - Owner of the Cougar said he'll be done the suspension pieces this weekend too, so next week we'll be getting that one into roller status so it can head to the paint shop!
Memories....

 out of his hat! Abracadabra Presto-Voila!


") Keep the pictures coming, and I'll keep dreaming... ha ha ha..
Keep the pictures coming, and I'll keep dreaming... ha ha ha..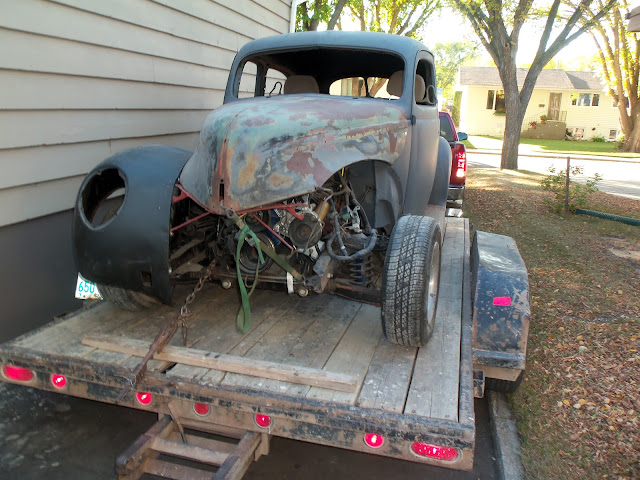


 E-Tek, keep the Mrs. happy by all means! Love that avatar and hope to see more!
 You guys are too much!