Spoke to the folks at Dupli-color and they are going to be supplying me with product for some of my projects.
Sounds like they have a LAQUER (yes laquer!) based paint that is very forgiving - and much safer - for guys that want to do their own painting in a home-garage scenario. You can check it out here:
http://www.duplicolor.com/products/psFinishSystem/
As well, I bought some awesome flathead parts today to help keep me busy through the break and though the winter.
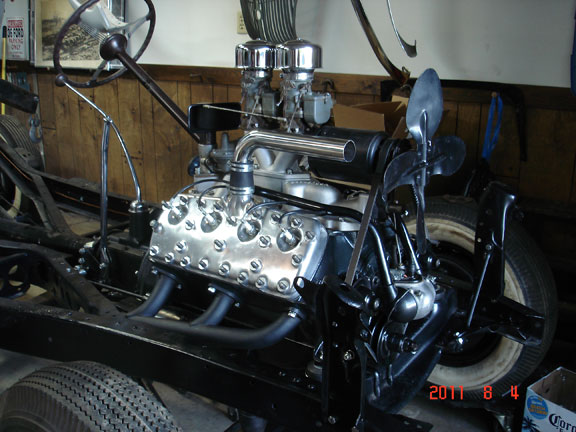
Check out this sweetheart piece from Edelbrock:
With the smooth aluminum heads and stock generator and fan set-up, my rod's mill will look very much like this one:
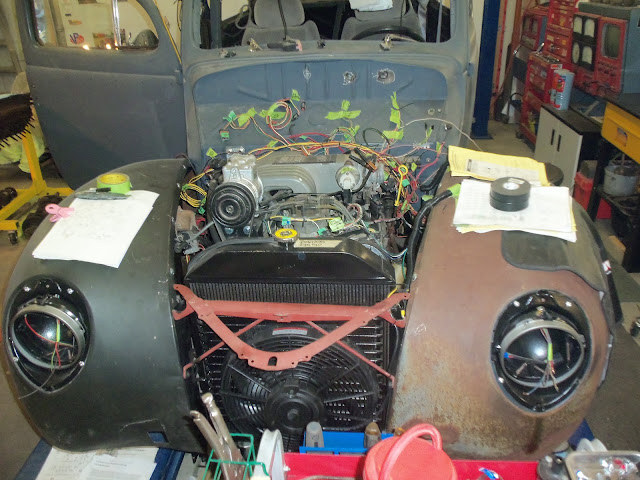
I also bought rebuild kits for my Holley 94's so I'll have those, as well as the Holley 4 bbl for the 390, to fill in time between all the work I want to get done on the 40Ford and Datsun 240Z.
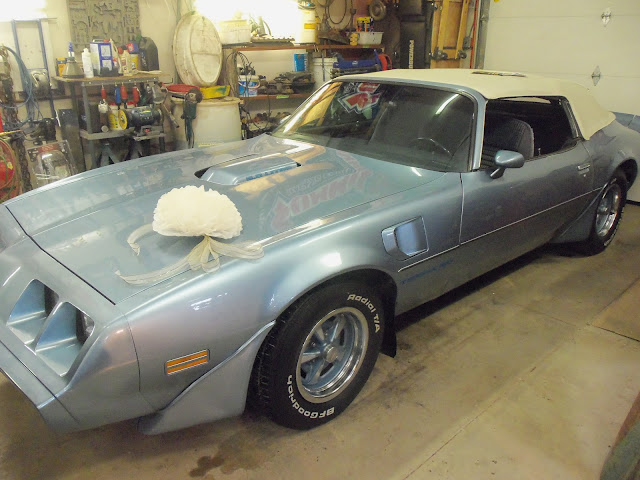
As I mentioned earlier, I'm taking delivery of the TransAm tomorrow. I'm going to clean it all up and put a big mutha bow on it and "give" it to the Mrs on Saturday. Who knows - it may just be enough to coax her out of model-retirement again....I can hope!


")