HOTFR8
Banned
What news on the daily driver ? Is it a write off or will insurance repair it ?

What news on the daily driver ? Is it a write off or will insurance repair it ?
 .
.


") The new, larger tires will fill it out but if needed we can always split the difference....
The new, larger tires will fill it out but if needed we can always split the difference....


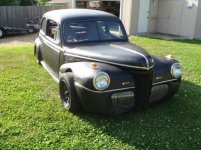
Nice work on the 40 Ford reminds me of working on my 41 Ford it was a lot worse shape. I had to take 8" off the bottom due to rust.
Now I've got a old rat rod car with a 302, AOD trans power dish brakes
mustang front sub,and a 1992 T-Bird rear end. Tag ,insurances and it passed state inspection.


Do you have a Flu Shot ? I could and would not go a winter without one. Nothing worse than being away from work when you work for yourself.


Hey, I hope you're taking some breaks from the shop to go make Mrs. E-Tek some tea, soup, or hot toddy to ease her flu recovery. Gotta keep those 'good hubby points' in the black!


 Guess I'm not as 'experienced' as Tim Strange is.
I was watching Search & Restore this morning and was amazed at the amount of "bondo" they used on the project car. They more than "skim-coated" the entire thing and had 10 guys sanding it down. In some places it looked to be an inch thick. I've done a LOT of cars and several have won show awards and never have I coated an entire car in body filller.....

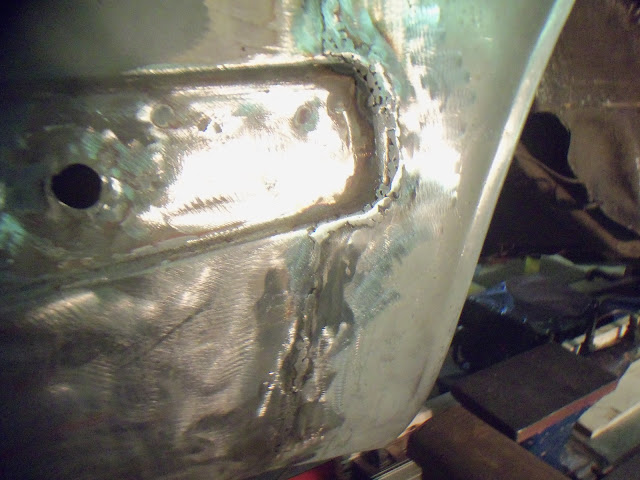
Have you tried solder? It looks like it would be almost as easy.....instead using sandpaper....you use a file.....and it won't crack.
If you want to get a car straight in a hurry, skim of bondo is the way to go. Most of us will use an epoxy primer followed by a 2k high build/polyester primer. Polyester primer is essentially spayable bondo. IN essence you can get a skim on the whole car and its ready to block in half an hour, no masking, no booth, no equipment to clean. Also, if you have started with an epoxy, you aren't spraying the high build into places where it would be a bear to sand so you have epoxy on the surfaces that aren't going to be blocked and a light film of bondo over the areas that will be blocked. Personally I think it's just another valid approach to finishing a car body.


I still have room to store your Mercury truck....
"I barely got an hour in the shop today, which I pretty much spent moving stuff around - cause it's still WAY too crowded!"
So, E-Tek, whatchugonnadobouthat? Have you had any flashes of inspiration for gaining space?


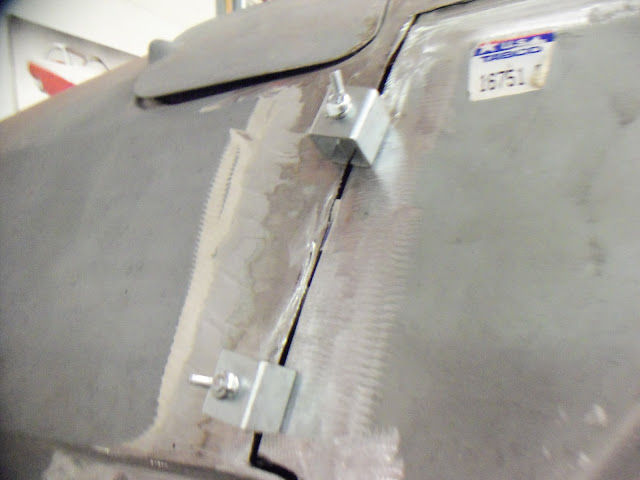
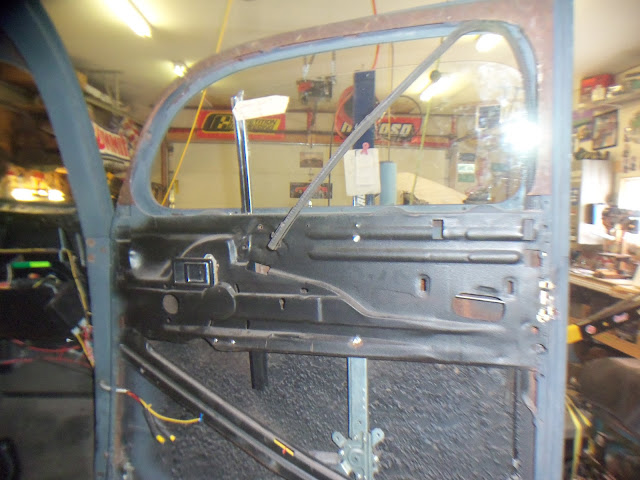
Interesting to see the vent windows. With the 48 Truck (aka HOTFR8) I had to get new ones made.
I would be interested to hear if the ones you are working on are as bad as what I had to deal with.
Looks like you had no choice but to replace those.
These ones are actually in excellent shape - no rust at all, not even pitting. The large inner window surrounds are also in good shape, pitted, but solid.
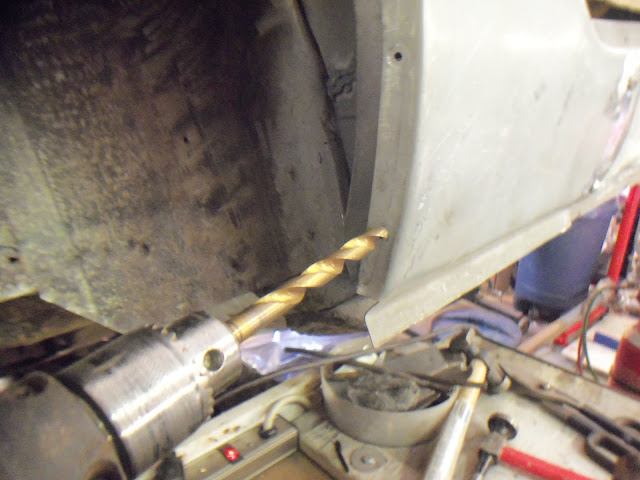
 I am now going outside to cut a rusty panel from my inner fender and fit the patch panel I purchased for it. I have been staring at it for over a week. Inner fender is for my 71 Buick GS. I know the concept just have never done it. This thread has got me ready to tackle it. Thanks for the way you explain and document what you do. I look forward to checking out your blog next. Keep up the good work.