Kevin54
MEMBER EMERITUS
Ed....I'm amazed how you stay on top of things like you do, going from car, to car, to car. Is the Camaro getting worked on in the house garage, or is it in your shop?
Weren't you going to tutor some kid or guy this last Summer on the finer workings of auto repair? Did he ever show up, or did I miss that somewhere? With all you got going on this last year, and looks like this year also, you're going to need some help.
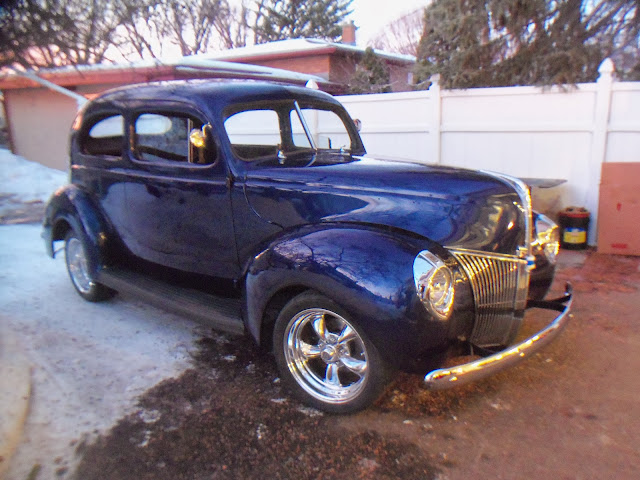
Let see....you have a couple engines to rebuild, you have the old Jalopy to work on, you still have the '40 although it's almost done, you have the Camaro, you have the Zee, the Cougar will be showing back up, and didn't you say you have another car or truck coming in? Yep....you need to get yourself some help!!!
Weren't you going to tutor some kid or guy this last Summer on the finer workings of auto repair? Did he ever show up, or did I miss that somewhere? With all you got going on this last year, and looks like this year also, you're going to need some help.
Let see....you have a couple engines to rebuild, you have the old Jalopy to work on, you still have the '40 although it's almost done, you have the Camaro, you have the Zee, the Cougar will be showing back up, and didn't you say you have another car or truck coming in? Yep....you need to get yourself some help!!!

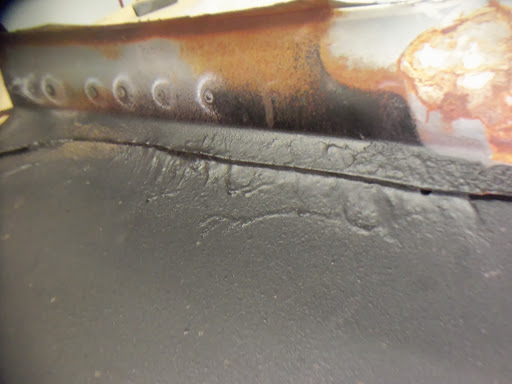
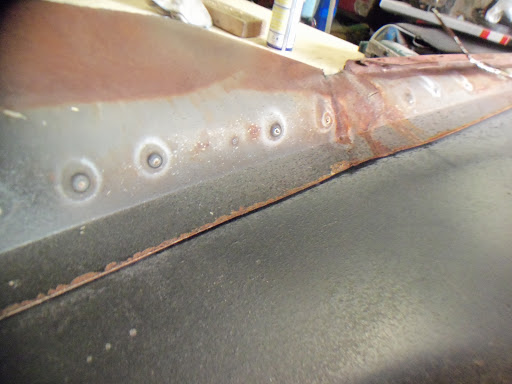
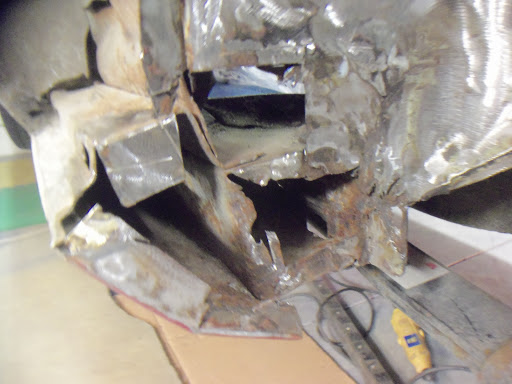
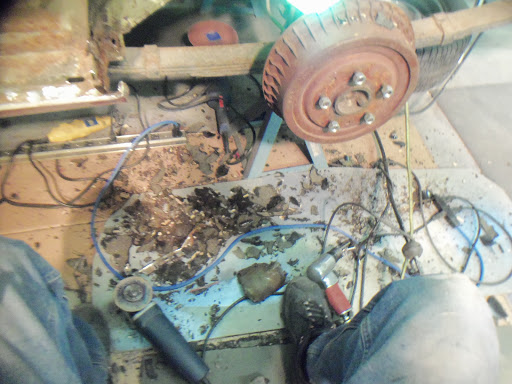
") is no rush. I can work on that whenever I get a break. I was actually just about to tear down the 390 (for my Galaxie) and then take it and the flathead to the machine shop. Once the FE is back it's gonna get a power adder (turbo or?) before going into the Gal. The Sidey (as Simon would call it!) is for the rod and is a Loong-term project. The Cougar is in paint purgatory and I'm not sure if the owner or I will put it together....and yes, I have a 1964 Ford Comet Convertible coming in for a complete restoration. It is slated to arrive February 1st!
is no rush. I can work on that whenever I get a break. I was actually just about to tear down the 390 (for my Galaxie) and then take it and the flathead to the machine shop. Once the FE is back it's gonna get a power adder (turbo or?) before going into the Gal. The Sidey (as Simon would call it!) is for the rod and is a Loong-term project. The Cougar is in paint purgatory and I'm not sure if the owner or I will put it together....and yes, I have a 1964 Ford Comet Convertible coming in for a complete restoration. It is slated to arrive February 1st!


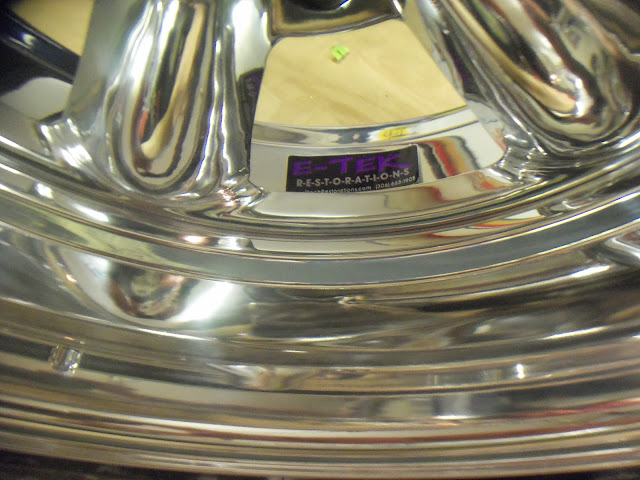


 Don't take it the wrong way......they will definitely set the '40 off and they look great, but the first show he goes to, he have the same wheels as the person to either side of him.


 , I don't think getting them stolen is much of an issue....(plus you'll likely be needing a heat gun to remove the screws now!)