Wingnut65
Well-known member
Re: garage refurb
Nice work. Hopefully your supervisor went easy on you...
Nice work. Hopefully your supervisor went easy on you...

Nice work. Hopefully your supervisor went easy on you...

Eric,
Your place have a name?
 no it doesn't. Honestly, I've never thought of naming it. I always tell the wife, I'm going out to the garage but there's no real name. I tell people it's for me to keep my sanity.

Glad to have finally caught up on this!
Looking really good!
I realise this might be a bit of work and in an uncomfortable environment but is there any way to run some power up to that large vent in the roof and install a fan that would 'pull' the heat out of the building?
A friend of mine did this when refurbing his house in Columbus, Ohio & it was highly effective.
I love it!I guess, maybe "the nutt house" would be fitting.


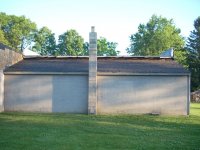
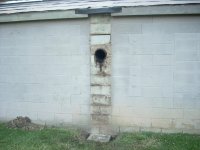
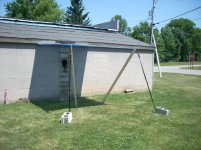
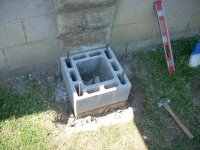
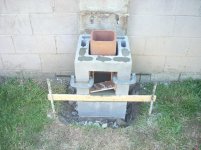
 I wish I would have had a picture of the top half coming down. I broke out part of the first block above the roof line then climbed on the roof. I checked to see how much it moved and after a few rocks and a big push over it went. I believe it was just sitting there as easy as it went over.


Just read thru your thread, been at it a while I see.
the before and after of the garage and house are spactacular (lots of hard work and dedication)
you firemen are all alike work like hell on your days off and rest up at work
(I tried to become one myself but didn't make the cut)
keep hittin it hard. It makes for fun for the rest of us.
Don


Absolutely Love this build thread, have read it from start to now, Great work man....
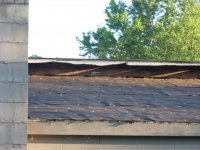
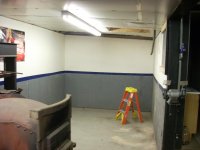
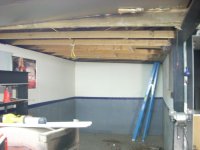
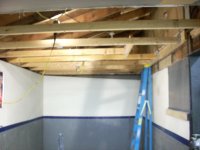
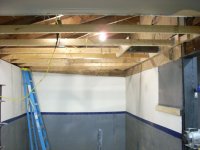
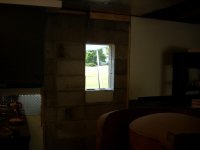
Nice progress on the chimney and non-sloping ceiling. If you used to use it for storage above, all the stuff probably just slid to the right side. Looks better now.

If there is no storage and it were mine, I might raise the ceiling height a 12-18". When working on projects that need to be turned or flipped, more ceiling height is always nice.
Now stop looking out the window... although it is a once-in-a-long-while distraction.


I knew I wanted something else in my rebuild, when you get done there come on over and help me with my chimney and stove!
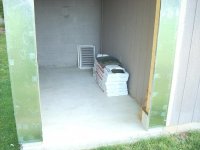
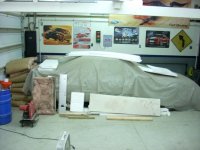
Pics of whats under that tarp in post #547?