Add a dash of Gum Turpentine to the oil Bagged'. It'll mask the smell of the oil until it evaporates, (it'll give it a pine like aroma), and if you use BLO, that should be close to dry by the time the turpentine evaporates. A dash of Citronella Oil in there would be another pleasant way to mask the smell.
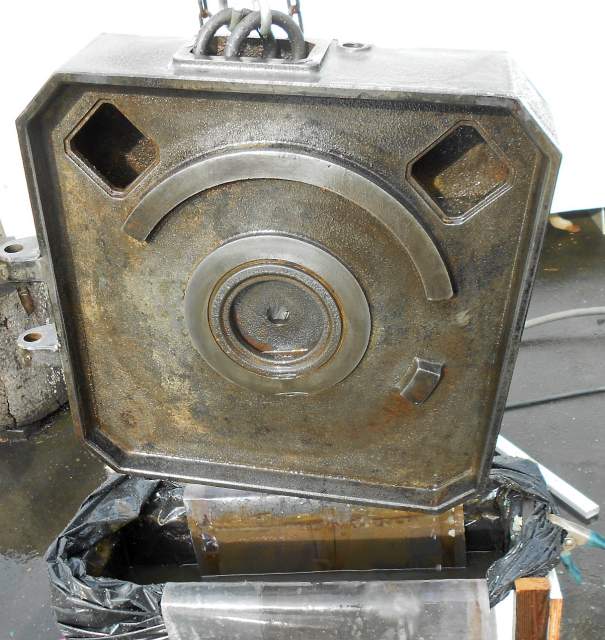
This is the vice which suffered,

the initial Linseed Oil test.
That coating was left in place when it was painted. I had to do something with that vice, as it was going well beyond the normal flash rust after derusting, and was actively rusting again. Didn't coat it with engine oil as that would have been a devil to remove completely before painting, hence that vice became the test piece for a Linseed base. As you can see, it didn't affect the enamel paint applied on top of it.


That was also the piece which prompted me to try a Linseed Oil and enamel paint mix, which I had also been curious about for a while. All of my recent vices done in that Wine Red are actually a Linseed Oil and enamel paint mix, rather than just straight paint. It's quite useful in several ways. The oil thins the paint, and also makes it flow much better with the brush. Brush marks are pretty much eliminated, even on smooth surfaces. It does alter the way the paint dries somewhat, though not adversely. The first coat seems to remain tacky for longer, but the second coat can still be applied after a day or so regardless, and once that second coat goes on, the paint then cures quite quickly. The type of enamel paint used does seem to make a difference when making an oil & enamel mix. I tried the same mix with a cheaper enamel, and it's worked fine, but that did take longer to cure.


 Often a component of paint, or at least compatible, so won't cause issues later when you do paint. (And a tip of the hat to Fretters for that gem!
  )
)