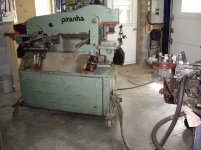
Nastyzen that is just amazing!
Gee thank's Scott,it is amazing that it works.What would you like to know about this contraption?
Oh and sorry Rube I misspelled your name

I meant Golburgish. lol
Sorry I didn't see your reply before, your work is truely amazing.
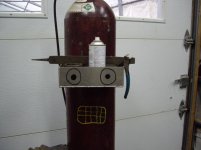
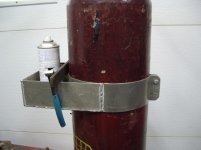
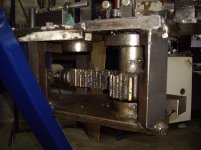
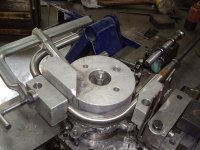
I see you use a rack and pinion set up, I was thinking of using one or two 60:1 gear reduction boxes I have combined with gear and chain reduction to drive mine with a 1 HP motor. I also have a green lee 555 conduit bender I bought for cheap that I was thinking of using as my drive, combined with some additional reduction to get the torque I would need.
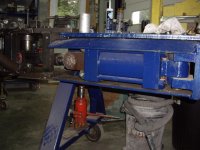
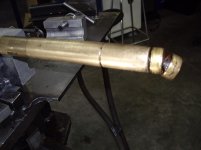
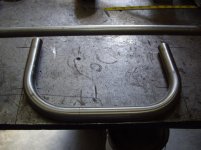
But any info you can provide on how it's all put together around the business end would be great. The frame, bearings, how the dies and clamp dies work would be much appreciated! Basically how everything works on the business end. Do you use a wiper die at all? And is your mandrel power operated to remove it?
Thanks

")